Our Kitchen of the Month, Aparna, has given us a recipe that’s been on my want to bake list for a very long time. In fact it was going to be my pick for our anniversary bread next month … until Aparna came up with it for January. There are many recipes for this bread out there but Aparna & I both picked the same one that appeared in Saveur.

First time bake for the grandkids with Taco cheese.
I can’t say enough good about this recipe: it’s very simple, easy to put together and since Aparna said that the Georgian police were being kept busy in Georgia and wouldn’t be watching to see if we followed every step of tradition, I think this makes for a wonderful opportunity to fill this with whatever floats you boat. I mean you’re going to be shaping it like a boat anyway.
I give this 5 stars because it’s easy, tastes good and because I found it to be a great fun factor for the grandkids. I baked this for the second time today just for adults. No more of that wimpy taco cheese for me. No way. My second bake used a beautiful goat cheese and a little beautiful pepperoni. Gorn & I both enjoyed these. You should feel free to shape them as big or small as you like. I still want to bake them with more tradition i.e. the egg in the middle, I do love me a runny egg yolk. To that end I will be mixing this again soon and doing a delayed rise in the refrigerator so that I can have these for breakfast.
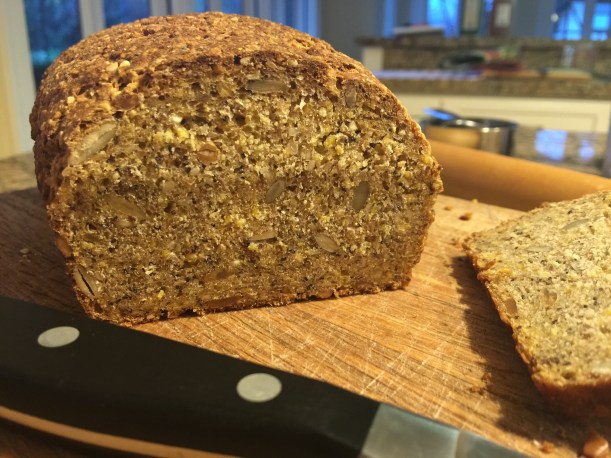
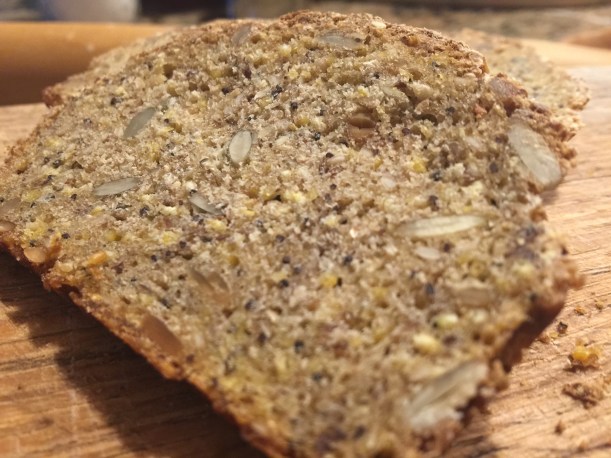
Of course I added ground flax. The first time I baked this, I used all white whole wheat. The second bake, I used 1 cup bread flour and 1/2 cup white whole wheat. The all white whole wheat was a little denser but really the difference was minor and we liked them both.
I think this is a first rate recipe that opens all kinds of opportunities and fillings are endless.
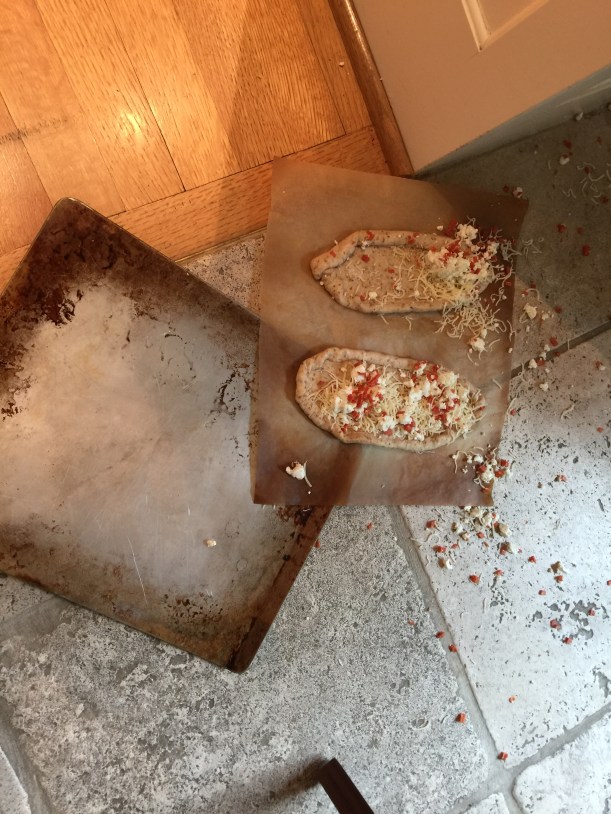
Yes there is always drama. I turned around …
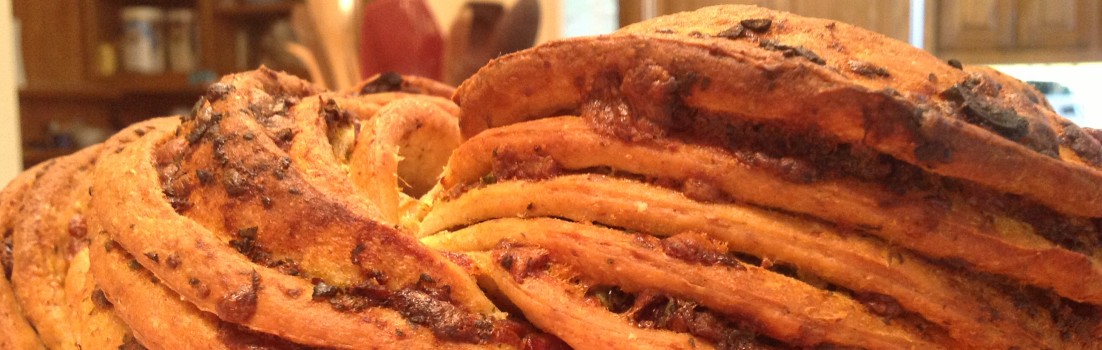
Acharuli/ Adjaruli Khachapuri ~ BBB
Recipe By: Aprana: Adapted from Saveur –
Serving Size: 6
For the Dough:
1 teaspoon instant yeast
1/2 teaspoon sugar, omitted
2/3 cup milk
1 tablespoon olive oil
1 egg (optional)*, omitted
1 1/2 cups flour, plus more for dusting
1 teaspoon salt
For the Filling:
1 1/2 cups grated/ shredded Mozzarella
1 1/2 cups crumbled feta cheese
2 eggs (or any other topping of choice – I used sliced tomatoes, pickled jalapenos and herbs)
For topping after baking:
4 tablespoons unsalted butter, cubed
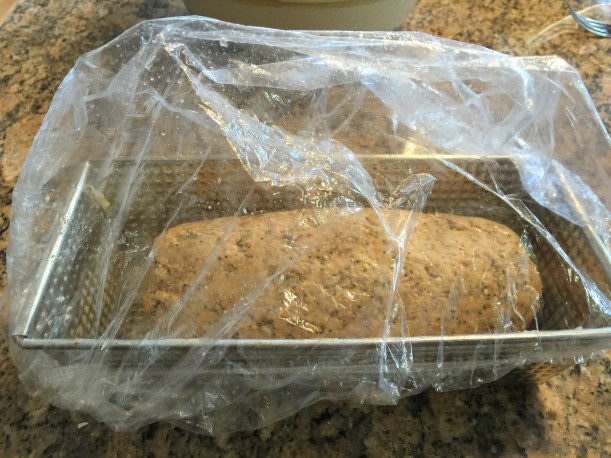
1. I mixed all the dry ingredients … plus 2 tablespoons of ground flax seeds and then added the milk and oil.
Kneaded into a sticky dough ball.
Transfer the ball of dough to a well-oiled bowl, turning it so it is coated all over. Loosely cover and let it rise till double in volume – about 1 to 1 1/2 hours.
Place a pizza stone, or a baking sheet on a rack in lower third of oven. Preheat oven to 250C (500F).
2. Combine the cheeses in a bowl and set aside. Deflate the dough and divide it into two halves … or any number of your choice. I wanted small portions that the kids would eat without great waste the first time. My second bake I went for a little bigger because I was aiming for adult tastes and using goat cheese and I wanted to try baking with an egg. Working with one piece at a time, roll it out to a rectangle or oval about 10” and 1/8” thick on a piece of lightly floured parchment. This makes it easier to transfer the dough onto the baking stone.
Roll the long sides in a bit curving them inwards at the ends and seal well (with a little water) or the edges will open up during baking. Then bring the edges close and pinch together on both ends to form a “boat” like shape.
Again, make sure the ends are sealed well. Transfer the “boats” to the baking sheet, but if you’re going to bake them directly on the pizza stone just omit this step.
Dock the centre “well” area and fill with half of the cheese mixture so it is a little higher than the edges of the dough “boat”. Repeat with the other half of dough and bake them for about 12 to 15 minutes until the Khachapuri are golden brown.


3. Take the breads out of the oven and gently crack an egg on each bread without breaking the yolk (or add the sliced tomatoes, pickled jalapeños and herbs like I did) and return them to the oven. Bake for another 3 to 4 minutes till the egg is set.
Take the Adjaruli Khachapuri out, and place a couple of cubes (2tbsp) butter on each. Serve them hot. It helps to wait for about 10 minutes before eating them so you don’t burn your mouth!
I will leave all the history for you to find on Aparna’s site.
Really I can’t imagine you not wanting to bake this one.Bake this Acharuli/ Adjaruli Khachapuri according to the above recipe and post it on your blog before the 28th of this month. Please make sure you mention the Bread Baking Babes and link to Aprana’s post in your own blog post.
Then e-mail Aparna at aparna[AT]mydiversekitchen[DOT]com with your name, a 500px wide image of your bread and the link to your BBB post. I will then send you a BBB badge for this bread that you can then add to your post on your blog, and will also include your bread in a Buddy round-up at the end of this month.