MyKitchenInHalfCups

Once Upon a time: Cooking … Baking … Traveling … Laughing …


9 Comments

BBB ~ Sfincione Bagharese

Aparna, our kitchen of the month, you may have thought it was hard to find a bread we haven’t baked but honestly even though this little group has been baking for these many years and it does seem like we’ve baked just a huge number of breads, every month I marvel that wow it’s just water yeast flour, the same ingredients as last month BUT it’s just never the same and it NEVER gets boring. Thank you so very much for this introduction to this our 14th anniversary bread.

Check out Aparna’s post on this bread at My Diverse Kitchen.com.https://www.mydiversekitchen.com/sfincione-bagharese

From Aparna’s site you can travel to all the other Babes who baked this bread.

SFINCIONE BAGHARESE

(Partly adapted from here)

POOLISH:

150 g white whole wheat

150 ml water

1 tsp dry active yeast

DOUGH :

All the Poolish from above

150 gm AP flour

250 gm semolina flour

300 ml water (more or less)

30 ml olive oil

15 gm salt

ONION LAYER :

5 medium sized onions (one a red onion)

30 ml olive oil

Salt to taste

CHEESE LAYER :

300 gm mozzarella sliced (thinner slices will work best)

400 gm Ricotta

BREADCRUMB LAYER :

Some chopped scallions 

4 to 6 slices of BEEKEEPER’S PAIN DE MIE

100 gm grated Parmesan cheese

50 grams walnuts

Salt to taste

Red chilli flakes or crushed pepper to taste

1 tsp dried oregano

Also two very well oiled round 23cm trays

HOW TO MAKE IT :

Make the Poolish by mixing together in a medium sized bowl the flour, dry yeast, and water until a sticky dough is obtained. Add more water if necessary to achieve this. Cover loosely with a plastic film and leave to rise for about 2 hours. The polish should be somewhat bubbly and have doubled in size.

I mixed the dough by hand. Mix together the flours, water (more or less as required), oil and the poolish. The dough will be sticky. Add the salt and knead till it is soft, very pliable and smooth. Shape it into a round and place it in a bowl greased with olive oil. Cover the bowl loosely and leave it to rise till double in volume. Mine took about 2 and a half hours.

Cook the onions. While the dough is rising, get the toppings ready. Heat the oil in a pan and add the sliced onions. Sprinkle a little salt and cook the onions on low to medium heat until they turn translucent and soft. Do not brown or caramelized them. Take the pan off heat and let them cool to room temperature.

Prepare the breadcrumb mixture. Run the bread slices (with or without crusts) in a food processor to make the crumbs. Put the breadcrumbs in a bowl. Mix together with the oil, salt, red chilli flakes (or crushed pepper) chopped scallions/ spring onions, oregano and grated cheese. The texture should be of loose but moist crumbs.

Once the dough has risen, gently knead to deflate it. Divide it into two equal portions. Press out each portion into a roughly 9-inch circle (or oval) using your fingers. ****Since Aparna and I both seem to think the topping is the show of this bread, next time I will bake mine in a 10 inch or larger pan and make more topping to cover the larger surface area.  If the dough feels sticky, oil your fingers lightly. Place in the oiled trays. I used a pie dish. Let the dough rise again, for about an hour till almost double in thickness and quite puffy.

Top with anchovy (maybe one day I’ll try anchovy but not this time), then the cooked onions. Next comes the Ricotta and a hard cheese (I used Parmesan ). Make sure to cover the surface of the dough evenly. Finish layering by spreading the breadcrumb mixture on the top.

Bake the Sfincione at 250C (480F) on the bottom shelf of the oven for about 10 to 12 minutes. The underneath of the bread should become golden and crisp. Then move the pan to the middle shelf of the oven and bake for another 10 minutes or so, until it is crisp and golden brown on the top as well. Remove from the oven and let it cool.  

Next time I will use parchment on the bottom so there will be no issue of sticking AND if the bottom seems too moist, I can take it out of the pan and return it to the oven rack for 2 to 5 minutes for crisper texture.

Cut and serve. Leftovers can be refrigerated for up to 2 days.  Hahaha. I did give one loaf away but the other loaf we very quickly took care of. 

HAPPY ANNIVERSARY TO ALL BABES, PAST, PRESENT AND FUTURE.

We know you’ll want to make Sfincione Bagherese too! 

To receive a Bread Baking Buddy Badge to display on your site: make the topped flatbread in the next couple of weeks and post about them (we love to see how your bread turns out AND hear what you think about it – what you didn’t like and/or what you liked) before the 28 February 2022. If you do not have a blog, no problem; you can also post your picture(s) to Flickr (or any other photo sharing site) and record your thoughts about the bread there. Please remember to contact the Kitchen of the Month to say that your post is up.

For complete details about this month’s recipe, the BBB and how to become a BBBuddy, please read:


7 Comments

BBB ~ Hällakakor Flatbread from Sweden

Do we ever know bread? Probably not, just like can you ever have enough bread books? Probably not.

Unbeknownst to me, I’ve had a kuskavel in my rolling pin drawer for any number of years. Didn’t know it’s name. Didn’t know what it’s specialty was. Don’t remember where I came upon it. I just thought it was fun looking and might work on crackers which I tried once. Don’t really remember how that turned out.

This is the Kuskavel. See what I mean about fun looking.

Kelly from MessyKitchen is our host Kitchen of the Month and the bread she brought us is delightful! Flatbread from Sweden. Sounds simple and yes it is. It is one of those simple breads that is so much more than it’s simplicity. Check out Kelly’s site for all the background on this bread!

Before baking powder there was deer horn salt aka baker’s ammonia. And about that deer horn salt aka baker’s ammonia, yes you can get it from Amazon, and yes it really is ammonia, and yes it really smells like ammonia and yes it really SMELLS. BUT somehow it bakes away. I baked this first with baking powder and then took some really deep breaths (not over the baker’s ammonia) after Kelly assured me I would not smell it after baking and gutted it up and baked the recipe using the deer horn salt aka Baker’s ammonia. I could not discern any appreciable difference in texture or bake between the two.

Hällakakor – Swedish flatbread

Makes: 8 pieces

350 g wholemeal wheat flour 

62 g wholemeal rye flour

(Second bake: 250 grams whole wheat flour + 162 grams rye)

1 g (¼ tsp) deer horn salt (baker’s ammonia), dissolved in water (you can use baking powder instead)

6 g yeast

8 g sea salt

25 g honey

20 g butter

235g milk (dairy or non dairy works fine)

1 teaspoon caraway, crushed in a mortar/pestle)

I kneaded a very stiff dough for 15 minutes. I probably added 10-20 grams water while kneading. Let rise for 6 hours at room temperature and knock back and briefly knead twice in the first two hours.  (The dough can also be chilled overnight.)

Cut off 85 – 95 gram portions and shape into round balls.  Flour lightly and let rise briefly, about 20 minutes.  Roll out round dough circles to about 25cm or 9in with a notched or regular rolling pin.  Dock well if using a flat rolling pin.  If using a grooved pin, follow with the notched pin.

Preheat the oven to the highest possible temperature (500° worked best for my oven & stone. 525° seemed too hot) and ideally place the flatbread directly on a baking stone or steel and bake them into golden, soft flatbread. Bake for 3-4 minutes each. Mine took 4 minutes.

I did play with the flours in this recipe. My first bake was as Kelly wrote it. My second bake I took 100 grams from the whole wheat and make it rye. I used caraway seeds in both those bakes. We enjoyed both and I really couldn’t discern any difference between them. My third bake yesterday I tried 162 grams whole grain barley. The dough never really rose anything like the first two batches. While the dough came together, it remained crumbly throughout the entire process and was even very difficult to get onto the baking stone without cracking and breaking pieces off. In an effort to prevent breaking apart I didn’t roll it so thin and it did a little better.

Haven’t tried any of the barley flatbread yet but we’ll be taking it on a short road trip today and I’ll report back later.

I hope you’ll bake this one with us. Now that days are probably somewhat busy these flat breads are easy and throughly entertaining and engaging! As Kelly says: Hällakakor can be frozen and then reheated straight out of the freezer on a flat toaster, toaster oven, or hot pan. They should refresh well and taste like they were freshly baked out of the oven. They are lovely with butter and jam or syrup, or with mascarpone and jam. They are just as good with an herbed cheese spread or to sop up stew or curry. We would love for you to try out this flat bread with us this month and share how you used it! New recipes are posted every month on the 16th. Check out our Facebook group to see the participants’ baking results during that time.

Ready! Set! BAKE!!


9 Comments

BBB ~ Matar or Chola Kulcha

Really, who knew I didn’t understand I really love chutneys! Yes, I really know now I do enjoy at least Apruna’s chutney she had us make for this Indian flat bread Kulcha! Wow this was marvelous. OK, I will confess, I wasn’t expecting much from the chutney so the first time I made the Kulcha we had it with some wonderful chicken and it’s accompanying gravy. It was wonderful. Then I thought, OK, maybe since I have most of the ingredients I should give the chutney a try. The one ingredient I didn’t have the Tamarind; a search suggested lime juice as a substitute and perhaps in my lack of experience it worked for me. Aparna’s looks very liquid and she told us it should be liquid … but mine was thick and chunky, just like I like it. I made both the Green Mint-Coriander Chutney and the Sweet and Sour Tamarind Chutney. Both the Chutneys were terrific but the Green Mint-Coriander was gone the fastest. I will try to do the Kulcha again as I rolled mine very thin and didn’t get the puffy that most Babes did. I call this a success even though it’s not authentic … we really enjoyed!

Tradition says I should be round but dough most often has a mind of its own.

Aparna is our Kitchen of the Month so do check out her site for more authenticity than you’ll find here.

KULCHA (Flat Bread)

For the Khameer or Pre-Ferment :

1/2 tsp instant dry yeast

1 tsp sugar

1 cup flour – I used 1/2 cup white whole wheat + 1/2 cup all purpose

1 cup water

For Kulcha Dough :

All of the Khameer/ Pre-ferment 

1/2 tsp instant dry yeast

1 1/2 cups flour – I used 1/2 cup white whole wheat + 1 cup all-purpose

2 tbsp plain yogurt 

1/2 tsp salt

1 1/2 tbsp ghee (or soft unsalted butter)

More water, if needed for a soft dough

For the Topping :

Nigella seeds or black sesame seeds

Chopped fresh coriander leaves/ cilantro

Ghee or unsalted butter for cooking the Kulchas

METHOD :

For the Khameer/ Pre-ferment (previous night) :

Mix together the yeast, water, sugar and all-purpose flour till smooth in a big bowl. Cover and leave on the kitchen counter overnight to ferment. 

For the Kulcha Dough (some time next morning) :

The Khameer/ pre-ferment should have risen well and will appear quite stringy. Mix in the other 1/2 tsp of yeast, all-purpose flour, yogurt, salt and a little water. Knead till you have a soft, sticky and loose dough. You don’t need a mixer for this. Your hand or a dough whisk is enough. This dough came together easily and was smooth.

Add the ghee or soft butter and knead once again till well incorporated. Shape into a round and leave in the bowl. Cover loosely and let it rise till almost double in volume.  This should take between an hour and two. 

Knead the dough lightly to de-gas it. Then divide into 6 equal portions. I divided my dough into 8 portions. Lightly flour your working surface, if required, and roll out each portion into a circle or oblong of less than 1/4 “ thickness. Sprinkle some Nigella seeds and dried fenugreek leaves or coriander leaves/ cilantro and lightly press into the rolled out dough. 

Heat a griddle or flat pan and place the rolled dough on it. Sprinkle a little water on the sides of the griddle/ pan (not on the dough) and cover. Cook the flat bread for a minute or so. Now remove the cover and cook on the other side as well. If not serving immediately, cook till here and keep aside. When ready to serve proceed further with cooking in ghee or butter as follows.

Now I know I should have made the Matar/Chola (White Peas Salsa) … but I didn’t. That means I still have something to add to this and look forward to.

GREEN MINT-CORIANDER CHUTNEY

Grind together a handful of fresh coriander/ cilantro leaves and tender stems, equal amount of mint leaves, green chillies, salt and a dash of lime juice with very little water till smooth. 

This chutney should be savoury, on the spicier side with a little tang and a bit watery in texture. Adjust all the ingredients to taste. This will keep in the fridge for a week.

SWEET & SOUR TAMARIND CHUTNEY 

(Makes 1 medium jar)

INGREDIENTS :

1 cup tamarind pulp thick

3/4 – 1 cups powdered jaggery 

1/2 cup dates loosely seedless , finely chopped packed

2 tbsps golden raisins, chopped

1 1/2 tsps chilli powder (or to taste)

1 tsp cumin powder

Salt or black salt to taste

METHOD :

Put the lime juice and sugar in a pan. Over medium heat, stir the mixture till the sugar (jaggery) dissolves. Now add all the remaining ingredients and cook till the chutney thickens a bit and takes on a shiny appearance. Allow to cool and use as needed. This chutney keeps in the fridge for a while.

The amounts of tamarind, jaggery, chilli powder and salt may be adjusted as required. This chutney should be sweet, sour and spicy.

I highly recommend both these chutneys even if you don’t have tamarind.

These are so good and really simple to put together. As you can see, we enjoyed these first with a chicken dinner before I made the chutneys. But, the chutney is the way I do them from now on.

Check out Aparna for the Matar/Chola Salsa, I know that is in my future. She’s made it look too good to miss.

We’d love for you to join us this month for our bake!  No blog is necessary to participate, a picture will do. Just send a picture or your post of your finished flatbread to our host kitchen by the 30th of this month.  New recipes are posted every month on the 16th. Check out our Facebook group to see the participants’ baking results during that time.


10 Comments

BBB ~ Ksra (Moroccan Anise and Barley Flatbread)

Just drop dead simple/easy and oh my so very good.  Our kitchen of the month is Kelly from A Messy Kitchen who found the recipe in the New Artisan Bread in Five Minutes a Day … and then further adapted by me because I always just can never leave well enough alone.

I topped my loaf with extra anise seeds and some black sesame seeds and totally poked it full of holes; when I took it out of the oven, I brushed the top with a little butter … yes really I did because it just is such a beautiful smile that way.
As simple as this is, it is gorgeous baking, wonderful warm and cooled, toasts like a dream, delish plain and lovely with butter or a touch of jam, great to sop up broth based soups, really any soup or stew.
This is definitely in the keeper file.  Thank you much Kelly.

2019BBB_banner
Yield: 2 round loaves 8 inch

Ksra (Moroccan Anise and Barley Flatbread)

Something of a STARTER
1/8 teaspoon yeast
130 grams sprouted spelt
120 grams water
DOUGH
340 grams Lukewarm water (100ºF or less)
1 teaspoon yeast
1 ½ teaspoons salt
1 teaspoon whole anise seeds

30 grams ground flax seed
25 grams wheat germ
50 grams barley flour
120 grams sprouted spelt
380 grams White Whole Wheat

l9ERHL+gR82MmTRacKW5yA

Something of a STARTER:

Mix flour, water, yeast to combine. Cover and left out on counter 6 hours.

MIX DOUGH:

Mix together the yeast, salt, anise and water in a large bowl or container. Stir in the remaining ingredients and all of the something of a starter with a large wooden spoon, dough whisk, or in a mixer with the paddle. Mix until the flour is incorporated fully.

Cover and rest until the dough has fully risen and collapsed back down a bit, about 2 hours. Mine then went into the refrigerator overnight.

You may use the dough after the initial rise but it’s easier to work with cold. Dough will keep up to 10 days in the fridge.

nKGrIDLTTAaoKj083FF12Q

BAKE :

Divide the dough in half, dust with flour, and shape each portion into a ball by stretching the sides down to the bottom of the ball and folding under. You may also work with only one portion of dough if you like, the other will keep in the fridge for another day. I shaped only one loaf; returned the remaining half of the dough to refrigerator.

Flatten the dough ball into a ¾” thick round and let rest covered on a parchment lined or cornmeal dusted pizza peel for 20-30 minutes. Optional to brush the surface with oil and sprinkle with sesame seeds or more anise seed. Also optional to poke the dough with a skewer in a few places prior to baking.

While the dough is resting, preheat the oven to 450ºF. Place a baking stone near the middle of the oven and a metal pan or broiler tray on an unused oven rack and heat a cup of water to use for steam while baking. (If you do not have a baking stone, you can use an inverted baking sheet, a cast iron pan, a pizza pan, or the grill on high!) (If you use a grill, you will need to flip the dough periodically.)

Slide rested loaf directly onto hot stone. I baked my round loaf in the pre-heated lid of a cast iron dutch oven; worked perfectly. Pour 1 cup of hot water into the metal pan or tray for steam and quickly close the oven door. Bake for about 20-25 minutes until richly browned and firm.

Baked for 30 minutes. Considering all the whole grains in this, I will allow 35 minutes for the next bake.

Allow to cool before cutting into wedges to serve.

ooX+YgQ0RGK%MGy%JvCZRg
Seriously, after you read Kelly’s post and catch the waffle recipe I don’t really think you can stop yourself baking this bread!
We would love for you to try out this recipe and join in as a buddy baker this month!  This is a wonderful bread to quickly bake up to go with any meal. You don’t have to have a blog to participate, a picture will do.  Just send a picture or your post of your finished flatbread to Kelly at eleyana (AT) aol (DOT) com, along with a photo and your baking experience by Mar. 31st and be sure to put BBBuddy in the subject line. You will receive a Bread Baking Buddy graphic to keep or add to your post, and be included in our Buddy round up at the end of the month. New recipes are posted every month on the 16th. Check out our Facebook group to see the participants’ baking results during that time.
Enjoy the BAKE!


9 Comments

Red Pepper Coques ~ BBB

Red Pepper Coques

Red Pepper Coques

Feta makes it dinner!

Yes it may be pizza like in vision but this is crunchy very unlike a pizza crust.  Like pizza it comes from the Mediterranean but from Spain.
So it’s different than pizza altogether but then it’s decidedly just as enthralling in flavor and interest.
It’s simple to mix, the only special thing is an overnight in the fridge and that’s easy.
This fits in my favorite category of mix it days ahead of time and put it together like a magic trick for company.  That’s what I did with half the dough, I made this for a big family dinner.  “The Littles” (two girls under 10) said that was really good bread … but then so did all the adults. 

Two nights later, I baked a quarter of the dough and served it with a salad and called it a light dinner.  Four nights later, I served the last quarter dough round with fresh veggies and a guacamole hummus dip and called it dinner.   The dough that keeps on giving!

Yes, Karen (Karen’s Kitchen Stories) our kitchen of the month, this is very simple to do by hand, no food processor here.

Red Pepper Coques

Dough
268 grams bread flour
200 grams white whole wheat flour
30 grams ground flax seed
2 teaspoons sugar, omitted
1/2 teaspoon instant yeast
10 2/3 ounces ice water
3 tablespoons extra-virgin olive oil
1 1/2 teaspoons table or fine sea salt
Red Pepper Topping
1/2 cup extra-virgin olive oil
2 large onions, peeled, halved, and thinly sliced
2 cups jarred roasted sliced red peppers
3 tablespoons sugar, omitted
3 cloves garlic, thinly sliced
1 1/2 teaspoons salt
1/2 teaspoon crushed red pepper flakes
2 bay leaves
3 tablespoons sherry vinegar, Fini Reduction of Balsamic
1/4 cup pine nuts
1 tablespoon minced fresh parsley, fresh basil

1. Dough
In the bowl of a food processor, pulse the flour, sugar, and yeast about 5 times. Turn the processor on, and slowly pour in the ice water and process for about 10 seconds. Let the dough rest for 10 minutes.

x3fWa5fxTIK1G0cnob0NnQ
2. Add the oil and the salt to the dough and process for 30 to 60 seconds, until the dough forms a ball. Remove the dough from the the processor, and knead by hand for a few seconds, and form it into a ball. Place it into an oiled bowl, cover, and refrigerate for at least 24 hours, and up to 3 days.

zkIGiIOXQQClOZ8IbKS1Iw
3. Topping
Heat three tablespoons of the olive oil in a 12 inch non stick frying pan over medium heat. Add the onions, red peppers, sugar, garlic, salt, pepper flakes, and bay leaves. Cover the pan and cook for 10 minutes over medium low.
Remove the lid and continue to cook, stirring regularly, for another 10 to 15 minutes, until the onions are golden brown. Remove the pan from the heat and discard the bay leaves. Transfer the mixture to a heatproof bowl and stir in the vinegar. Cool completely before using. You can make the mixture in advance and refrigerate overnight.


4. To Make the Coques:
Deflate the dough and divide it into four equal sized pieces. Shape each piece into a tight ball and place, seam side down on your work surface, and cover with oiled plastic wrap. Let rest for an hour.
Place oven racks in the upper and lower third positions and preheat the oven to 500 degrees F. Brush two half sheet pans with 2 tablespoons of olive oil each.

5. Place one dough ball on your work surface, and roll it out to a 15 inch by 5 inch oval. Place it on the baking sheet, lengthwise. Repeat with the rest of the dough balls, two per baking sheet. If the dough springs back, let it rest for another 10 to 20 minutes, and re-roll. Dock each about 15 times with a fork. Brush each oblong piece of dough with the rest of the olive oil.

6. Bake the dough for 8 minutes, switching the pans at the four minute mark.
Remove the pans from the oven, and spread them with the red pepper and onion mixture. Sprinkle with the pine nuts. Place the baking sheets back into the oven, and bake for 16 minutes, switching and rotating the pans at the 8 minute mark. Continue to bake until the flatbreads are golden and crispy.
Remove the pans from the oven and let cool on the pans for about 5 minutes. Sprinkle with the parsley, and transfer to a cutting board to slice and serve.

Red Pepper Coques

Feta makes it dinner!

There is simply no way you should not bake this … it is just delightful. Too good to pass up and so simple to put together.
If you want to bake along, email Karen your photo or blog link to karen.h.kerr@gmail.com and she’ll feature you in a follow up post and send you a really cool badge.


9 Comments

Acharuli/Adjaruli Khachapuri ~ BBB

Our Kitchen of the Month, Aparna, has given us a recipe that’s been on my want to bake list for a very long time.  In fact it was going to be my pick for our anniversary bread next month … until Aparna came up with it for January.  There are many recipes for this bread out there but Aparna & I both picked the same one that appeared in Saveur.

IMG_0324

First time bake for the grandkids with Taco cheese.

I can’t say enough good about this recipe: it’s very simple, easy to put together and since Aparna said that the Georgian police were being kept busy in Georgia and wouldn’t be watching to see if we followed every step of tradition, I think this makes for a wonderful opportunity to fill this with whatever floats you boat.  I mean you’re going to be shaping it like a boat anyway.

I give this 5 stars because it’s easy, tastes good and because I found it to be a great fun factor for the grandkids.  I baked this for the second time today just for adults.  No more of that wimpy taco cheese for me.  No way.  My second bake used a beautiful goat cheese and a little beautiful pepperoni.  Gorn & I both enjoyed these.  You should feel free to shape them as big or small as you like.  I still want to bake them with more tradition i.e. the egg in the middle, I do love me a runny egg yolk.  To that end I will be mixing this again soon and doing a delayed rise in the refrigerator so that I can have these for breakfast.

Of course I added ground flax.  The first time I baked this, I used all white whole wheat.  The second bake, I used 1 cup bread flour and 1/2 cup white whole wheat.  The all white whole wheat was a little denser but really the difference was minor and we liked them both.

I think this is a first rate recipe that opens all kinds of opportunities and fillings are endless.

IMG_0336

Yes there is always drama. I turned around …

Acharuli/ Adjaruli Khachapuri ~ BBB

Recipe By: Aprana:  Adapted from Saveur –
Serving Size: 6

For the Dough:
1 teaspoon instant yeast
1/2 teaspoon sugar, omitted
2/3 cup milk
1 tablespoon olive oil
1 egg (optional)*, omitted
1 1/2 cups flour, plus more for dusting
1 teaspoon salt
For the Filling:
1 1/2 cups grated/ shredded Mozzarella
1 1/2 cups crumbled feta cheese
2 eggs (or any other topping of choice  – I used  sliced tomatoes, pickled jalapenos and herbs)
For topping after baking:
4 tablespoons unsalted butter, cubed

1. I mixed all the dry ingredients … plus 2 tablespoons of ground flax seeds and then added the milk and oil.

Kneaded into a sticky dough ball.

Transfer the ball of dough to a well-oiled bowl, turning it so it is coated all over. Loosely cover and let it rise till double in volume – about 1 to 1 1/2 hours.

Place a pizza stone, or a baking sheet on a rack in lower third of oven. Preheat oven to 250C (500F).

2. Combine the cheeses in a bowl and set aside. Deflate the dough and divide it into two halves … or any number of your choice.  I wanted small portions that the kids would eat without great waste the first time.  My second bake I went for a little bigger because I was aiming for adult tastes and using goat cheese and I wanted to try baking with an egg.   Working with one piece at a time,  roll it out to a rectangle or oval about 10” and 1/8” thick on a piece of lightly floured parchment.  This makes it easier to transfer the dough onto the baking stone.

Roll the long sides in a bit curving them inwards at the ends and seal well (with a little water) or the edges will open up during baking. Then bring the edges close and pinch together on both ends to form a “boat” like shape.
Again, make sure the ends are sealed well. Transfer the “boats” to the baking sheet, but if you’re going to bake them directly on the pizza stone just omit this step.

Dock the centre “well” area and fill with half of the cheese mixture so it is a little higher than the edges of the dough “boat”. Repeat with the other half of dough and  bake them for about 12 to 15 minutes until the Khachapuri are golden brown.

3. Take the breads out of the oven and gently crack an egg on each bread without breaking the yolk (or add the sliced tomatoes, pickled jalapeños and herbs like I did) and return them to the oven. Bake for another 3 to 4 minutes till the egg is set.

Take the Adjaruli Khachapuri out, and place a couple of cubes (2tbsp) butter on each. Serve them hot. It helps to wait for about 10 minutes before eating them so you don’t burn your mouth!

I will leave all the history for you to find on Aparna’s site.

Really I can’t imagine you not wanting to bake this one.Bake this Acharuli/ Adjaruli Khachapuri  according to the above recipe and post it on your blog before the 28th of this month. Please make sure you mention the Bread Baking Babes and link to Aprana’s post in your own blog post.

Then e-mail Aparna at aparna[AT]mydiversekitchen[DOT]com with your name, a 500px wide image of your bread and the link to your BBB post. I will then send you a BBB badge for this bread that you can then add to your post on your blog, and will also include your bread in a Buddy round-up at the end of this month.


7 Comments

Dhakai Bakharkhani/ Baqeerkhani (Crisp Flatbreads from Dhaka, Bangladesh)

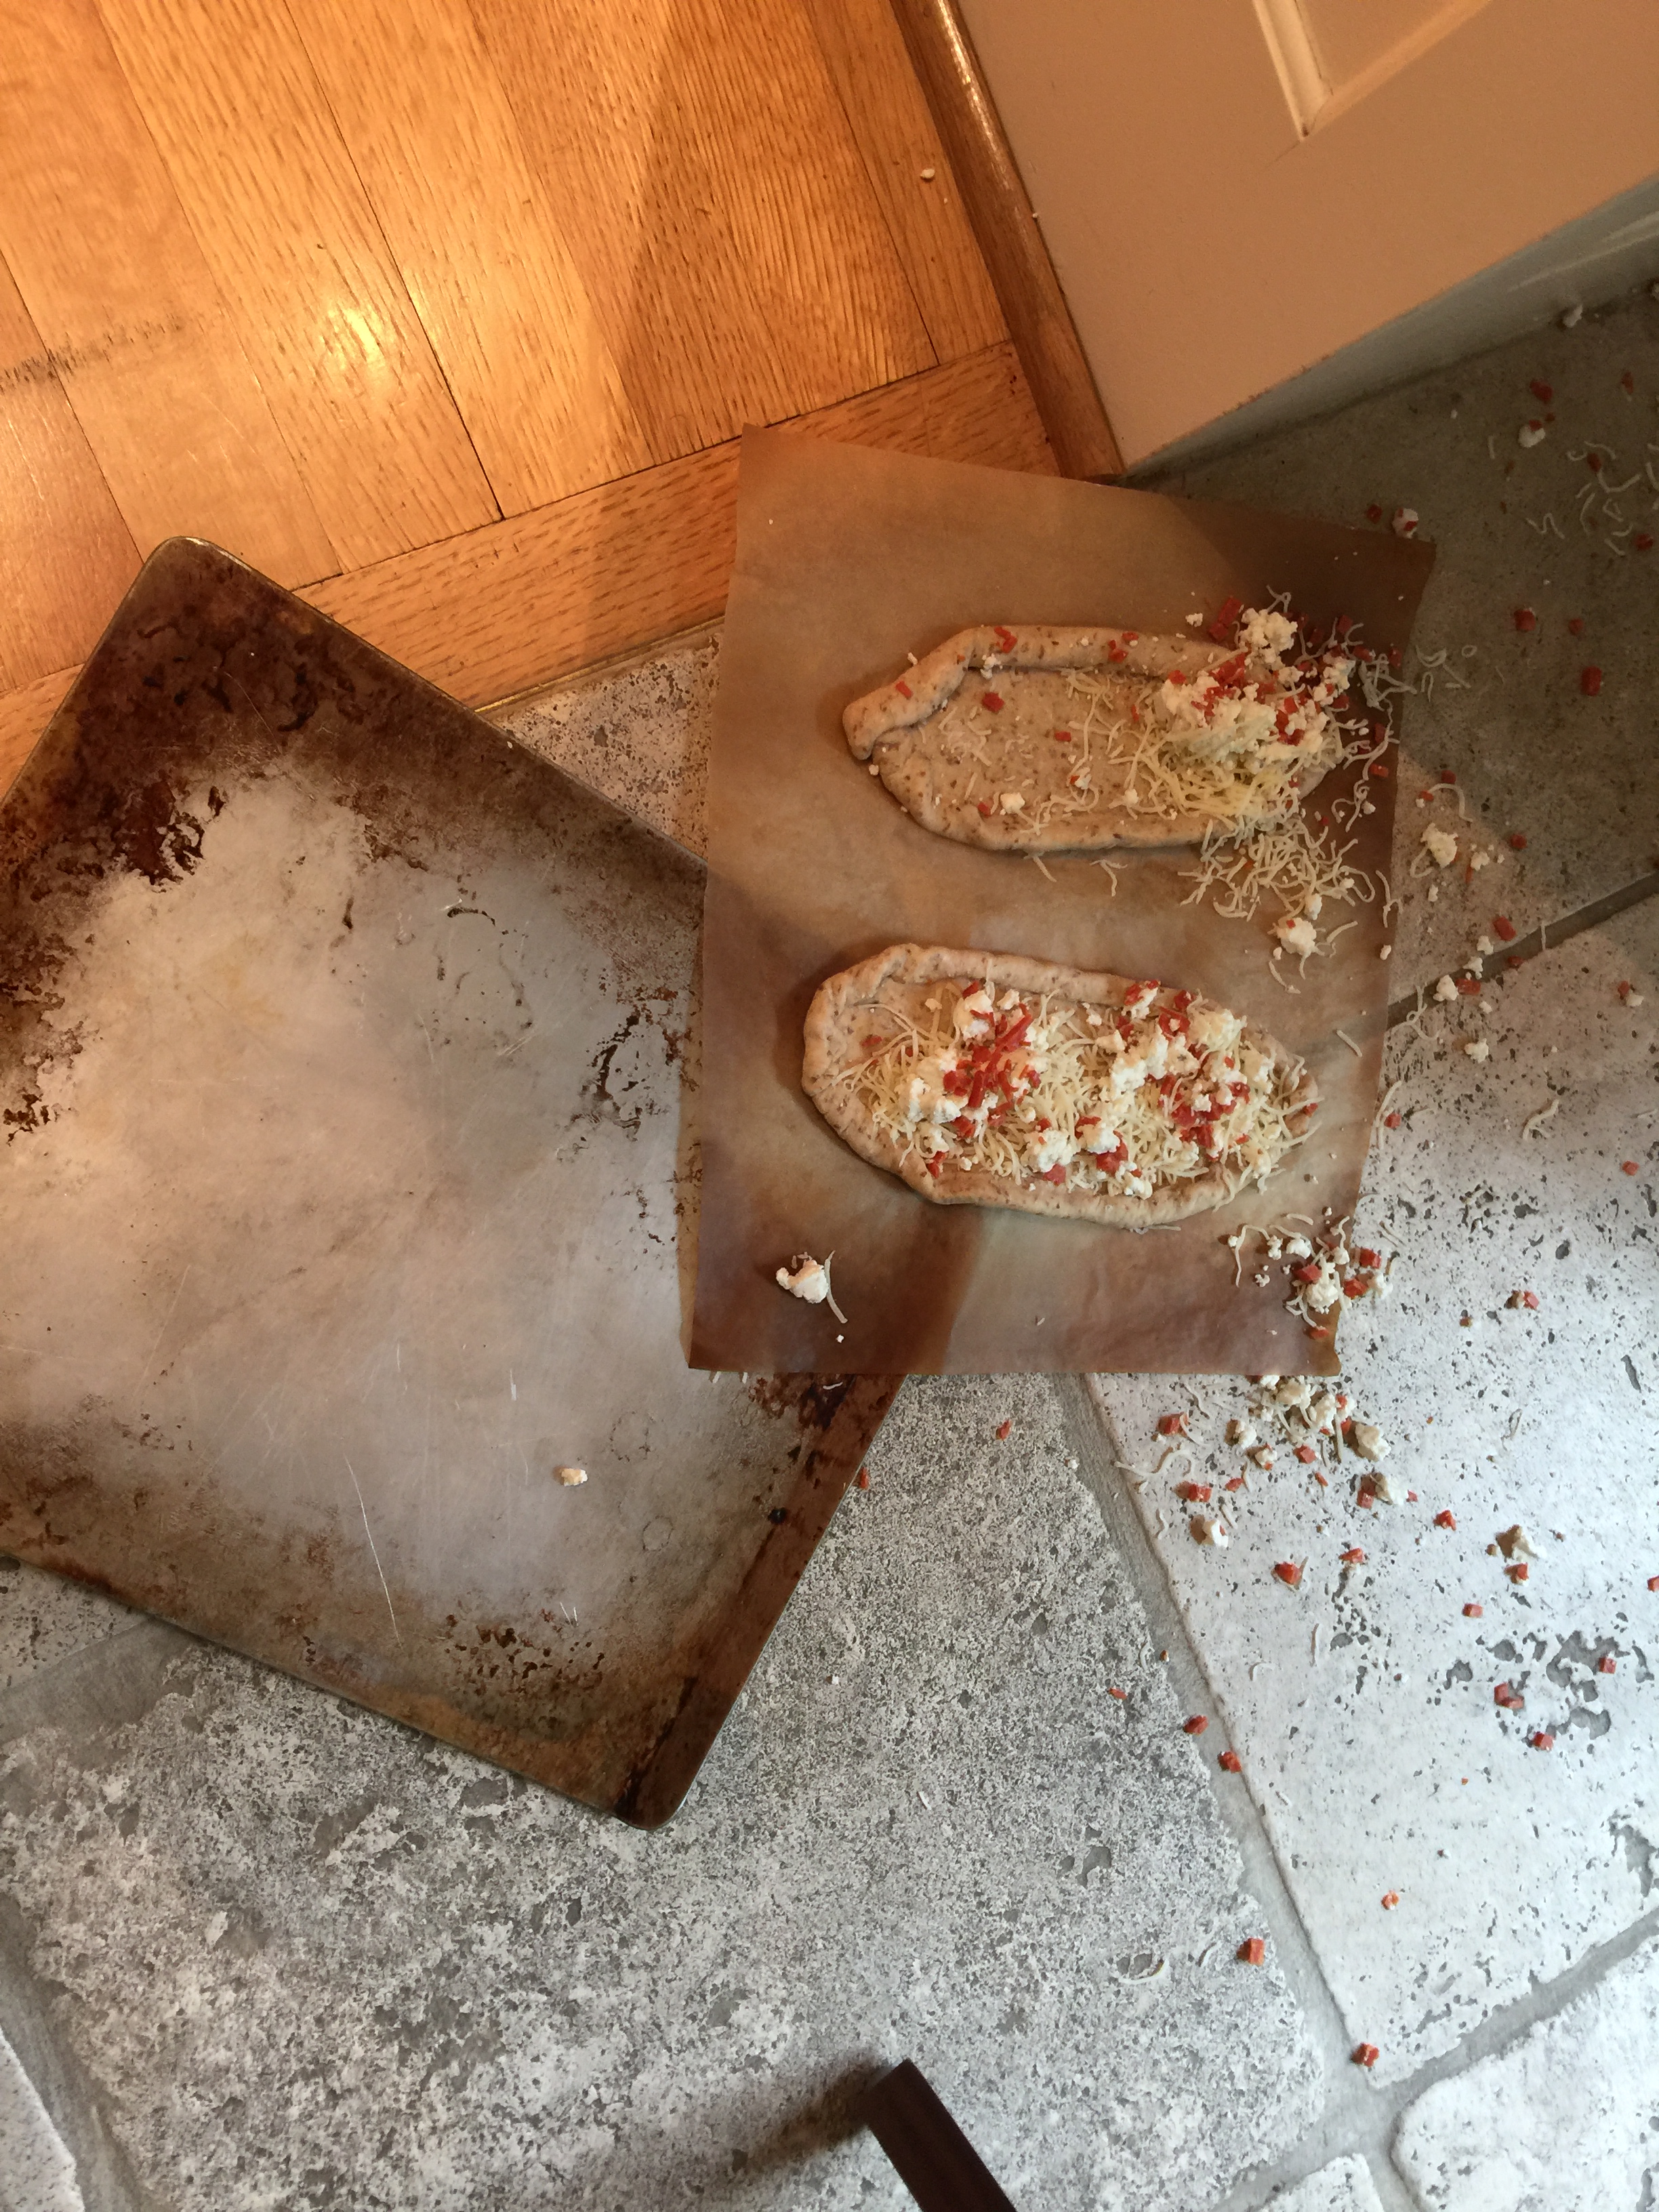
I do know there’s a tremendous amount to be gained by following a recipe to the letter … and then there is old fashioned “just have to make do”.  I truly enjoy doing a recipe to be authentic.  I also realize there are those times when it just isn’t meant to be … and this was one of them.  Perhaps in the long run there is as much to be gained/learned from one way as the other.

IMG_7393

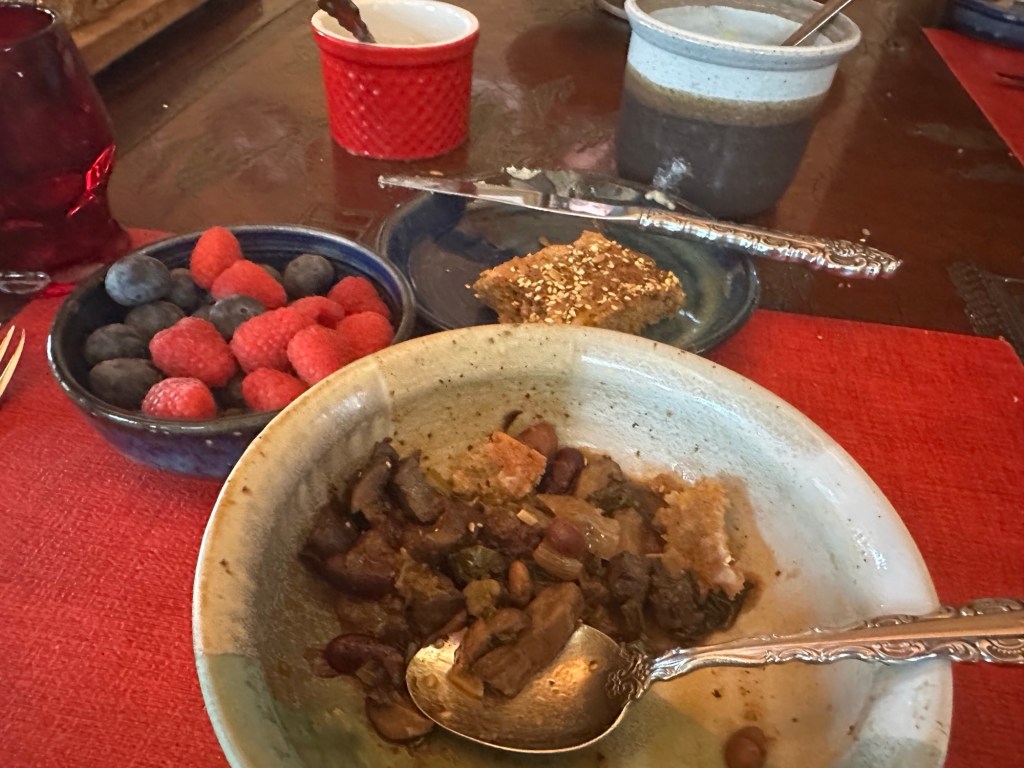
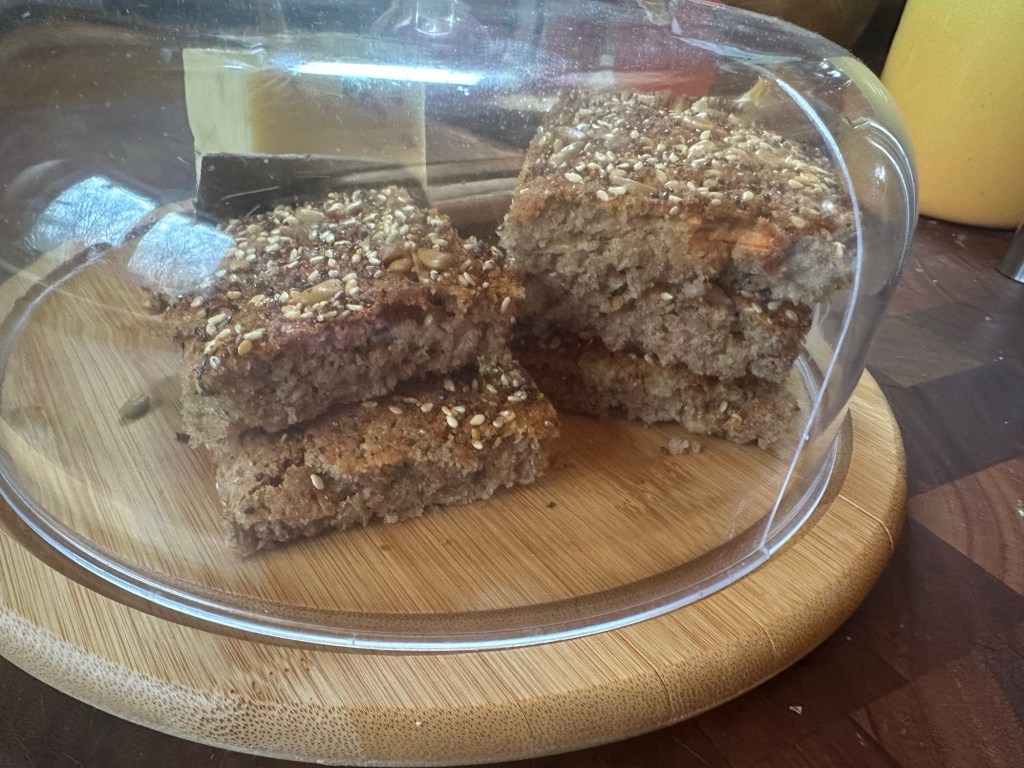
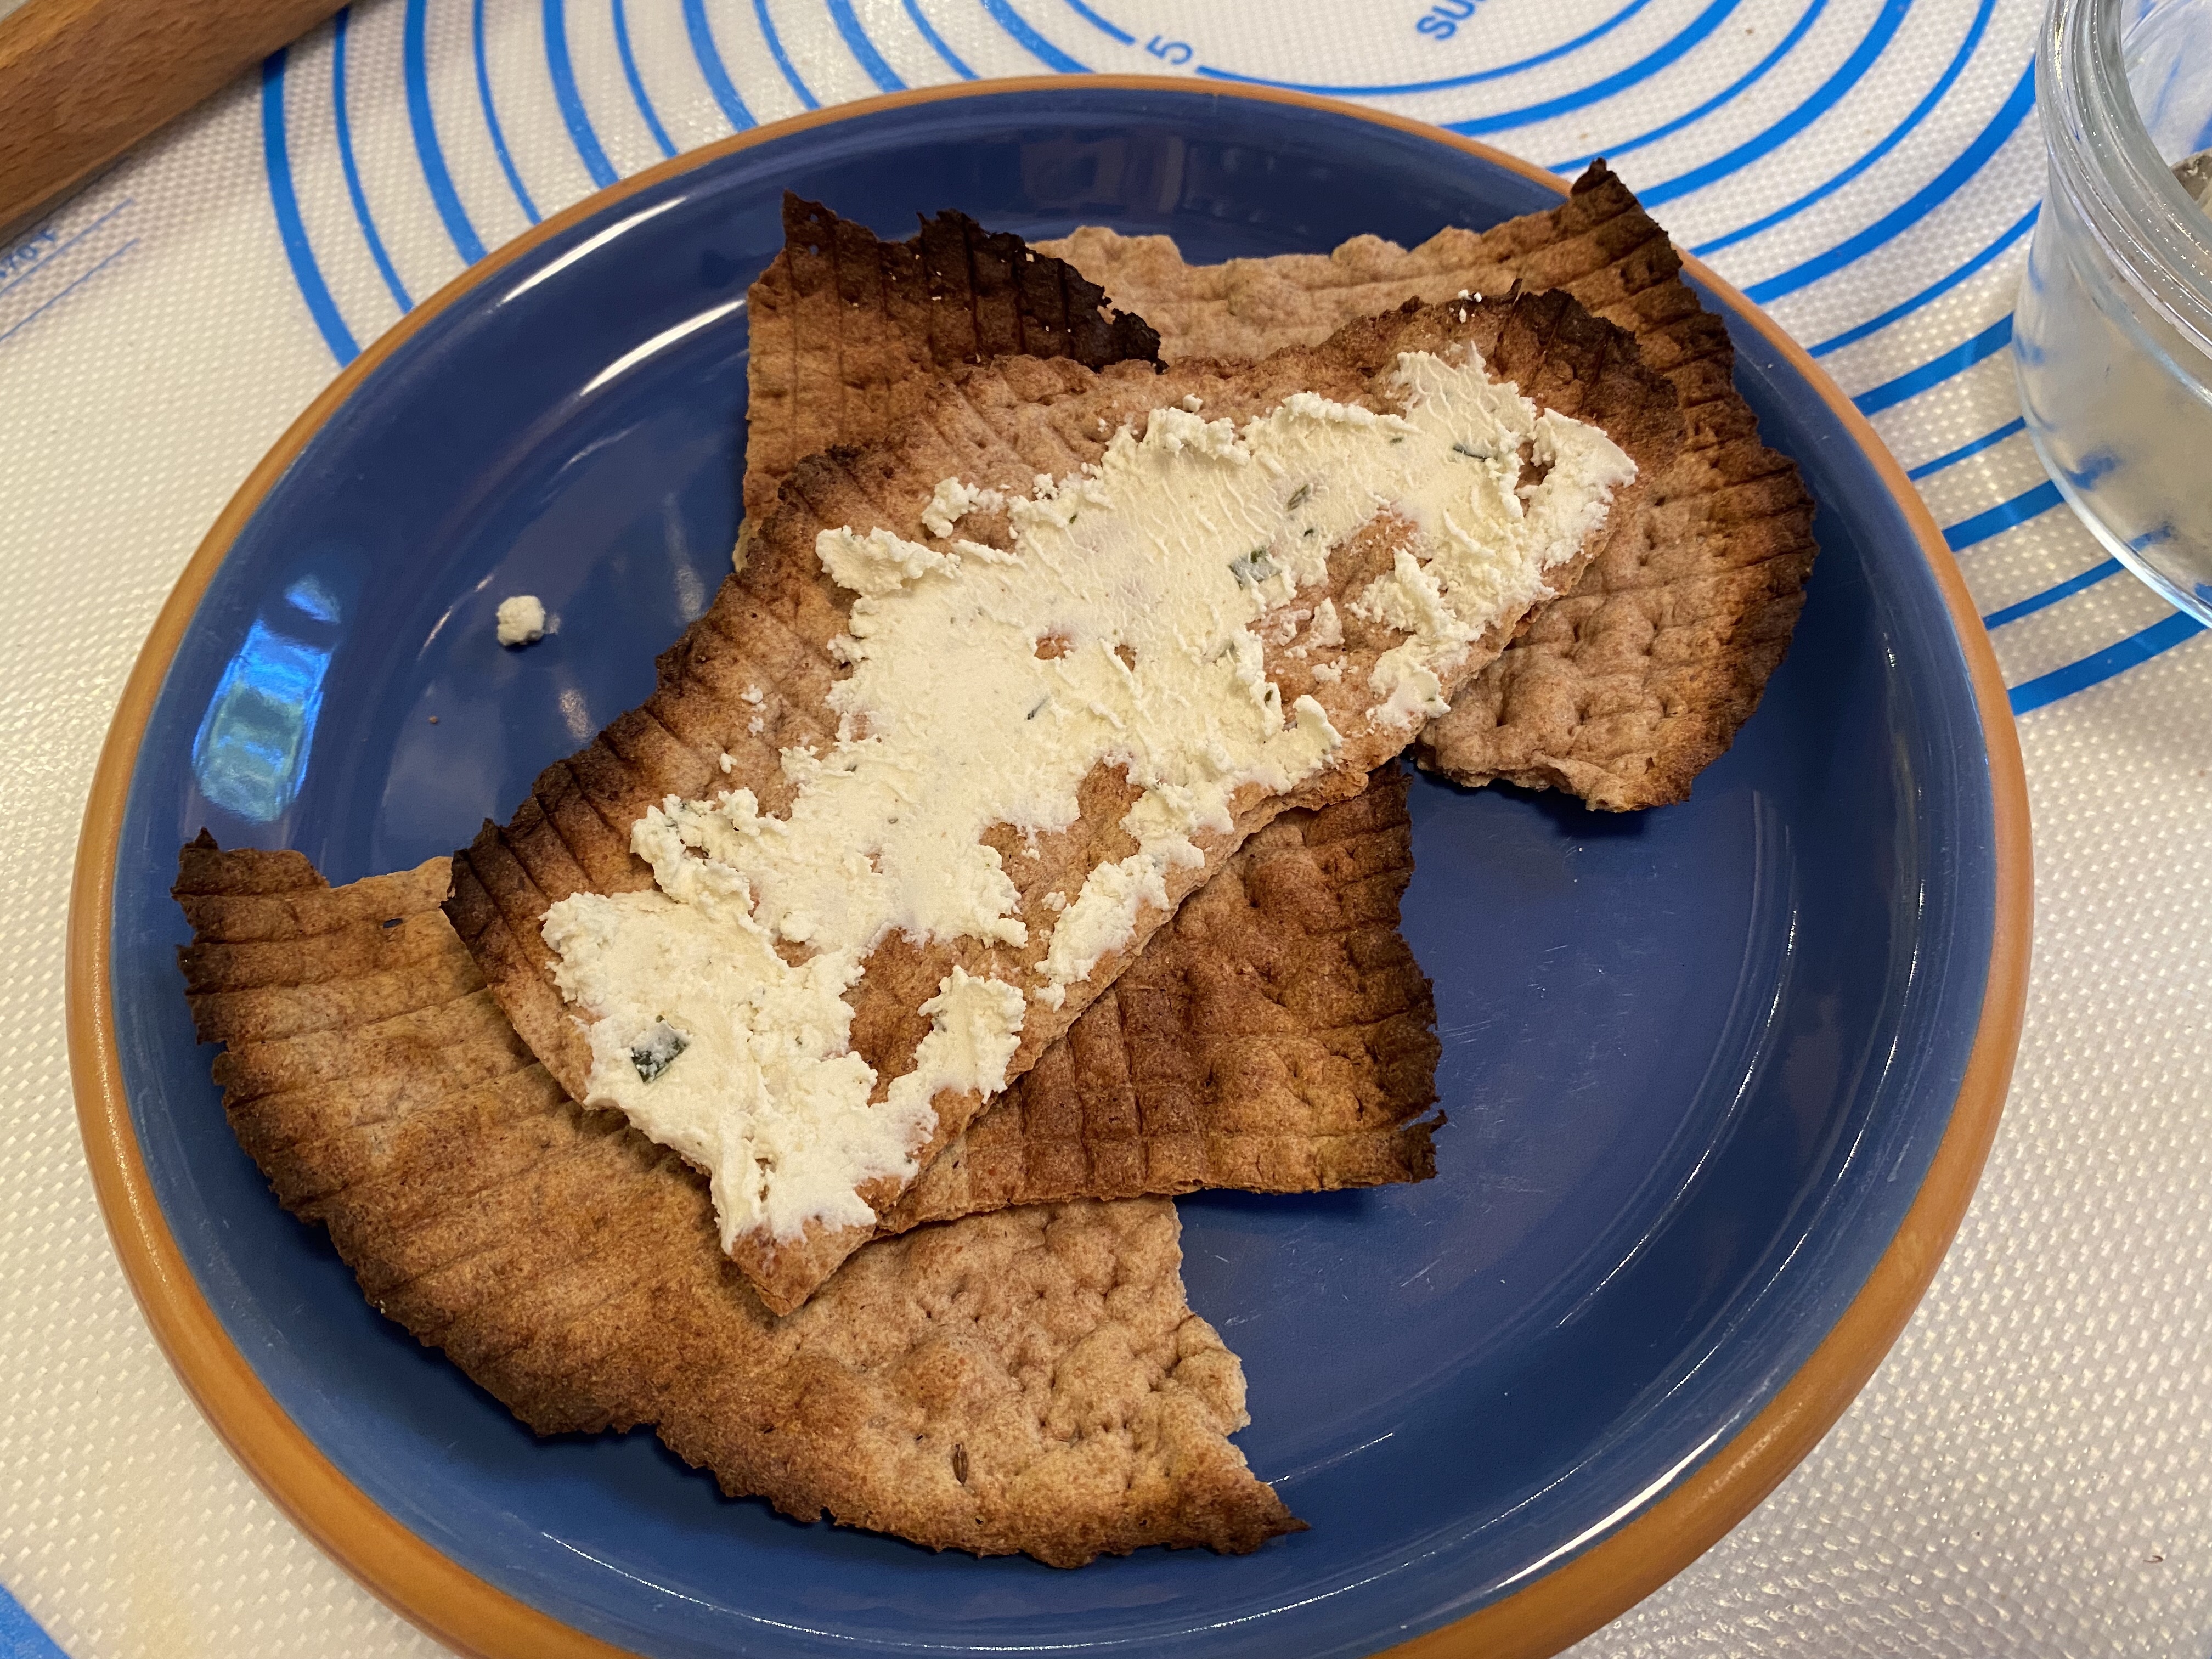
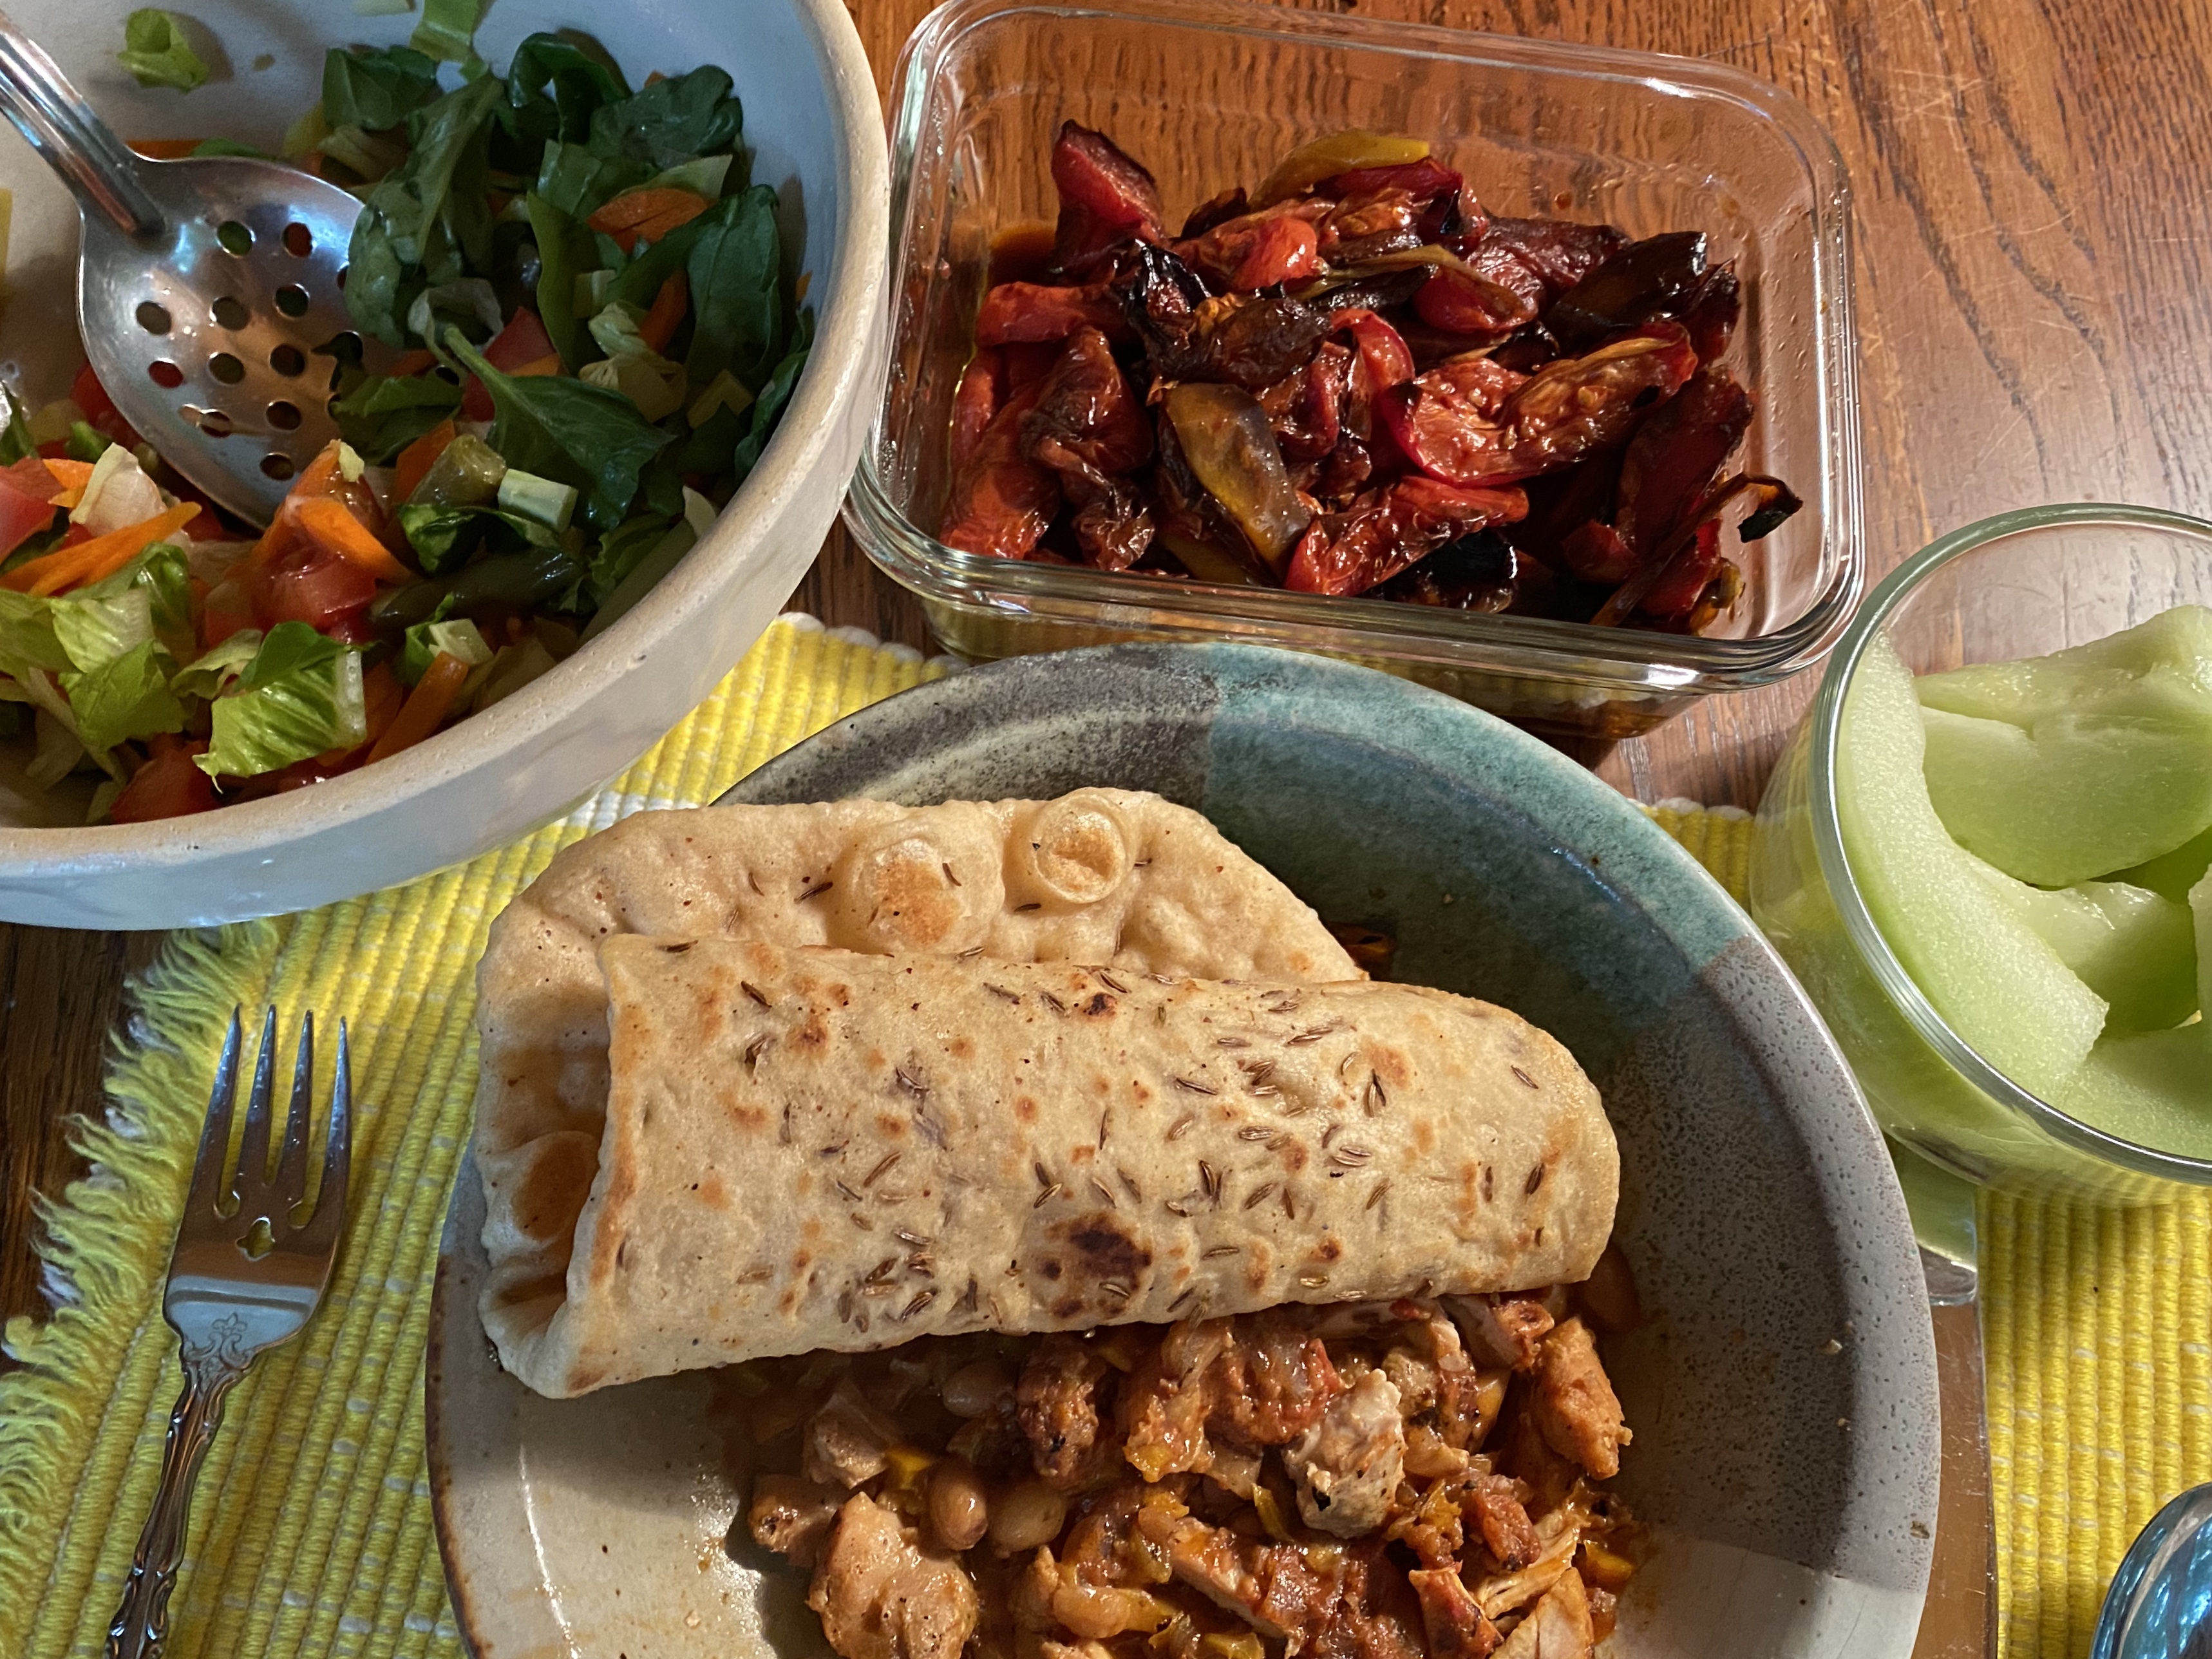
Aparna (My Diverse Kitchen) very kindly invited us round her kitchen table this month to bring us a love story and a bread to fall in love with.  She hoped to find a different bread, a challenging bread and a fun bread for us to bake.  In my book she succeeded in spades.  This is one of those breads I think you will find an endless number of ways to top it and I think it can be one of those stellar breads to use for special times.  These breads are cracker like – they benefit immensely by crisping  them up in the oven before serving.  We’ve been invited to friends for Thanksgiving and I’m thinking these might be a perfect little bite to take with a smoked salmon spread.
Now … about that mawa … did you really hear me whaling … yes, that was me.  No stove top, no hot plate.  I tried the slow cooker … didn’t taste bad but it was so dark and all the babes were getting this lovely light yellow creamy color, I just couldn’t use what I took out of the crock pot.  The substitution that seemed most likely was ricotta cheese.
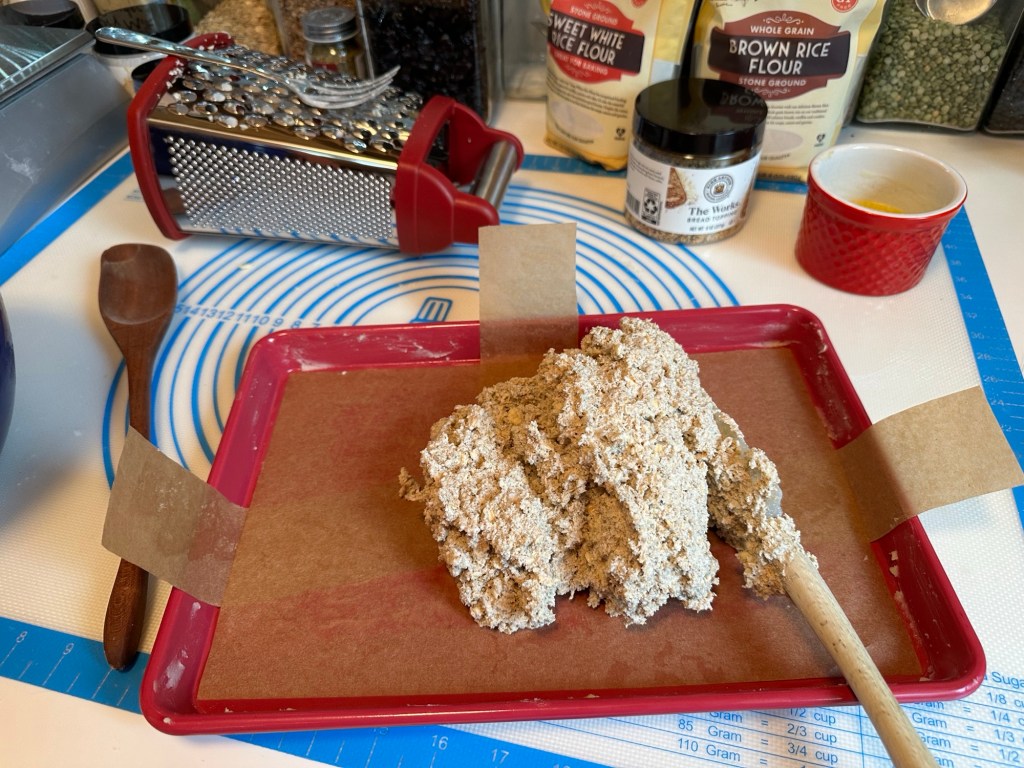
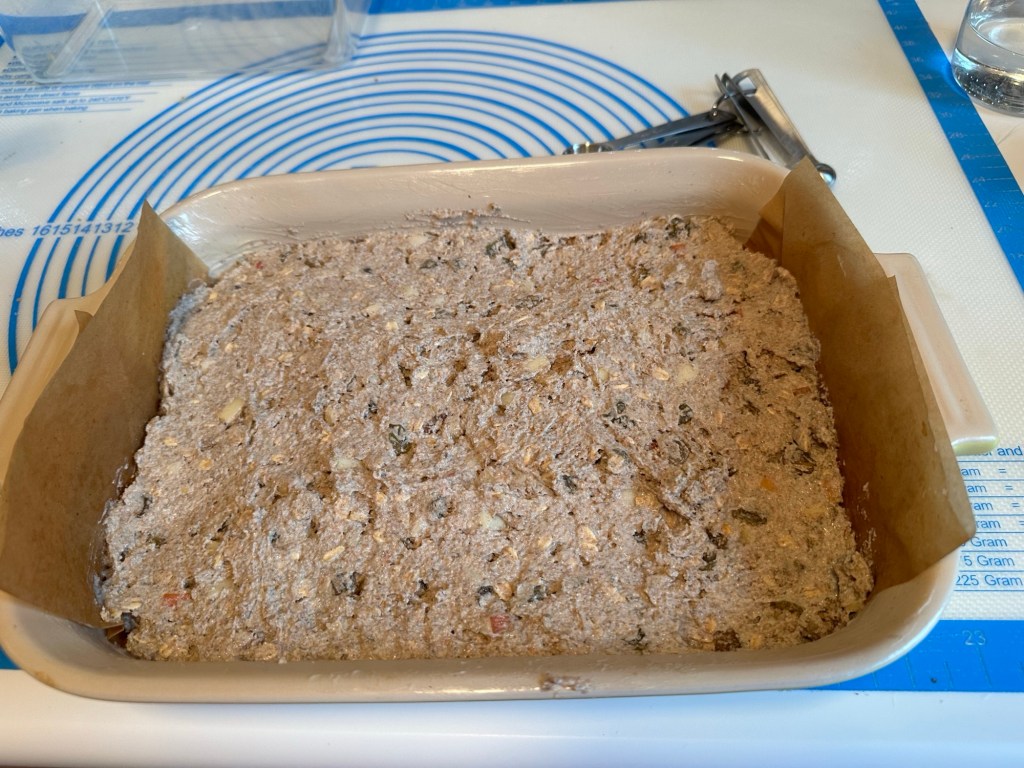
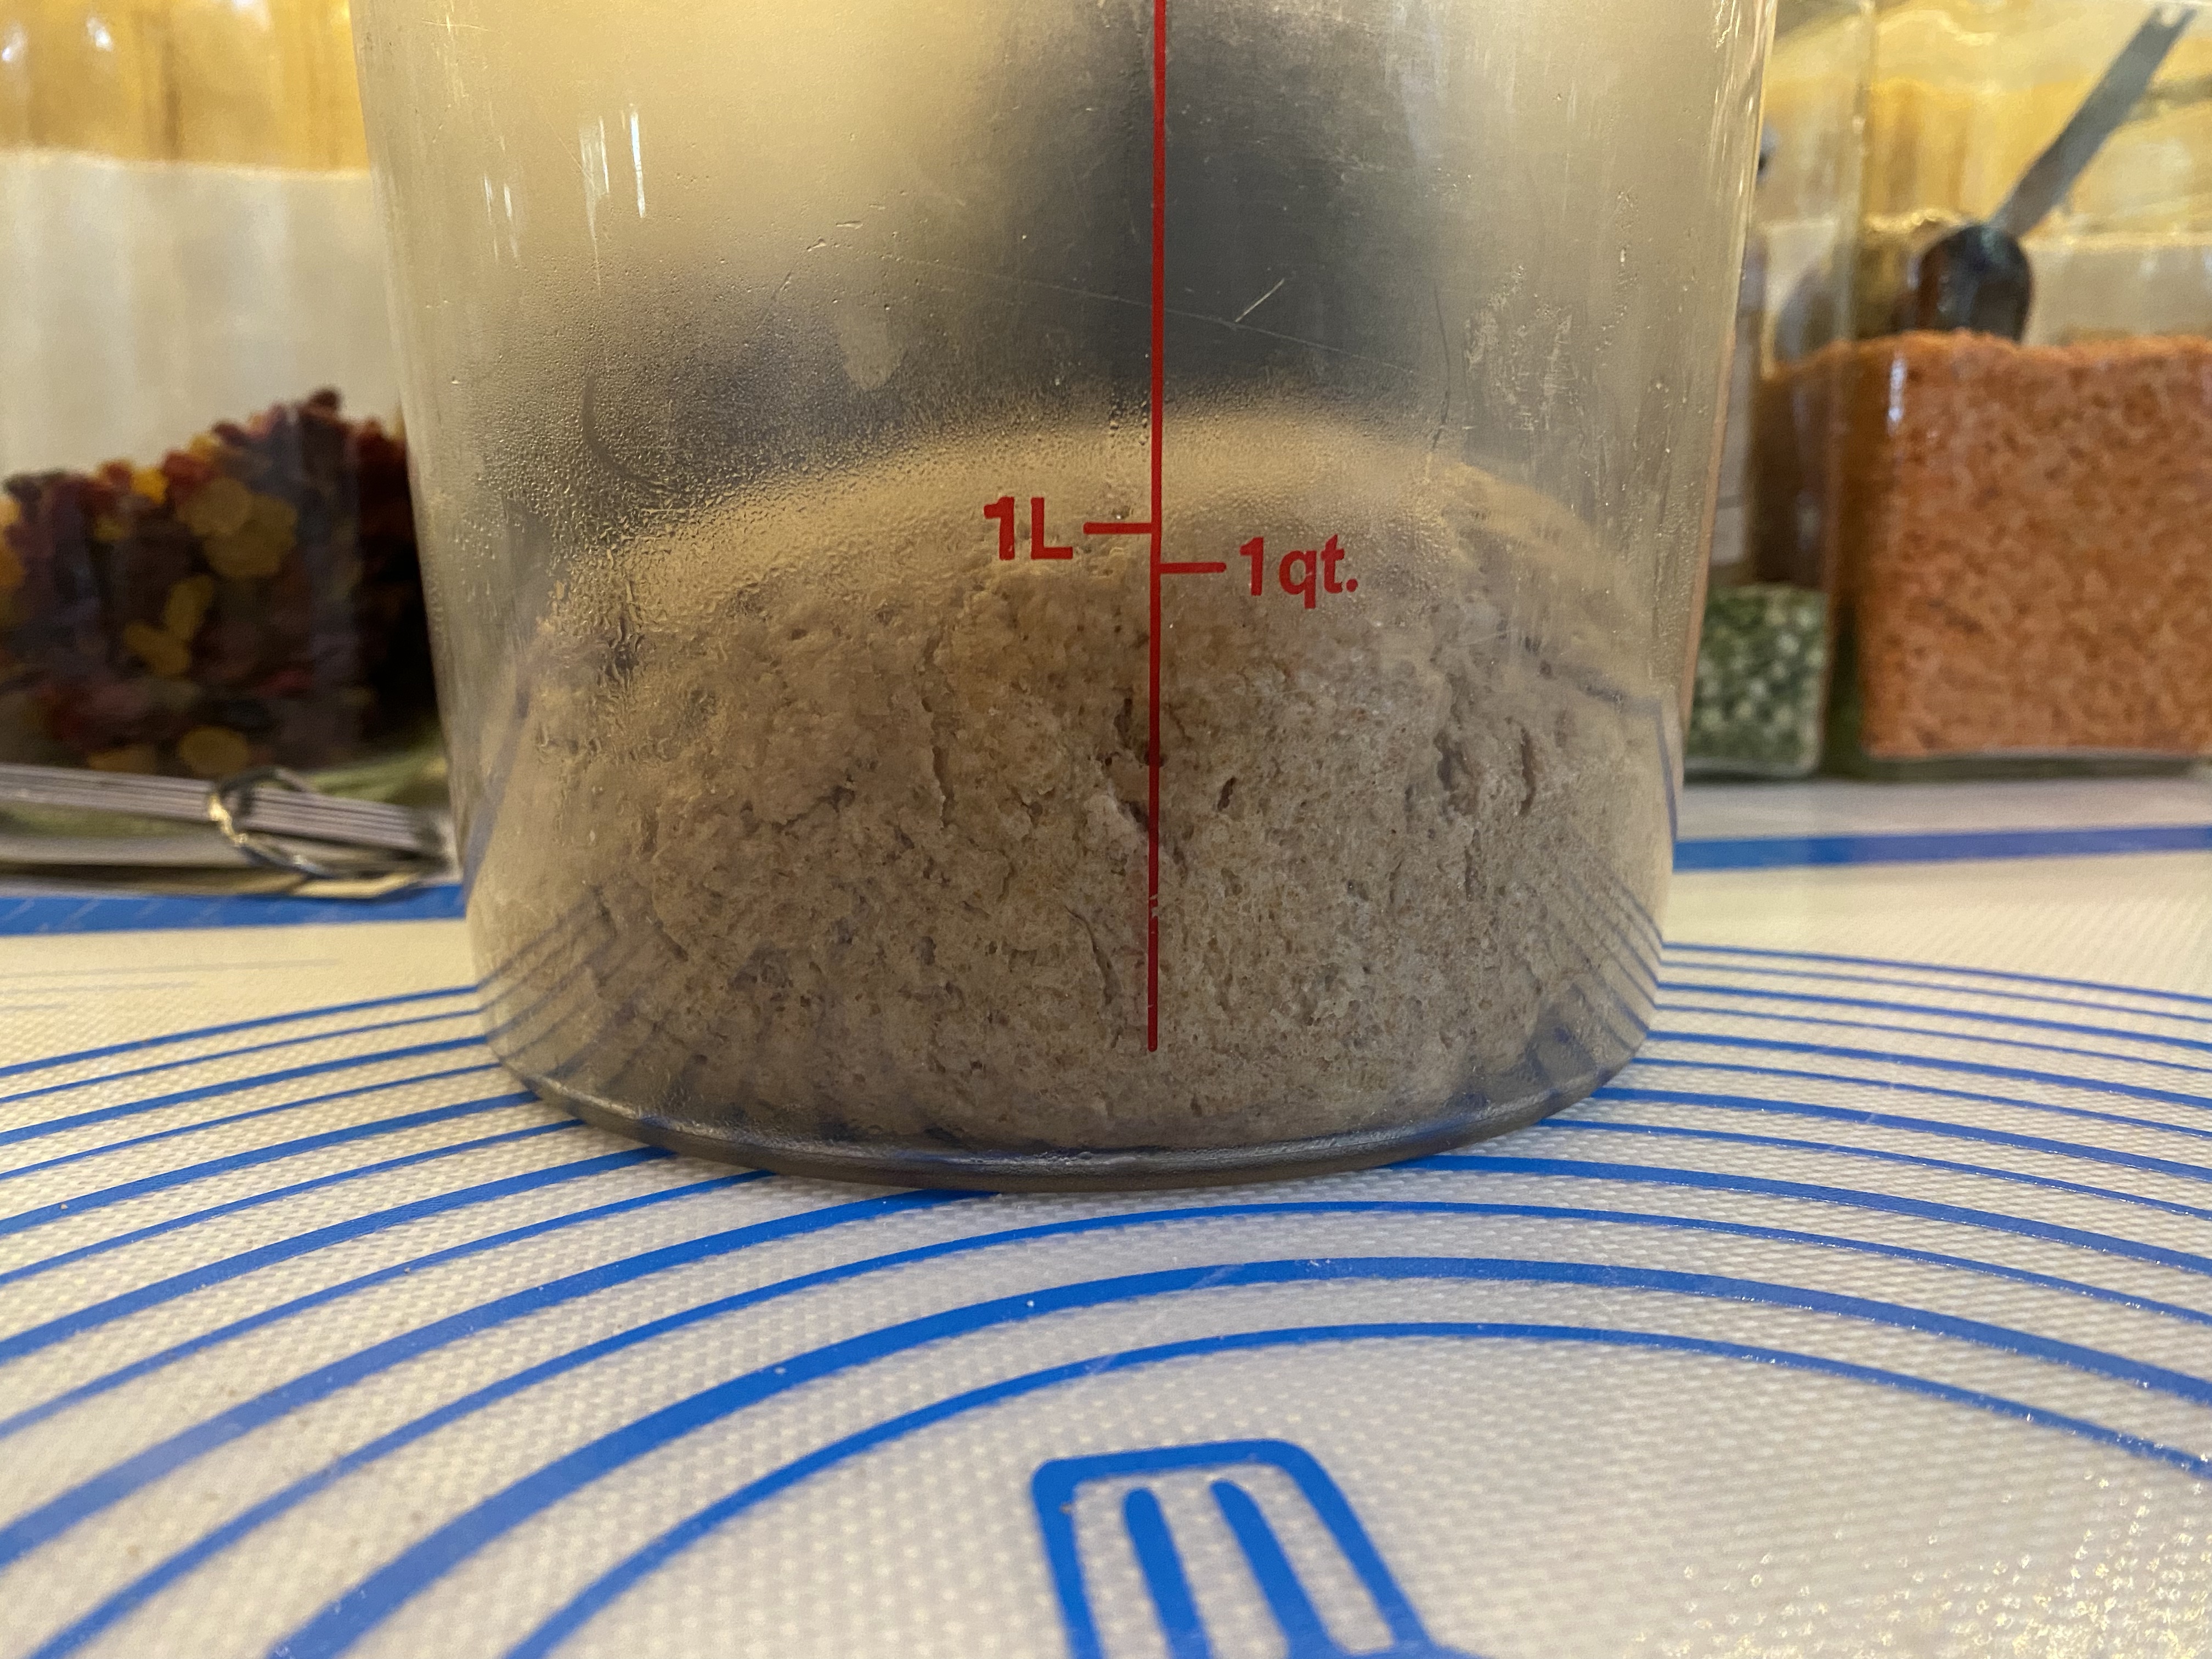
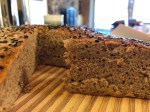
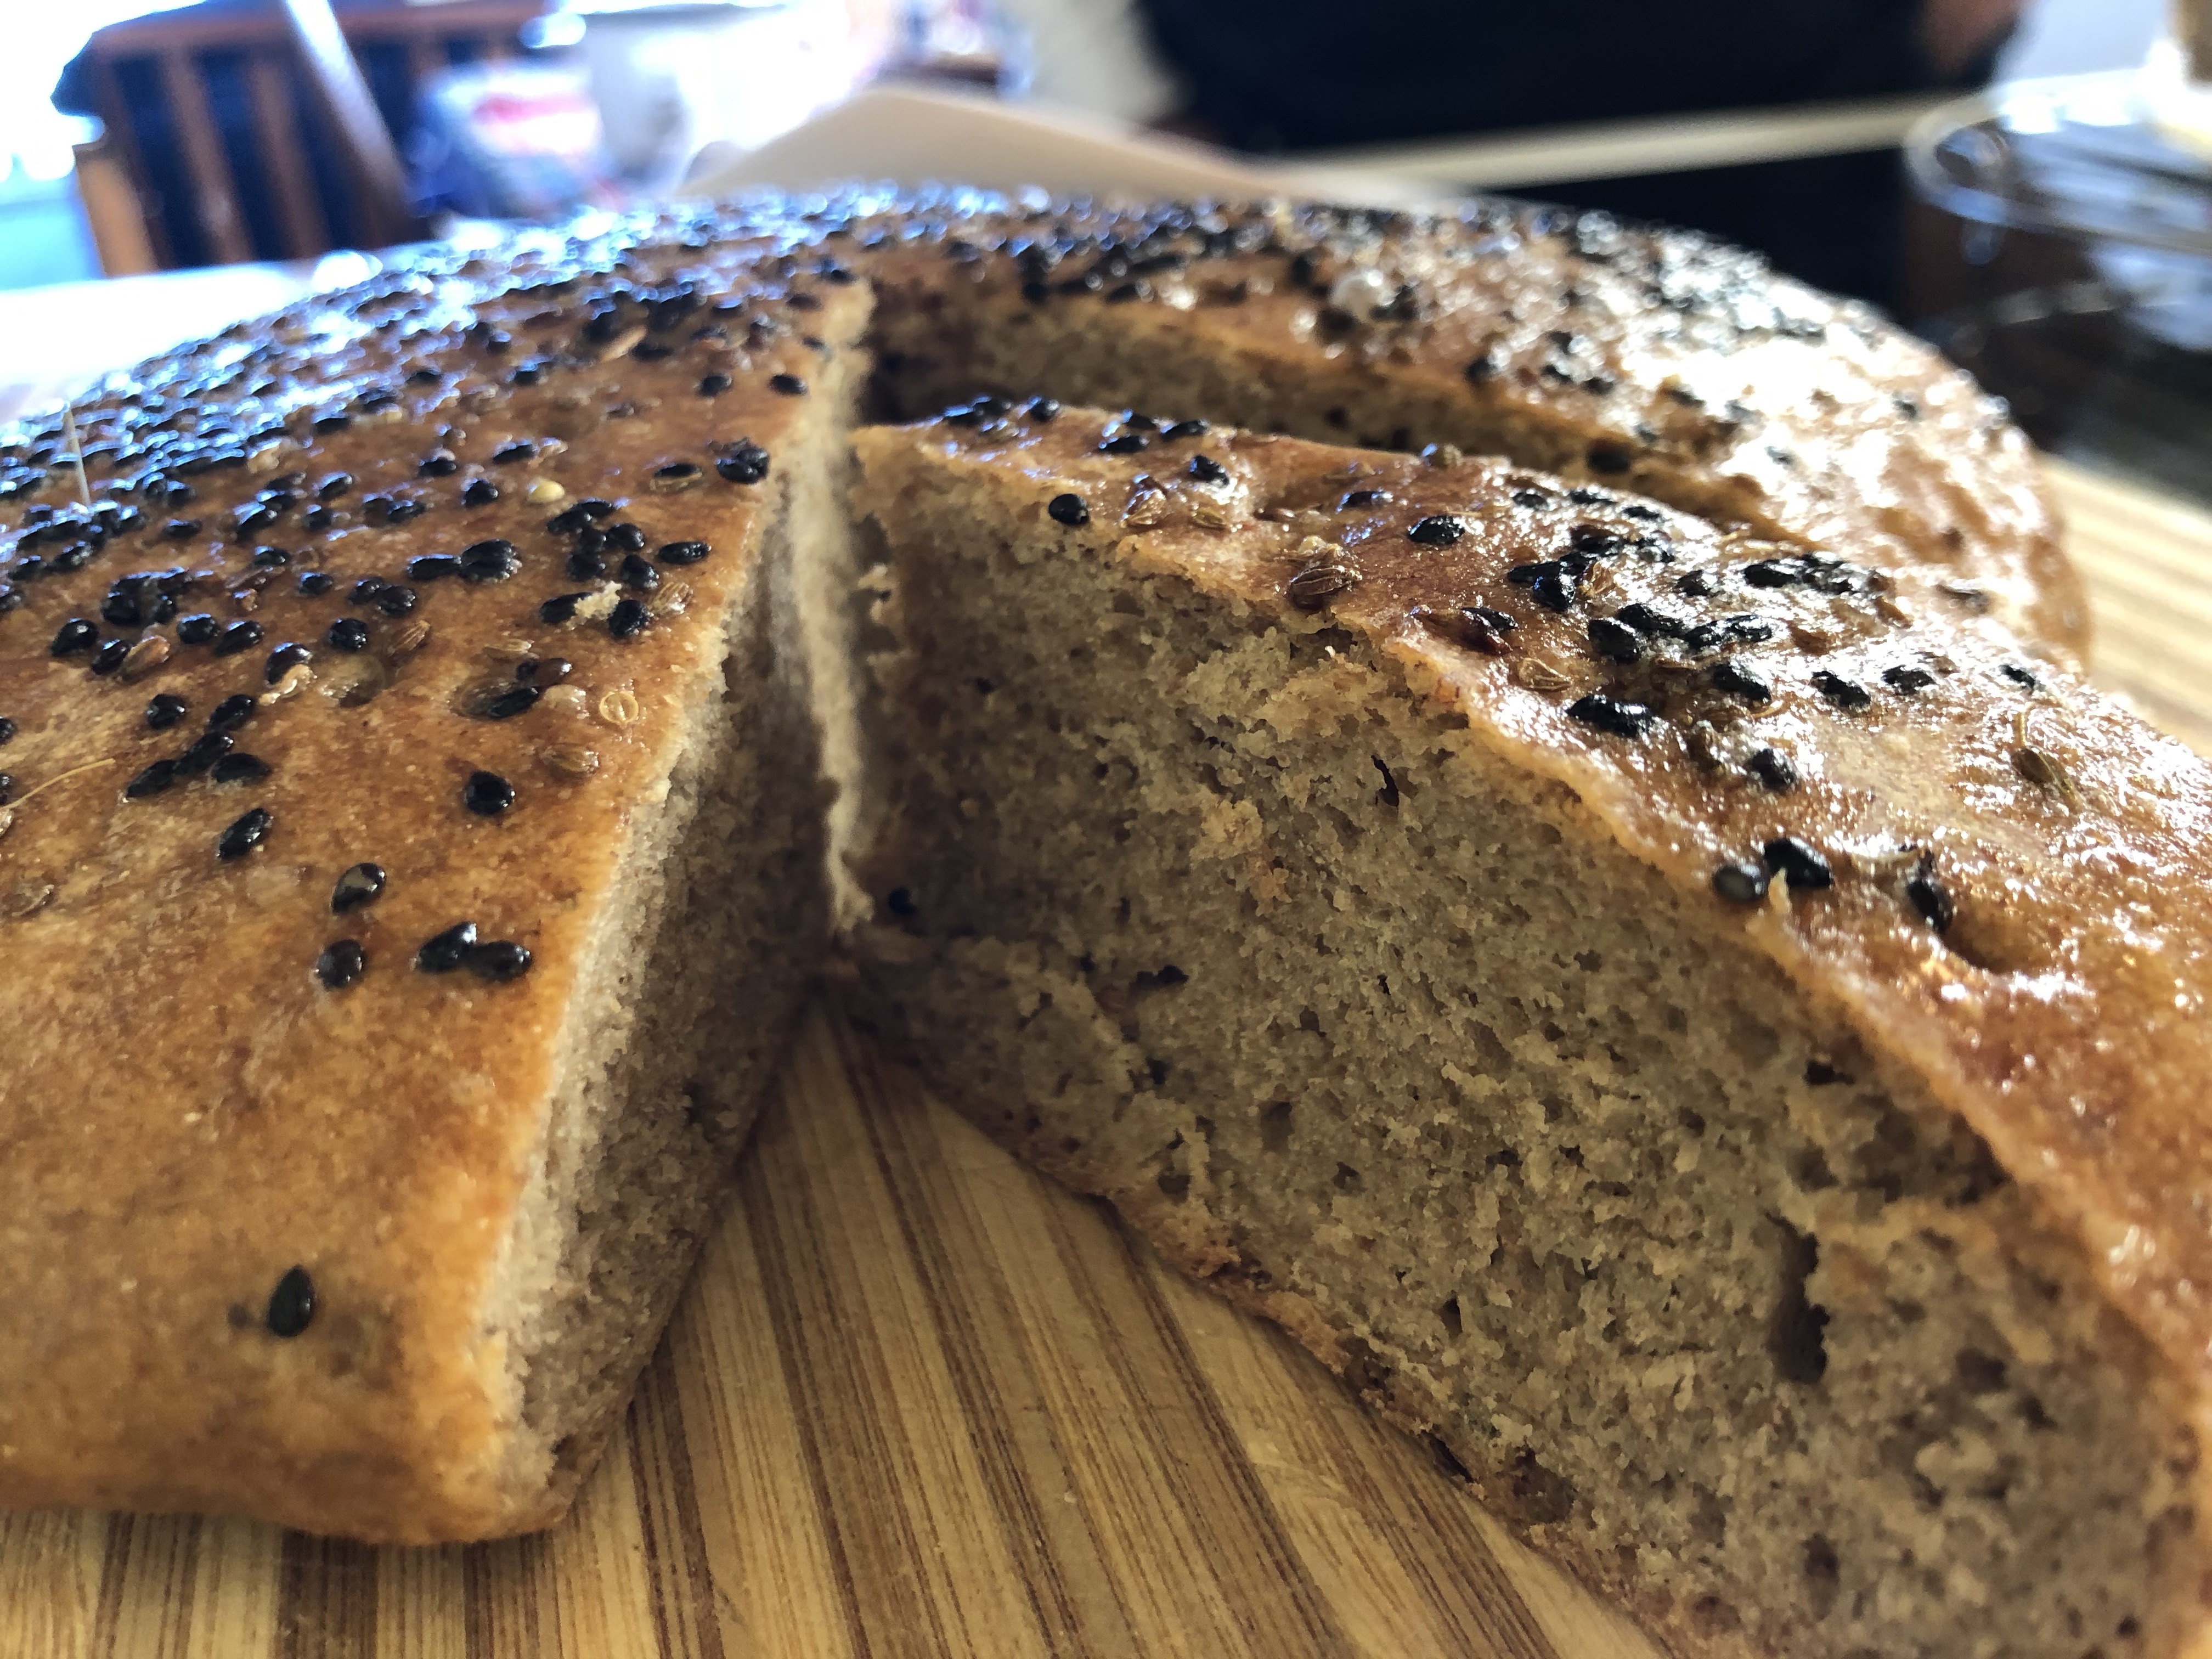
You will see I used all whole grain/wheat in this recipe.  The only white I used was when I dusted the rolled out dough and put on the ghee.  Yeah, I even added my trademark ground flax seed meal.  I used all the liquid called for … and I changed the water to milk.  Why?  Why milk? I don’t really have an answer, it just seemed the right thing to do.  Because I used the whole grain and the flax, I mixed this dough up the night before to allow all the whole grain to hydrate with the idea this would keep the bread from being dry.
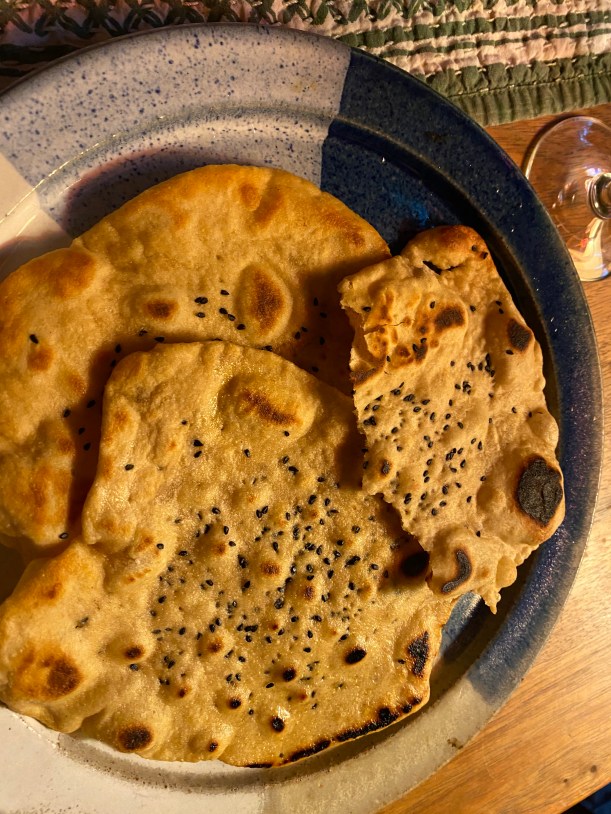
These create a wonderfully buttery aroma coming out of the oven.  Easily a welcome aroma around holidays.

Dhakai Bakharkhani/ Baqeerkhani (Crisp Flatbreads from Dhaka, Bangladesh)

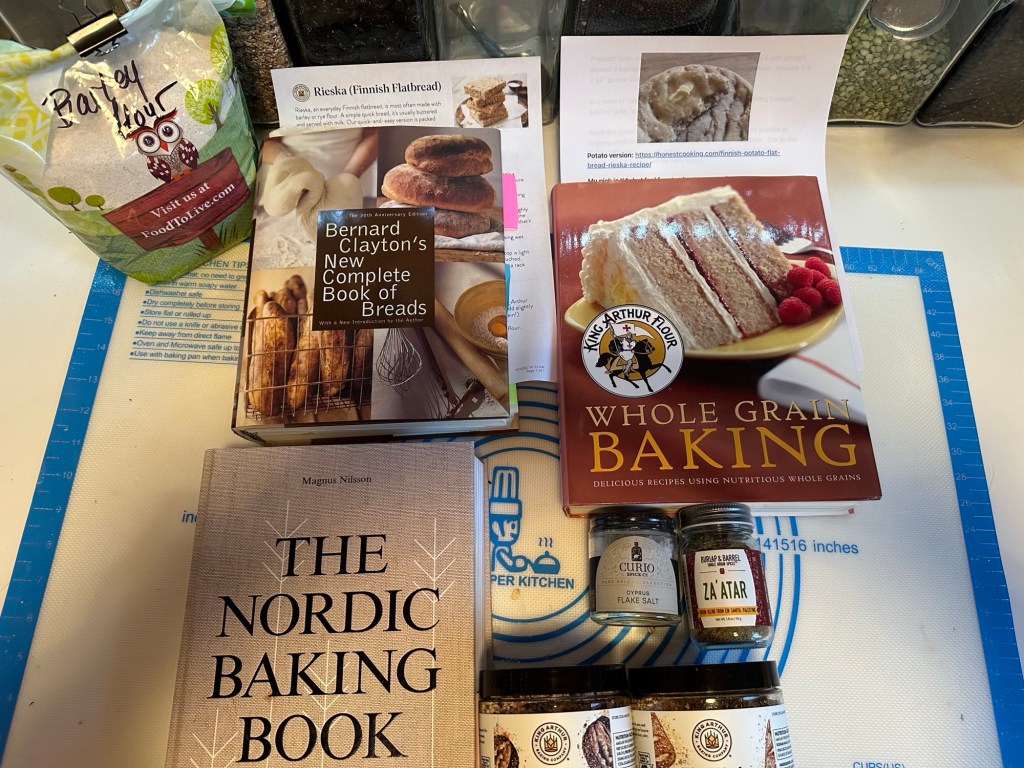
Recipe By: Aprana:  Adapted from Honest Cooking ( )

For the mawa/ khoya:
1 litre full fat milk (2% will also do) – makes approximately 3/4 to 1 cup mava
For the Bakharkhani:
170 grams white whole wheat flour, (plus a little more for rolling it out the dough)
135 grams sprouted whole wheat flour
1/4 cup mawa, substituted ricotta cheese
1/4 cup ghee* (plus a little more for spreading on the dough while rolling it out)
1/4 teaspoon salt
10 grams brown sugar
2/3 cups skim milk (a little less or more if needed)
Sesame seeds, to sprinkle (optional)
walnuts , chopped

IMG_7462

1. *ghee is nothing but clarified butter and should be available readymade in Indian stores. It is quite easy to make your own at home. Since you are making the effort you can make a little extra and store the rest for later use. Ghee can be stored at room temperature and keeps for a while.
Melt 500gm of unsalted butter and let it cook until the milk solids in the butter start turning golden brown (do not burn them) and the liquid fat is a golden color. You should get a rich aroma from it.
Let it cool to room temperature and then decant or strain the golden liquid into an airtight jar.
I managed this very easily (carefully monitored) in the microwave.

2. Make the mawa/ khoya:

Pour the milk into a heavy bottomed saucepan, preferably a non-stick one. Bring the milk to a boil, stirring it on and off, making sure it doesn’t stick to the bottom.

Turn down the heat to medium and keep cooking the milk until reduces to about a quarter of its original volume. This should take about an hour to an hour and a half.  The important thing during this process is to watch the milk and stir it frequently to make sure it doesn’t stick to the sides or bottom of the pan and get burnt. The danger of this happening increases as the milk reduces and gets thicker.

Once the milk it has reduced to about one fourth, 1/4 quantity, lower the heat to low and let cook for a little while longer. Keep stirring regularly, until the milk solids (mawa) take on a lumpy appearance.  There should be no visible liquid left in the pan, but the mawa should be a bit moist and not stick to the sides of the pan.

Let it cool. Once it has cooled, it should still be a little moist but you should be able to crumble it.

Make it in a crock pot:
http://www.indiacurry.com/dairy/khoyaslowcooker.htm

1. On stove top or in a microwave oven heat milk between 180ºF to 190ºF.
2. While heating milk, put about 2 quarts of water in the slow cooker, cover with lid and turn it high for 20 minutes. You are basically preheating the the insert, so that it will not crack.
3. When the milk has reached, the 180ºF, drain the water out of the slow cooker insert. Transfer the hot milk to the insert.
4. Cover the insert with the lid, leaving about 1″ crack. This will allow the steam to escape during evaporation. Turn the cooker to ‘Low’
5. Every 30 minutes or so, stir scraping the sides and the bottom. In about three hours, you should have about 5 cups of Chikna Khoya.

3. Making the Bhakarkhani:

In a large bowl,  put the flour, salt and sugar into a large bowl. Crumble the mawa into it and mix in. Then add the ghee and use your fingers to rub it into the flour.   Add the water, a little at a time, and knead well until you have a smooth and elastic dough that can be rolled out very thin.

Please see this video to get an idea of how the dough is rolled out, layered with ghee and flour and folded. The language in the video is Bangla but the visual is quite descriptive. (http://www.youtube.com/watch?v=eyiOLuJywHQ )

4. Cover the bowl with cling wrap or a damp kitchen towel to prevent it from drying. Let it rest for about 30 minutes to an hour. Then lightly coat the dough and then let it rest for another 10 to 15 minutes.

Preheat oven to 170C (325F).

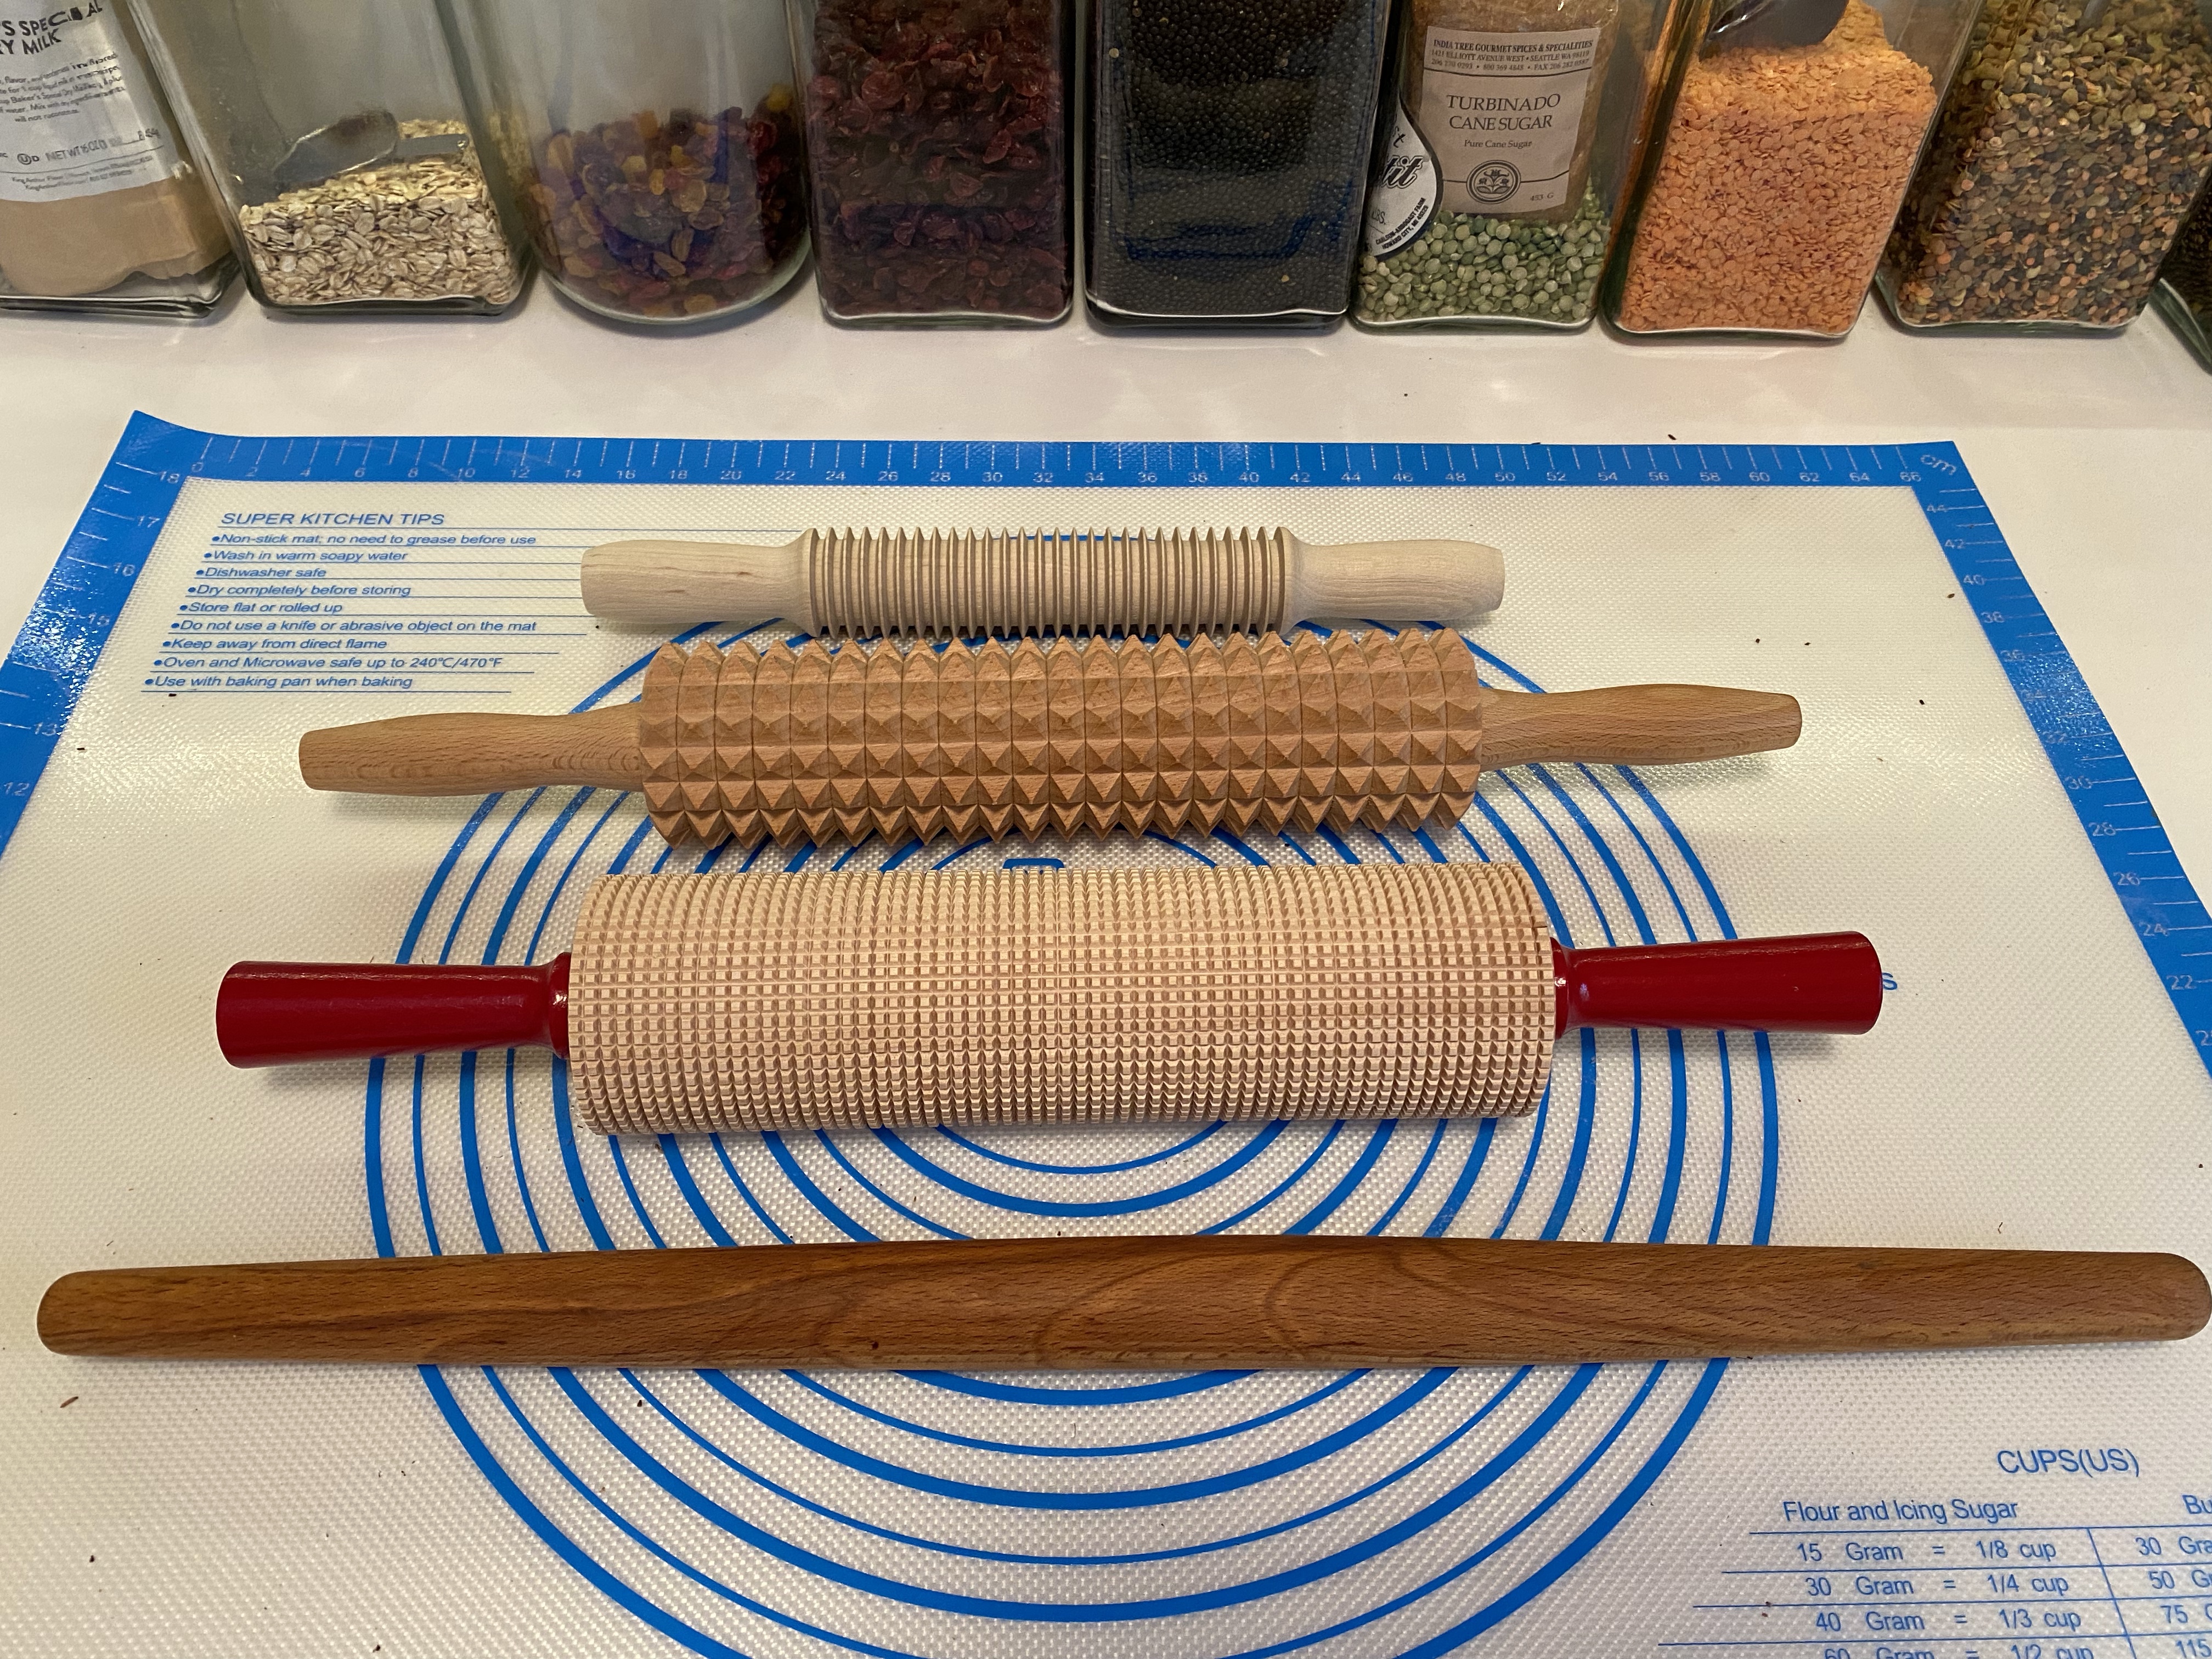
5. Lightly coat your rolling pin and board (or your working surface) with some ghee.
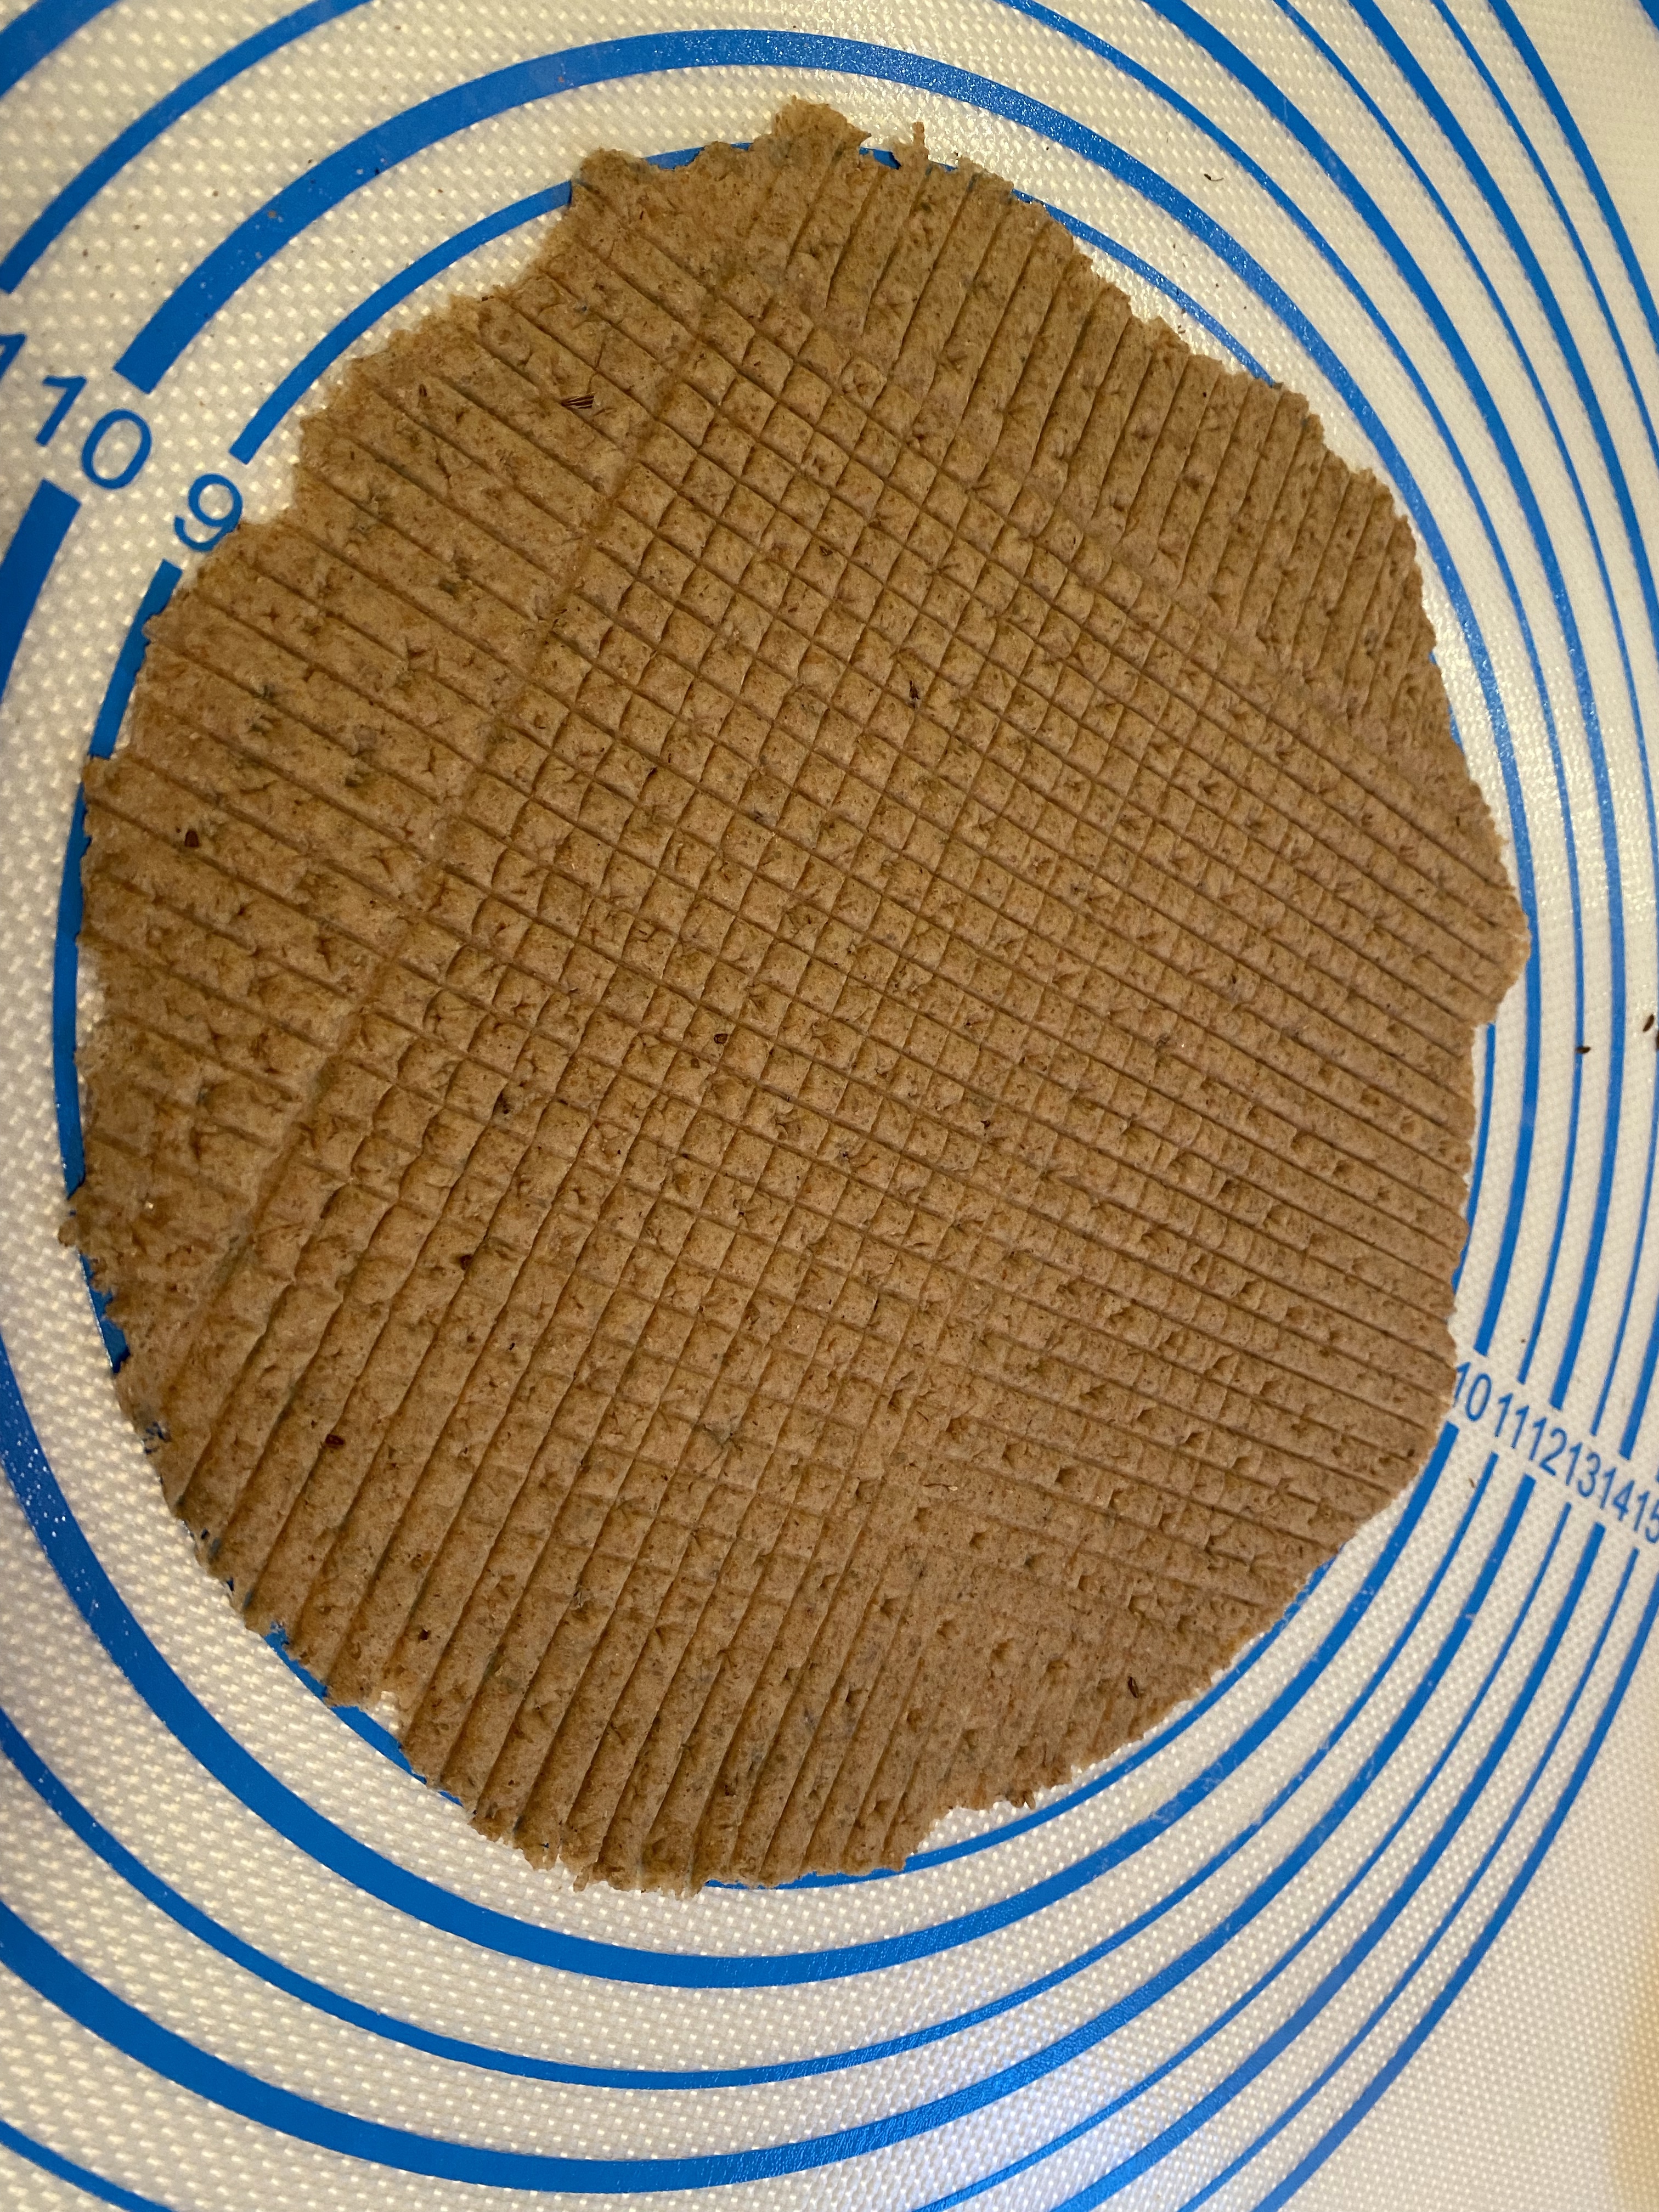
Now divide the dough into two portions, working with one portion at a time. Roll out one portion of the dough as thin as possible into a rectangle, without adding any flour. It should be thin enough for you to see your work surface through the rolled out dough!

Brush some ghee (not too much) all over the surface of the rolled out dough with your fingers. Sprinkle some flour evenly over this, enough so that the ghee is absorbed when spread out. The flour layer should be thin. Brush some more ghee, again, over this and then sprinkle some flour over this like previously.

Fold the dough into half and once again repeat the process of brushing the ghee and sprinkling the flour over this twice, as before. Fold the dough for the second time (see the video) and repeat the brushing with ghee and flouring, twice.

Now roll up the dough into a long cylinder and let it rest for about 10 minutes.

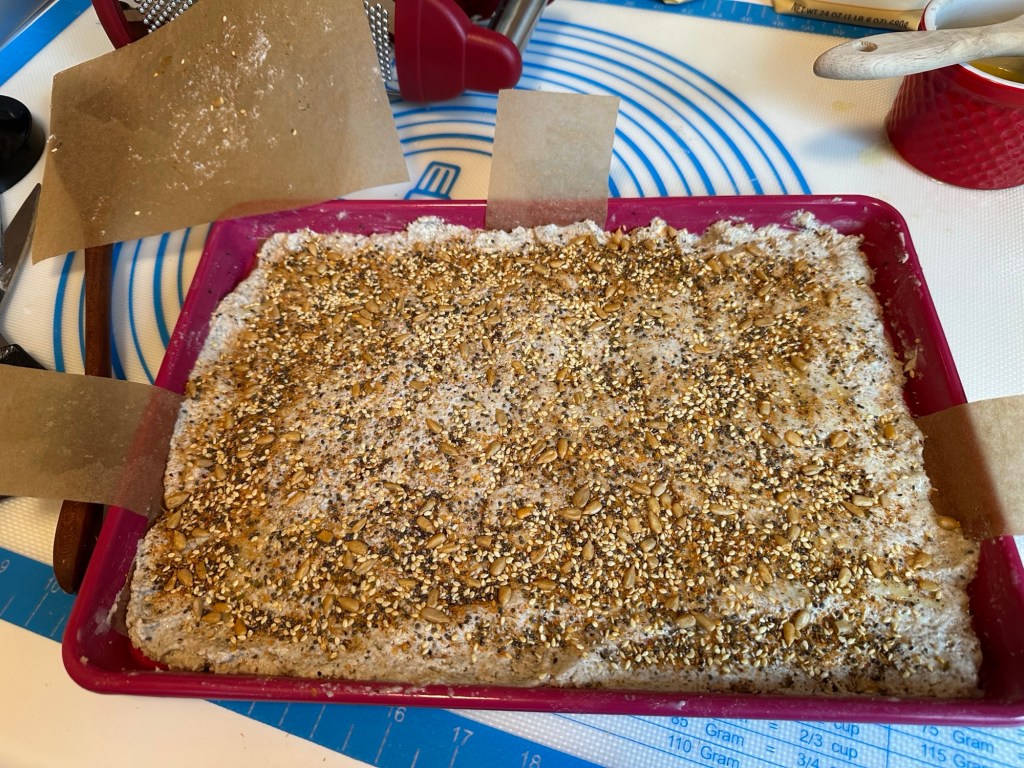
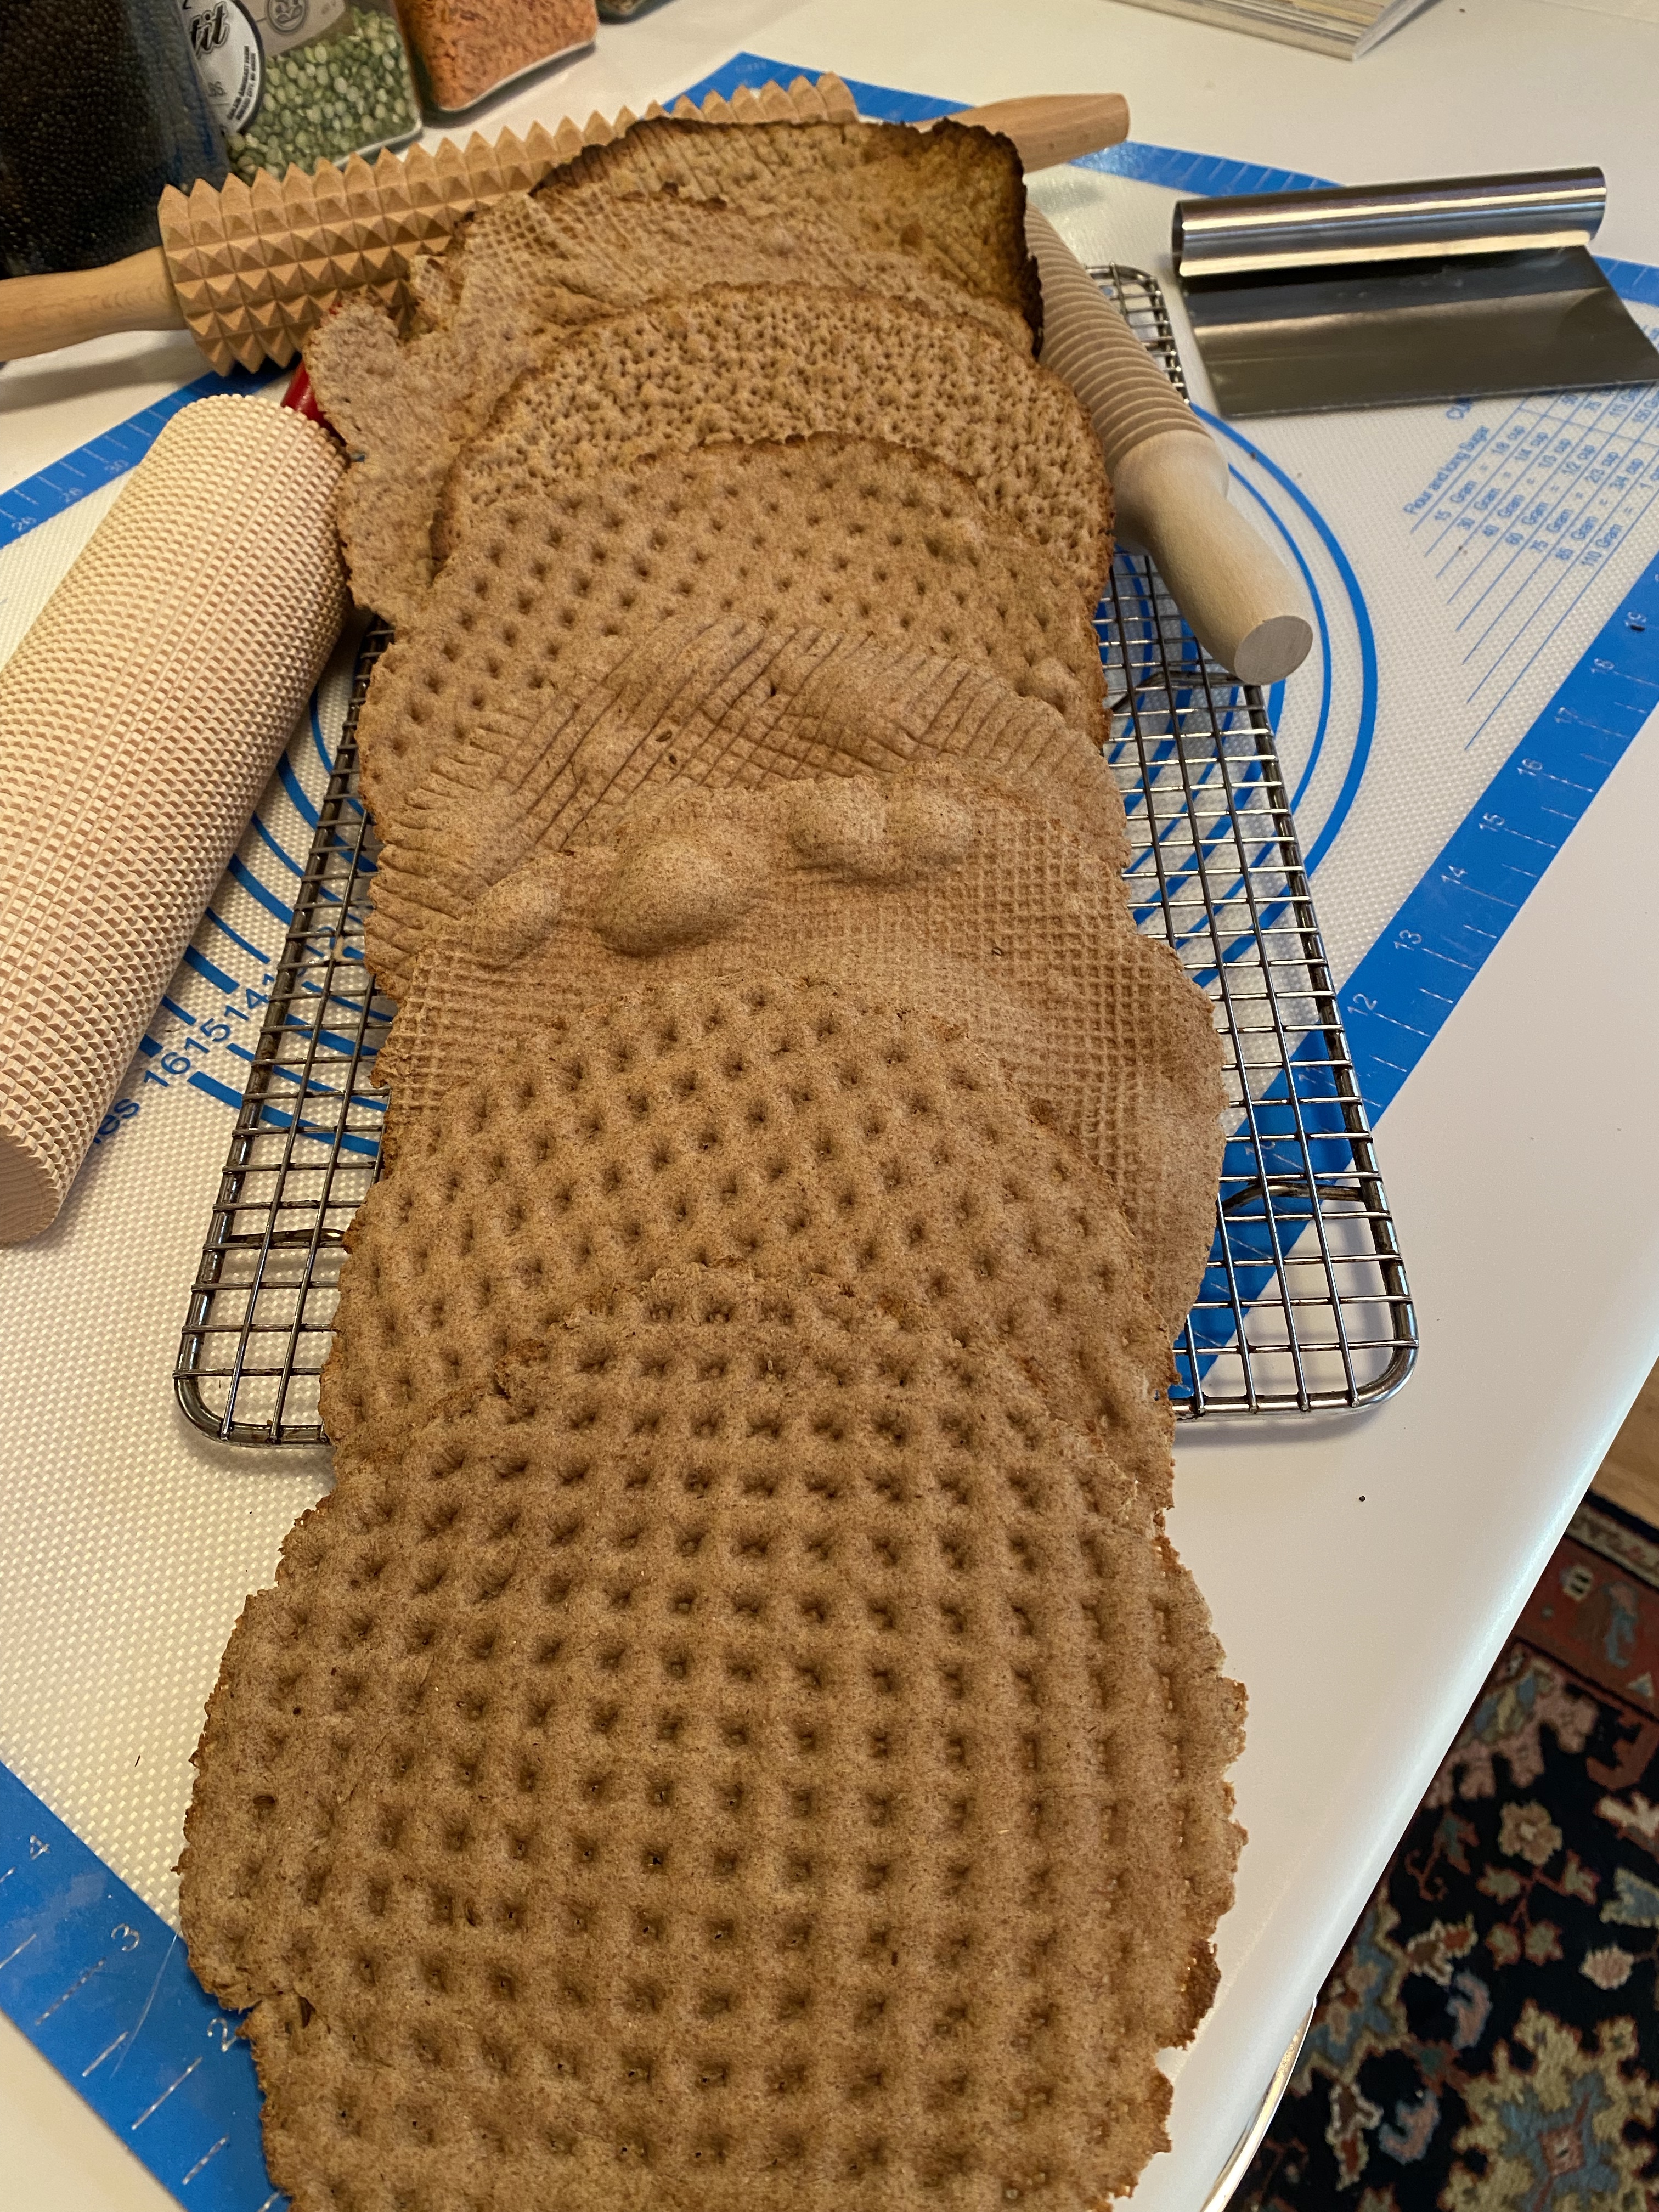
6. Pinch off lemon sized balls and roll each one into a small, round flatbread. Sprinkle sesame seeds (optional) and lightly press into the dough. Make three cuts on each flatbread using a knife. Place on parchment lined baking sheets and bake for about 20 to 25 minutes or until they’re light brown on top. Do not over bake.

7.
Let them cool and serve with coffee or tea.

So you’ve read the recipe and you’re shaking your head thinking “that’s beyond me.  I tell you it’s not.  Really, go for the ricotta like I did if you want to really cheat – but all reports are if you have a stove top and use your widest pan to create the largest evaporative surface area for the mawa.  Watch the rolling out video – I watched it once and then just winged it. This will work for you and you’ll  have a wonderful rich, crisp flatbread under your belt, your kitchen will smell devine and somebody may even love you as much as Aga Bakar loved his mate (you did read the love story on Aprana’s blog didn’t you?).  Well, go read it and bake this bread.

To Join Us and become a Bread Baking Buddy, bake some Bakharkhani and post it on your blog before the 28th of this month or on our Facebook page.  Make sure you mention Bread Baking Babes and link to Aprana’s post in your post.
Then e-mail Aparna at aparna(at)mydiversekitchen(dot)com with a link to your Bakharkhani post and a photo of your bread that is a 500px wide.  Subject line should read “Bread Baking Buddies”.  Aprana will send you a badge to add to your post and she’ll include you in her round up at the end of this month.
Get baking!

 IMG_7469