The Bread Baking Babes have a cloudy past. You have your choice as to where and who all the histrionics originated with. There could be some case made that it started with Karen of BakeMyDay. There could be some case made that it started with Ilva. And there could be some case made that Ilva put a name to it while we were baking a Daring Baker challenge over what was then Skype. Out of those clouds the Babes emerged. We’re Beautiful, Boisterous, Brilliant, Bold, Buxom, Busy, Bewitching, Brash, Bourbon Basted, Bread Baking Babes, that’s 12 B’s. And, as you know, B-12 is one of the essential nutrients that’s found in….bread! (I believe Lynn put those altogether for us.) We’ve rallied at the opportunity to be called Babes. I mean, when you get to be my age, you never pass up an opportunity to be called Babe!

That’s how my first post for this bread started 10 years ago. And since then? We have been baking, oh Babe have we been baking! This month’s recipe was chosen by Karen from BakeMyDay 10 year ago. I believe Lien is the only Babe to have managed every bread we’ve bake, one every month. Yes, even I think I can do the simple math on that one 10 years times 12 months gives you 120 loaves of bread. I’ve missed several but I’ve tried not to count. Even so, it’s a lot of bread but the fun has been so much more than the bread. I’ve loved every minute AND I’ve loved ever Babe.

Over those 10 years, we’ve all baked a LOT of bread. A number of Babes have retired for many and varied reasons. But, once a Babe always a Babe.
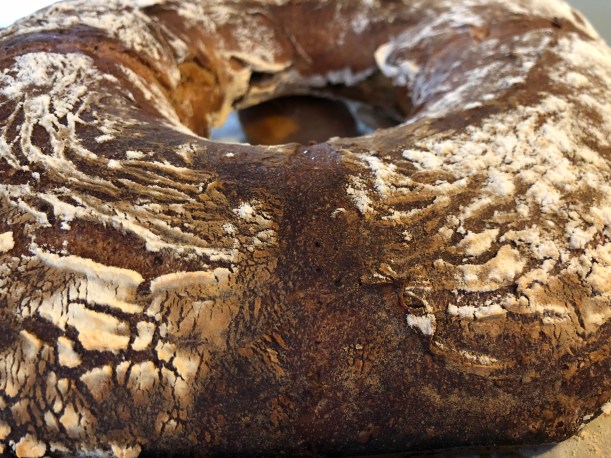
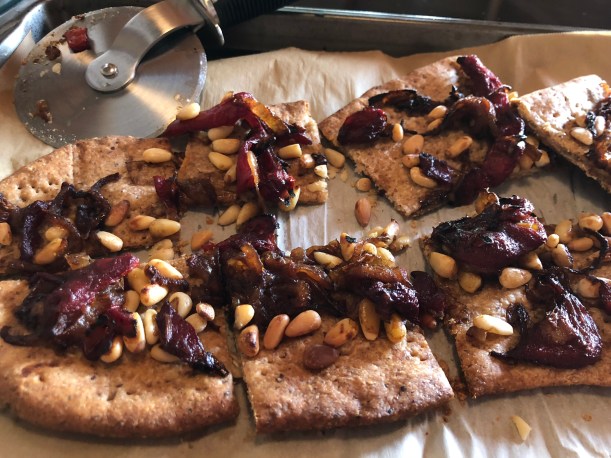
Karen, golly wow 10 years, so many breads, so many good times. This bread was a stunner to me 10 years ago and it’s still a thrill to take it out of the oven. Many folds, LONG rises but so glorious. Thank You so many times for so Much. Check out Karen’s BakeMyDay for the recipe write up because I’m not going to put it up here just right yet.
Lien, gracious what can I say. You are a wonder. 120 breads and all our badges for Babes and Buddies. Never forget. You can retire, take a break BUT: Once a Babe, Always a Babe. Thank you for everything.
I am so happy you baked again with us Sara. I understand entirely that the flour on the top matters not because this is just wonderful bread. It was a joy and stunning the first time around 10 years ago and is again every time I’ve baked. Yes, I loved that Dan’s Garlic as well!
Cathy. Awe struck I am. Yeast water and grows her own grains.
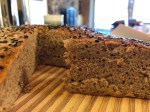
Karen yes we have two. Karen talks about being a newbie and this being a surprise. I agree this is always a glorious surprise when I take it out of the oven but you know by the holes in the crumb Karen is not a newbie, she’s a Babe.
Judy this bread wants/tries to be lazy but the oven seems to give it that oven spring go and you get those lovely holes! Babe Success.
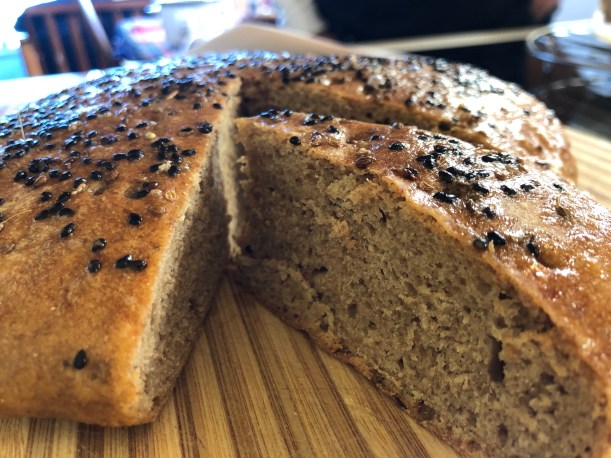
Elizabeth Truly for the Babes this has proven to be an iconic bread. I thought is thrilling the first time and then every time since taking it from my oven. Pinto Bean soup and this bread buttered, glorious breakfast! Really Elizabeth you were a Babe from the start and only became more so after the invite ;-). Glorious bread, lovely color. Wonderful times, glorious bread.
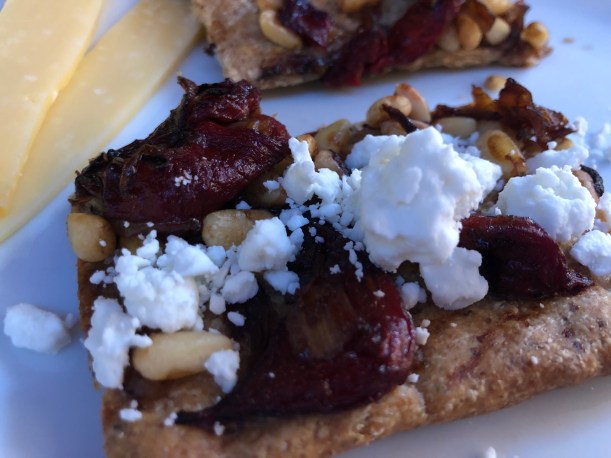
Pat Oh, Pat I love the anniversary photo with the dough streaking down. Your bread is glorious. Now I need another loaf to make avocado toast with! Super to have you with us Babe.
Kelly Only with us 2 years! Ha, from the looks of your bread it’s been forever and you did it without bread flour? Oh, only part Spelt and Kamut, more challenging flours. That’s definitely a Babe.
Aparna Great crown for our 10th! Difficult to know how different flours will behave until we try them all. I appreciate that only two to eat the breads is tricky, I found it much easier when there were more friends and family around to share.
The hardest part about this bread is to know where to start telling you about it. You see I baked it three times in the last three weeks (10 years ago). In the last ten years I’ve baked this bread I would guess at least once a year and some years more. This time around I’ve only baked it once … But the year is young.
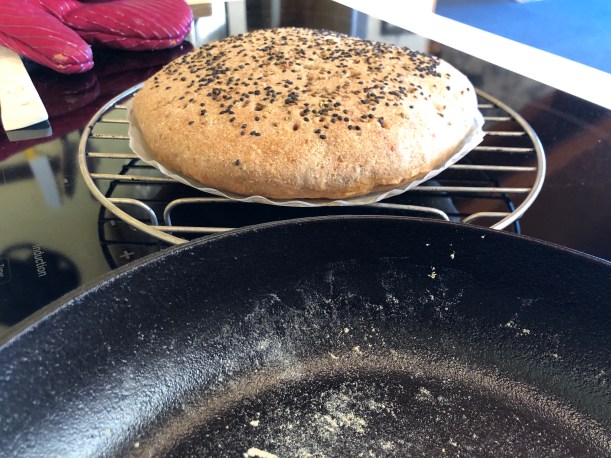
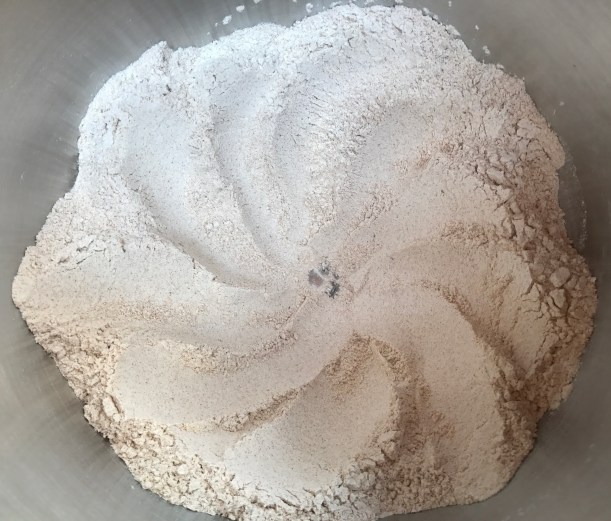
I will follow tomorrow with the recipe here but you can know I used sprouted whole wheat for 30% of my flour and of course I added some flax 30 grams.

If you would like to become a Bread Baking Buddy, here’s how it works:
- The Kitchen of the Month (Tanna this time!).
- Email me with BBB 10th anniversary in the subject line, with your name and the link to the post.
- Post your “baking the bread” experience on your blog mentioning Bread Baking Babes with a link to the MyKitchenInHalfCups.com.
- The Kitchen of the Month will put up a list of our Bread Baking Buddies at her site and send you a neat BBB award for this bread that you can then add to your post on your blog.

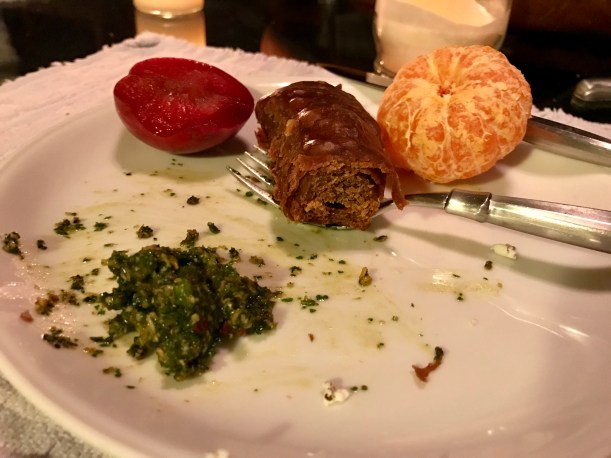
I need to bake again so I can dip it in olive oil and pepper.


 Here I am Kitchen of the Month, we’re on a cross country road trip and the mission today was to spread some of Dad’s ashes.

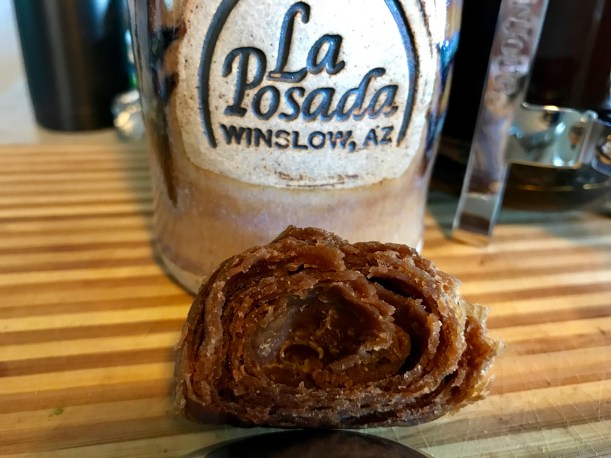
 Next time I will divide into 16 balls because we enjoyed the rolls smaller.