MyKitchenInHalfCups

Once Upon a time: Cooking … Baking … Traveling … Laughing …


7 Comments

BBB ~ Hällakakor Flatbread from Sweden

Do we ever know bread? Probably not, just like can you ever have enough bread books? Probably not.

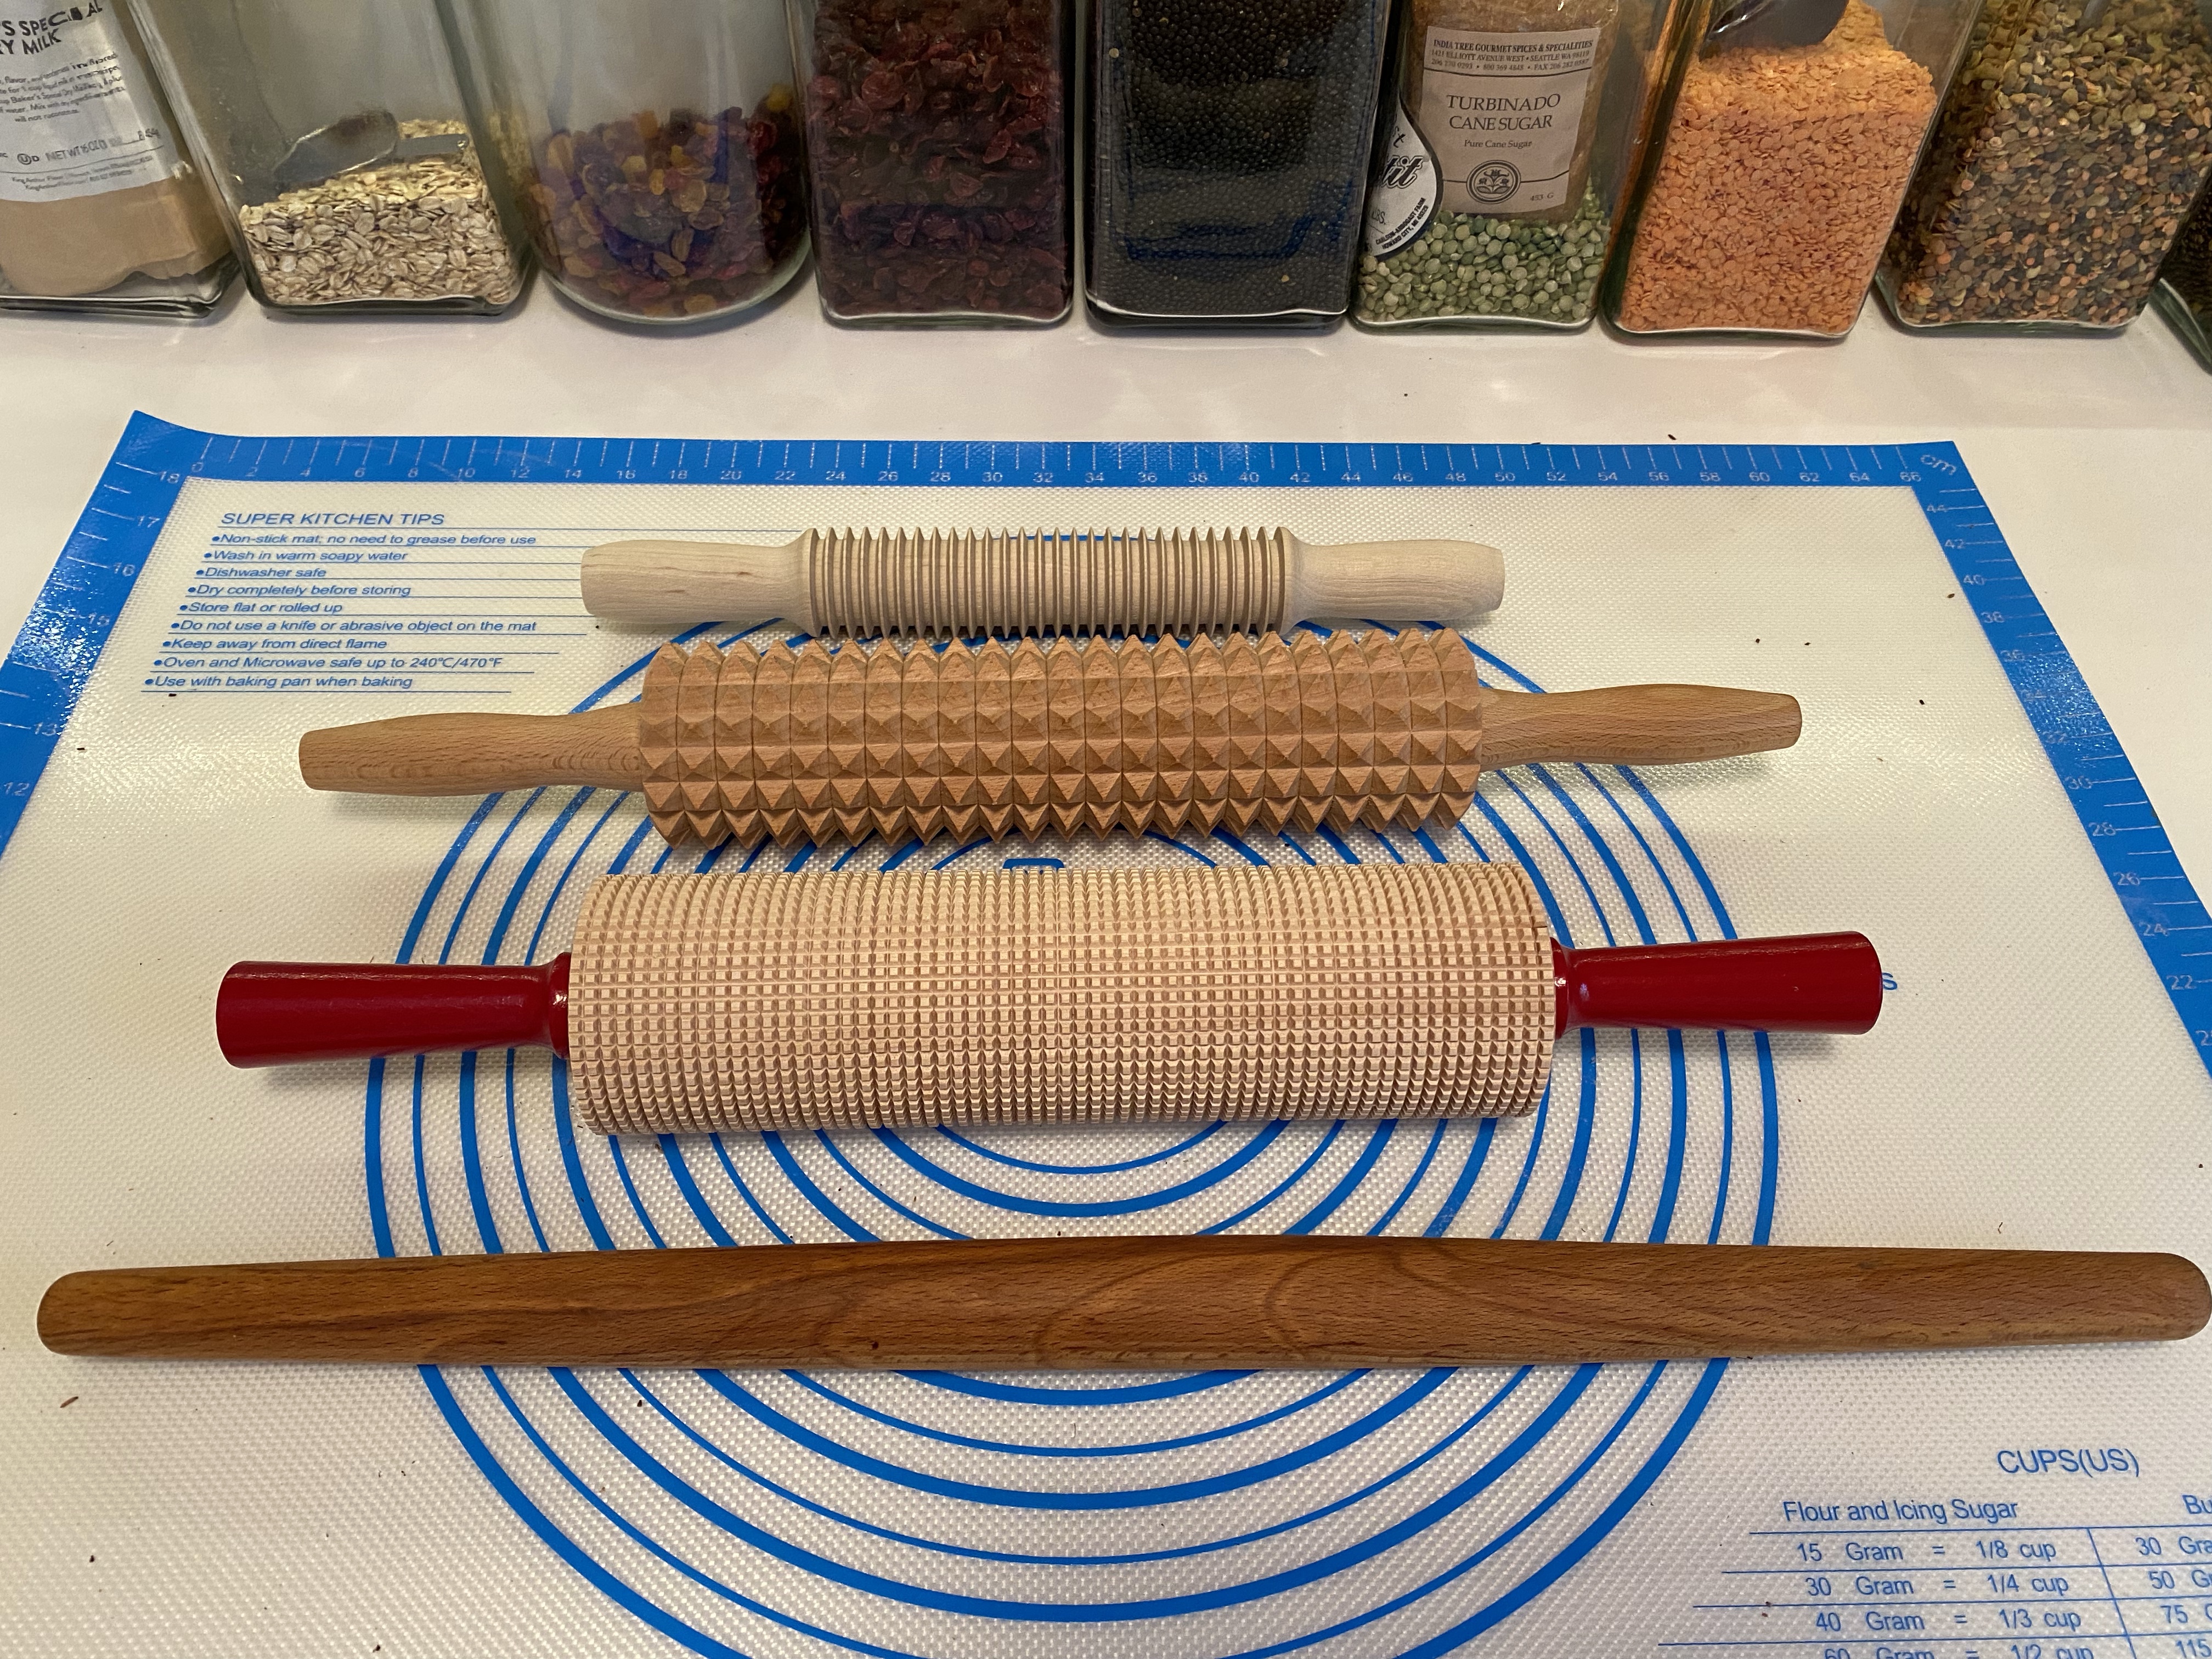
Unbeknownst to me, I’ve had a kuskavel in my rolling pin drawer for any number of years. Didn’t know it’s name. Didn’t know what it’s specialty was. Don’t remember where I came upon it. I just thought it was fun looking and might work on crackers which I tried once. Don’t really remember how that turned out.

This is the Kuskavel. See what I mean about fun looking.

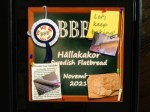
Kelly from MessyKitchen is our host Kitchen of the Month and the bread she brought us is delightful! Flatbread from Sweden. Sounds simple and yes it is. It is one of those simple breads that is so much more than it’s simplicity. Check out Kelly’s site for all the background on this bread!

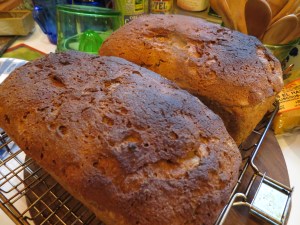
Before baking powder there was deer horn salt aka baker’s ammonia. And about that deer horn salt aka baker’s ammonia, yes you can get it from Amazon, and yes it really is ammonia, and yes it really smells like ammonia and yes it really SMELLS. BUT somehow it bakes away. I baked this first with baking powder and then took some really deep breaths (not over the baker’s ammonia) after Kelly assured me I would not smell it after baking and gutted it up and baked the recipe using the deer horn salt aka Baker’s ammonia. I could not discern any appreciable difference in texture or bake between the two.

Hällakakor – Swedish flatbread

Makes: 8 pieces

350 g wholemeal wheat flour 

62 g wholemeal rye flour

(Second bake: 250 grams whole wheat flour + 162 grams rye)

1 g (¼ tsp) deer horn salt (baker’s ammonia), dissolved in water (you can use baking powder instead)

6 g yeast

8 g sea salt

25 g honey

20 g butter

235g milk (dairy or non dairy works fine)

1 teaspoon caraway, crushed in a mortar/pestle)

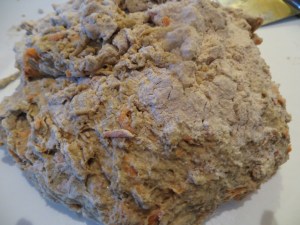
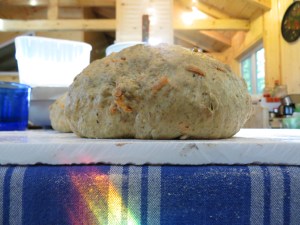
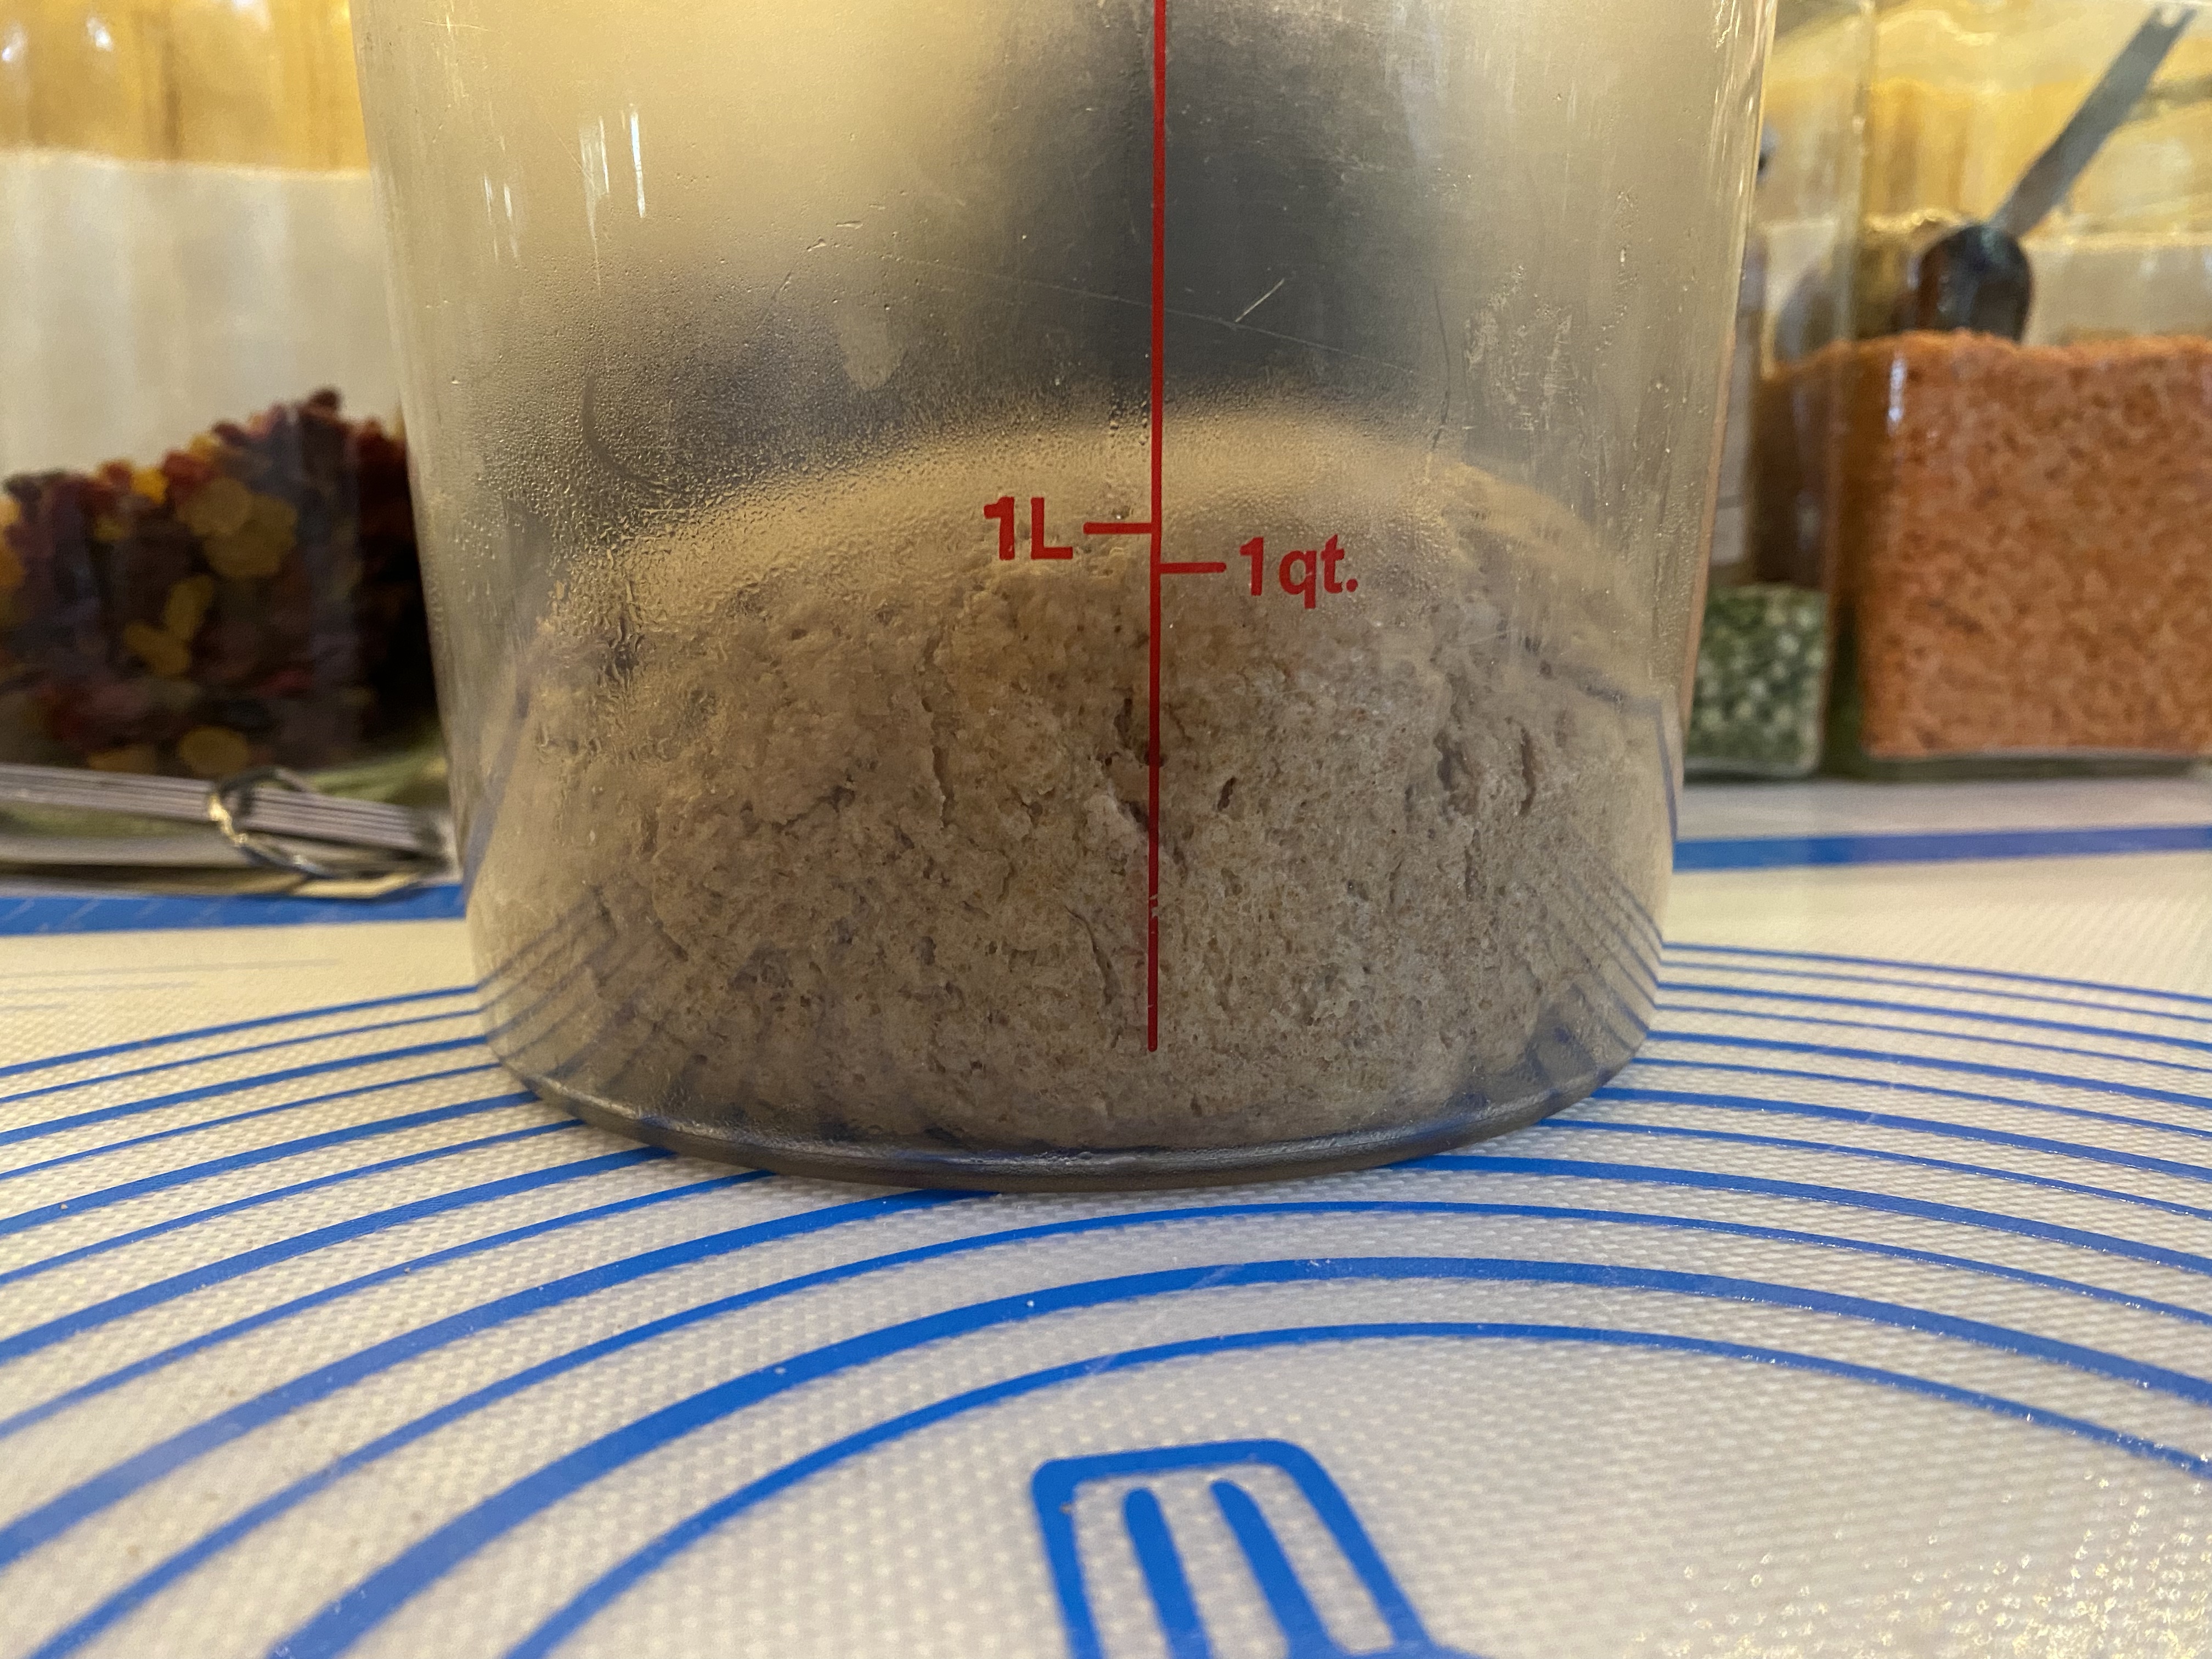
I kneaded a very stiff dough for 15 minutes. I probably added 10-20 grams water while kneading. Let rise for 6 hours at room temperature and knock back and briefly knead twice in the first two hours.  (The dough can also be chilled overnight.)

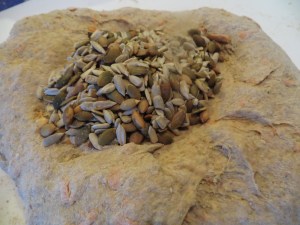
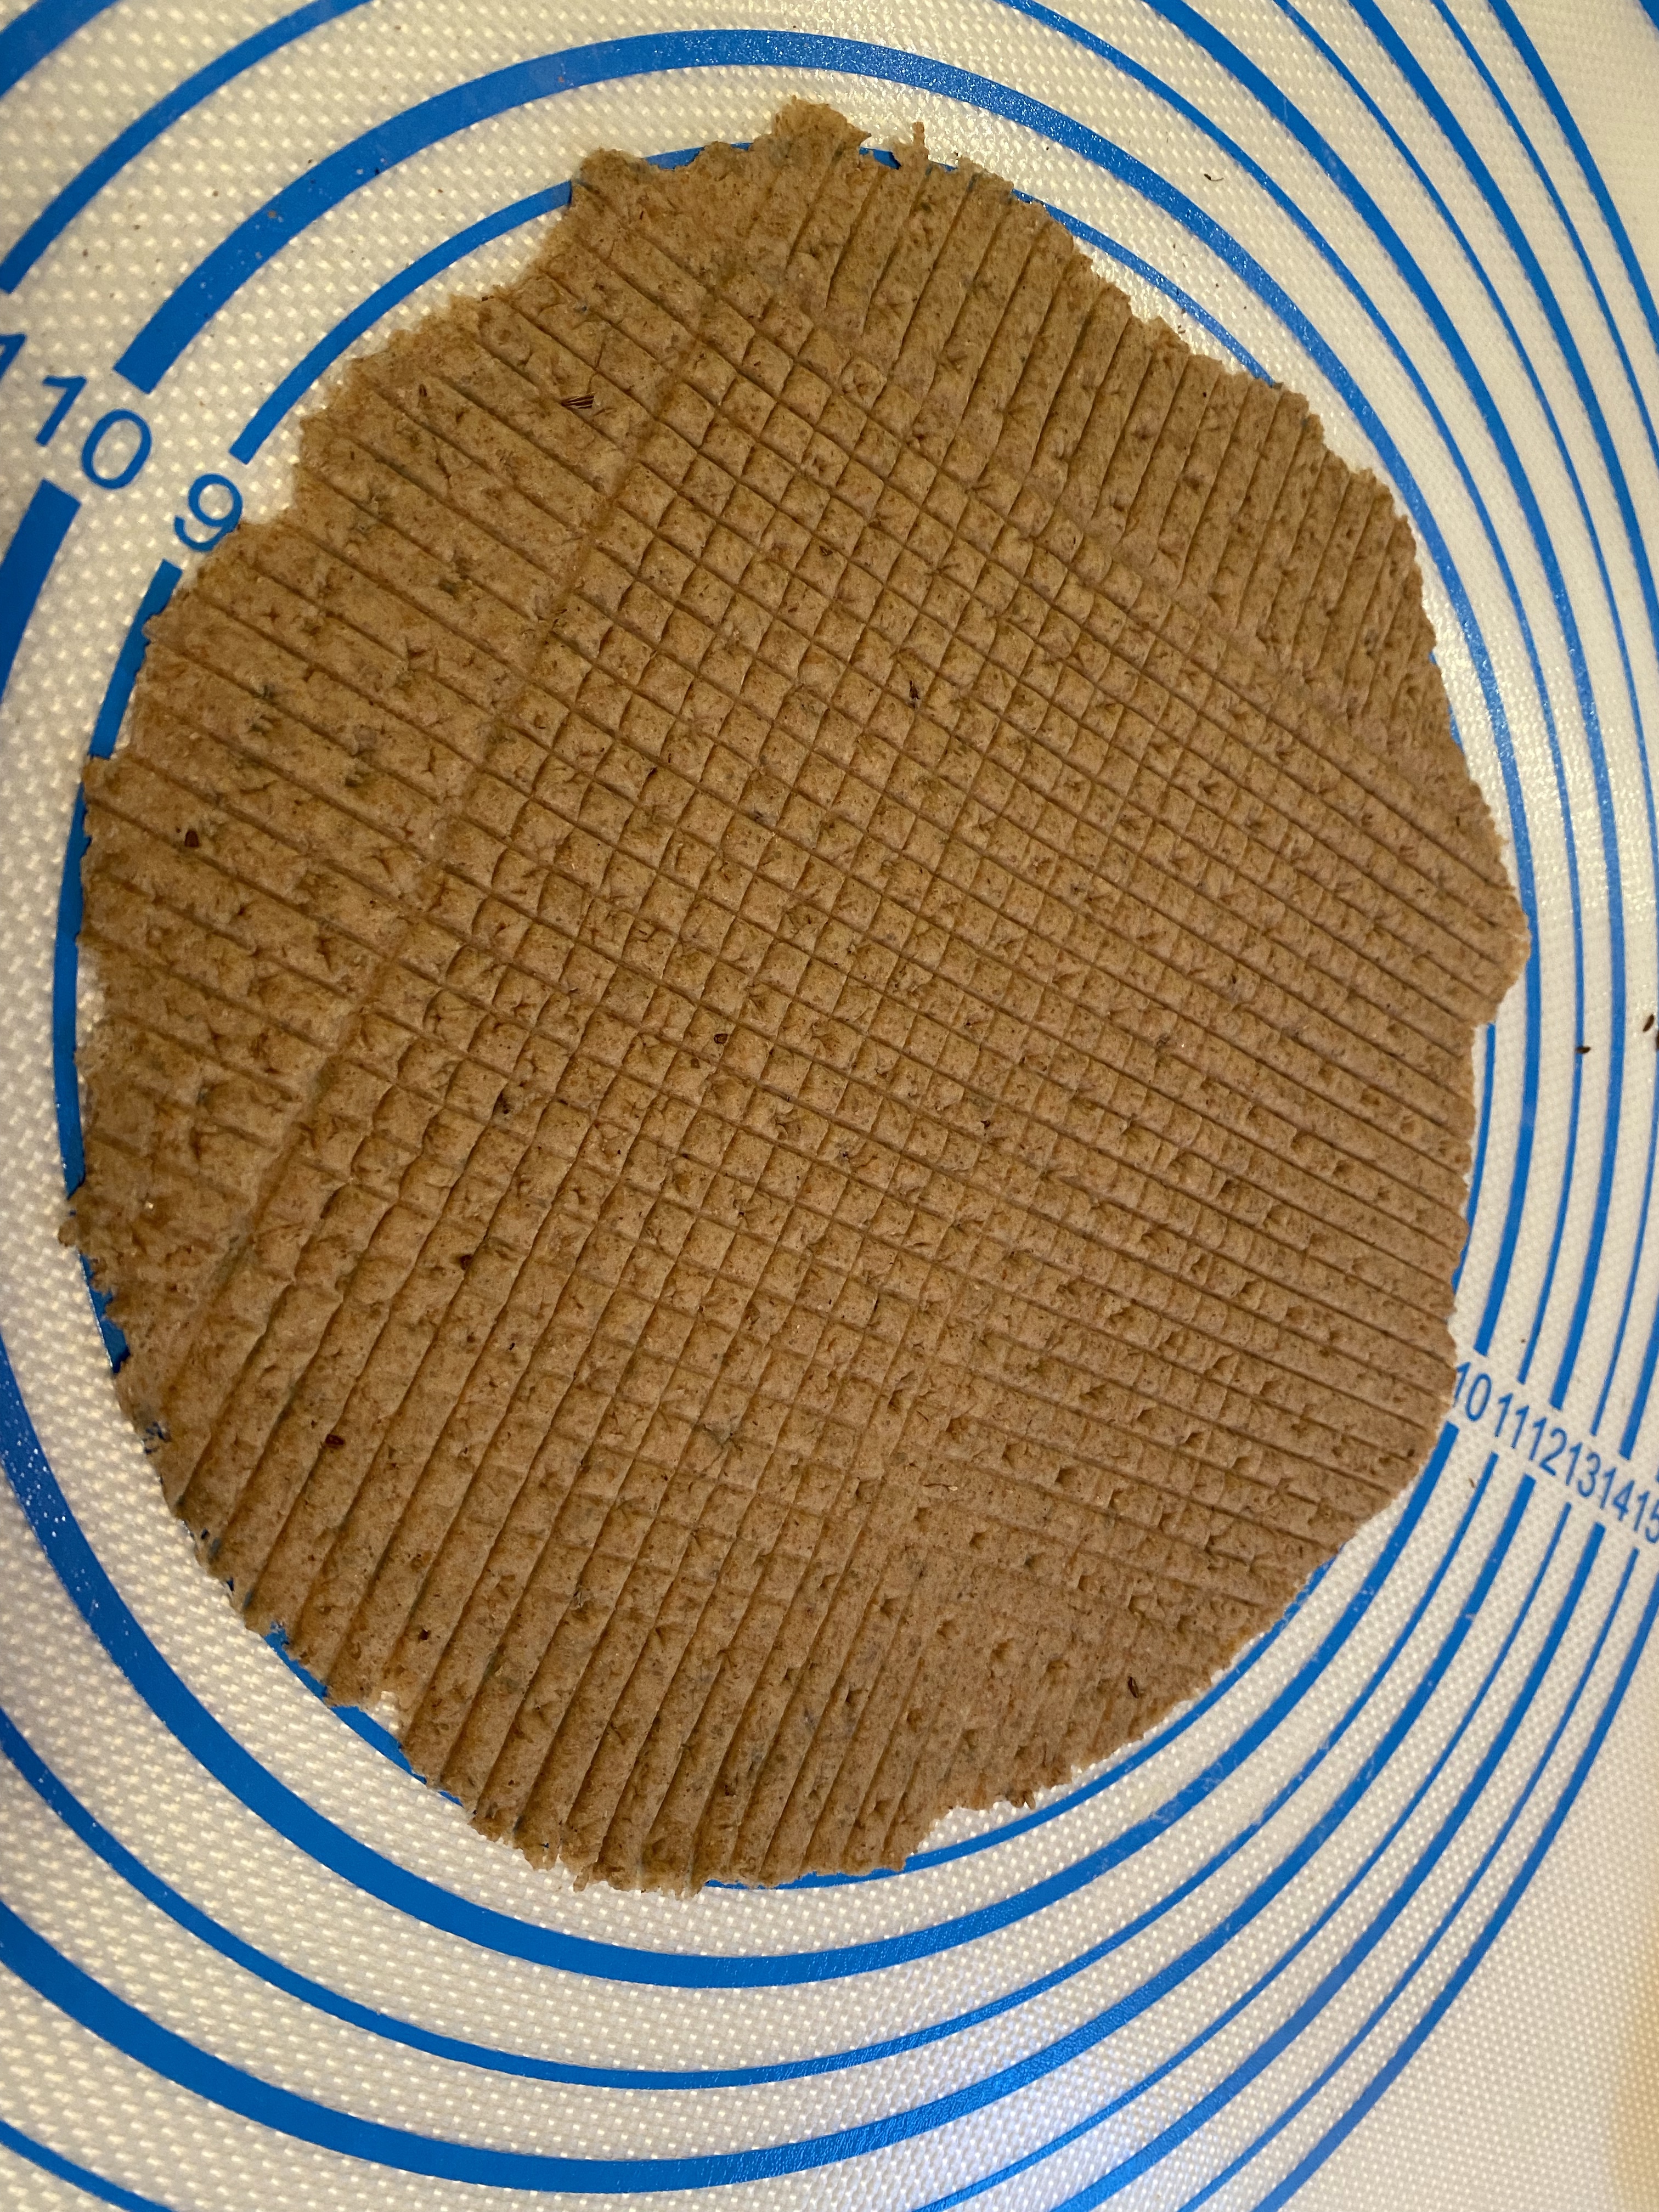
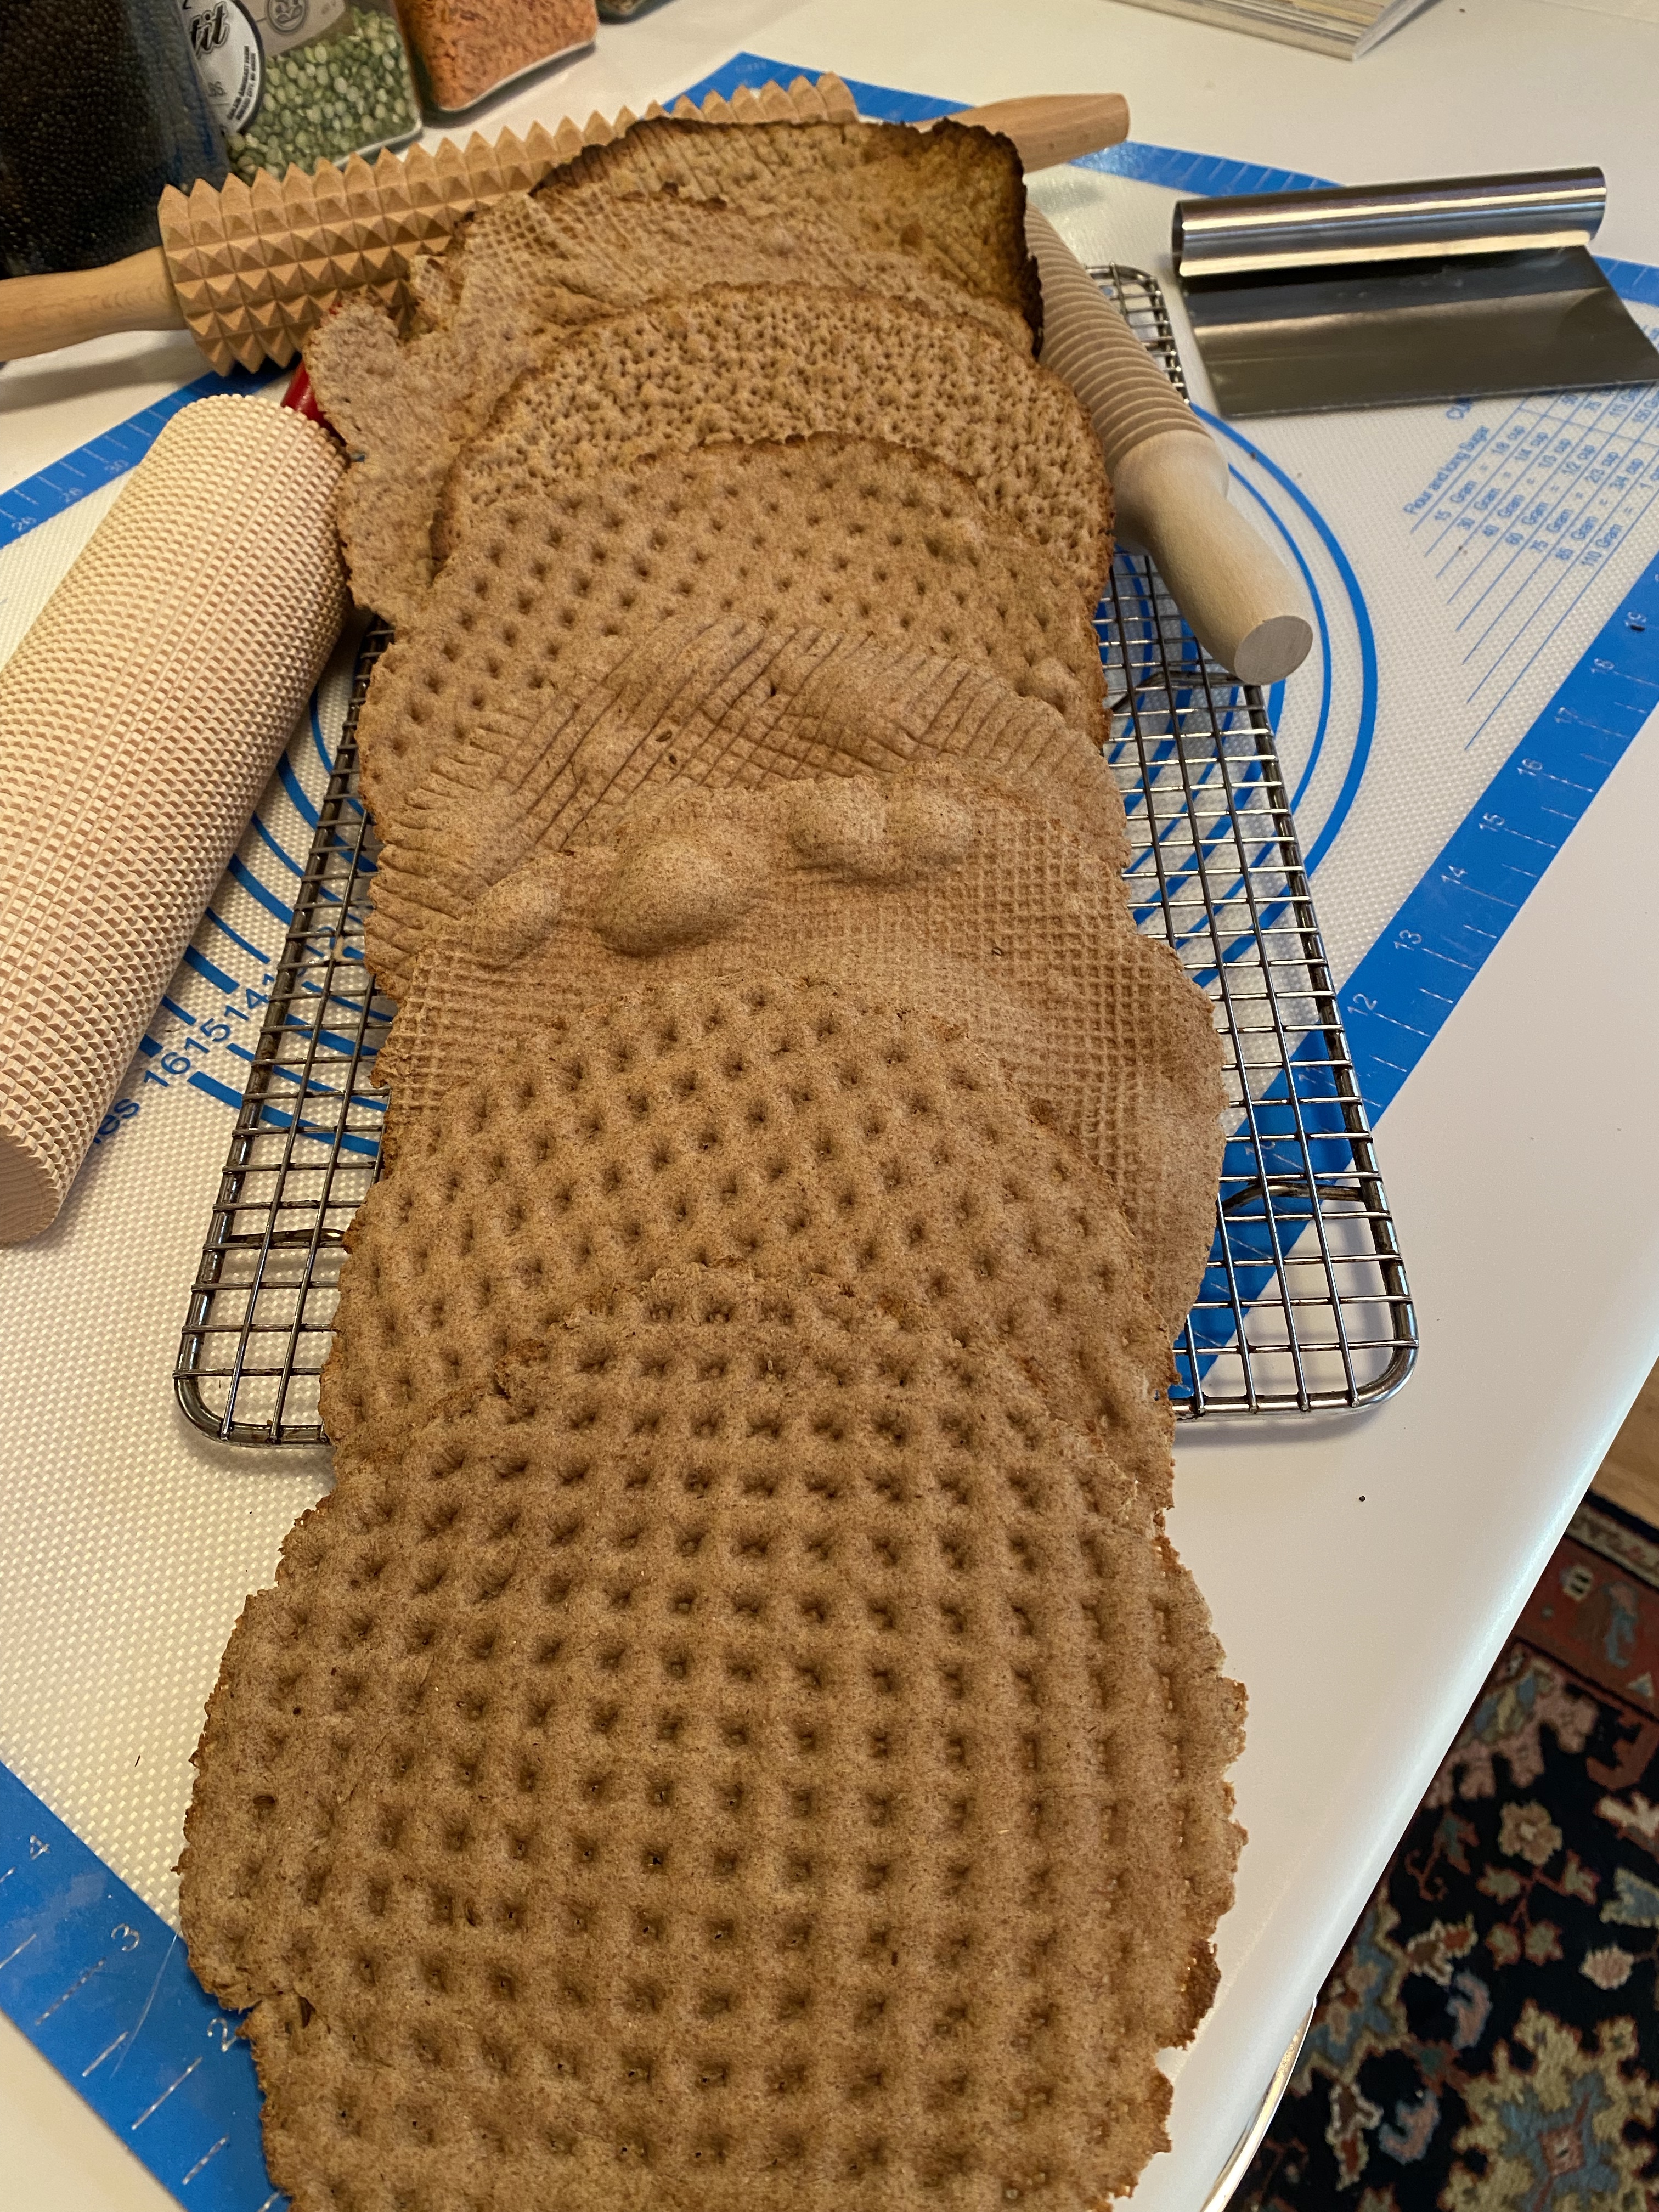
Cut off 85 – 95 gram portions and shape into round balls.  Flour lightly and let rise briefly, about 20 minutes.  Roll out round dough circles to about 25cm or 9in with a notched or regular rolling pin.  Dock well if using a flat rolling pin.  If using a grooved pin, follow with the notched pin.

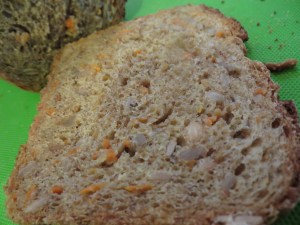
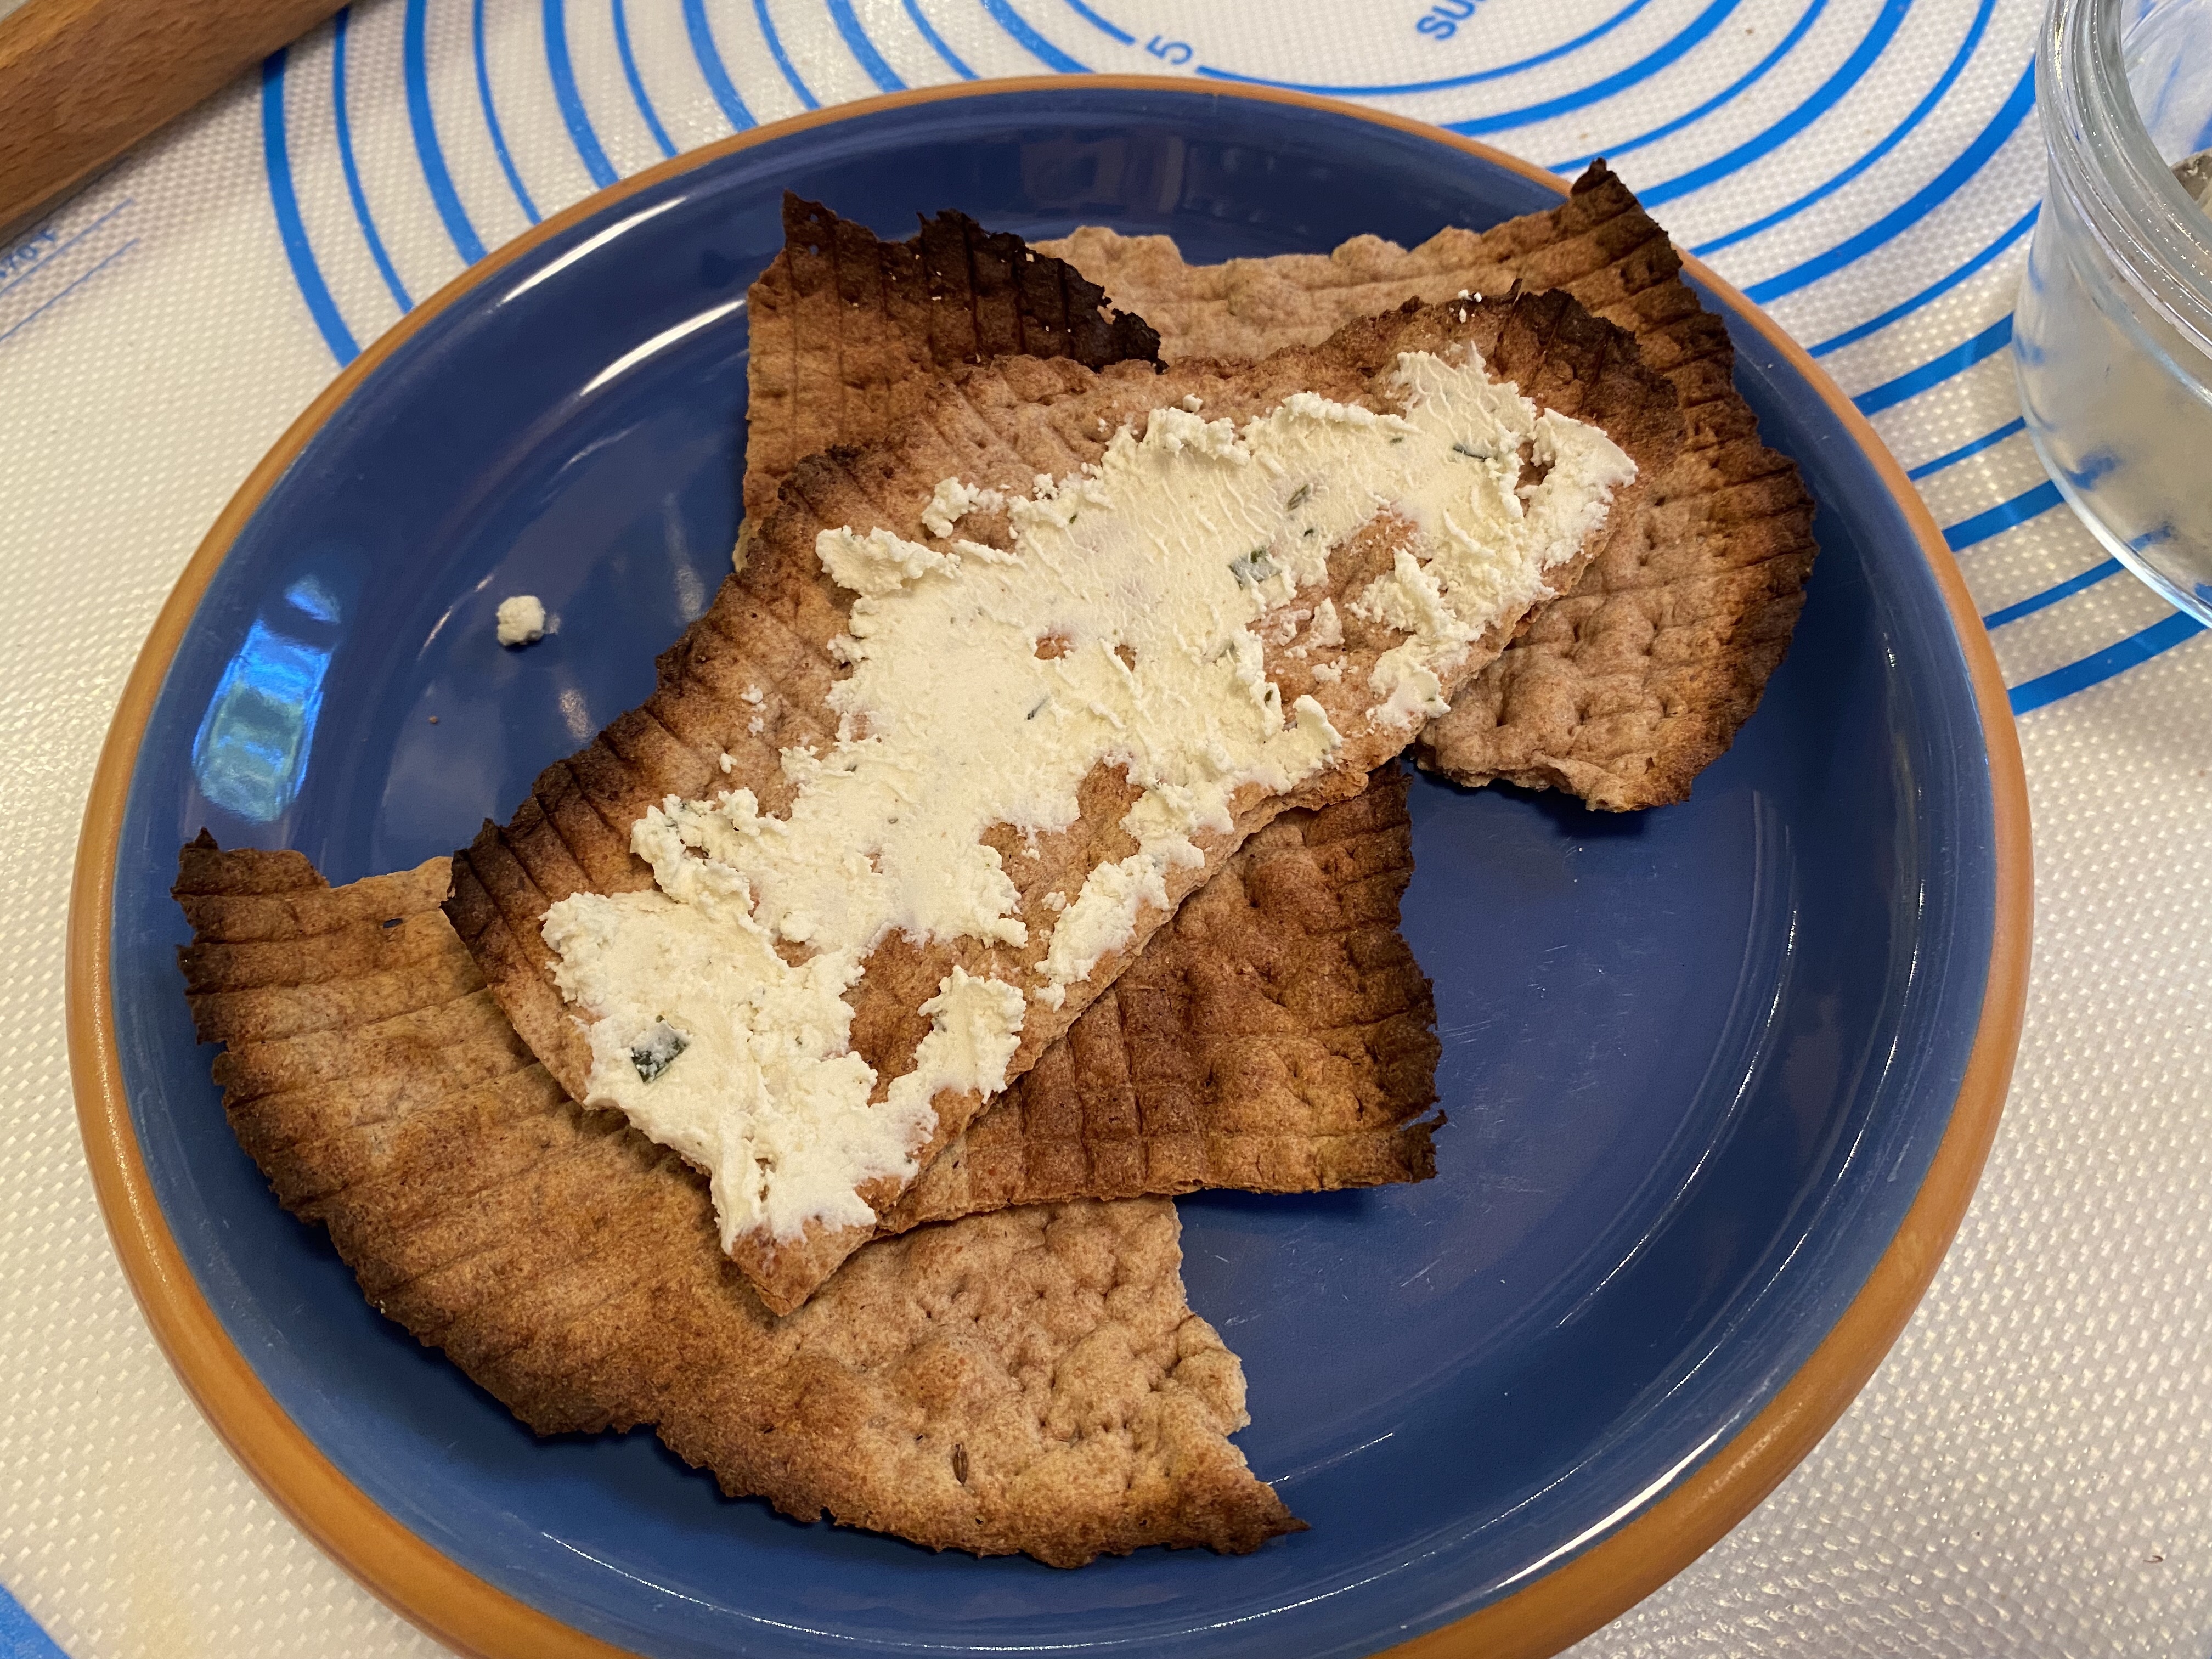
Preheat the oven to the highest possible temperature (500° worked best for my oven & stone. 525° seemed too hot) and ideally place the flatbread directly on a baking stone or steel and bake them into golden, soft flatbread. Bake for 3-4 minutes each. Mine took 4 minutes.

I did play with the flours in this recipe. My first bake was as Kelly wrote it. My second bake I took 100 grams from the whole wheat and make it rye. I used caraway seeds in both those bakes. We enjoyed both and I really couldn’t discern any difference between them. My third bake yesterday I tried 162 grams whole grain barley. The dough never really rose anything like the first two batches. While the dough came together, it remained crumbly throughout the entire process and was even very difficult to get onto the baking stone without cracking and breaking pieces off. In an effort to prevent breaking apart I didn’t roll it so thin and it did a little better.

Haven’t tried any of the barley flatbread yet but we’ll be taking it on a short road trip today and I’ll report back later.

I hope you’ll bake this one with us. Now that days are probably somewhat busy these flat breads are easy and throughly entertaining and engaging! As Kelly says: Hällakakor can be frozen and then reheated straight out of the freezer on a flat toaster, toaster oven, or hot pan. They should refresh well and taste like they were freshly baked out of the oven. They are lovely with butter and jam or syrup, or with mascarpone and jam. They are just as good with an herbed cheese spread or to sop up stew or curry. We would love for you to try out this flat bread with us this month and share how you used it! New recipes are posted every month on the 16th. Check out our Facebook group to see the participants’ baking results during that time.

Ready! Set! BAKE!!


10 Comments

BBB ~ Ksra (Moroccan Anise and Barley Flatbread)

Just drop dead simple/easy and oh my so very good.  Our kitchen of the month is Kelly from A Messy Kitchen who found the recipe in the New Artisan Bread in Five Minutes a Day … and then further adapted by me because I always just can never leave well enough alone.

I topped my loaf with extra anise seeds and some black sesame seeds and totally poked it full of holes; when I took it out of the oven, I brushed the top with a little butter … yes really I did because it just is such a beautiful smile that way.
As simple as this is, it is gorgeous baking, wonderful warm and cooled, toasts like a dream, delish plain and lovely with butter or a touch of jam, great to sop up broth based soups, really any soup or stew.
This is definitely in the keeper file.  Thank you much Kelly.

2019BBB_banner
Yield: 2 round loaves 8 inch

Ksra (Moroccan Anise and Barley Flatbread)

Something of a STARTER
1/8 teaspoon yeast
130 grams sprouted spelt
120 grams water
DOUGH
340 grams Lukewarm water (100ºF or less)
1 teaspoon yeast
1 ½ teaspoons salt
1 teaspoon whole anise seeds

30 grams ground flax seed
25 grams wheat germ
50 grams barley flour
120 grams sprouted spelt
380 grams White Whole Wheat

l9ERHL+gR82MmTRacKW5yA

Something of a STARTER:

Mix flour, water, yeast to combine. Cover and left out on counter 6 hours.

MIX DOUGH:

Mix together the yeast, salt, anise and water in a large bowl or container. Stir in the remaining ingredients and all of the something of a starter with a large wooden spoon, dough whisk, or in a mixer with the paddle. Mix until the flour is incorporated fully.

Cover and rest until the dough has fully risen and collapsed back down a bit, about 2 hours. Mine then went into the refrigerator overnight.

You may use the dough after the initial rise but it’s easier to work with cold. Dough will keep up to 10 days in the fridge.

nKGrIDLTTAaoKj083FF12Q

BAKE :

Divide the dough in half, dust with flour, and shape each portion into a ball by stretching the sides down to the bottom of the ball and folding under. You may also work with only one portion of dough if you like, the other will keep in the fridge for another day. I shaped only one loaf; returned the remaining half of the dough to refrigerator.

Flatten the dough ball into a ¾” thick round and let rest covered on a parchment lined or cornmeal dusted pizza peel for 20-30 minutes. Optional to brush the surface with oil and sprinkle with sesame seeds or more anise seed. Also optional to poke the dough with a skewer in a few places prior to baking.

While the dough is resting, preheat the oven to 450ºF. Place a baking stone near the middle of the oven and a metal pan or broiler tray on an unused oven rack and heat a cup of water to use for steam while baking. (If you do not have a baking stone, you can use an inverted baking sheet, a cast iron pan, a pizza pan, or the grill on high!) (If you use a grill, you will need to flip the dough periodically.)

Slide rested loaf directly onto hot stone. I baked my round loaf in the pre-heated lid of a cast iron dutch oven; worked perfectly. Pour 1 cup of hot water into the metal pan or tray for steam and quickly close the oven door. Bake for about 20-25 minutes until richly browned and firm.

Baked for 30 minutes. Considering all the whole grains in this, I will allow 35 minutes for the next bake.

Allow to cool before cutting into wedges to serve.

ooX+YgQ0RGK%MGy%JvCZRg
Seriously, after you read Kelly’s post and catch the waffle recipe I don’t really think you can stop yourself baking this bread!
We would love for you to try out this recipe and join in as a buddy baker this month!  This is a wonderful bread to quickly bake up to go with any meal. You don’t have to have a blog to participate, a picture will do.  Just send a picture or your post of your finished flatbread to Kelly at eleyana (AT) aol (DOT) com, along with a photo and your baking experience by Mar. 31st and be sure to put BBBuddy in the subject line. You will receive a Bread Baking Buddy graphic to keep or add to your post, and be included in our Buddy round up at the end of the month. New recipes are posted every month on the 16th. Check out our Facebook group to see the participants’ baking results during that time.
Enjoy the BAKE!


10 Comments

Rainbows and Carrot Bread for BBB

No parsley, rice flour that was there on Monday and disappeared on Wednesday … what maybe has some relation to a grain of rice … maybe barley … maybe not … try it anyway.

You do know that a second baking provides a golden opportunity to try it a different way aiming for better … or disaster.

Blessed by the Rainbow

Heather, our colorful Kitchen of the Month at Girl Chef, has brought Babes and Buddies an awesome Fall bread.  The orange of carrots is a gorgeous fall color and really gives vibrancy to this loaf.

Carrot Bread

Recipe from: Heather:  adapted from Artisan Breads: Practical Recipes & Detailed Instructions for Baking the World’s Finest Loaves by Jan Hed
Yield: 4 loaves

for the Poolish:
3/4 teaspoon active dry yeast
1 cup lukewarm water + more as needed, I must have used at least 2 cups total
364 grams stone ground rye flour

IMG_3615
for the Dough:
2/3 cup toasted sesame seeds, used pepita’s (pumpkin)
1.5 cup toasted sunflower seeds
60 grams ground flax seed
2-1/2 teaspoons active dry yeast
1 cup carrot juice or orange juice, lukewarm
2-1/4 cups grated carrot
1/2 cup chopped parsley, omitted as I had none
824 grams bread flour, I used a mix of flours, about 450 bread flour, then a mix of white whole wheat and spelt
2 tablespoons  honey, maple syrup or agave, used agave
1/4 cup sunflower oil – I used grapeseed oil
4 teaspoons sea salt

IMG_3616IMG_3617
for the Crackle Glaze:
1 teaspoon active dry yeast
3/4 cup + 2 tablespoons lukewarm water
132 grams rice flour, rice flour lost used barley flour
2 teaspoons agave, cut to 1 teaspoon
1-3/4 teaspoons sunflower oil
3/4 teaspoons sea salt

IMG_3621

1. Day 1: Make the Poolish Dissolve the yeast in the water, and let sit a few minutes to bloom. Whisk in the flour until smooth – if it is very thick, continue whisking in more water until it is the consistency of a thick batter. Cover with plastic wrap and let sit at room temperature for 24 hours; at this point it should be a bit bubbly.

2. Day 2: Baking Day In a large bowl (or bowl of a stand mixer fitted with dough hook attachment), dissolve the yeast in the carrot juice, let sit a few minutes until it looks creamy (bloomed). Add the grated carrot, parsley, the lesser amount of bread flour, and the poolish to the bowl. Knead on low spead for 3 minutes. If the dough doesn’t seem too sticky, then don’t add any more of the flour; it will firm up as it is kneaded (plus you have more to add to it).

3. Add the oil to the bowl and knead for another 8 minutes. Add the salt, increase the speed, and knead until elastic, about 7 more minutes. At this point, the dough will not be sticky any longer. Use the extra flour, a tiny bit at a time, to remedy the dough if it is. Add the toasted seeds, and gently mix in.

4. Place the dough into a large, lightly oiled bowl or container and cover. Let sit for 60-90 minutes, knocking the dough back halfway through. To knock the dough back, remove it from the bowl and set it on a work surface. Use your hands to knock the air out of it. Fold the edges towards the center to form a cushion. Replace in the container, seam side down.

5. make the Crackle Glaze: While the dough is rising, dissolve the yeast in the water in a medium bowl. Whisk in the remaining ingredients. It should be spreadable, but not runny. Cover with plastic wrap and allow to sit for at least 30 minutes before using.

6. shaping and baking: Turn the dough out onto a lighty floured work surface and divide into 3 equal parts (approximately 78 ounces of dough to equal three 26 ounce portions).

7. Form the portions into three round balls, and cover them with a clean tea towel. Let rest for 10 minutes.

8. Shape each circle of dough into an oblong loaf, by gently pressing ball down into a circle and then tucking/rolling into shape. Set loaves, seam side down, onto a lightly floured bread peel or thin cutting board. Glaze the loaves generously with the crackling glaze (you’ll have a lot of leftover glaze), and leave to rise at room temperature for 60-75 minutes, or until the dough has doubled in size and the the surface is crackled.

9. Place a baking stone into the oven, and preheat to 475° F during last 20 minutes or so of rise time.
My first two loaves where done in a small Breville convection oven. The highest temperature possible in that oven is 450° and since it’s so small and the elements very exposed, I’m a little leary of misting.  Sill we were very happy with the bread.
Since I divided the dough in half and immediately refrigerated one half, I baked the second two loaves after that refrigeration time the next day.  I allowed the dough to warm up about an hour and a half and then continued with the directions and baked it in the downstairs regular electric oven.  This time the bread baked initially at 475° and was misted but it was not convection.  I did follow the instructions below in number 10 for opening the oven door every 10 minutes.  Some of the photos look very dark but there was no burning.
Neither baking got much oven spring and the loaves came out color and time wise pretty much the same.

IMG_3637

10. Slide the loaves onto the stone (let them rise directly on a baking sheet or two if you don’t have a stone – slide that into preheated oven) and spray generously with water. Close oven door. Lower the temperature to 400° F after 5 minutes. After another 10 minutes, open the oven door to let in a little air. Repeat two more times (every 10 minutes). Total baking time will be 45 minutes.

11. Remove bread from oven and cool on a wire rack.  What you think my cooling rack looks odd … well it’s really a grill basket for little burgers but it works!
I hope your soup is ready.

IMG_3635

Notes:
I doubled the carrots, used orange juice not carrot juice, no sesame seeds, used pumpkin seeds; doubled the amounts of both seeds; replaced 100 grams of bread flour with Spelt: used agave for sweetener.
Really like Pat’s idea of diluting a jar or two of baby food carrot andand perhaps I should check to see if there’s baby carrot juice.
This makes excellent toast, great grilled cheese and tomorrow I’m using the last loaf to make stuffing for roast chicken dinner.

This is a fairly dense bread, allow it to cool or it will be gummy on the inside when you’re re

The Bread Baking Buddies are: YOU!

With Heather at Girl Chef the hosting Babe kitchen of the month, if you’d like to join in, simply bake this Carrot Bread (yes, you may adapt) – and then send her a link to your post via email (girlichef at yahoo dot com).  Submissions are due by October 29th.  Once you’ve posted, Heather will send you a Buddy badge for baking along and you’ll appear in the Buddy post.  I hope you’ll join us this month!

The weather is chilling down, bake this bread and have the soup hot!

BBB logo October 2013


Wonderful bread Heather, many thanks!


12 Comments

A Simple Little Thing with Consequences

Most of us try to eat healthy.  Most of us try to cook with a variety of grains.  I’m a very firm believer in variety is good for the body and soul on so many levels.  I really do enjoy barley … but it hardly ever appears on my table except in soup and a rare risotto.  I had a half used package of prosciutto … yes I know prosciutto is a ham and not barley but just come along for a little will you, humor me … it was time to finish the package of prosciutto.

Enter from stage right:  Ancient Grains for Modern Meals, a new book recently appearing on my book shelf.  “Before it sits there so long it gets old and forgotten, perhaps it will have the perfect recipe using prosciutto.”  And so it did … well it had one … a very simple thing – it’s one exotic ingredient (truffle oil) I was just out of.  Without the truffle oil I determined it needed a little increase in flavor.

In addition to the bay leaf and rosemary called for in this, I used chicken stock to replace the water to cook the barley.  So I cooked a cup of barley.  Then it called for Prosciutto to be crisped in a little olive oil.  When ready to serve mix it all together.  No truffle oil to finish the dish with … ah, ha a teaspoon of butter.  That’s simple.  OK but that’s not really dinner is it?  The flavor was excellent.  Prosciutto and barley needs veggies!  What’s in the refrigerator … I wish I could ask what’s ready in the garden but the answer wouldn’t really help since there’s jalopeno and herbs?  In my refrigerator on this day there was asparagus and broccoli.  Both went in for the last 8 minutes the barley simmered.

Barley w Crisped Prosciutto … Asparagus and Broccoli

Now, perhaps you may think that because I really redid the recipe, the book might be a waste.  I would disagree.  Without the book, I don’t think I’d ever have gotten to this dish.  Any cookbook that provides me with a jump into new territory is good with me.

The consequences: the next morning it became a wonderful breakfast;-)

Barley w Crisped Prosciutto ... Asparagus and Broccoli ... with an egg = breakfast!

Barley w Crisped Prosciutto … Asparagus and Broccoli … with an egg = breakfast!

Stay tuned for further barley consequences …

Barley w Crisped Prosciutto
Ancient Grains for Modern Meals p 140