Seems like I had really strangely good results with this recipe the first time around … except the “ring” closed in on me. Great taste, nice crumb, lovely loaf; however I was not totally keen on the fennel seeds. Elizabeth wanted to try an idea she found in Paula Wolfert’s Mediterranean Grains and Greens book. Elizabeth can claim innocence all she wants but it is absolutely ALL her fault that I HAD to order the book when she made that reference. Wolfert’s idea in her recipe for Checkpea-Leavened Bread is to make a aromatic brew of bay leaves, cinnamon stick, fennel seeds, whole cloves and water that is used for liquid when making the bread. I like the idea of an aroma brew just not that particular combo so I’ve made one with bay leaves and rosemary for this bread.
Why did this work for me? I used the full amounts of ingredients in the starter. Elizabeth cut the starter ingredients in half so as to avoid throw away. By using the full amounts, I only had 50 grams left over and added that to some previous throw out which I refreshed and used to make waffles so no throw out for me. Win!
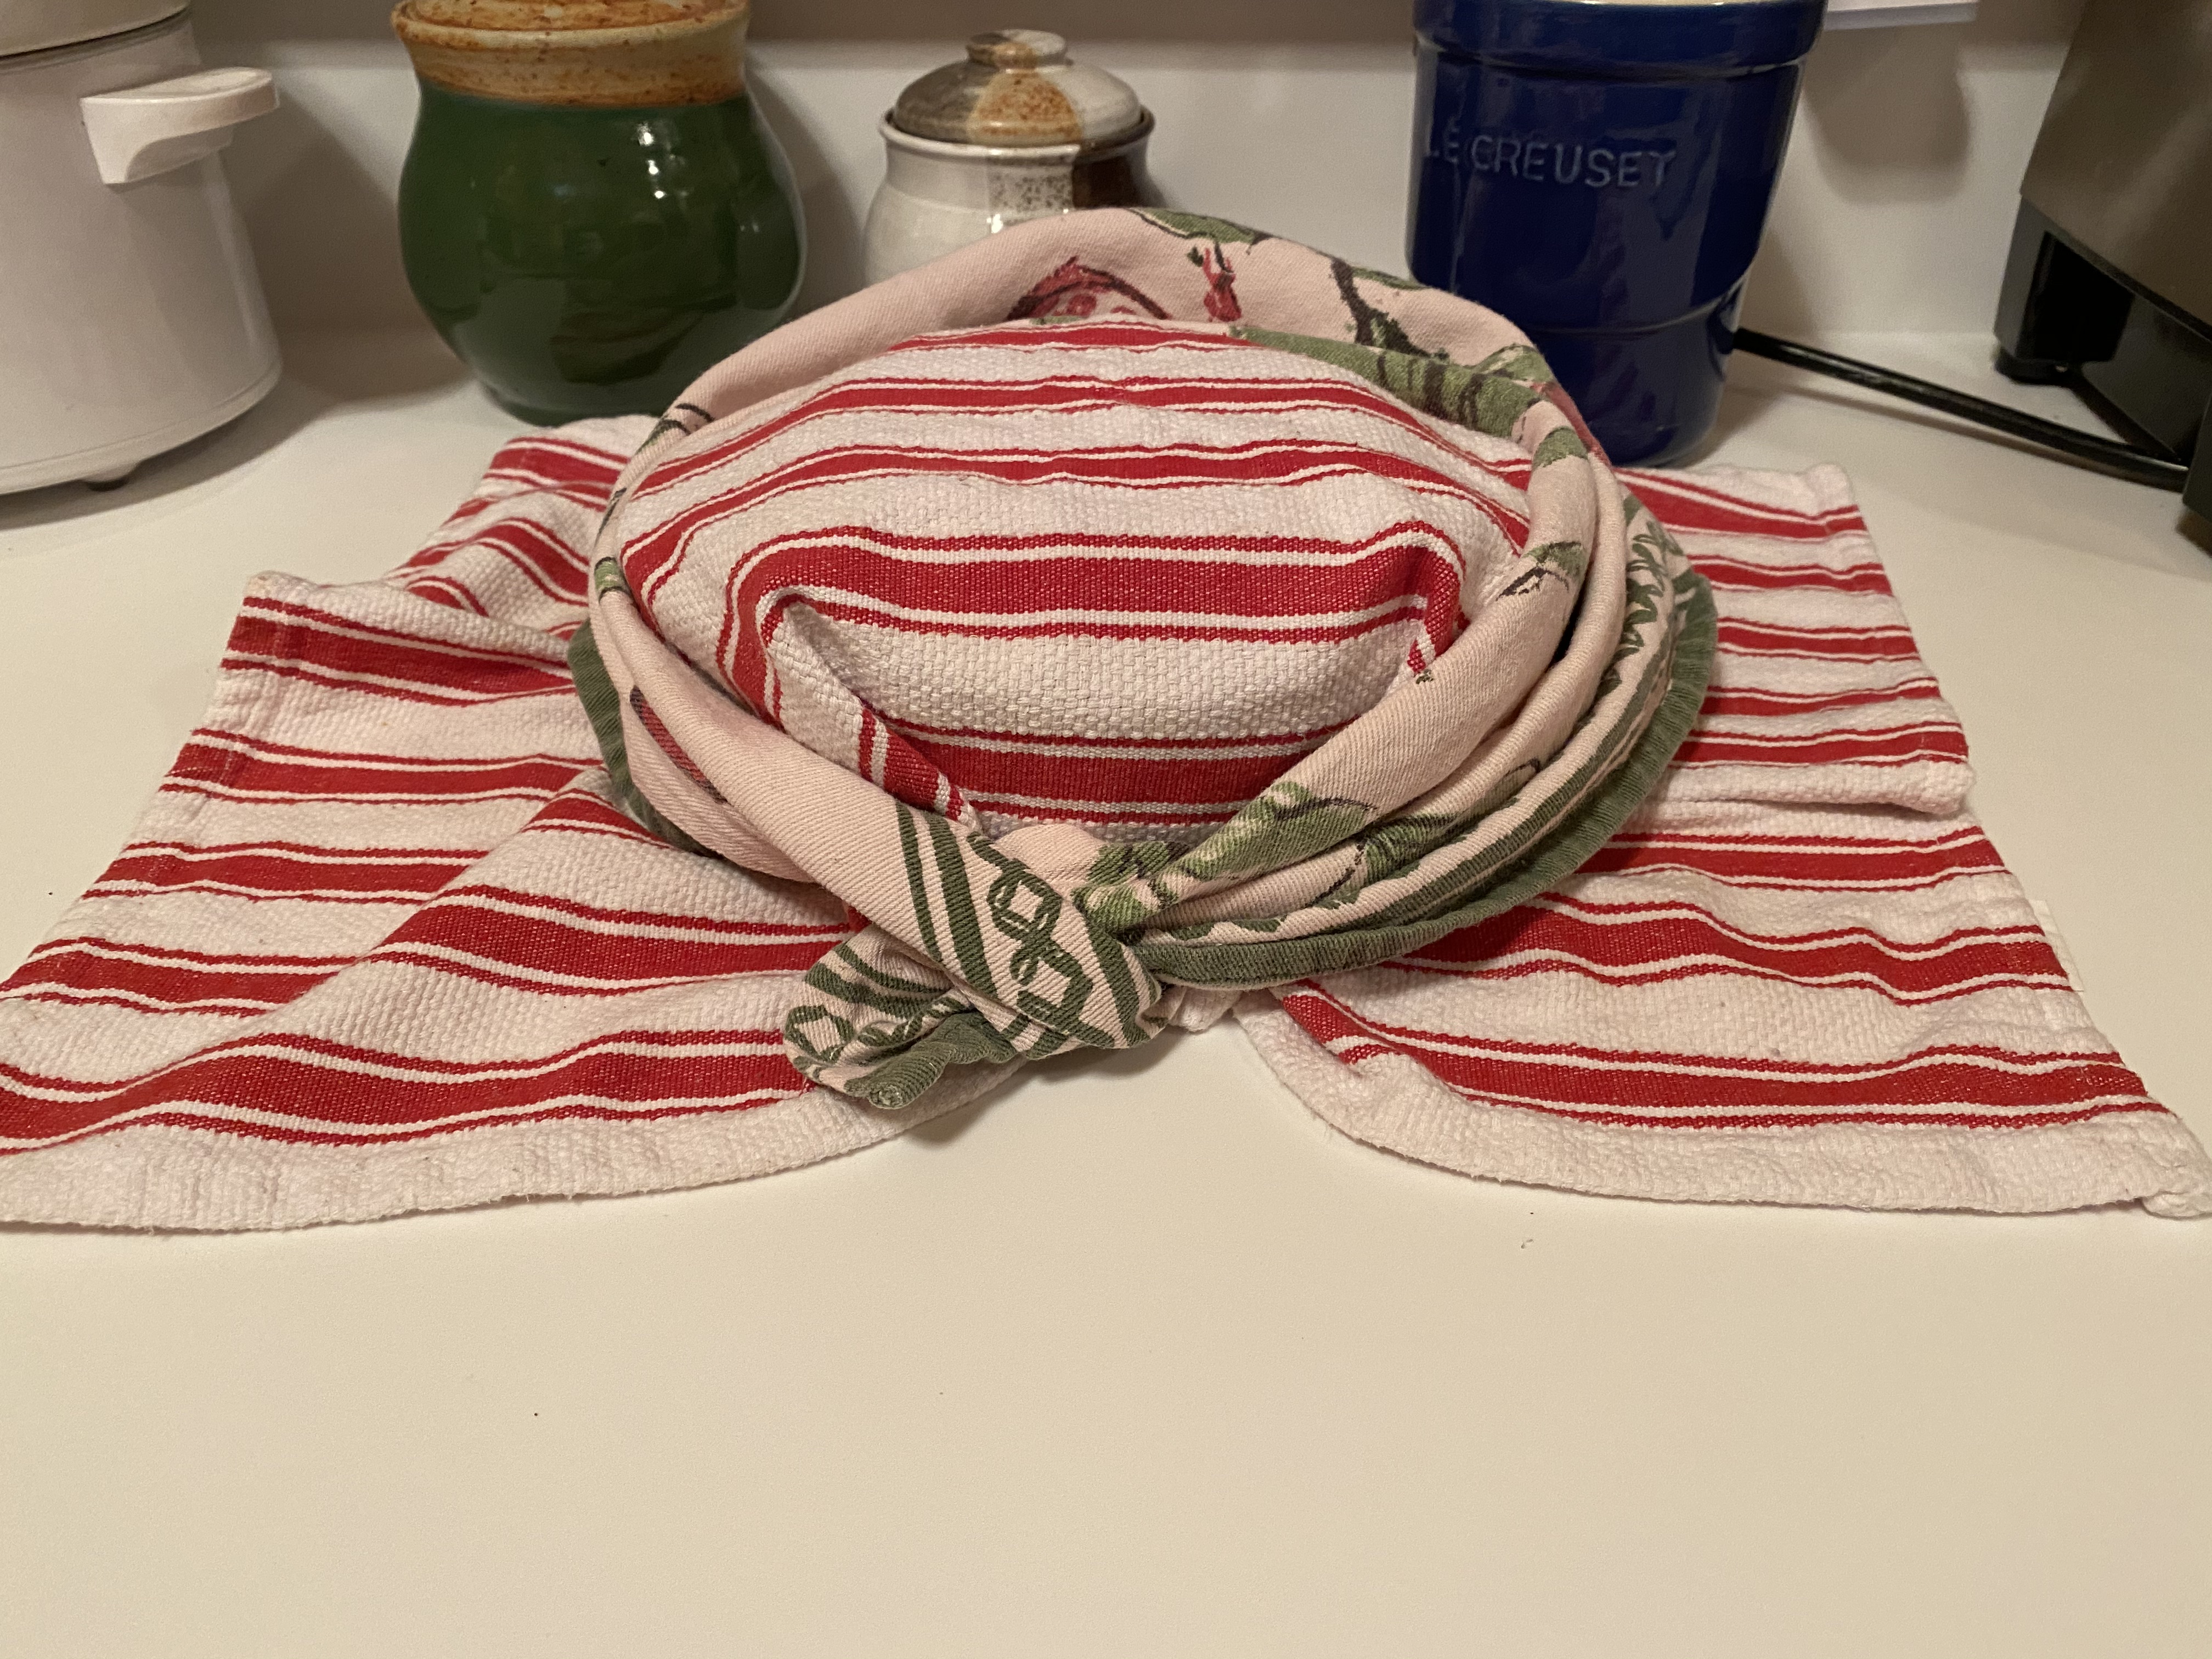
Do you believe in Serendipity? When I started putting my present kitchen together last year, in considering countertops for the bake area I thought it would be grand to have a cool/cold slab of marble. When I considered how often I did pie crust and croissants, and looked at the cost it just seemed crazy. Lucky I didn’t go that route because that (above) is just the perfect warm spot for bread rising at least in winter when the furnace runs as the vent is just below. Serendipity! As you can see from above, I use a shower cap (no plastic wrap) to cover the bowl or a lid to cover the bowl with starter or dough in it to retain moisture. To keep any drafts off the bowl, just like I wrap my neck in scarves, I do the same with my dough/starter bowls.
I have never taken the temperature of water or dough … until this time. We set the thermoeter in winter at 66 during the day and 62 at night. This recipe seemed to harp on the idea that everything should be working at 80-81°. For whatever reason, I got curious after day 3 and Stage 1: the production leaven. The dough was 76°! Even sitting on that warm spot. The last of the stretch and folds went into into the oven with the light on and also the last rise in the shaping basket covered with a shower cap. The dough was coming in at 79° and feeling lighter with each rest and rise.
The last thing I did different was to use organic rye in place of the whole-wheat flour of Day 3 AND unbleached all-purpose was always white whole wheat flour AND finally for Stage 2: arkatena dough I replaced half of the all-purpose white whole wheat flour with bread flour.
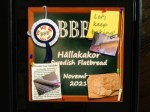
BBB ~ Arkatena Bread
Recipe By: Elizabeth : based on recipe from Andrew Whitley’s Bread Matters
Yield: 1 ring loaf
Ingredients:
Day 1
30 g chickpea flour
40 g water
Day 2
all the starter from Day 1 (total of 70 g)
30 g chickpea flour
40 g water
Day 3
all the starter from Days 1&2 (total of 140 g)
80 g 100% wholewheat flour
60 g water
Leavener
50 g whole wheat flour
50 g chickpea flour
150 bread flour
150 white whole wheat
all the bubbling arkatena starter from above (total of 160 g)
120 g water
Actual Dough
100 g whole wheat flour
150 g bread flour
20 g ground flax seed
300 g water, divided (keep back 25g for adding the salt)
all the leavener
10 g sea salt
2 g rosemary seeds used in waters
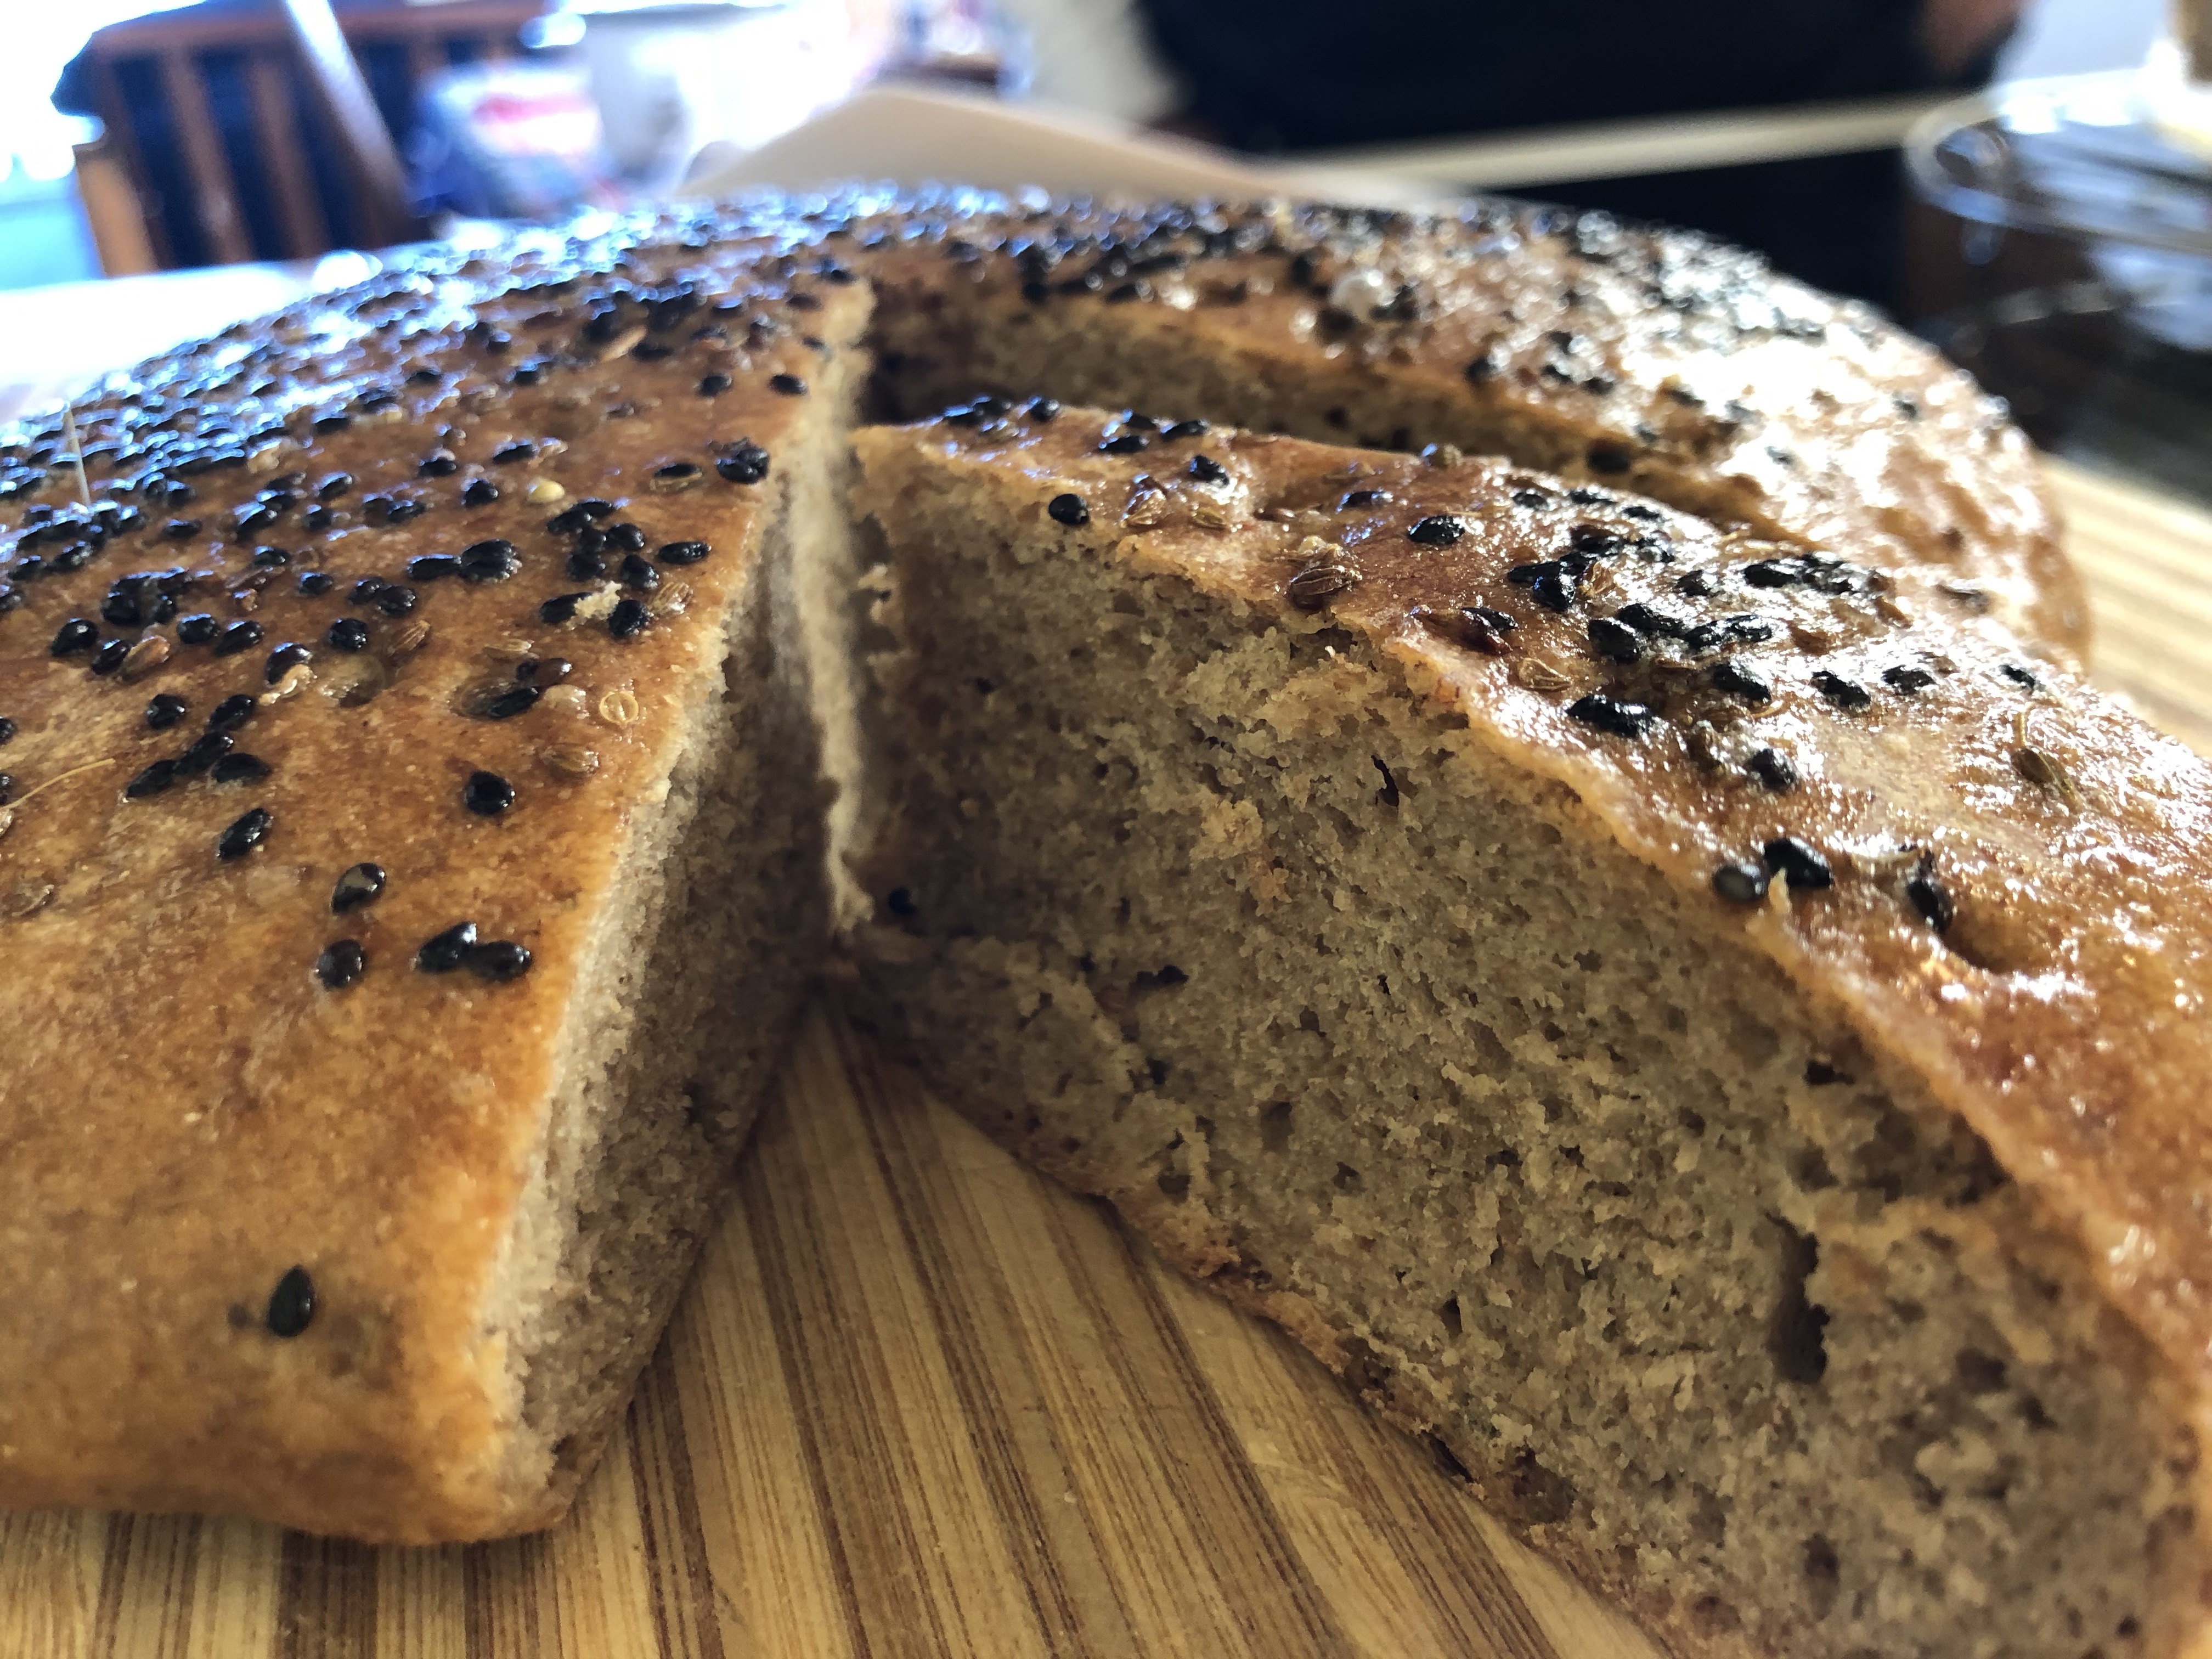
Topping white & black sesame seeds
Directions:
1. starter: In the late afternoon, three days before you will be baking the bread:
Put 30 grams chickpea flour (aka gram flour, besan) and 70 grams water into a medium-sized bowl. Use a wooden spoon to mix it together. Cover the bowl with a shower cap and wrap in towel to keep drafts off then left on counter with heat vent underneath – the counter is warmed by the vent.
2. In the late afternoon, two days before you will be baking the bread: Use a wooden spoon to stir 70 grams chickpea flour and 30 grams water into the mixture in the bowl. Re-cover the bowl with a shower cap and leave on warm counter top wrapped in towel.
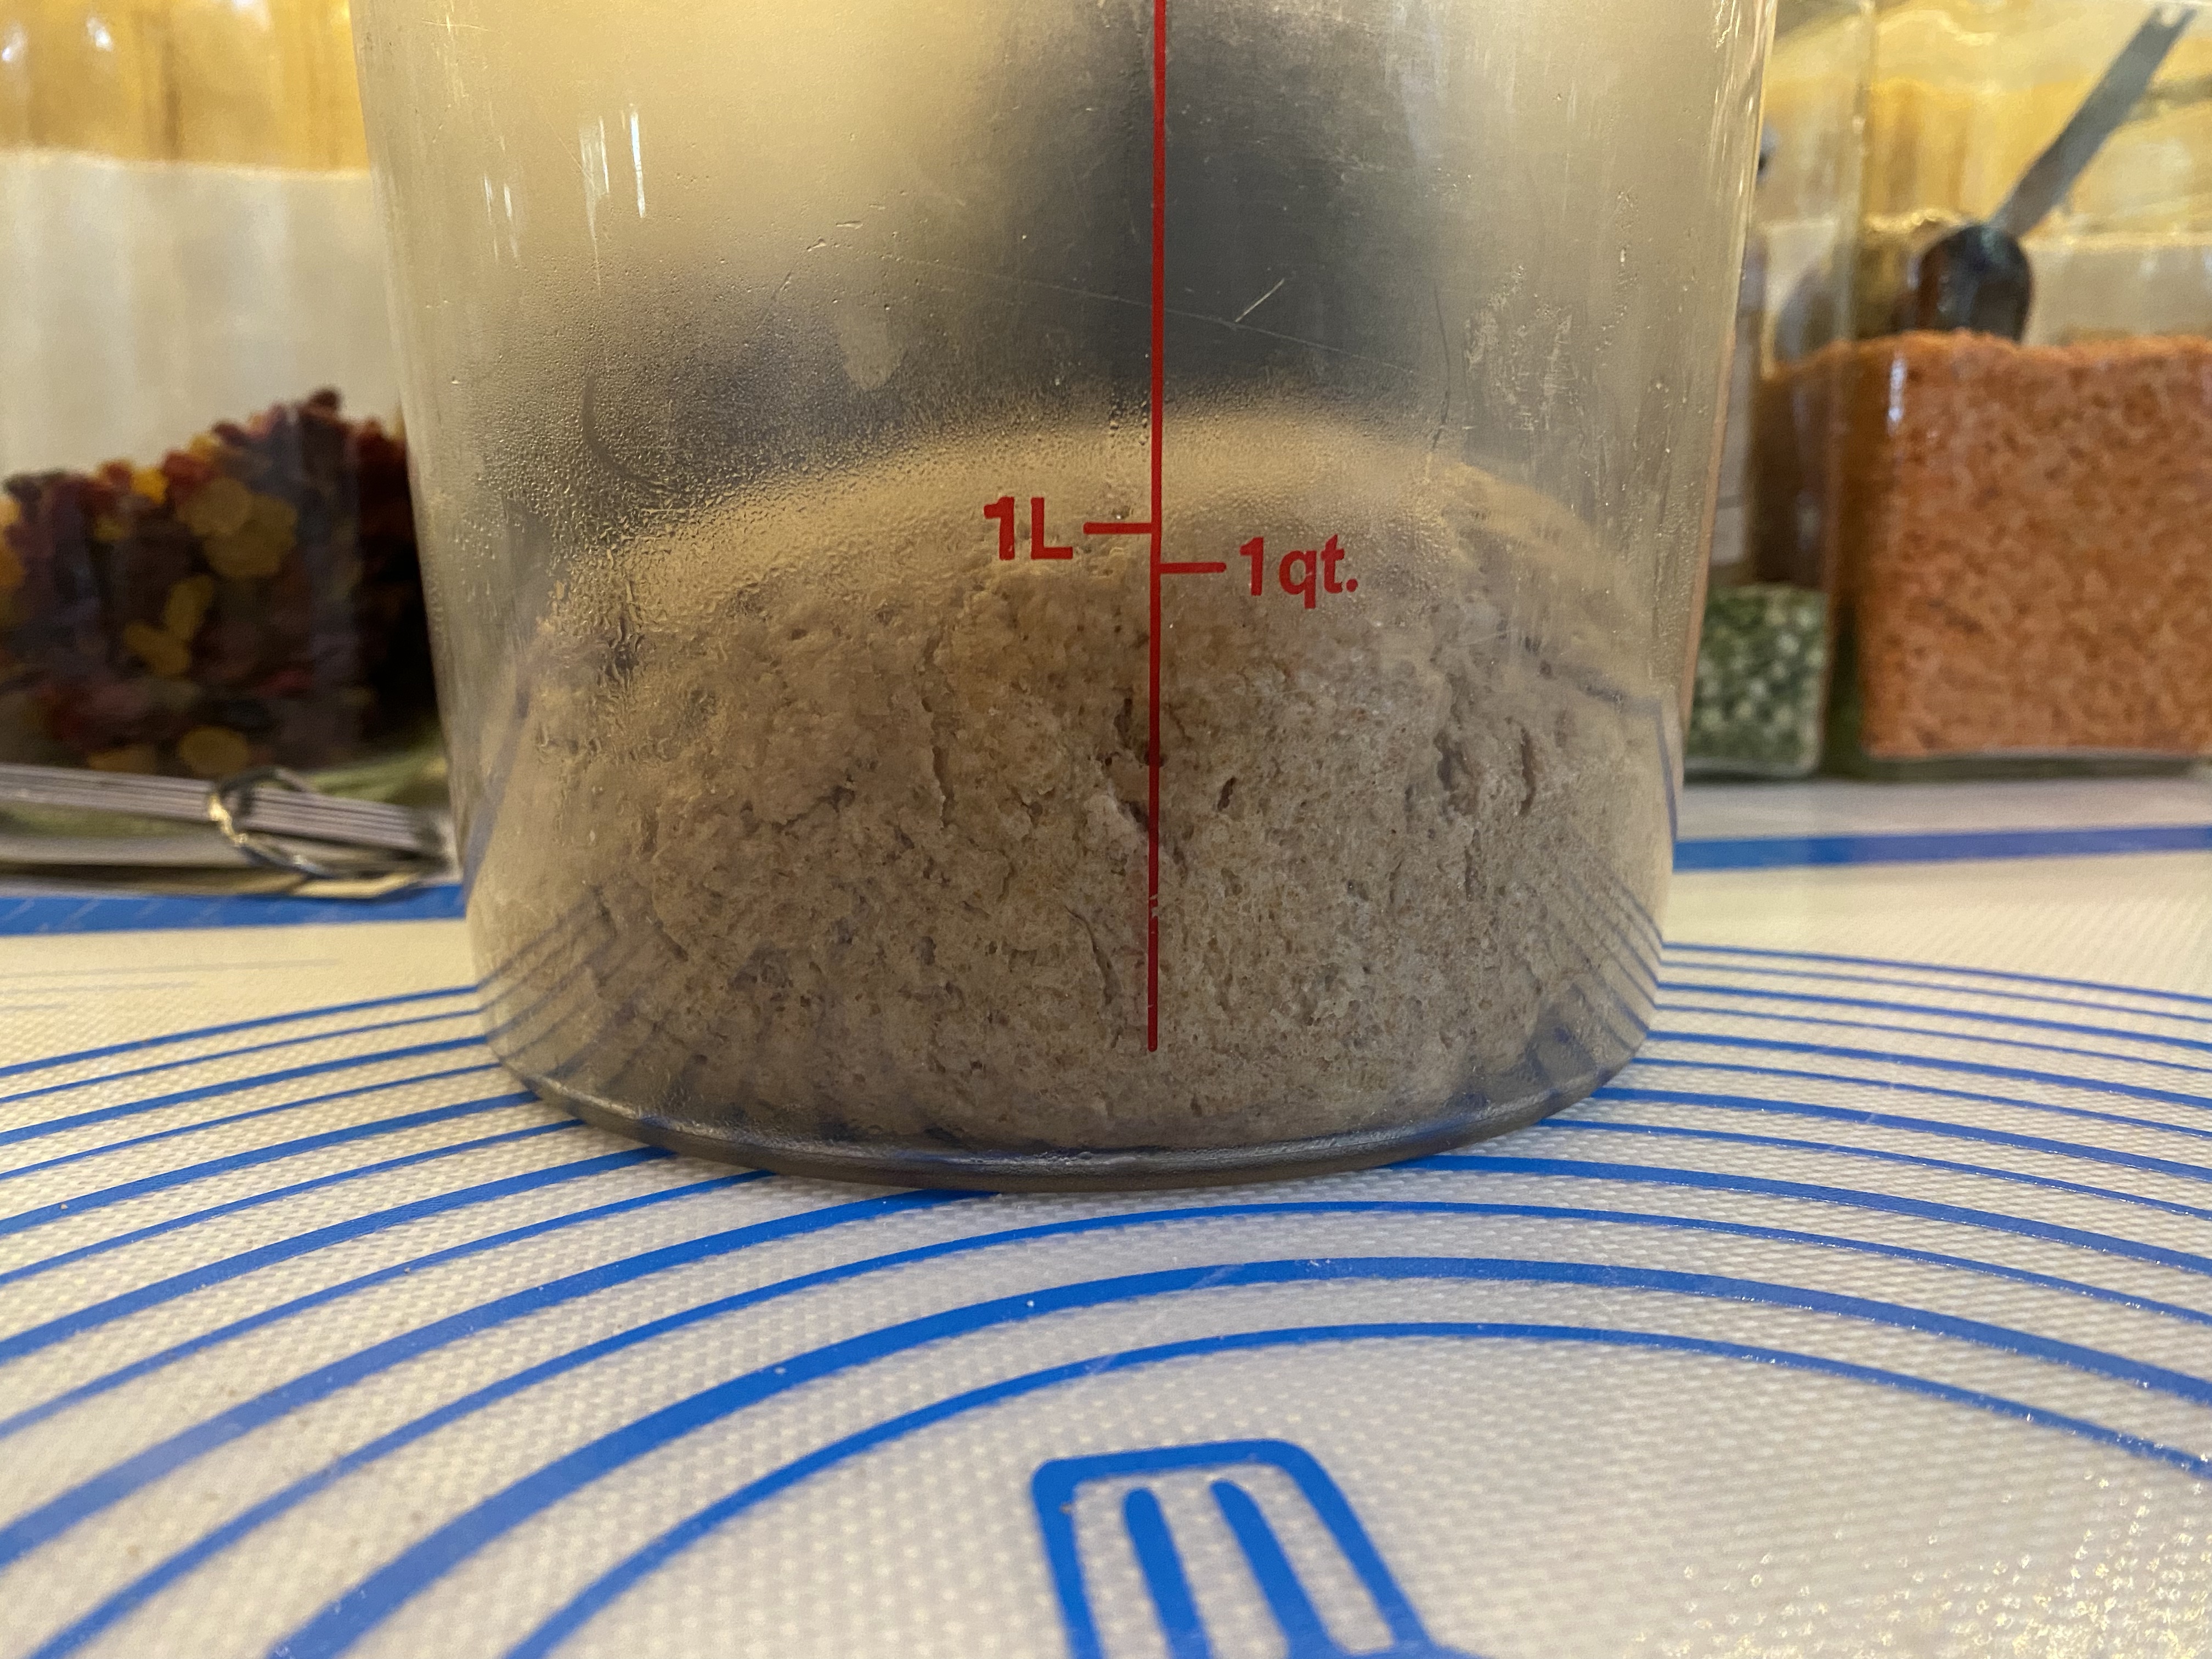
3. In the late afternoon, one day before you will be baking the bread: Use a wooden spoon to stir 80 grams whole wheat flour and 60 grams water into the mixture in the bowl. Re-cover the bowl with a shower cap and leave on warm counter. Andrew Whitley writes: After a few more hours fermentation, you should have a lively arkatena starter.
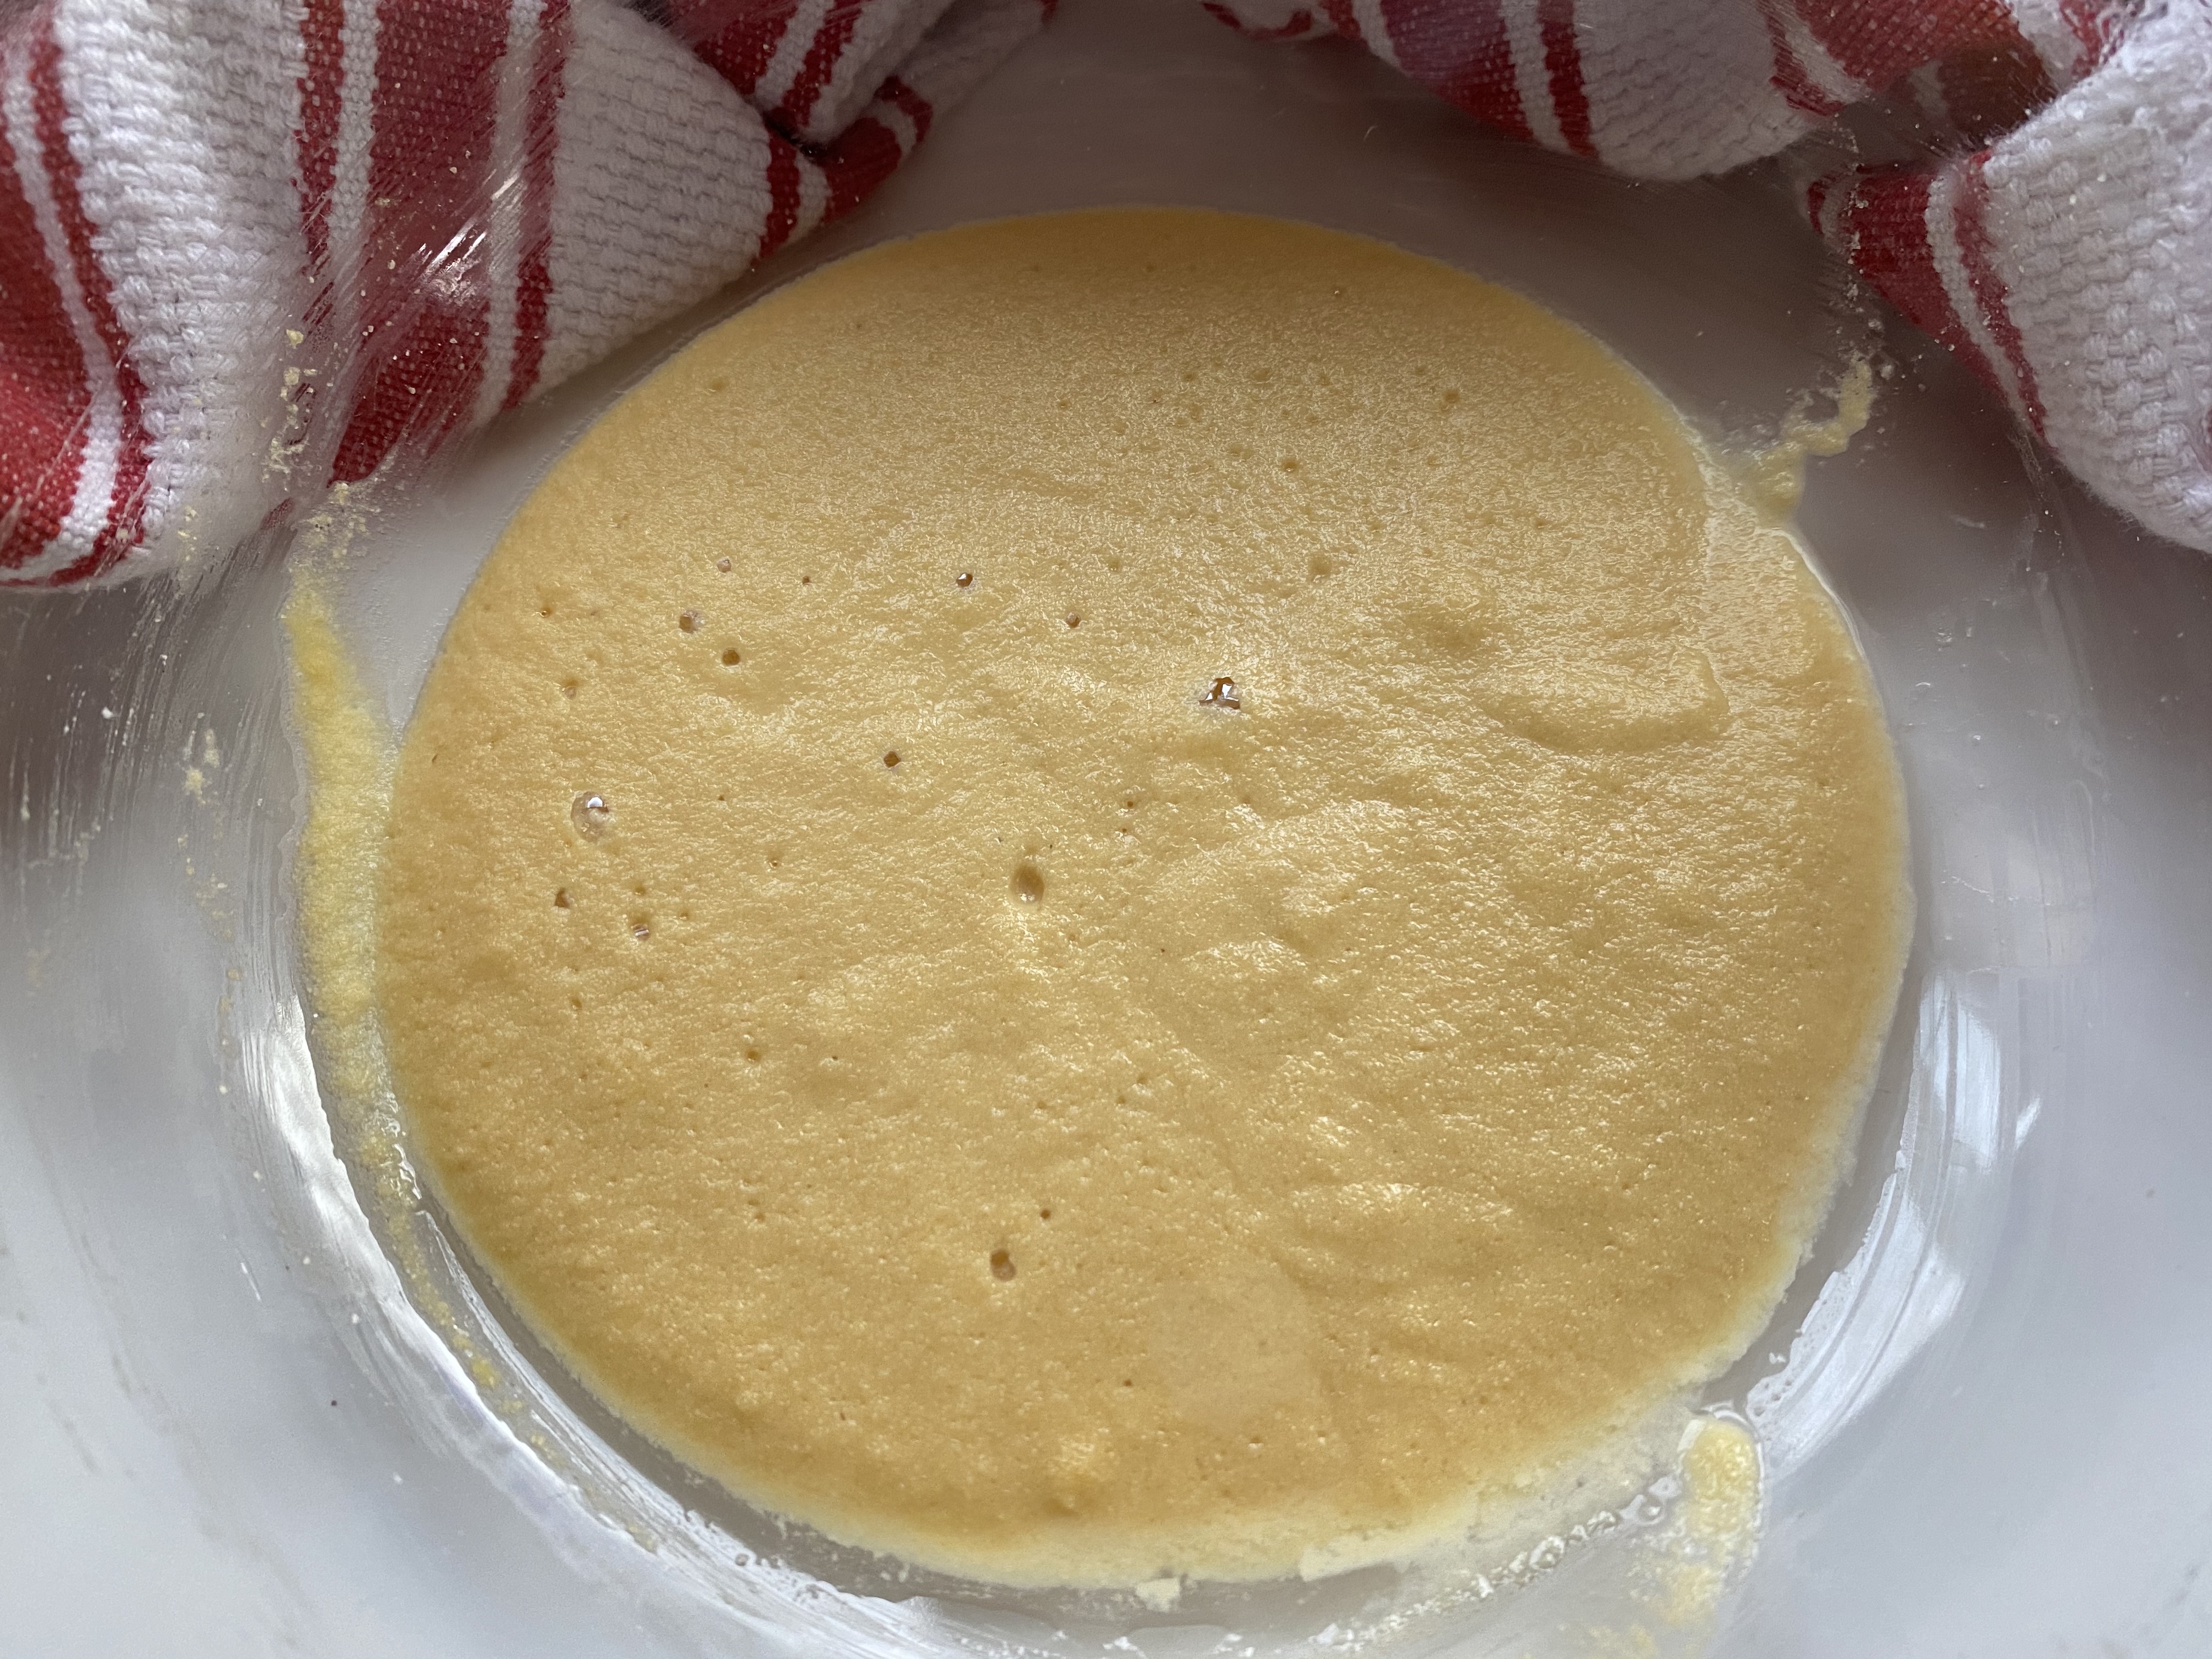
leavener: In the late evening of the day before you will be baking the bread, put all the leavener ingredients into a medium-sized bowl and stir with a wooden spoon to create dough.
Cover with a shower cap and left on a warm counter top. Whitley writes that this takes about 4 hours and that the leavener is ready when it has “expanded appreciably but not collapsed on itself“.
actual dough: In the morning of the day you will be baking the bread:
Put flours, wheat germ, the leavener, and all but 25 grams of water into a large mixing bowl. Stir with a dough whisk (or wooden spoon). Cover with a shower cap and set aside on the counter for 30 to 40 minutes. Several of the Babes commented that they had a very loose dough that made for a flat loaf. When I mixed this I thought it was DRY and might never come together but it finally did. At no time did I find this a loose dough, it held it’s shape very well for me. No idea why.
Adding the salt: In a small bowl, whisk the salt into the final 25 grams water. Pour the salt mixture over the dough.
Kneading: Use one of your hands to squoosh the salt and water into the dough; use the other hand to steady the bowl – this way you always have a clean hand. At first the dough might be a bit messy and seem like it’s coming apart. Persevere. Suddenly, it will seem more like dough than a horrible separated glop. Keep folding it over onto itself until it is relatively smooth. Cover with a shower cap and leave to rest for about 30 minutes.
Stretching and folding the dough: Turn the bowl as you fold and re-fold the dough into the center. Cover the bowl with a plate and leave on the counter (or if the kitchen is cool like ours in winter and spring, into the oven with only the light turned on). Repeat the folding step about 3 times in all at 30 minute intervals. You’ll notice that after each time, the dough will feel significantly smoother (in spite of the grains from the multi-grain cereal). After the final time of folding, the dough is ready to pre-shape.
Pre-shaping: Scatter a light dusting of all-purpose flour on the board and gently place the dough onto the board. Fold the dough over in half, gently patting off any extra flour that might be there. Continue folding in half until the dough is shaped in a ball. Cover with the bowl and let rest for about 30 minutes.
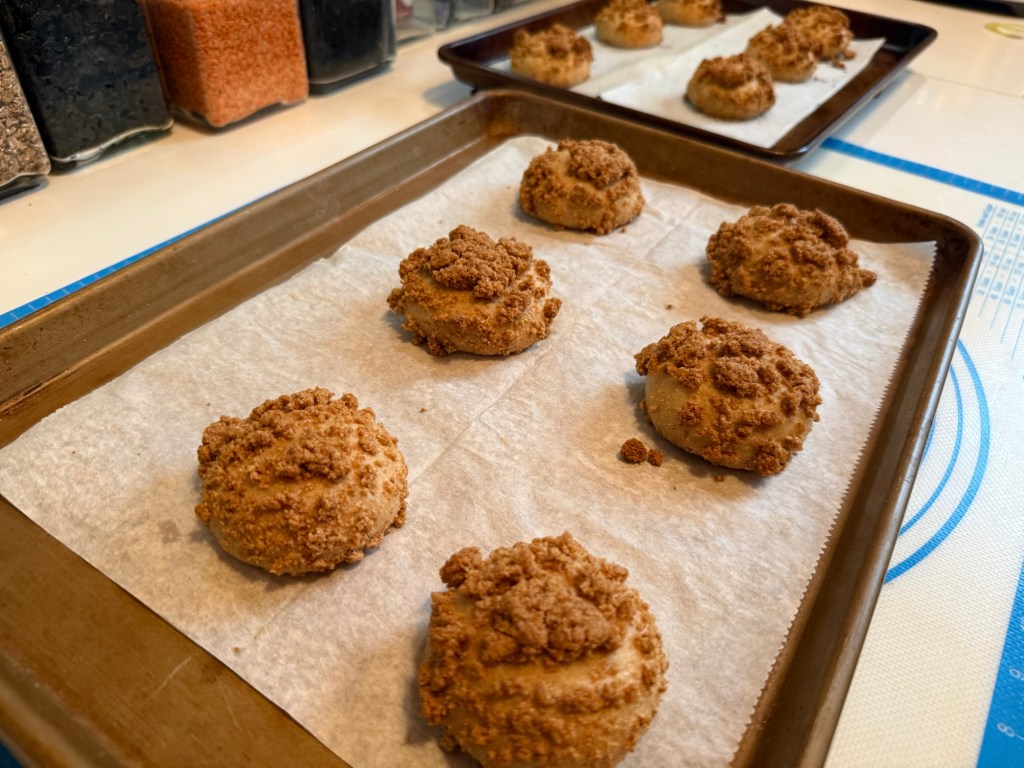
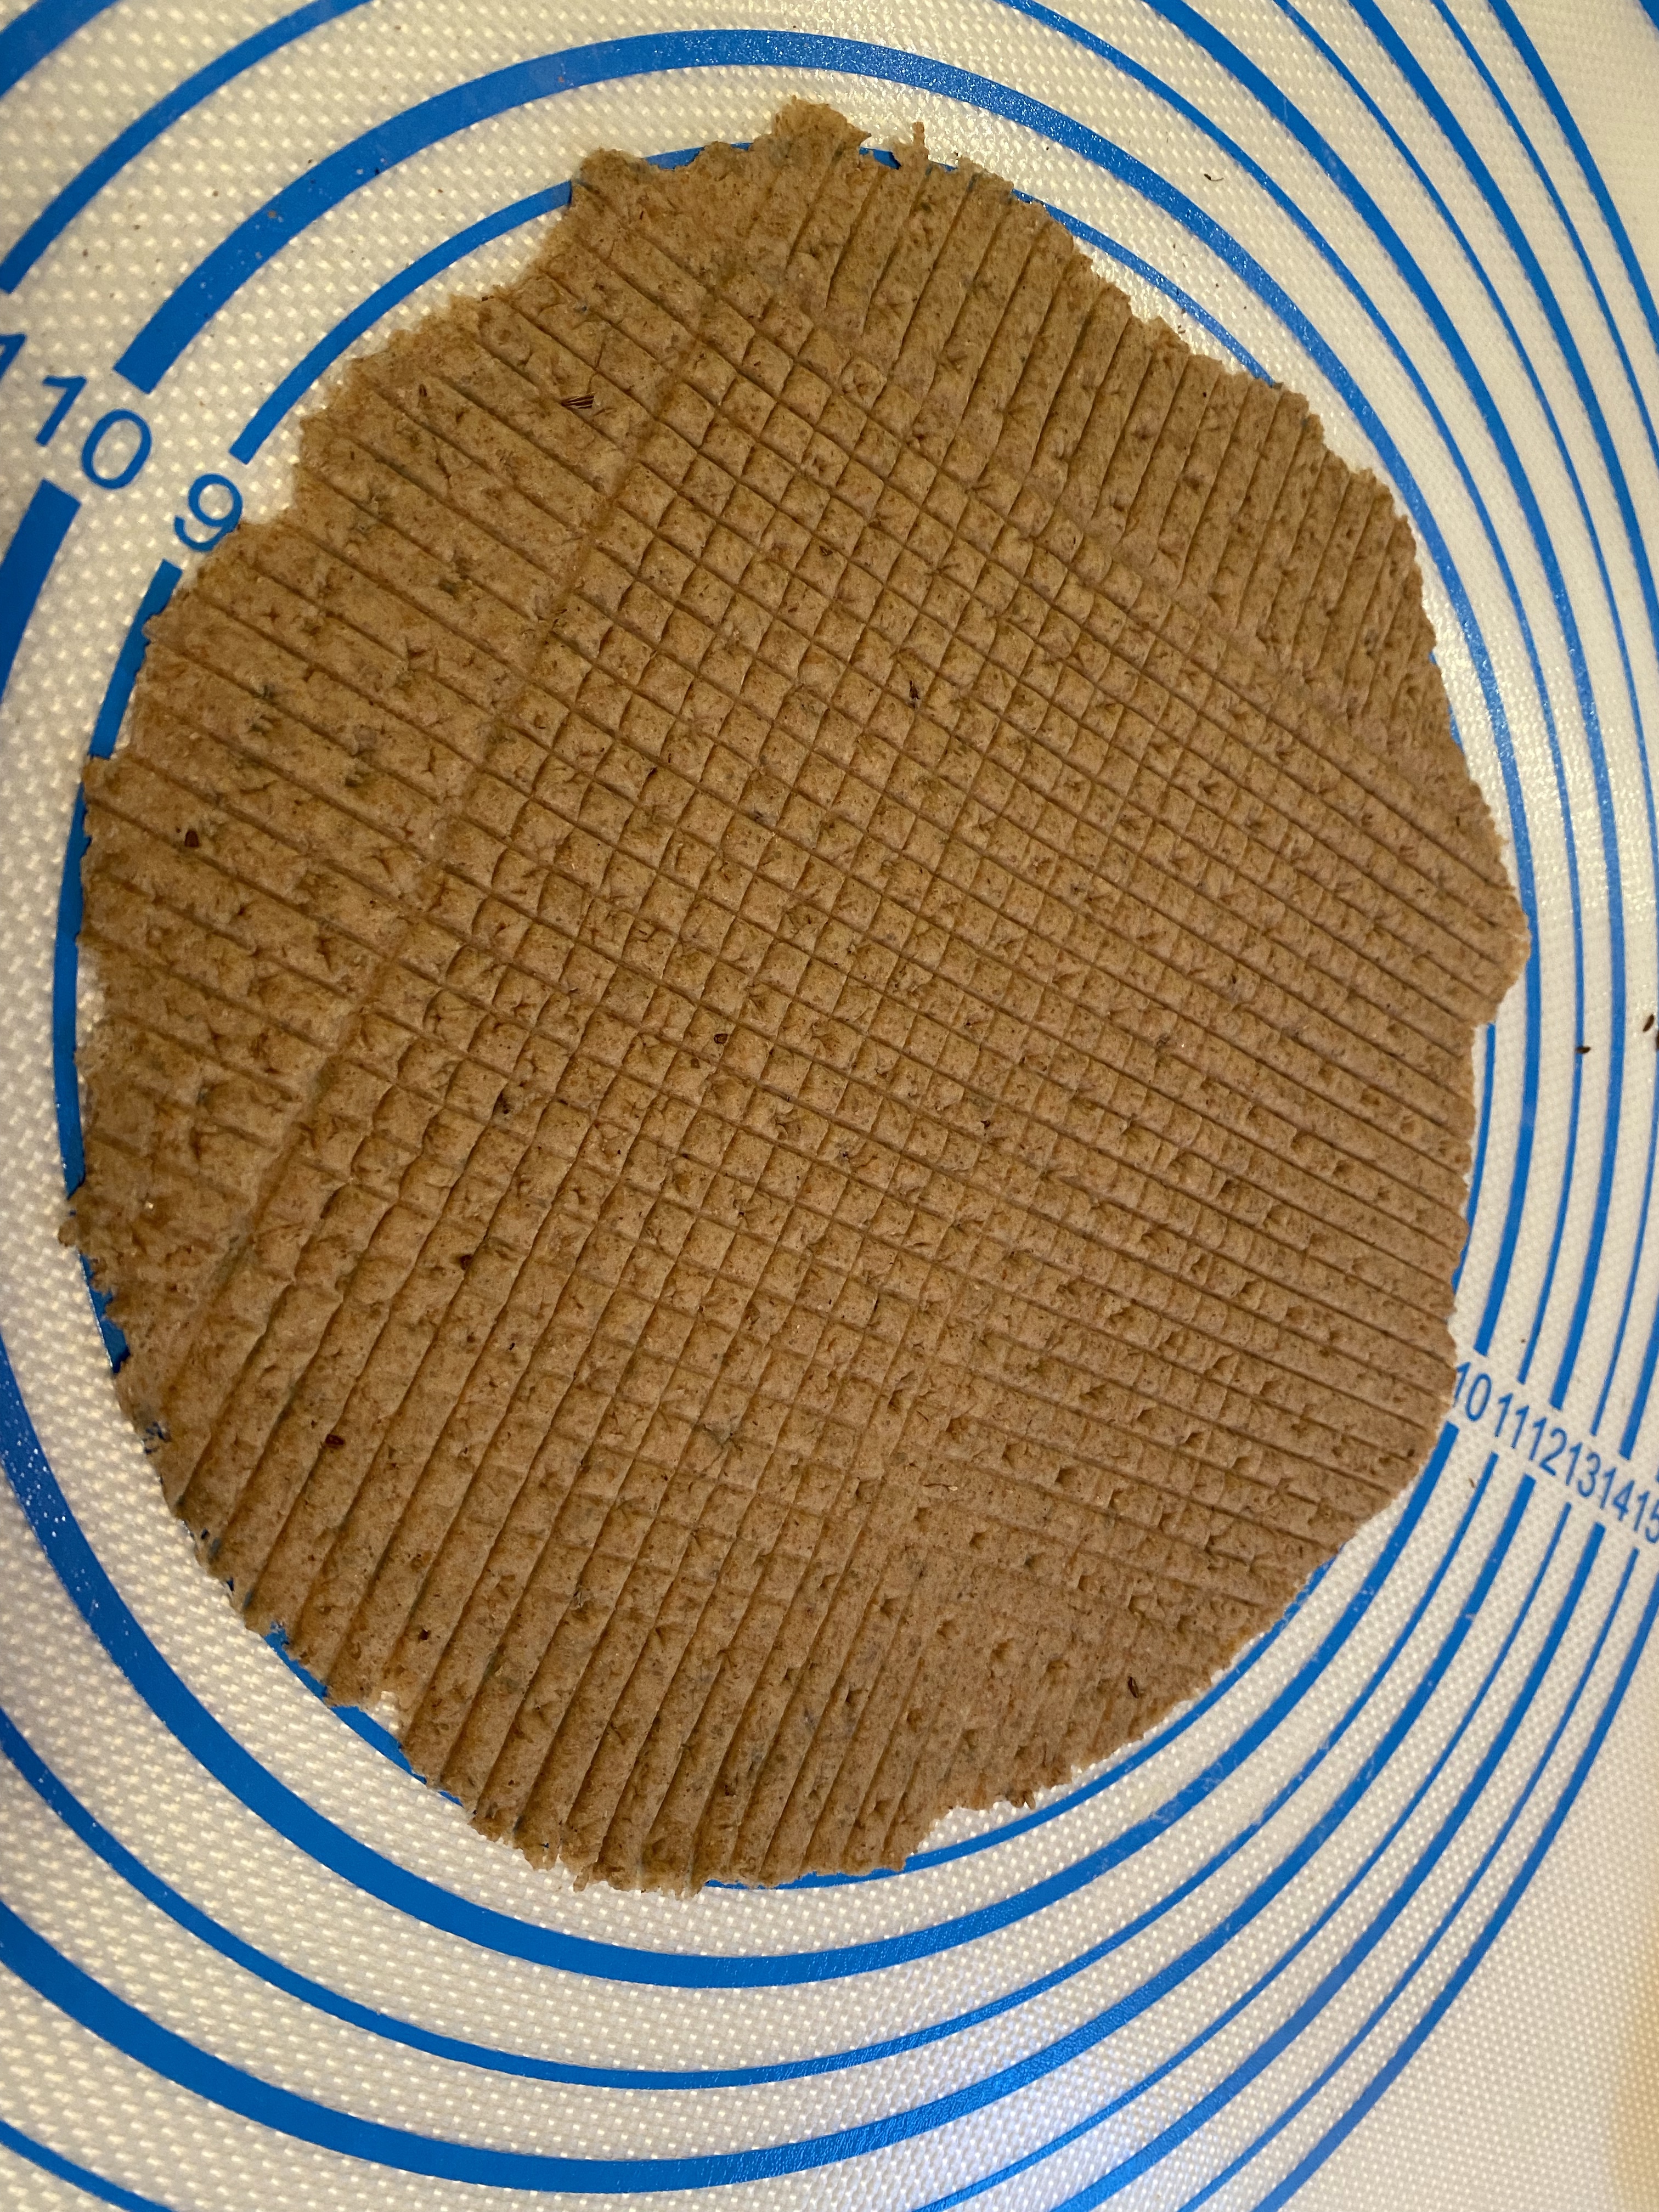
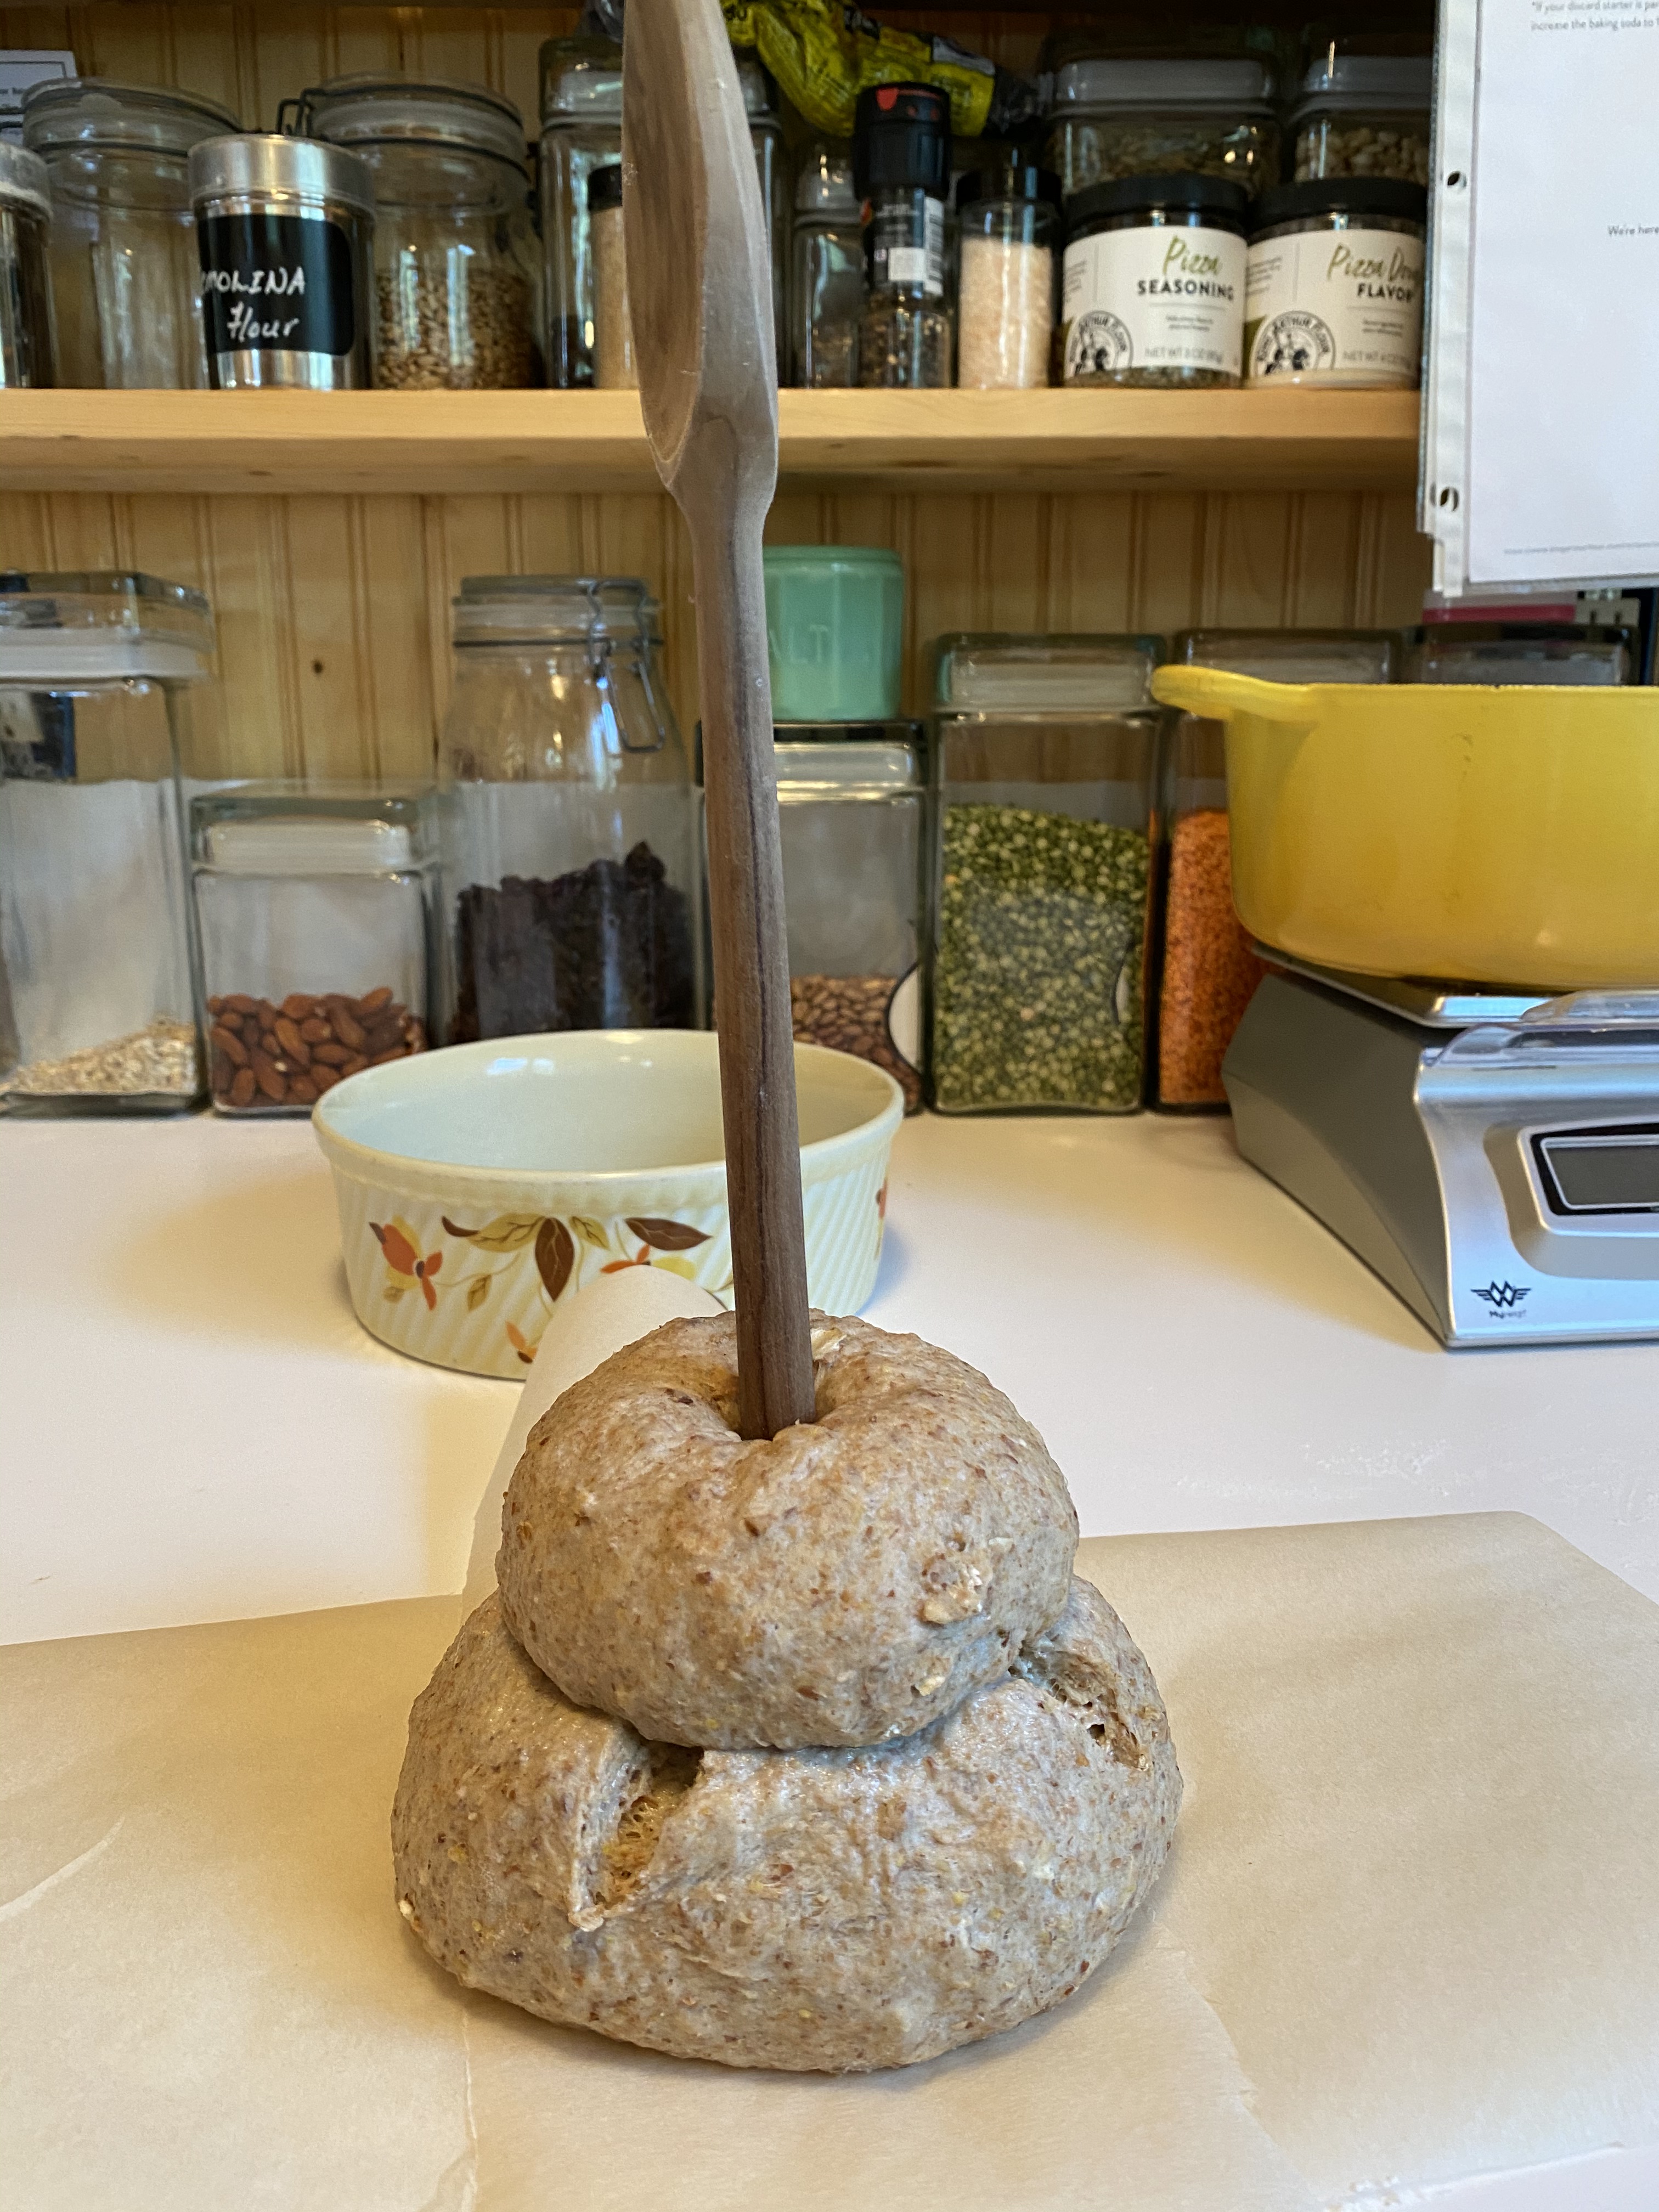
Shaping and adding the topping: Without breaking the skin, use the dough scraper on the sides to tighten the dough ball further. Once it has been tightened, run your hands under the cold water tap. Poke a hole the center of the ball to form a ring, then gently rub the top of the ring to wet it thoroughly. Cover the top with a single layer of sesame seeds. Lightly spray again before putting the shaped loaf onto a piece of parchment paper (or into a rice-floured brotform). Cover with the tea towel again and let sit for an hour or so to allow the loaf to almost double.
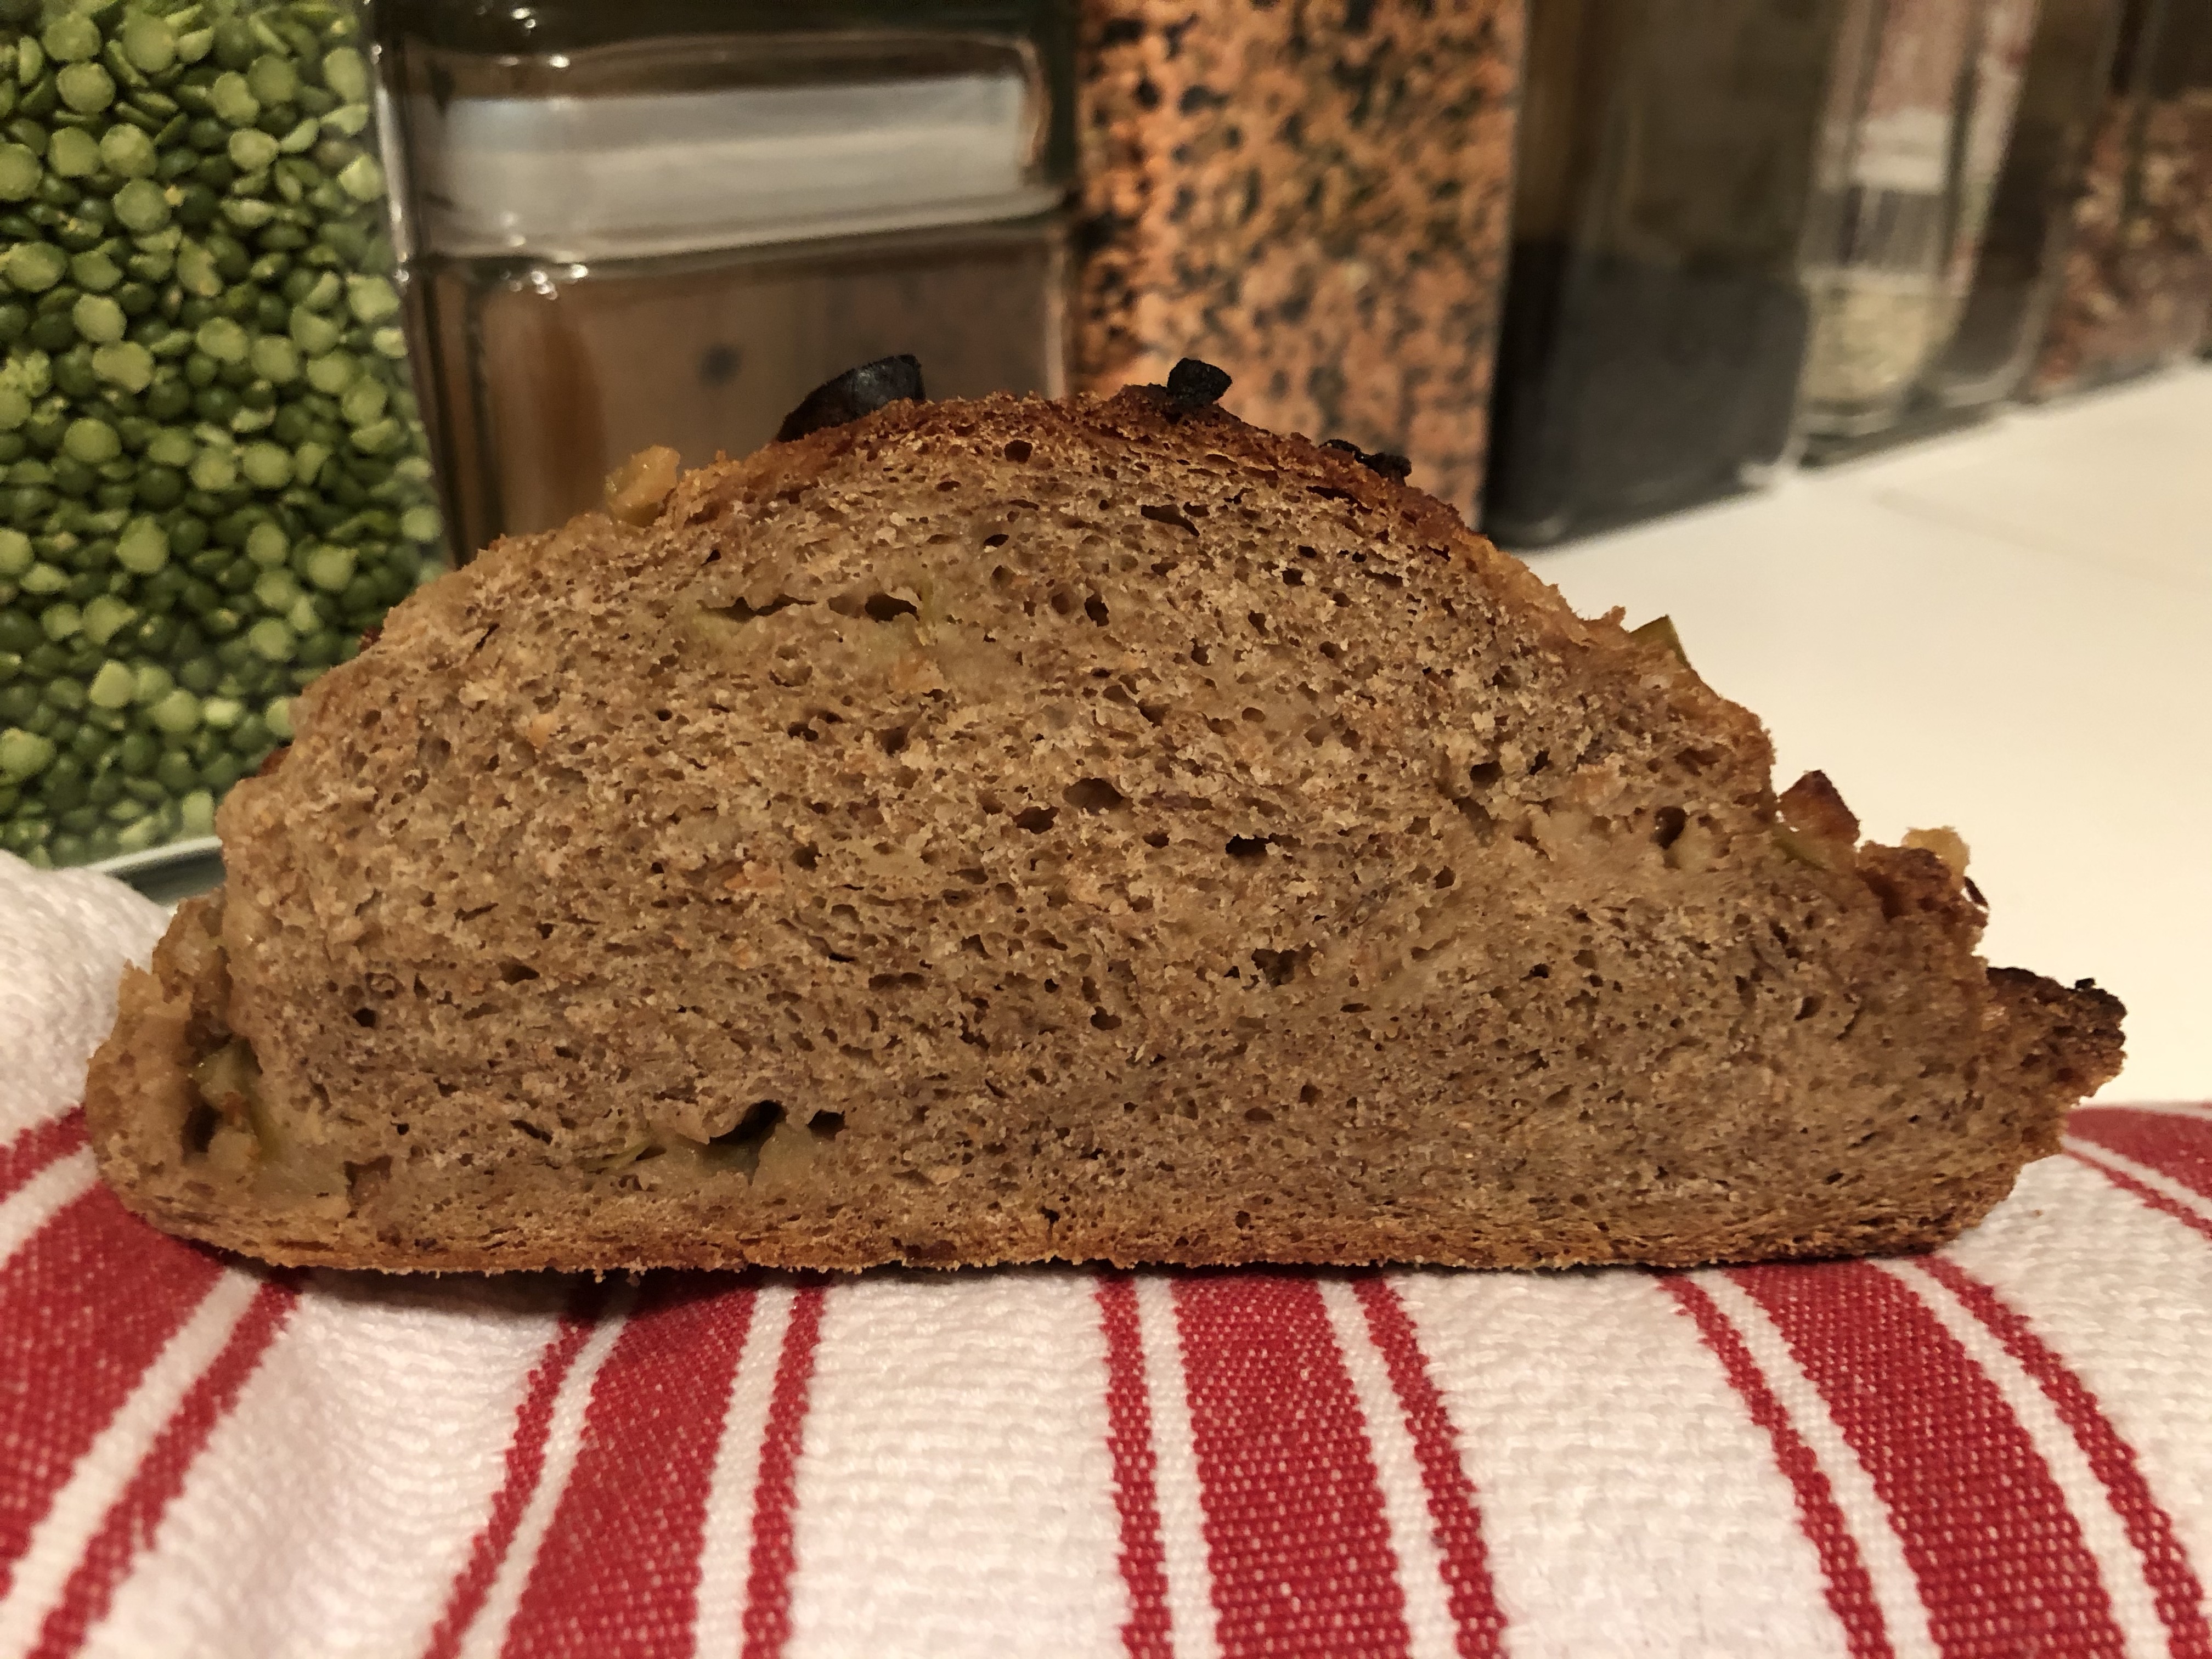
I used a glass to hold the hole open. Ultimately the hole closed in baking.
Baking: To know when it’s time to bake, run your index finger under water and gently but firmly press it on the side of the bread. If the dough springs back immediately, recover the bread with the tea towel and leave it in the oven with only the light turned on. If the dough gradually returns back after being pressed, leave the tray on the counter. Put cast-iron combo cooker and/or baking stone on the middle shelf of the oven and preheat to 400F. When the oven is preheated about fifteen minutes later:
First bake: I used a metal disk covered with parchment paper to shape my loaf. I placed a parchment sling (long strip of triple fold parchment) under the metal dish so I could lift the loaf and drop it into my cast iron cooker. Worked like a charm.
Second Bake: Freeform on Baking Stone: Transfer the shaped loaf onto the hot stone. Place an overturned stainless steel mixing bowl to cover the bread. Immediately turn the oven down to 375F. Bake for 30 minutes with the lid on. After 30 minutes, remove the lid and continue baking for another 30 minutes, until the crust is a lovely dark golden brown and the bread sounds hollow when knuckle-rapped on the bottom.
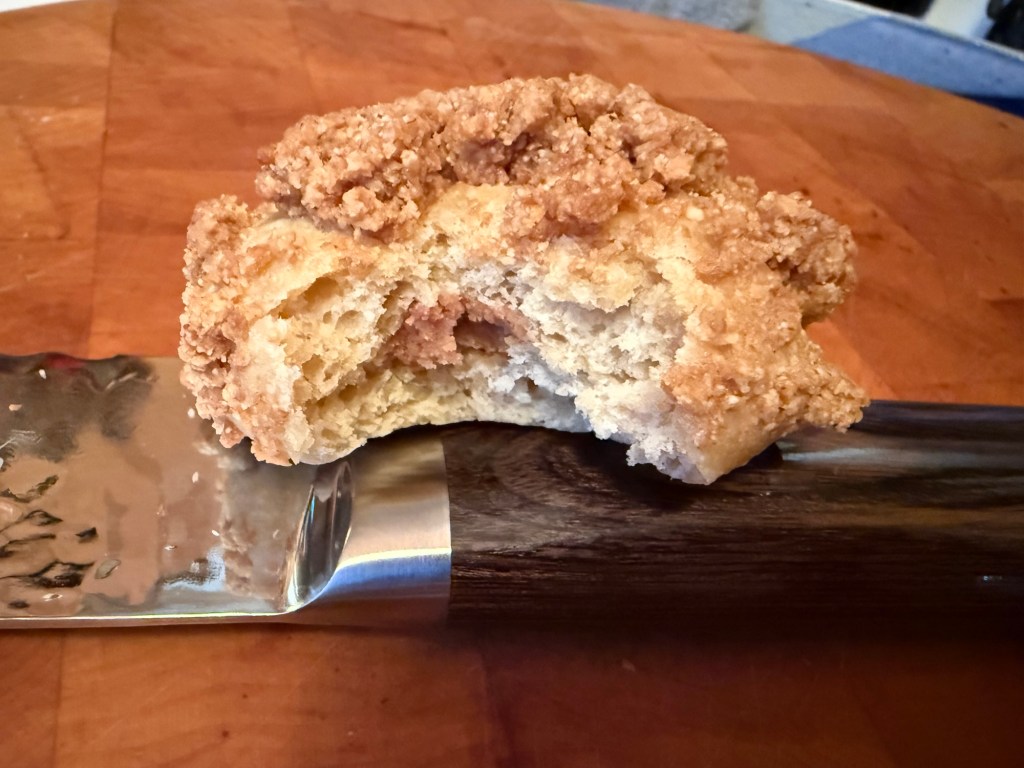
Cooling: When the bread has finished baking, remove it from the oven and allow it to cool on a footed rack before slicing and eating. The bread is still cooking internally when first removed from the oven!
I measured the internal temperature at 205° the first bake and 210° the second bake and took it out of the oven. Whole grain breads always need a higher internal temperature than white flour.
If you wish to serve warm bread (of course you do), reheat it after it has cooled completely: To reheat any uncut bread, turn the oven to 400F for 5 minutes or so. Turn the oven OFF. Put the bread into the hot oven for about ten minutes. This will rejuvenate the crust and warm the crumb perfectly.
4. leavener: In the late evening of the day before you will be baking the bread, put all the leavener ingredients into a medium-sized bowl and stir with a wooden spoon to create dough.
Cover with a shower cap and left on a warm counter top. Whitley writes that this takes about 4 hours and that the leavener is ready when it has “expanded appreciably but not collapsed on itself“.
5. actual dough: In the morning of the day you will be baking the bread:
Put flours, wheat germ, the leavener, and all but 25 grams of water into a large mixing bowl. Stir with a dough whisk (or wooden spoon). Cover with a shower cap and set aside on the counter for 30 to 40 minutes. Several of the Babes commented that they had a very loose dough that made for a flat loaf. When I mixed this I thought it was DRY and might never come together but it finally did. At no time did I find this a loose dough, it held it’s shape very well for me. No idea why.
6. Adding the salt: In a small bowl, whisk the salt into the final 25 grams water. Pour the salt mixture over the dough.
7. Kneading: Use one of your hands to squoosh the salt and water into the dough; use the other hand to steady the bowl – this way you always have a clean hand. At first the dough might be a bit messy and seem like it’s coming apart. Persevere. Suddenly, it will seem more like dough than a horrible separated glop. Keep folding it over onto itself until it is relatively smooth. Cover with a shower cap and leave to rest for about 30 minutes.
8. Stretching and folding the dough: Turn the bowl as you fold and re-fold the dough into the center. Cover the bowl with a plate and leave on the counter (or if the kitchen is cool like ours in winter and spring, into the oven with only the light turned on). Repeat the folding step about 3 times in all at 30 minute intervals. You’ll notice that after each time, the dough will feel significantly smoother (in spite of the grains from the multi-grain cereal). After the final time of folding, the dough is ready to pre-shape.
9. Pre-shaping: Scatter a light dusting of all-purpose flour on the board and gently place the dough onto the board. Fold the dough over in half, gently patting off any extra flour that might be there. Continue folding in half until the dough is shaped in a ball. Cover with the bowl and let rest for about 30 minutes.
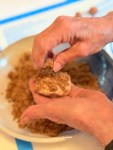
10. Shaping and adding the topping: Without breaking the skin, use the dough scraper on the sides to tighten the dough ball further. Once it has been tightened, run your hands under the cold water tap. Poke a hole the center of the ball to form a ring, then gently rub the top of the ring to wet it thoroughly. Cover the top with a single layer of sesame seeds. Lightly spray again before putting the shaped loaf onto a piece of parchment paper (or into a rice-floured brotform). Cover with the tea towel again and let sit for an hour or so to allow the loaf to almost double.
11. First Bake: I used a glass to hold the hole open. Ultimately the hole closed in baking.
Second Bake: I used a round ring banneton with the shaped dough for the last rise. Beautiful hole!
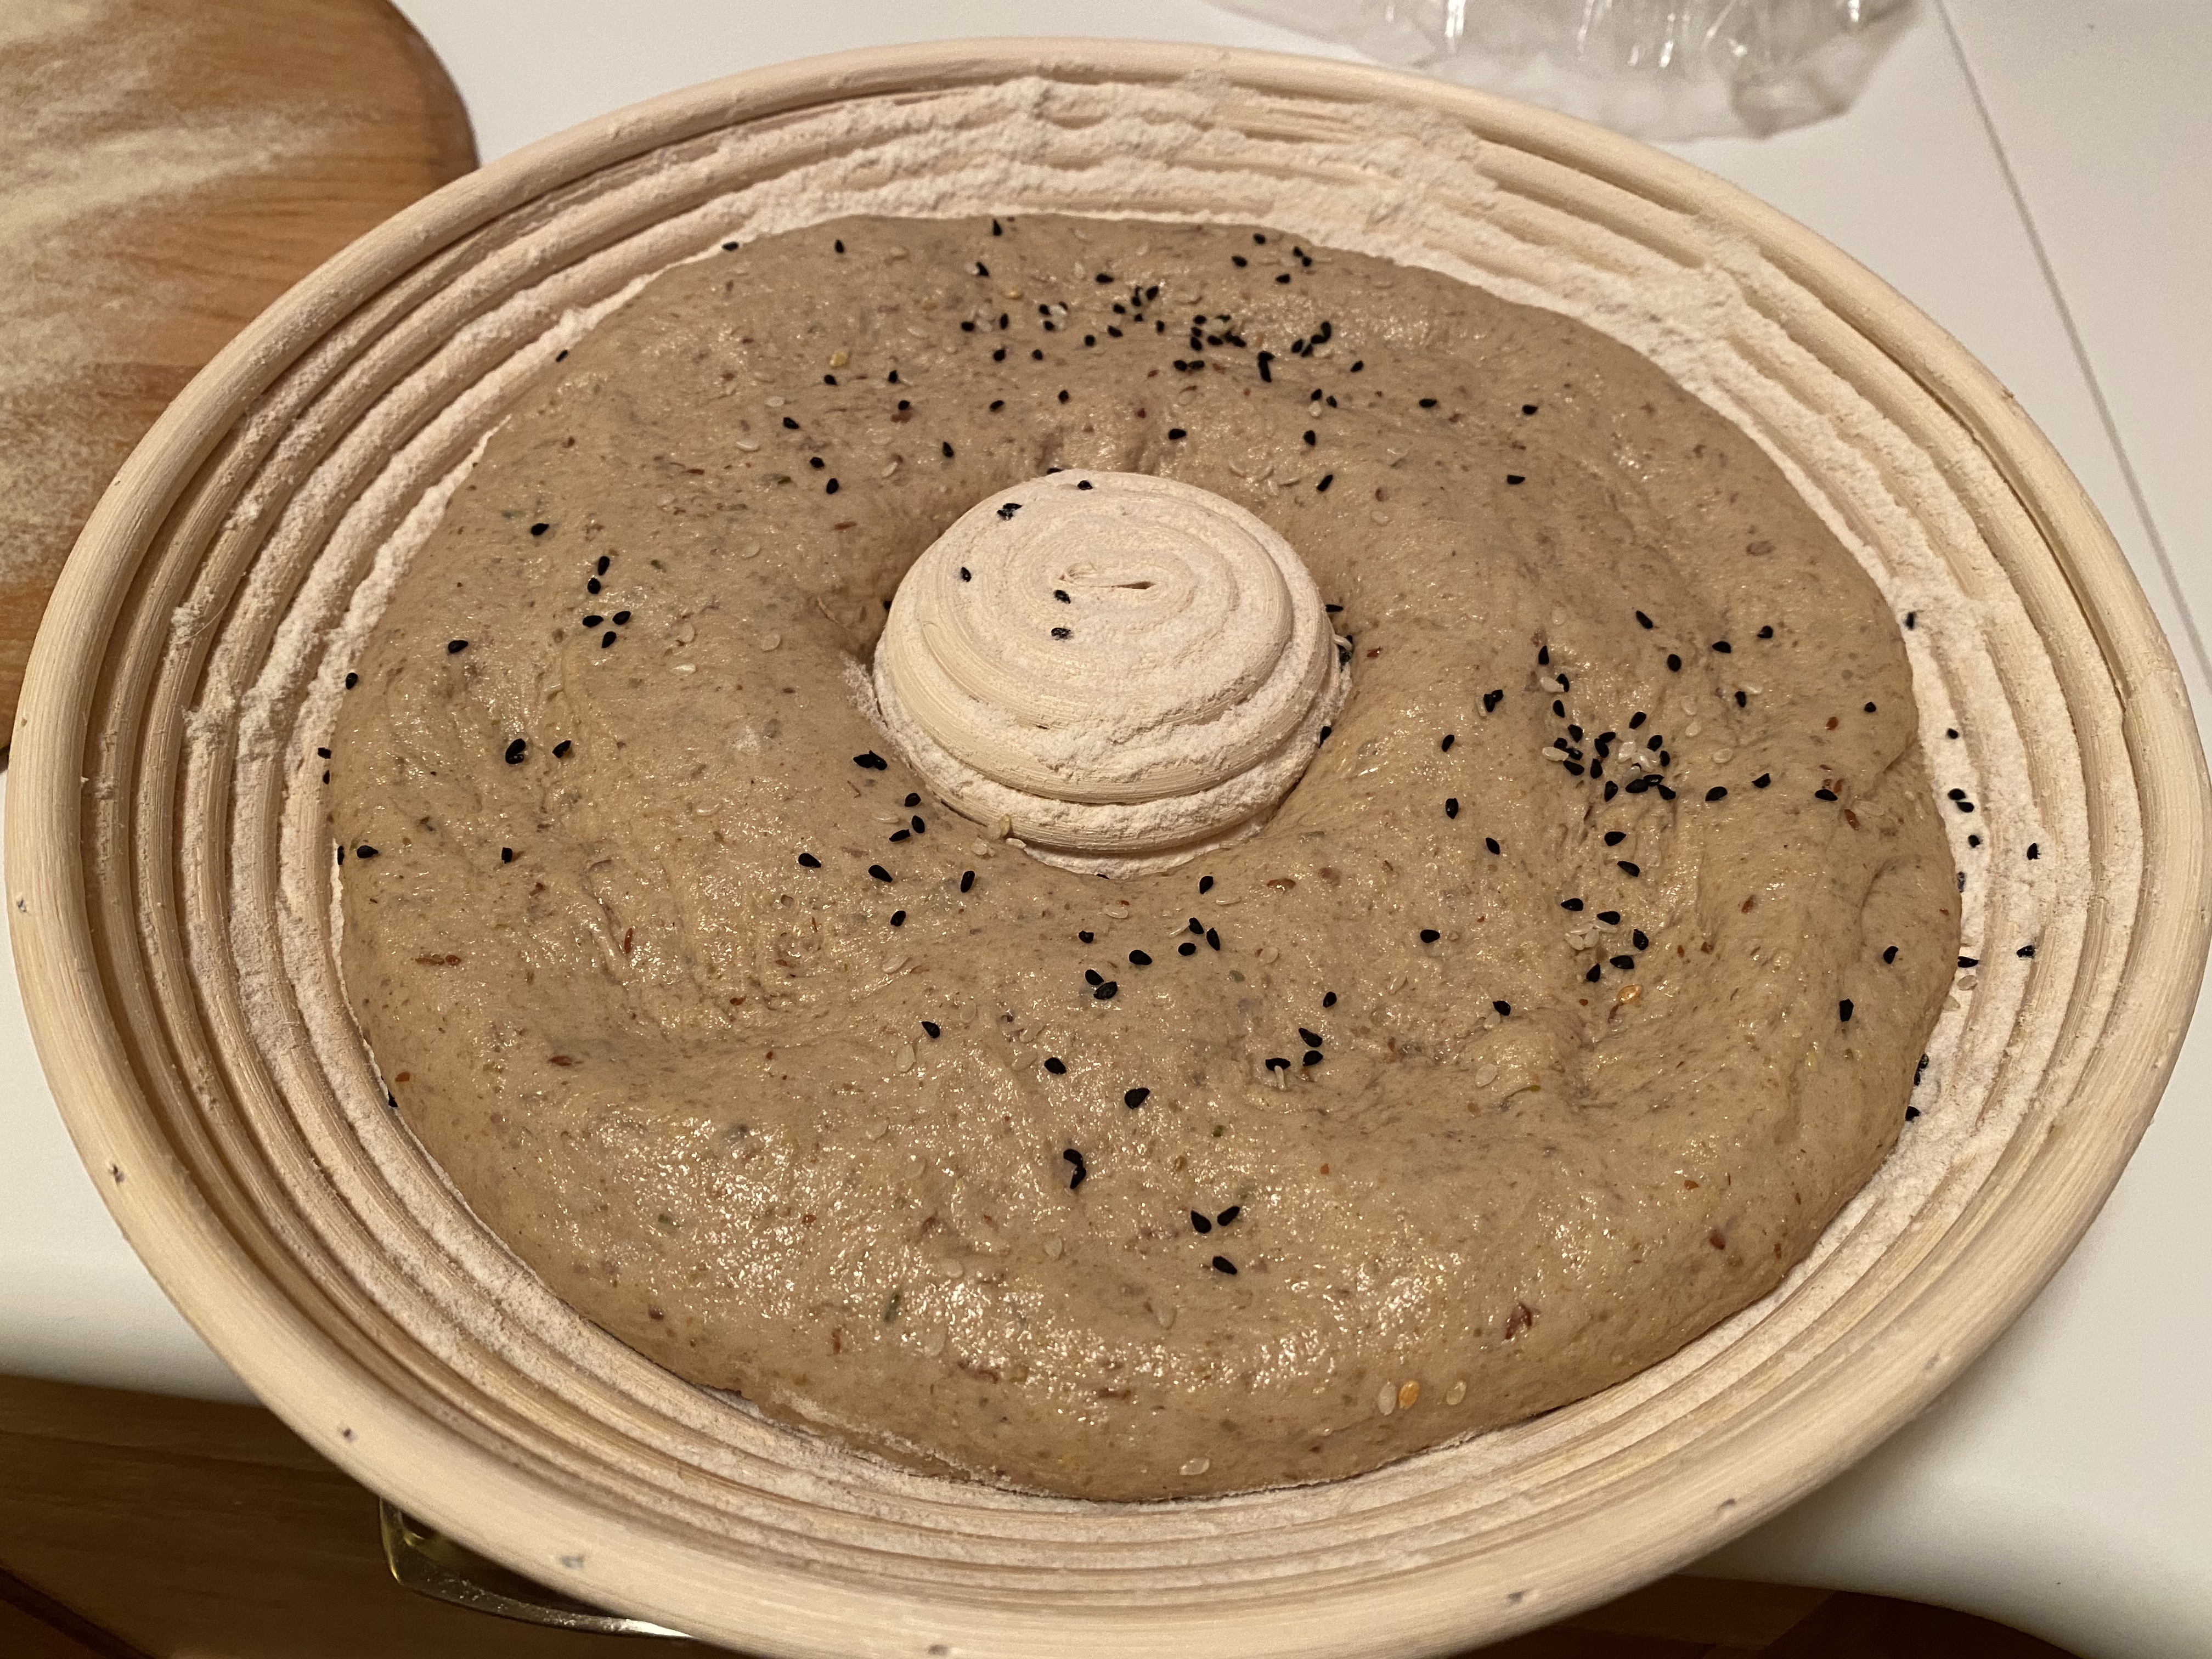
Can’t believe how much difference the banneton made in the final bread. I really laid the rice flour on.
12. Baking: To know when it’s time to bake, run your index finger under water and gently but firmly press it on the side of the bread. If the dough springs back immediately, recover the bread with the tea towel and leave it in the oven with only the light turned on. If the dough gradually returns back after being pressed, leave the tray on the counter. Put cast-iron combo cooker and/or baking stone on the middle shelf of the oven and preheat to 400F. When the oven is preheated about fifteen minutes later.
13. First bake: I used a metal disk covered with parchment paper to shape my loaf. I placed a parchment sling (long strip of triple fold parchment) under the metal dish so I could lift the loaf and drop it into my cast iron cooker. Worked like a charm.
Second Bake: Freeform on Baking Stone: Transfer the shaped loaf onto the hot stone. Place an overturned stainless steel mixing bowl to cover the bread. Immediately turn the oven down to 375F. Bake for 30 minutes with the lid on. After 30 minutes, remove the lid and continue baking for another 30 minutes, until the crust is a lovely dark golden brown and the bread sounds hollow when knuckle-rapped on the bottom.

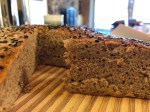
2nd Bake

2nd Bake
14. Cooling: When the bread has finished baking, remove it from the oven and allow it to cool on a footed rack before slicing and eating. The bread is still cooking internally when first removed from the oven!
I measured the internal temperature at 205° the first bake and 210° the second bake and took it out of the oven. Whole grain breads always need a higher internal temperature than white flour.
If you wish to serve warm bread (of course you do), reheat it after it has cooled completely: To reheat any uncut bread, turn the oven to 400F for 5 minutes or so. Turn the oven OFF. Put the bread into the hot oven for about ten minutes. This will rejuvenate the crust and warm the crumb perfectly.

2nd Bake

2nd Bake

1st Bake

1st Bake
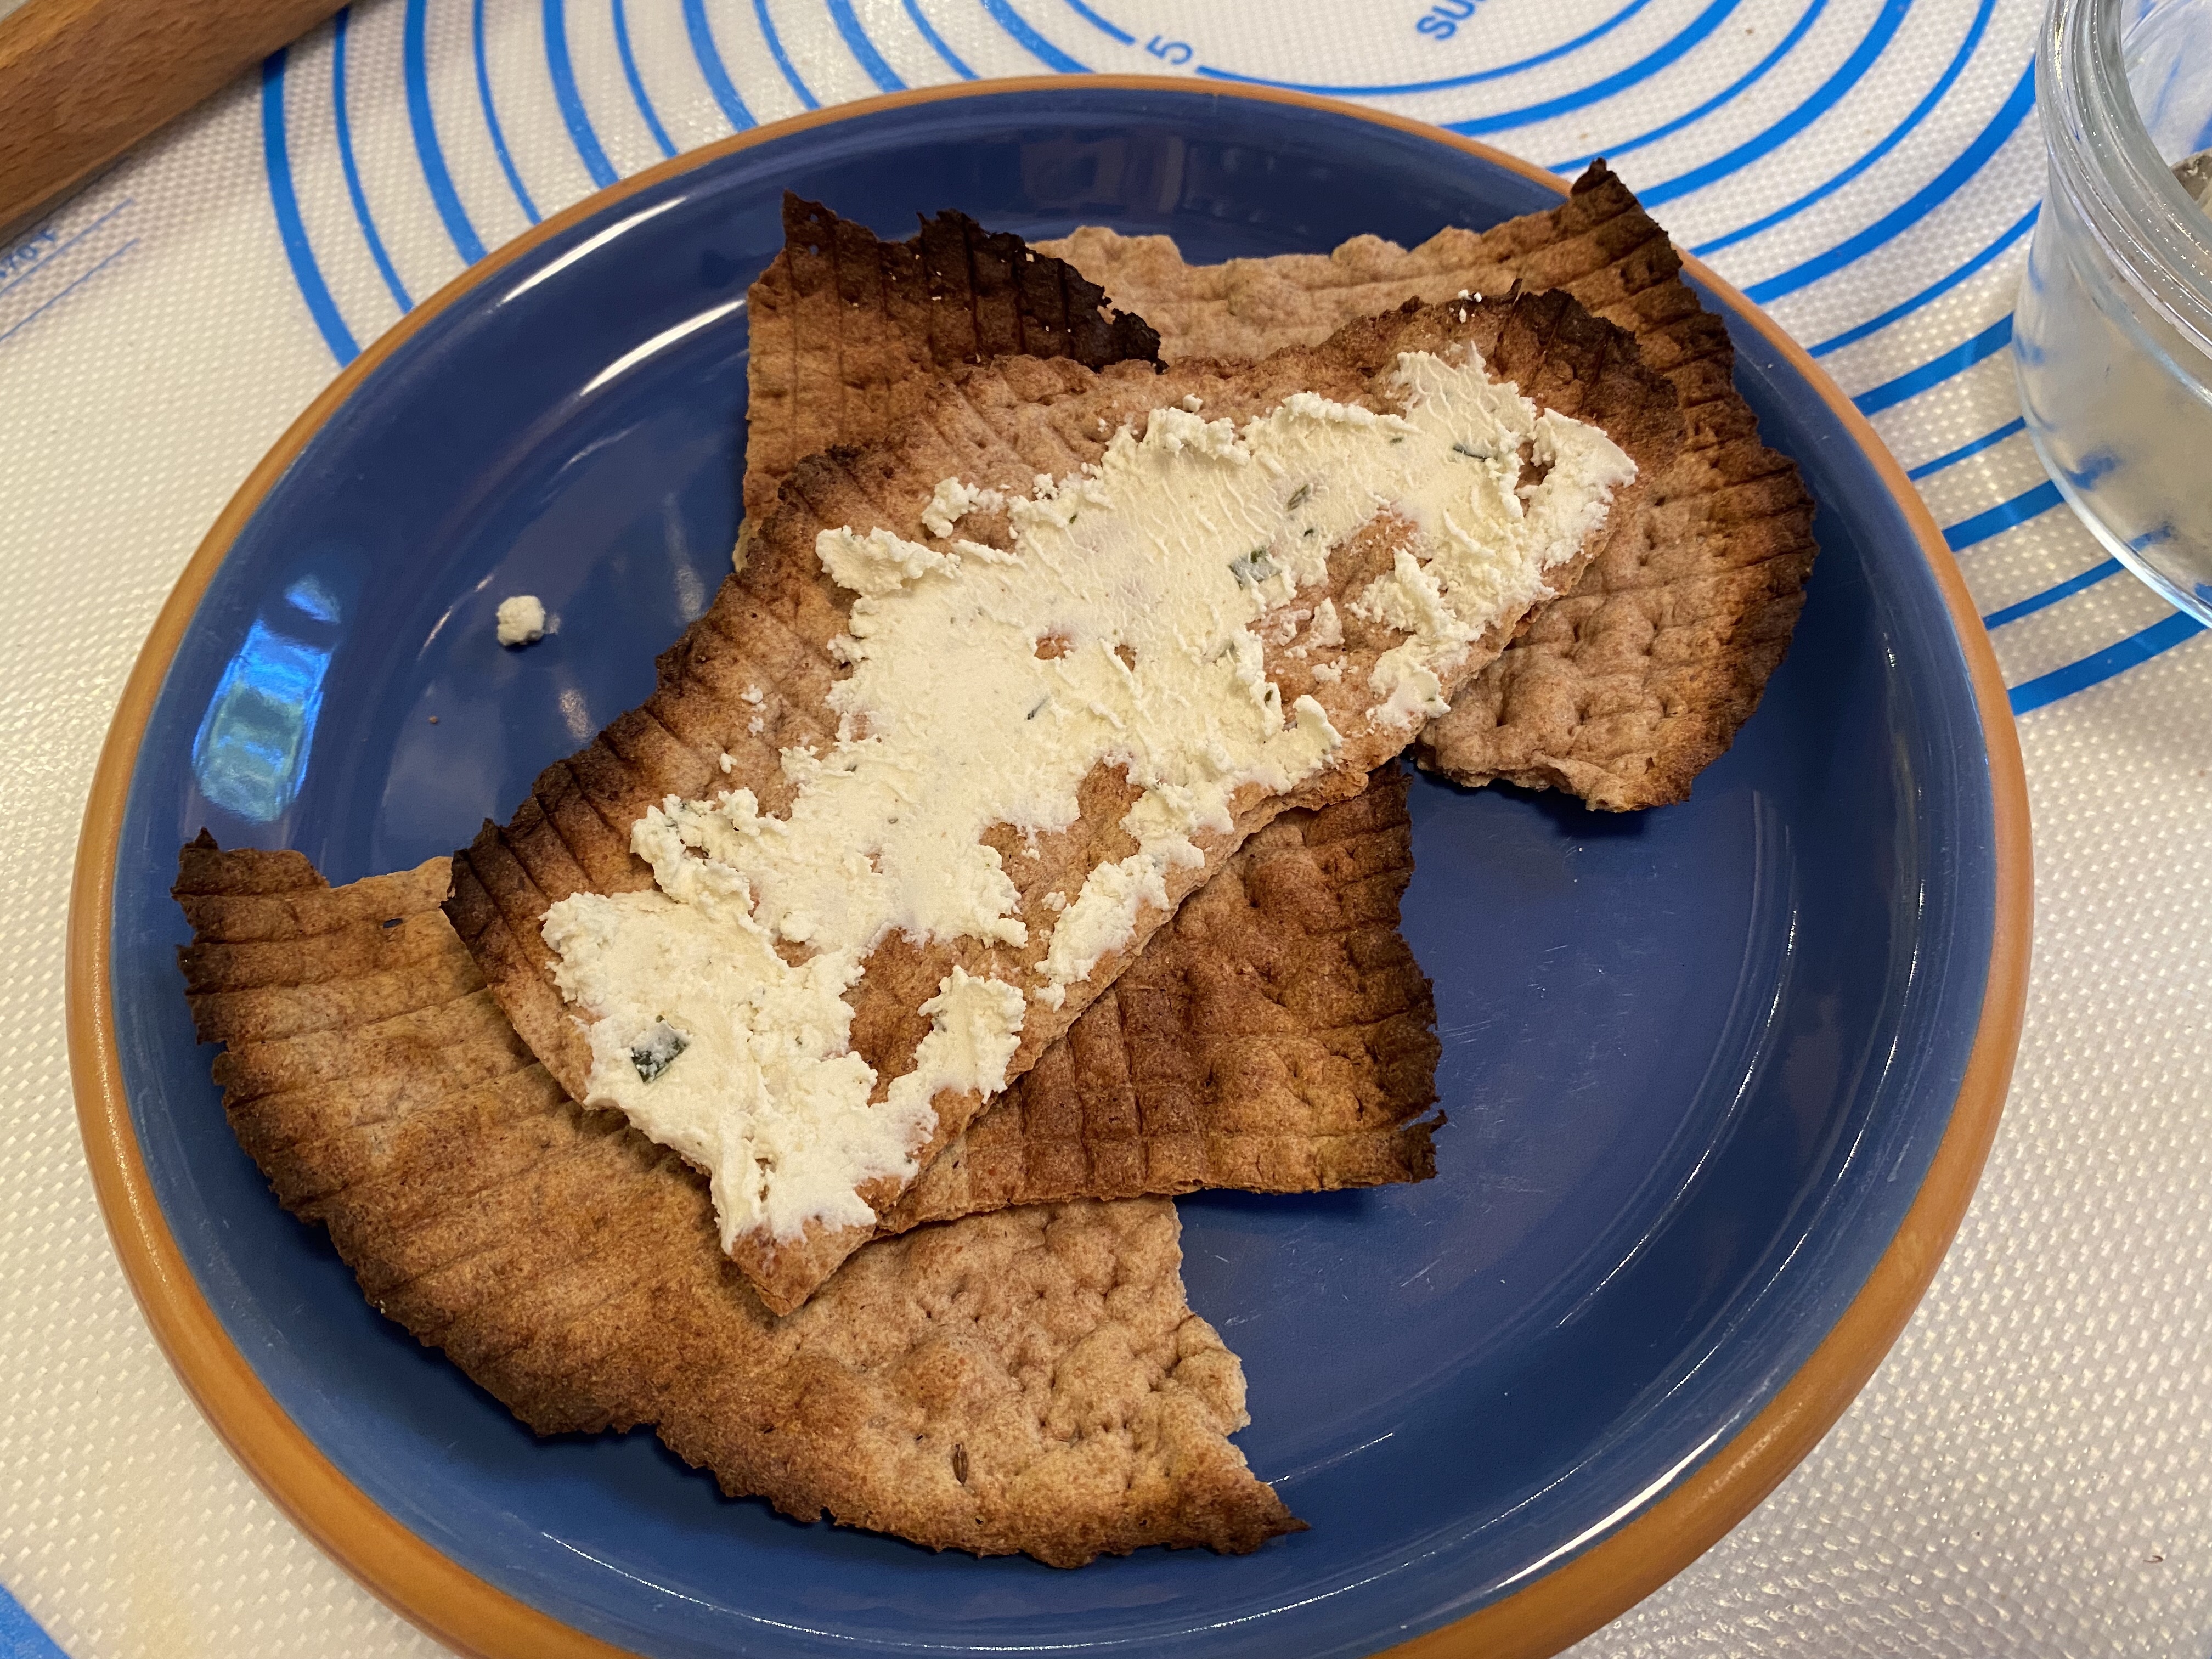
By the way, Wolfert’s book has some amazing bread recipes and some beautiful other dishes to go with the breads.


 Please note that the Chickpea starter takes 3 days to create.