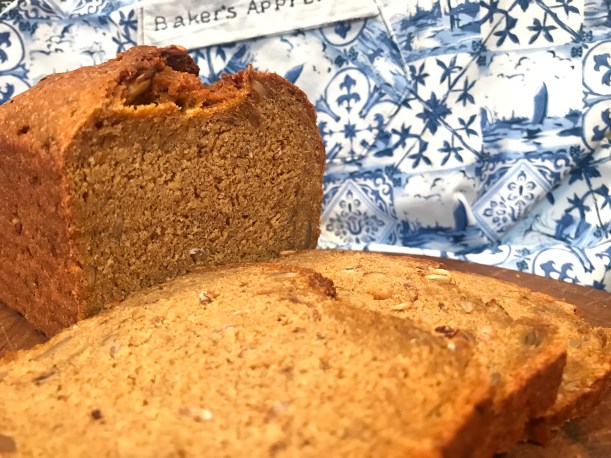
Filipino Spanish Bread Rolls
I confess. These didn’t immediately excite me but they are bread and a Babe should bake.
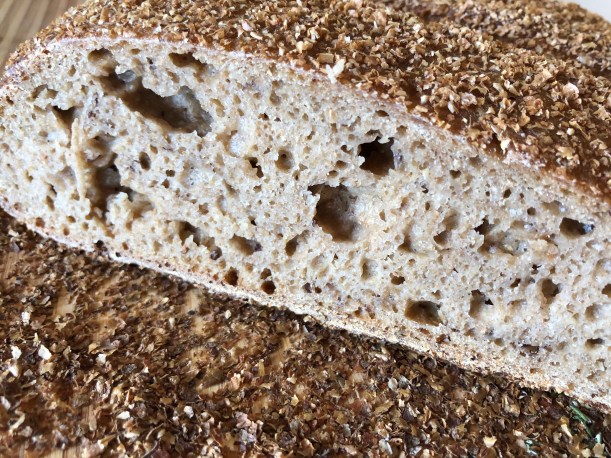
And then for me the magic took over. I just do enjoy the magic of the yeast and flour and water.
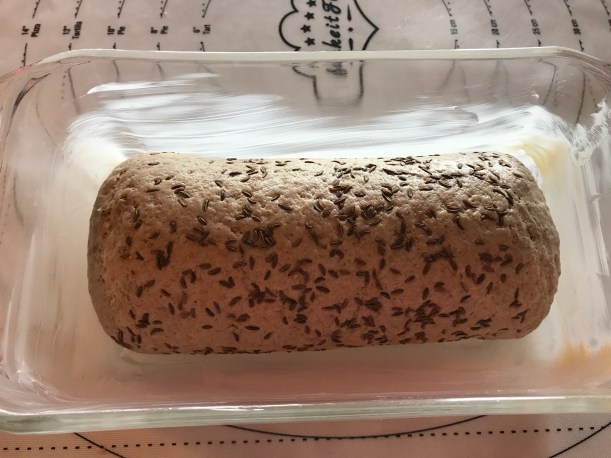
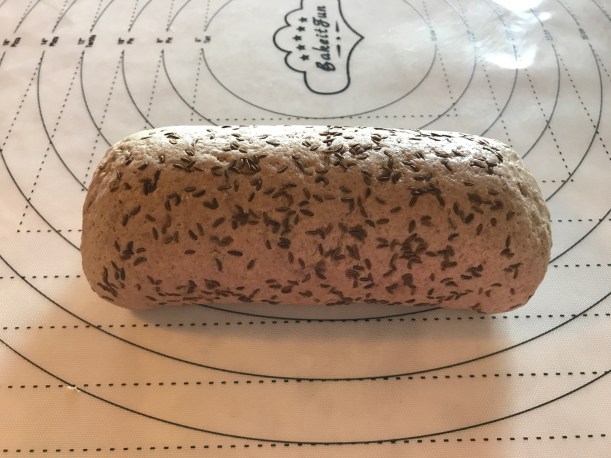
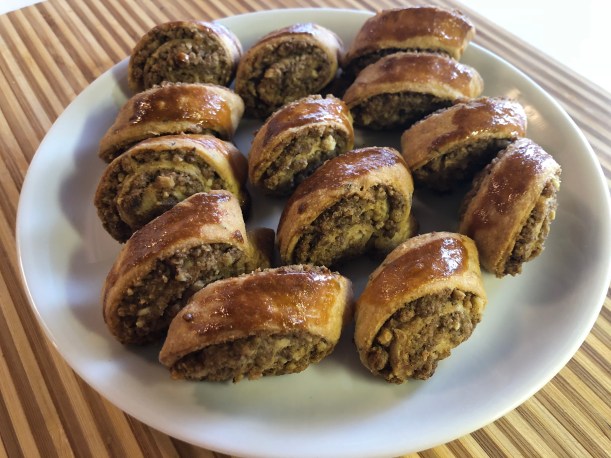
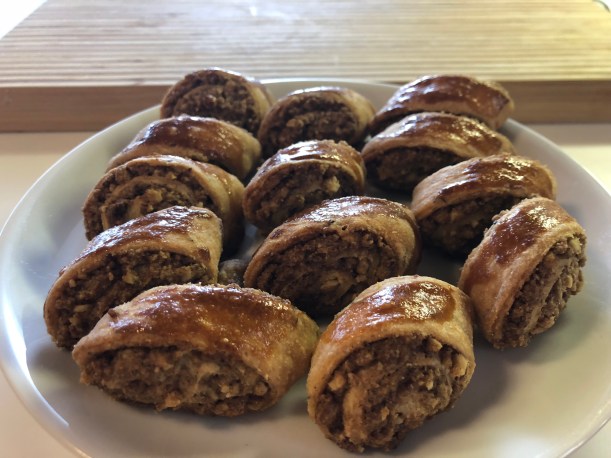
My intent when I divided the dough was to shape half in traditional fashion as a log and half as crescents … but the crescent was so easy I did them all that way. In retrospect, I think I might have enjoyed them more as a log: the outside would have gotten a uniform coating and maybe been more enjoyable with my coffee BUT these were marvelous even as crescents!
Aparna, I thank you. These were really no trouble to make. The dough easy to work. Flexible enough to do well with a long rest in the fridge.
I think they would do equally well perhaps shaped and rested in the fridge overnight and then go into a hot oven in the morning. They would be company show stoppers for sure at any time.
And for the drama through poor reading … yes, I still have issues with reading.

Right well the best I can say is the smell communicated better than the reading and I was able to blow most of it off the brown sugar before I’d mixed it in. Aren’t we lucky to have … smell!


Yield: 16-24 rolls
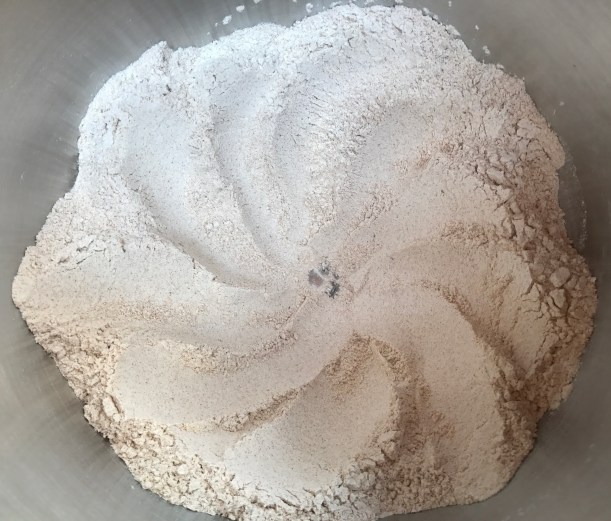
Whisk together the flours, flax, yeast, sugar and salt.
Mix the milk, melted butter and eggs.
Mix the dry and wet together.
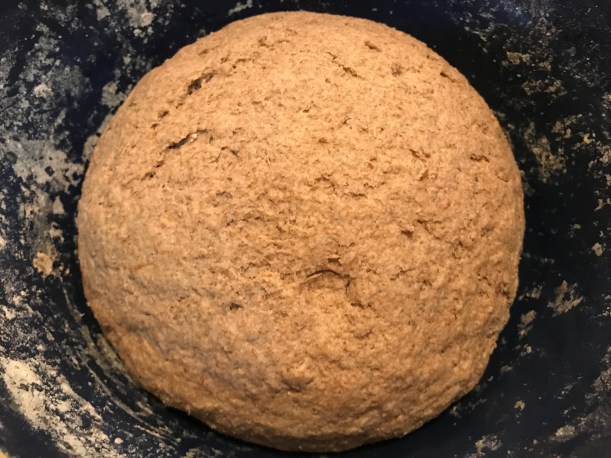
Then knead until you have a smooth and elastic dough. I found this easy to knead by hand. Firm dough.
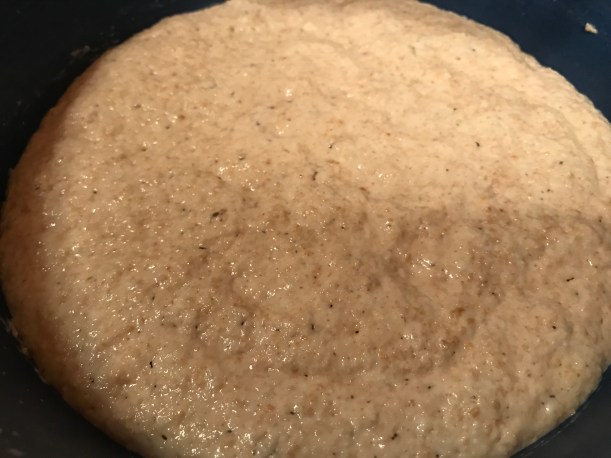
Cover loosely and let the dough rest for about 2 to 3 hours or till it has doubled in volume.
It became obvious to me that life was not cooperating with these directions and the dough went into the fridge overnight.
I took the bowl out as soon as I was in the kitchen fixing coffee in the morning. That allowed the dough to warm up and it was ready to work 2 hours later. Press down the dough gently and divide the dough into two equal parts.
There are two ways of shaping Filipino Spanish Bread. One is to roll out each portion into a round and spread the filling over it.


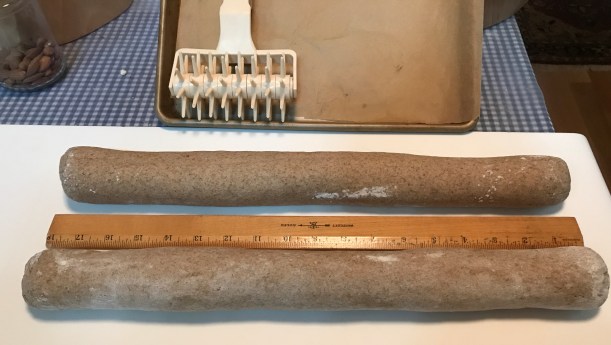
The more traditional way is to shape each half of dough into a log and divide into eight equal parts. Roll each piece into roughly a 3- by 5-inch rectangle. Brush with melted butter, sprinkle with breadcrumbs and sugar (or cinnamon sugar if you prefer). Roll the piece like you would a jelly roll, starting from one corner and rolling towards the opposite corner.
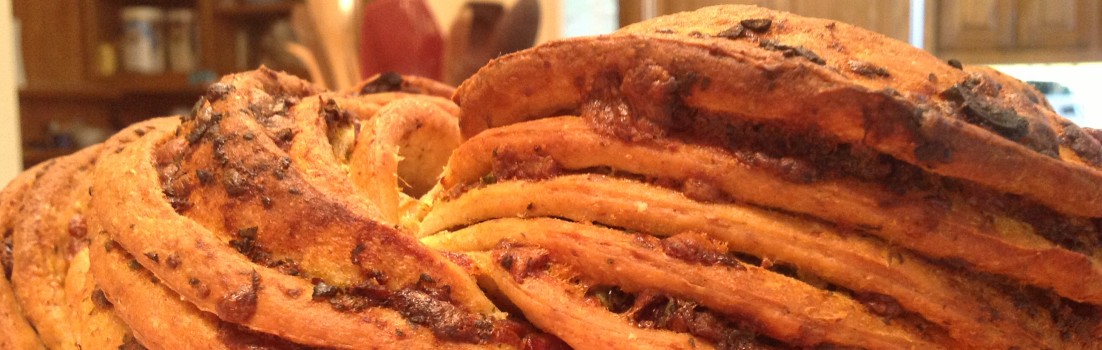
One dough ball gave me 10 rolls, the other gave me 12. I did like the smaller size and would make smaller regardless of shape.
Alternately, roll each half the dough into a largish rectangle about 10” x 10”. Then brush the surface generously and completely with melted butter. Sprinkle half the breadcrums and the cinnamon and sugar mixture over this evenly. Now cut the dough into half from top to bottom. Again cut each half into 4 left to right. You will have 8 rectangles about 5″ x 3.3″
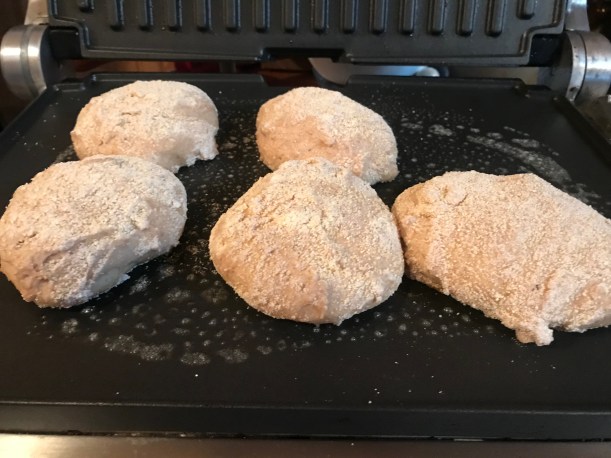
Which ever way you shape your Filipino Spanish Bread, place the pieces seam side down on a lined or greased baking sheet. Let the shaped rolls rise for 30 minutes.
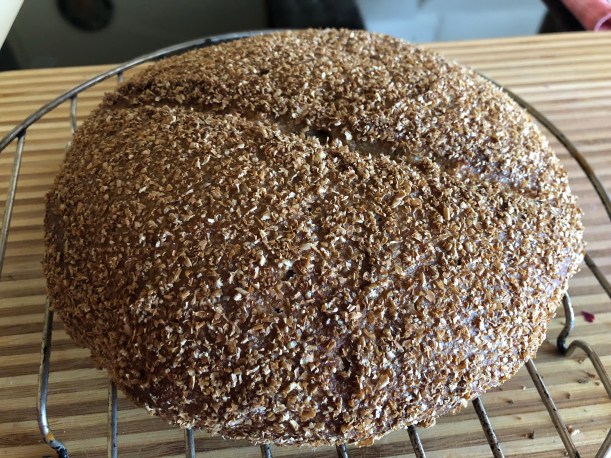
Brush them with a little milk and sprinkle with more breadcrumbs and sugar. You can also roll the shaped dough in the breadcrumbs and sugar if you like.
Bake until golden brown at 190C (375 F) for about 15 to 20 minutes. Because I made the rolls with all whole wheat, they took 22 minutes to bake.
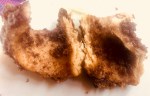
Cool on a rack.
We’d love for you to bake with us as a Bread Baking Buddy. Here’s how it works.
Bake this month’s bread using Aparna’s recipe and post it on your blog before the 28th of this month. Mention the Bread Baking Babes and link to her BBB post in your own post. Then e-mail her at aparna[AT]mydiversekitchen[DOT]com with your name and the link to the post, or leave a comment on her blog post with this information. She will include your bread in the Buddy round-up at the end of this month.


 Here I am Kitchen of the Month, we’re on a cross country road trip and the mission today was to spread some of Dad’s ashes.

 Next time I will divide into 16 balls because we enjoyed the rolls smaller.