
Our Kitchen of the month was Kelly (Hobby Baker) at A Messy Kitchen and she brought us a doozy of a bread but wow oh wow it will give you cause to celebrate. Maybe you got your vaccination, maybe you got a new car, maybe you got sunshine when rain was expected, maybe the cat came home, maybe you can’t think of a reason to celebrate: if you bake Potica you’ll have reason enough to celebrate.

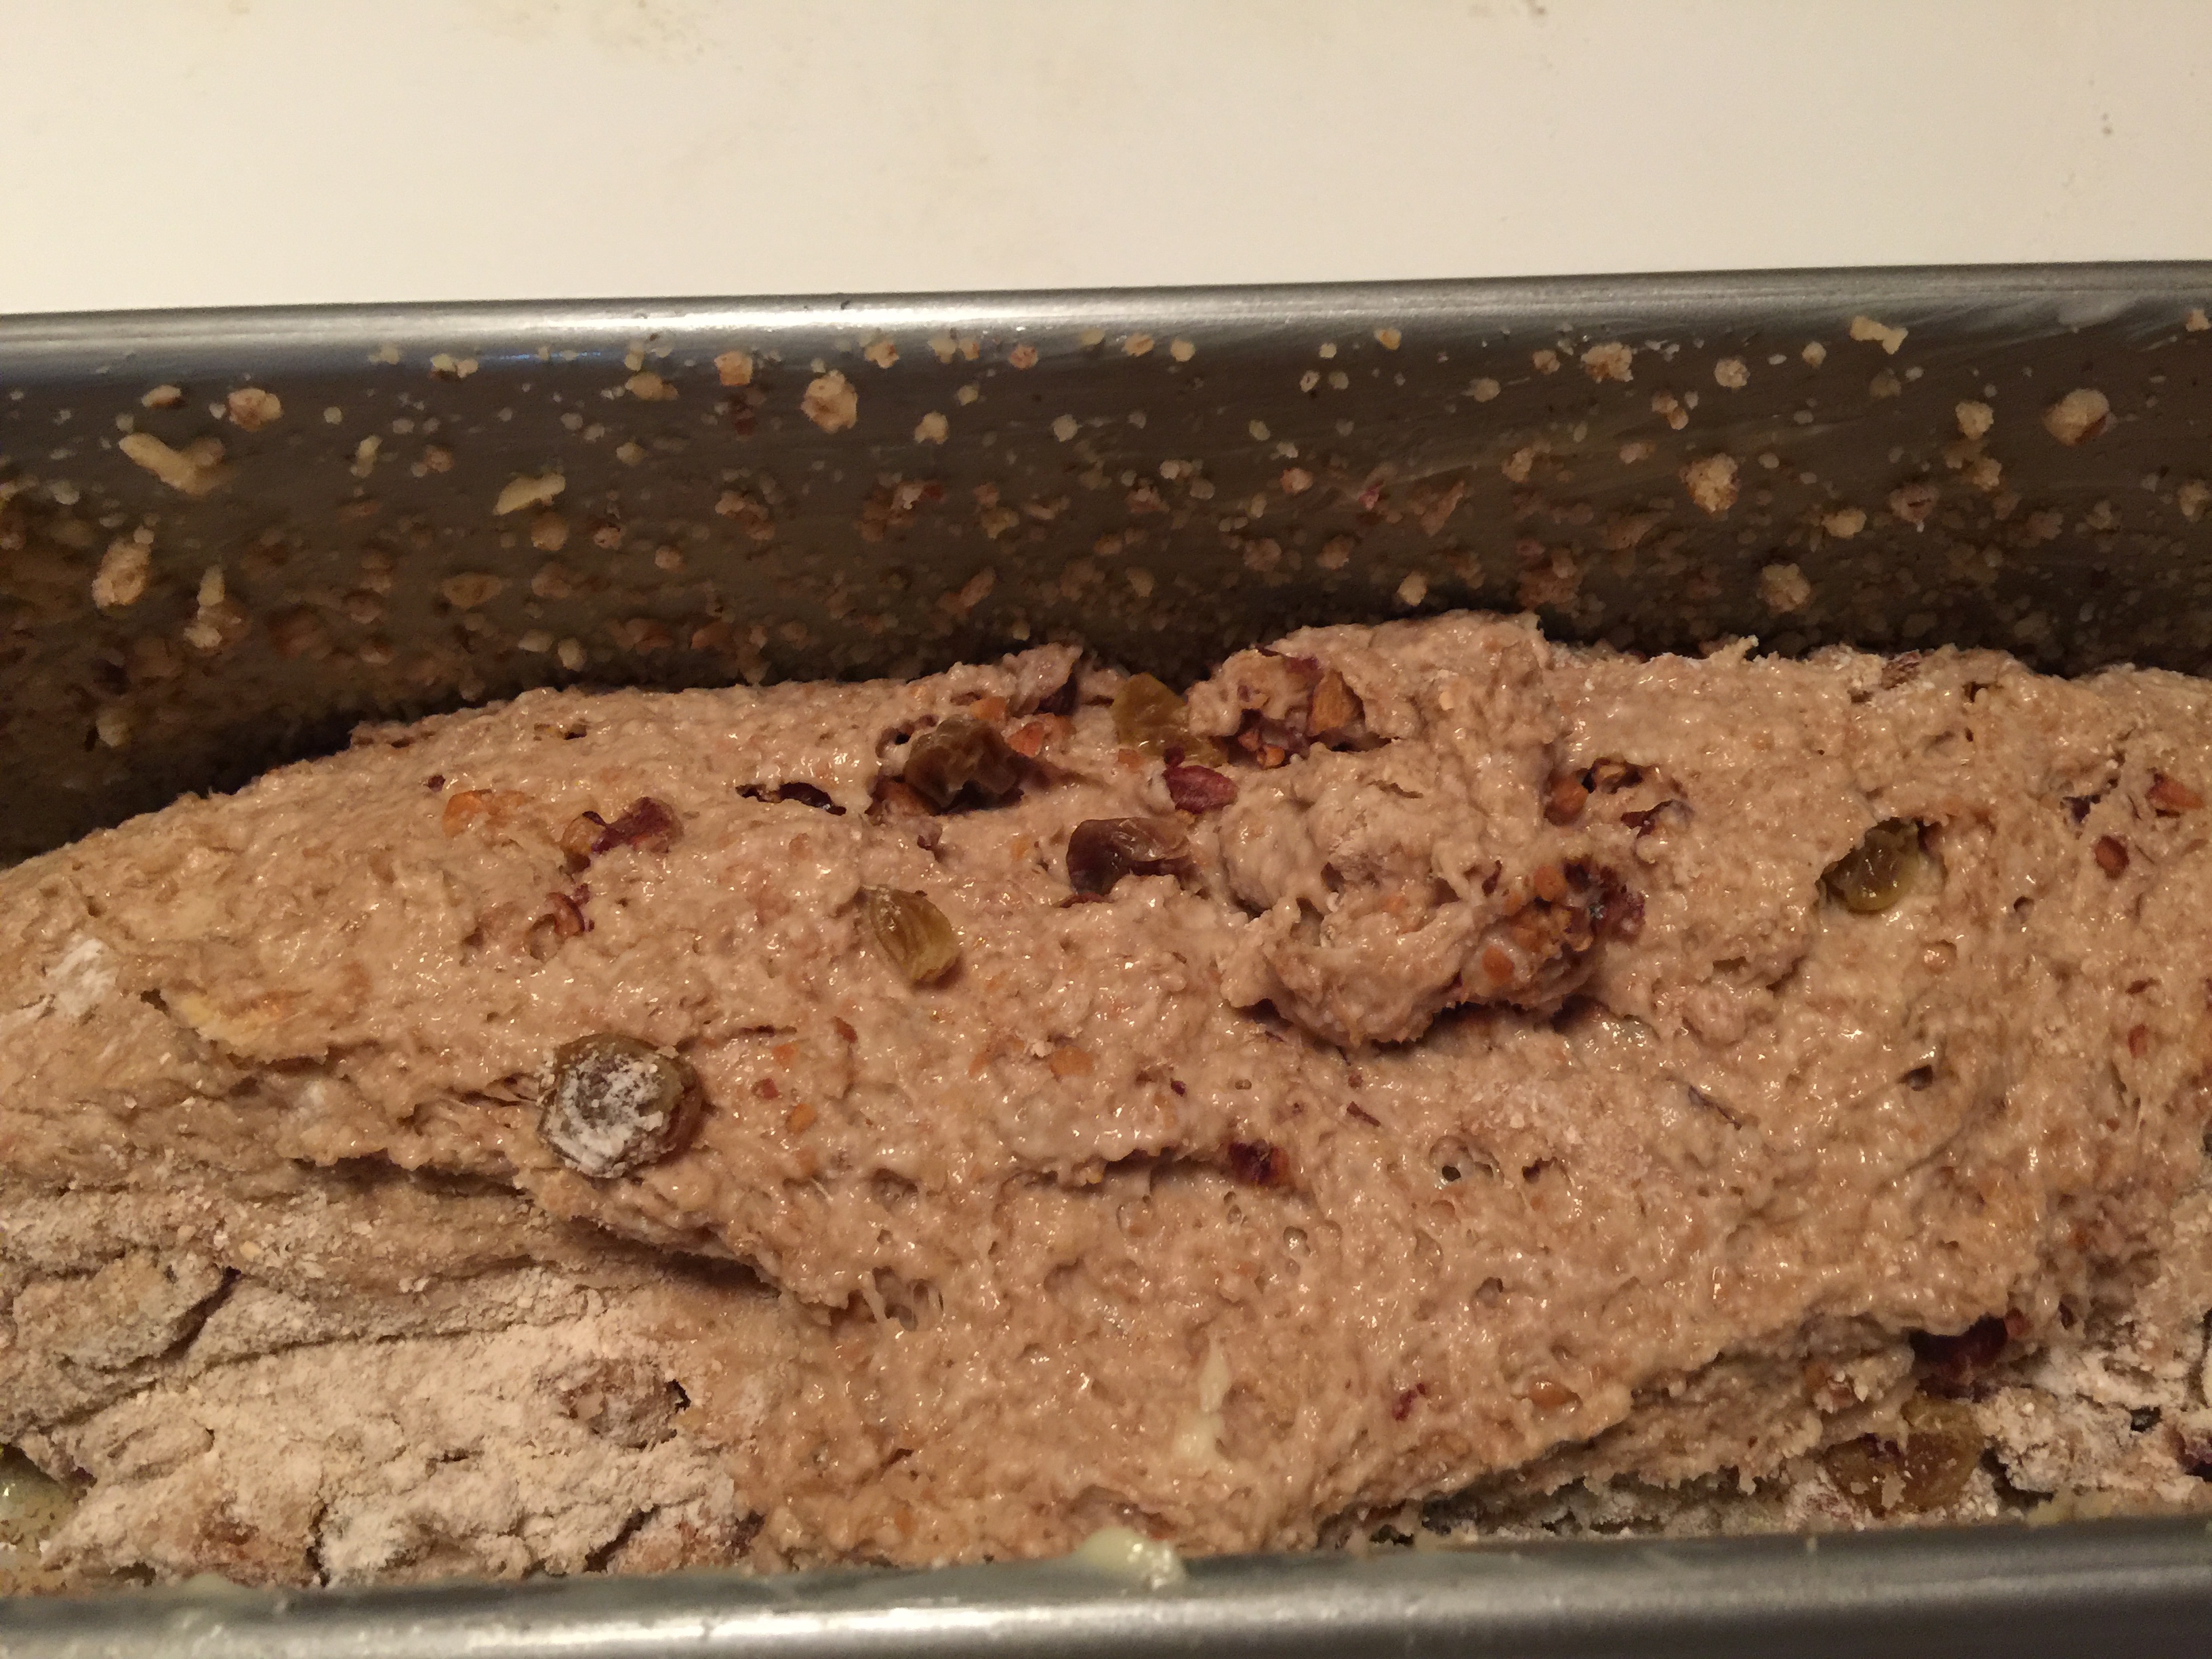
I baked again with my friend Mary. She baked a rye loaf for her family and then took photos of the Potica. What that really translated to is the story of how we’ve all let looking at a picture and reading through a recipe intimidate us into not trying. I still remember Bread Chick in the Daring Bakers putting up Julia Child’s baguette recipe some 30+ pages long and thinking REALLY, then stepping back and just taking it one step at a time gets you started on the journey. Before you know it you’ve come to: Bake it in the oven and BINGO you have bread!
Now Mary wants to come back to bake with me again to tackle Potica and I want to try the poppyseed filling with walnuts and chocolate…and I want to try a Spanakopita filling. I am absolutely sure spanakopita will be spectacular. Sort of hoping one of the Babes went that way.
Do not be intimidated by photos that make things look difficult. Do not let long directions in a recipe intimidate, just take one at a time. You truly can do this!
Bake with us.
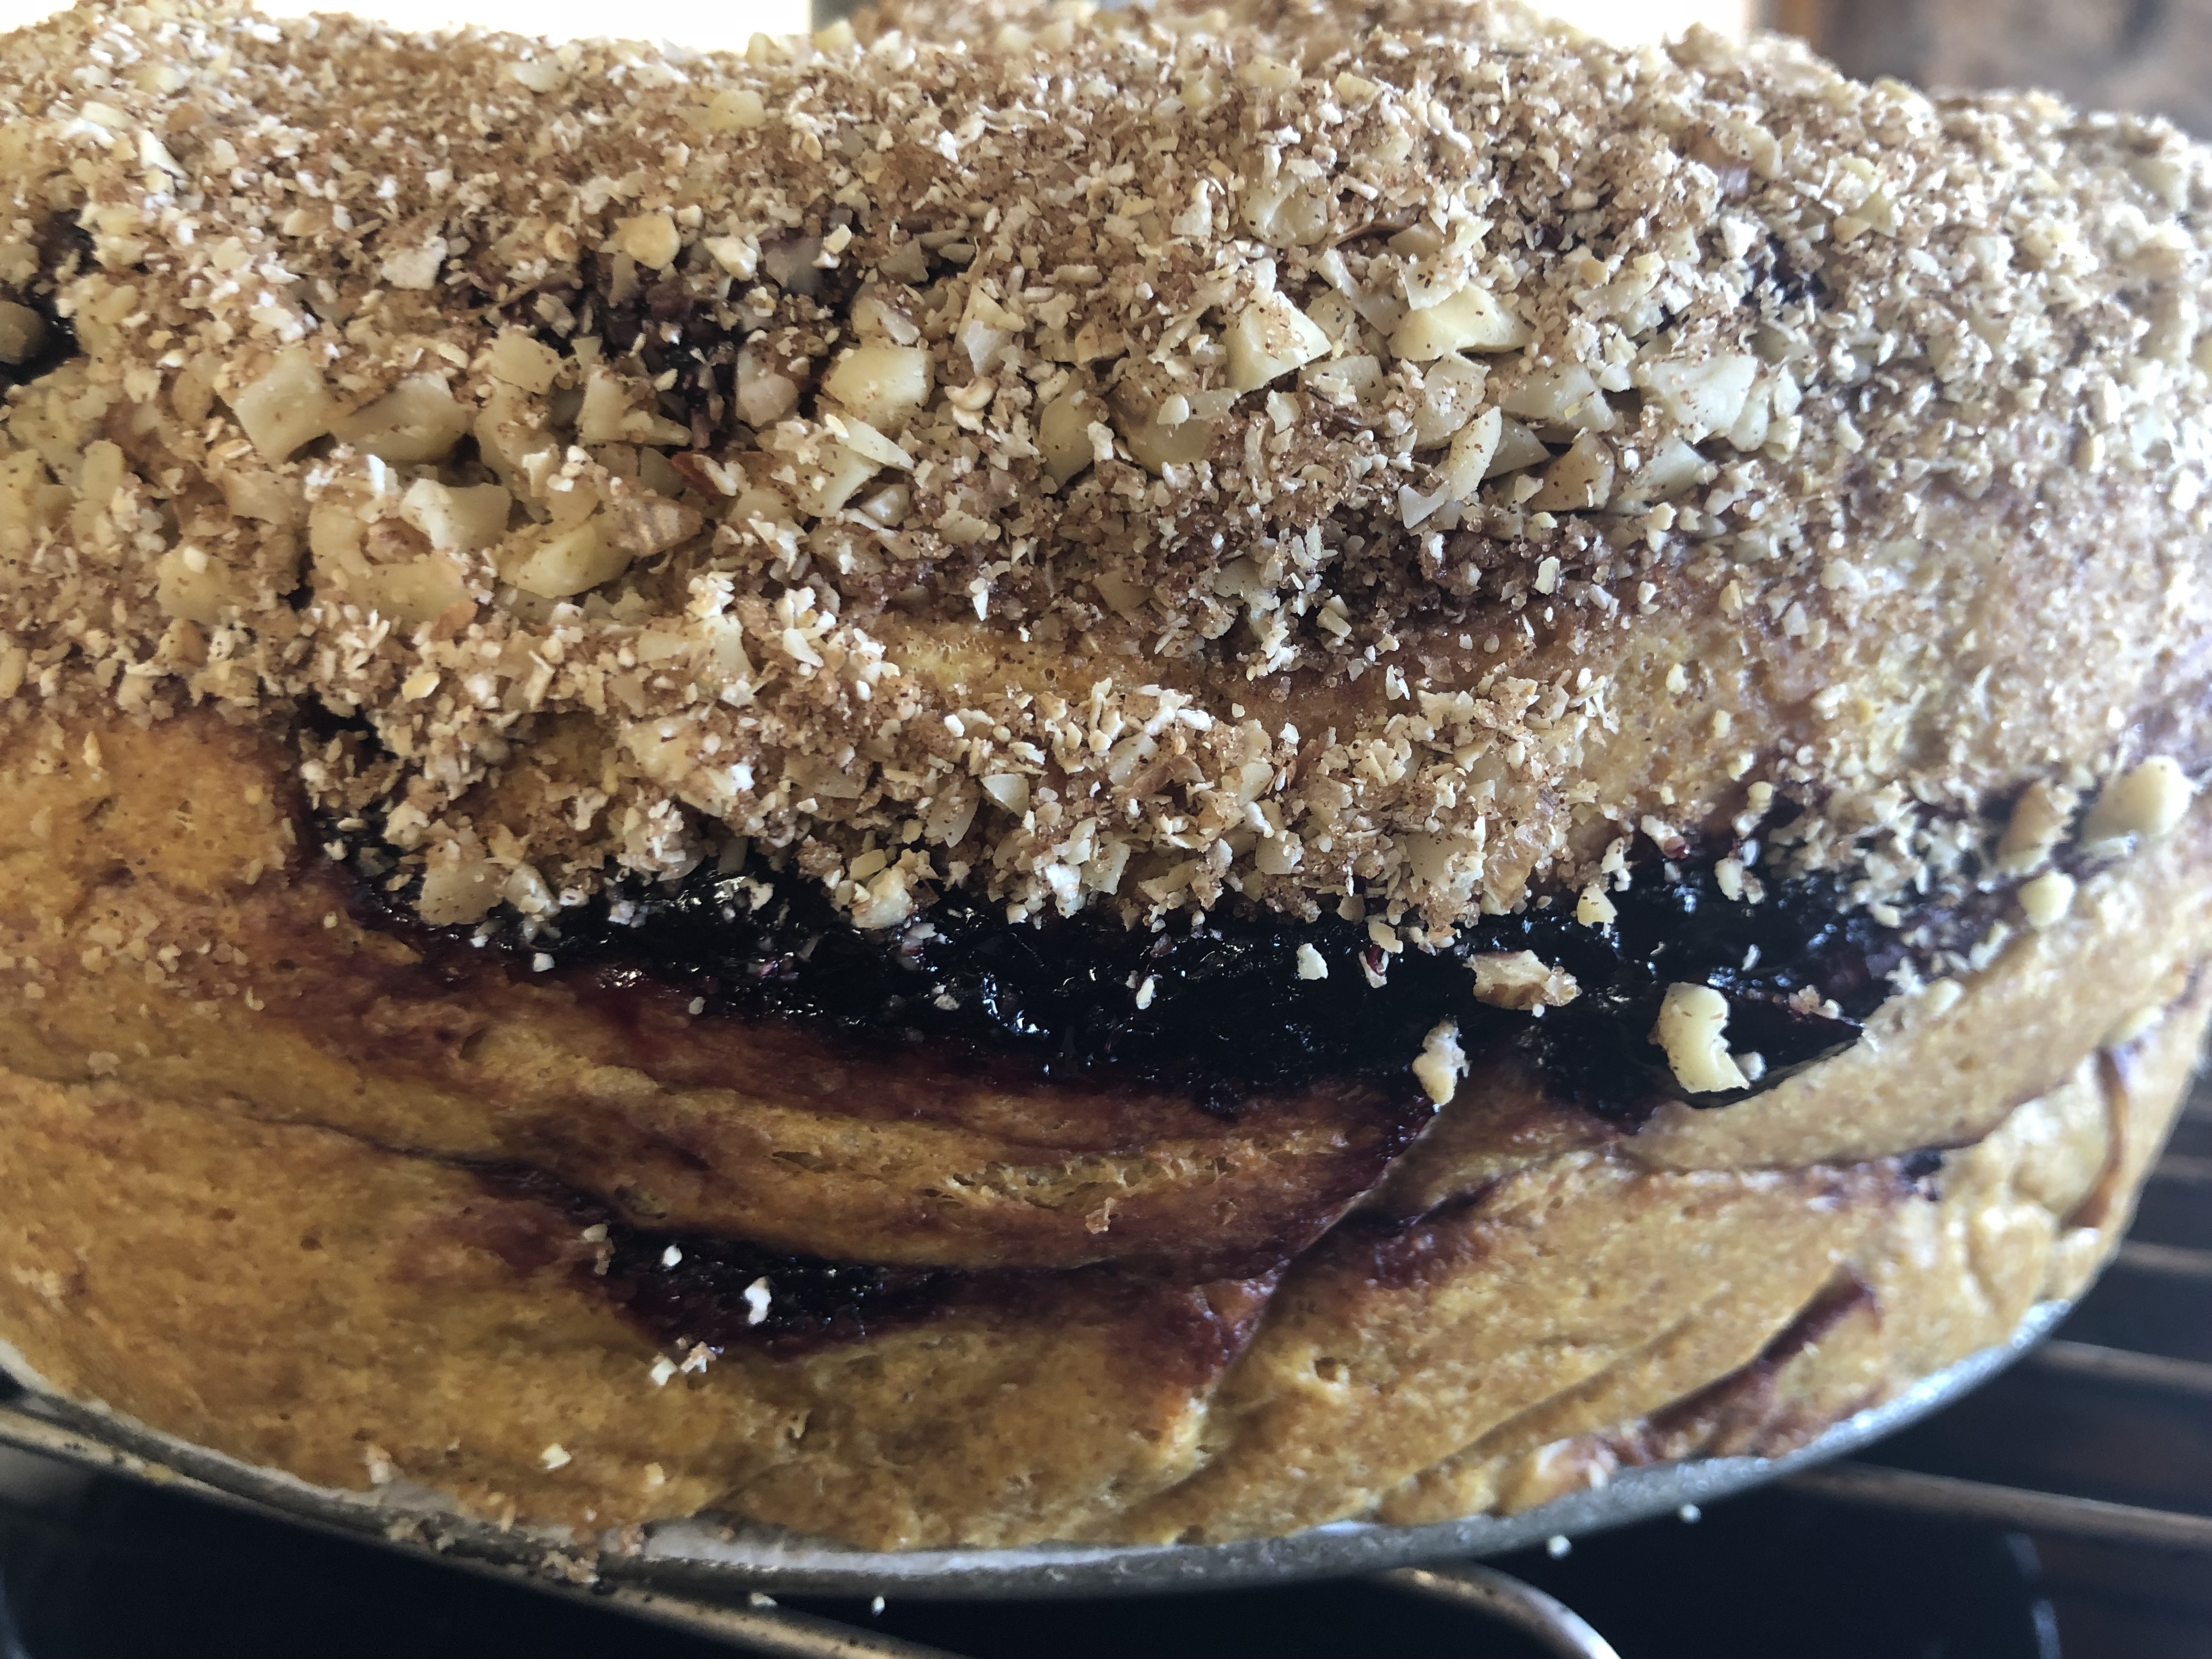
Povitica or Potica

DOUGH
100 grams whole wheat pastry flour
185 grams pastry flour
1/2 teaspoon 0.05 oz (1.4 g) dry yeast (~½ tsp)
135 grams whole milk
0.5 oz (15 g) water, used more milk instead
1/2 teaspoon salt
1 large egg
40 grams sugar, divided
22 grams butter melted, divided
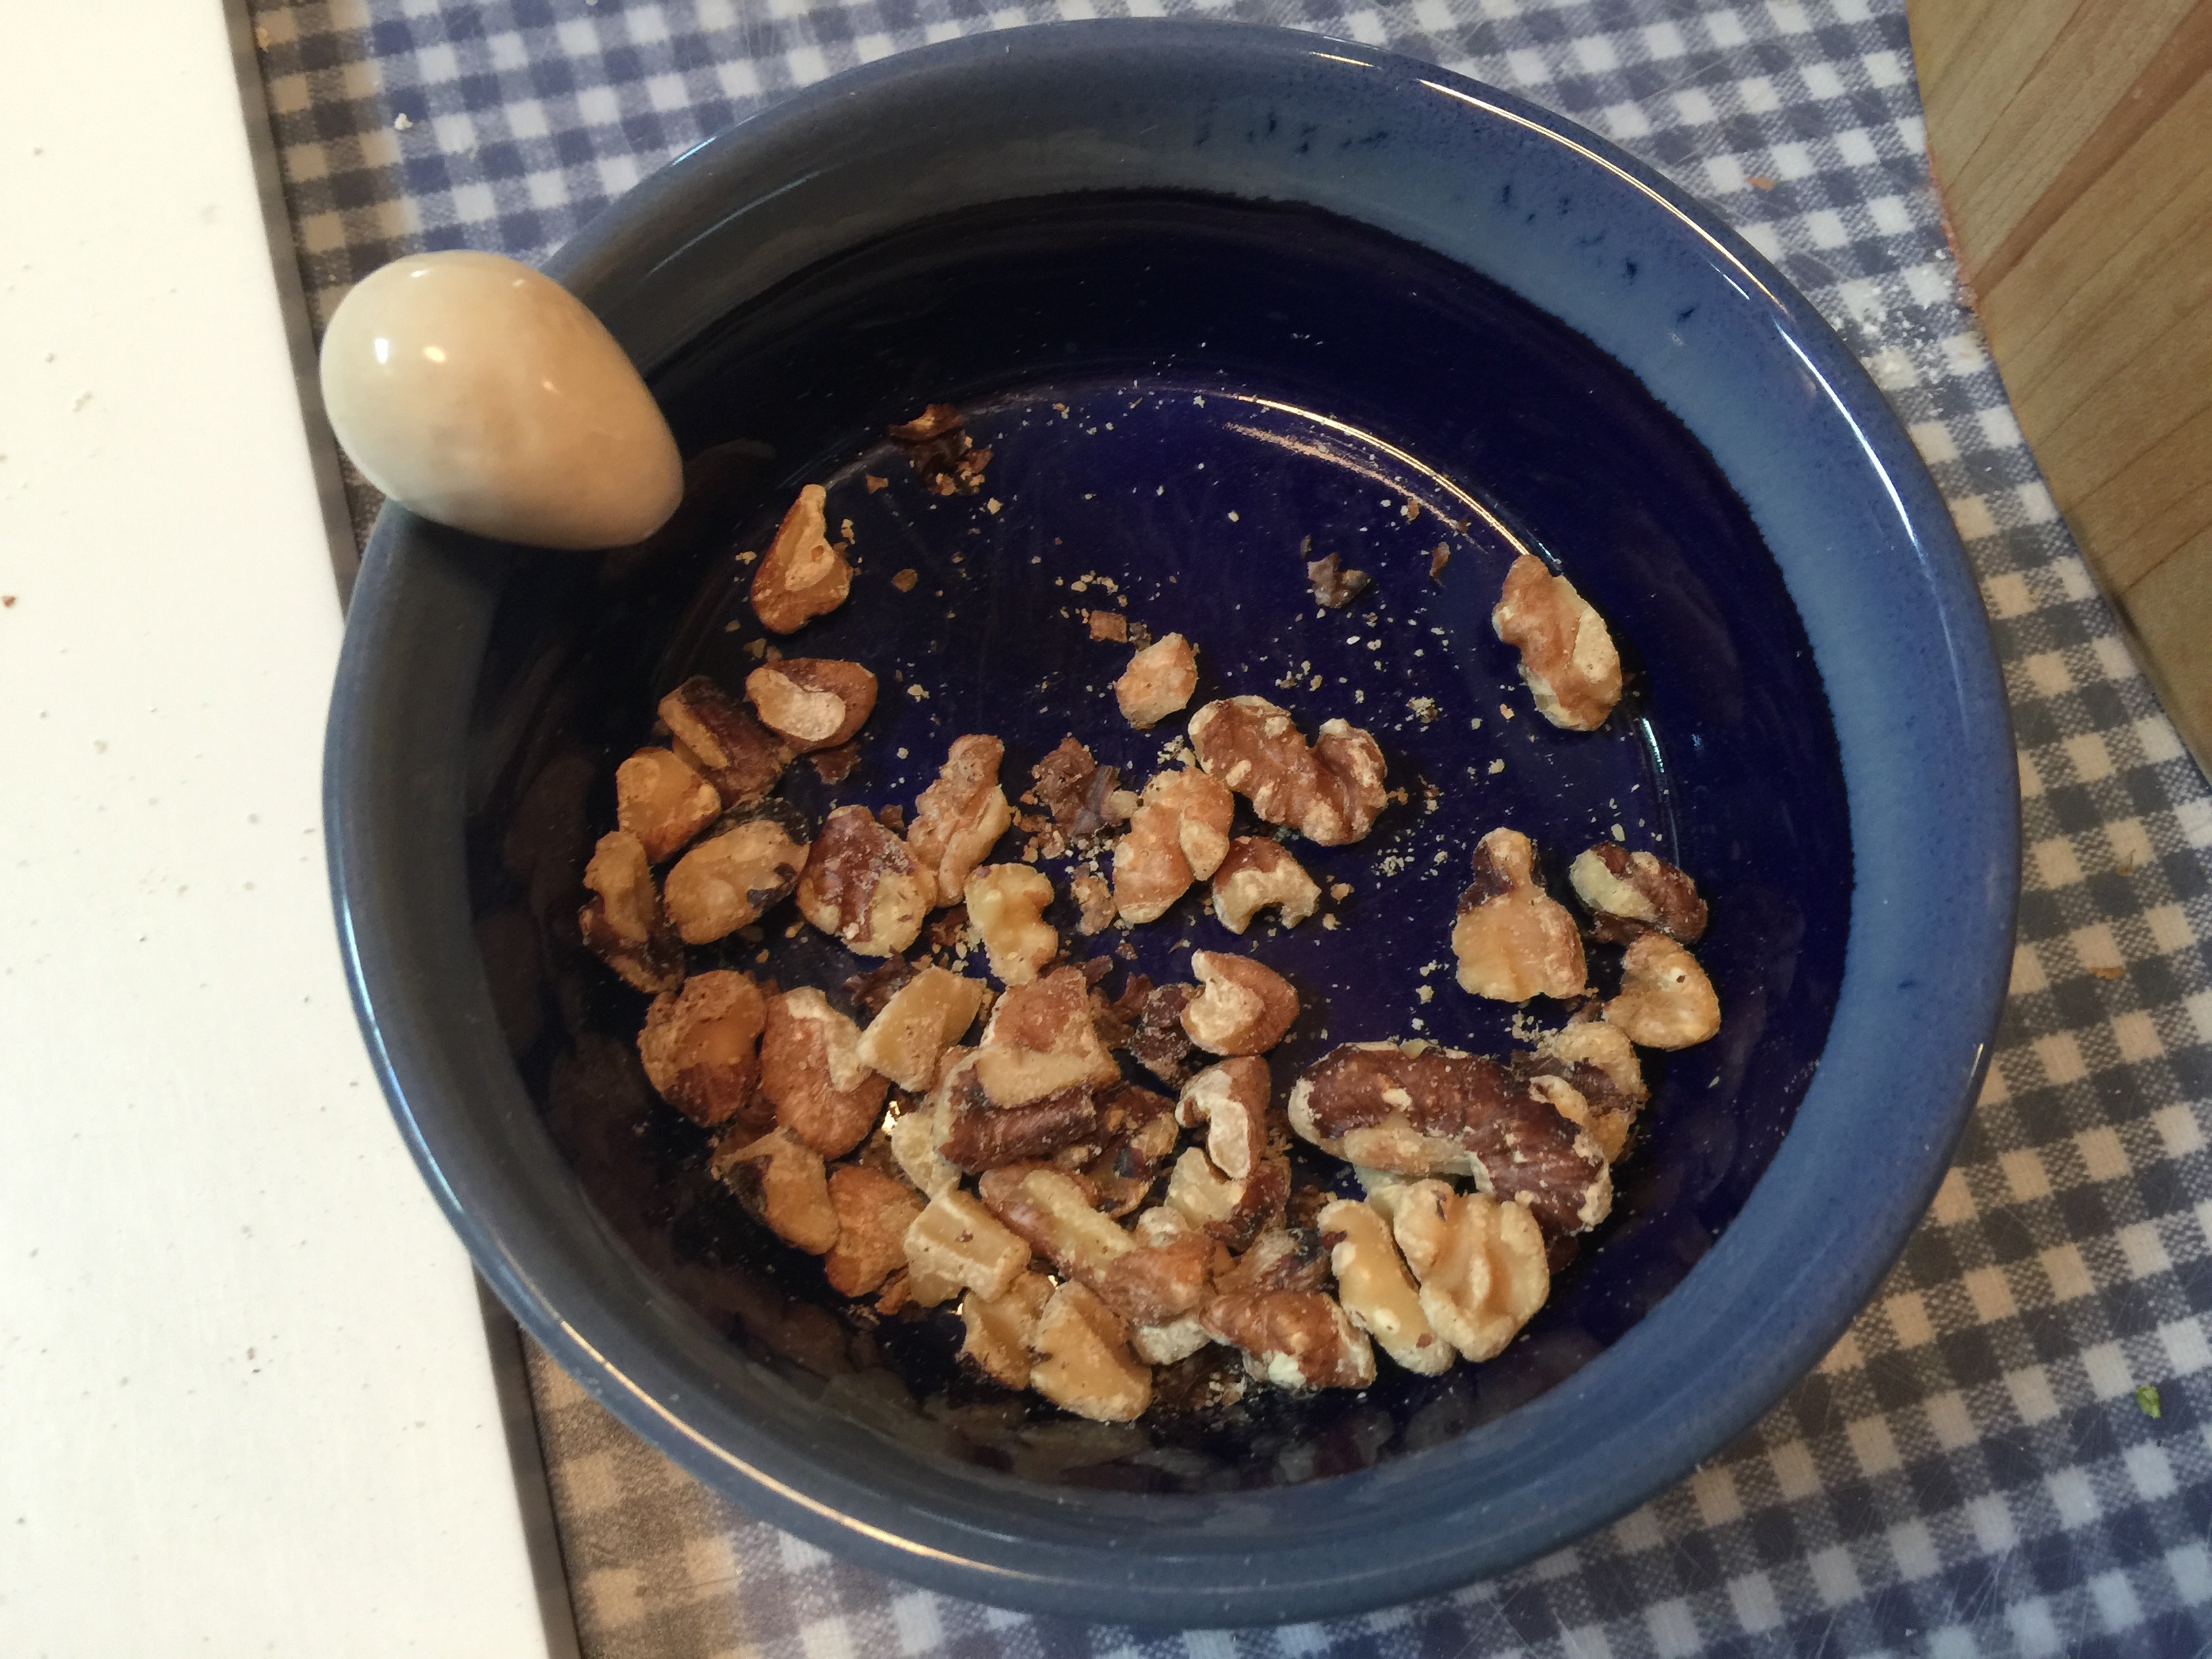
WALNUT FILLING
9.9 ounces (280 g) walnuts
3.35 ounces (95 g) sugar
½ tablespoon unsweetened cocoa powder
0.1 oz (3 g) cinnamon powder
pinch of salt
2 ounces (58 g) unsalted butter
2.1 ounces (60 g) whole milk
1 large egg yolk
¼ teaspoon vanilla extract
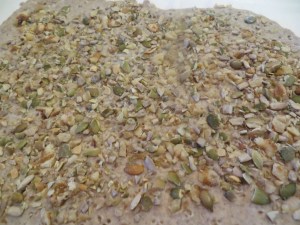
TOPPING, Looks pretty but adds too much sugar for my taste

POPPYSEED FILLING This is the filling I used but NEXT bake will use walnuts and/or chocolate added to it.
250 g poppy seeds (8 oz or 1-1/2 cups)
50 g sugar (1/3 cup)
50 g honey (2-1/2 tablespoons)
50 ml milk (4 T) to start (may need up to 3/4 cup)
1 tablespoon butter
1 egg (can be omitted)
1 tablespoon cinnamon
3/4 teaspoon cloves
2 tablespoons rum (or other spirits)
1 tablespoon vanilla
grated rind of 1 lemon
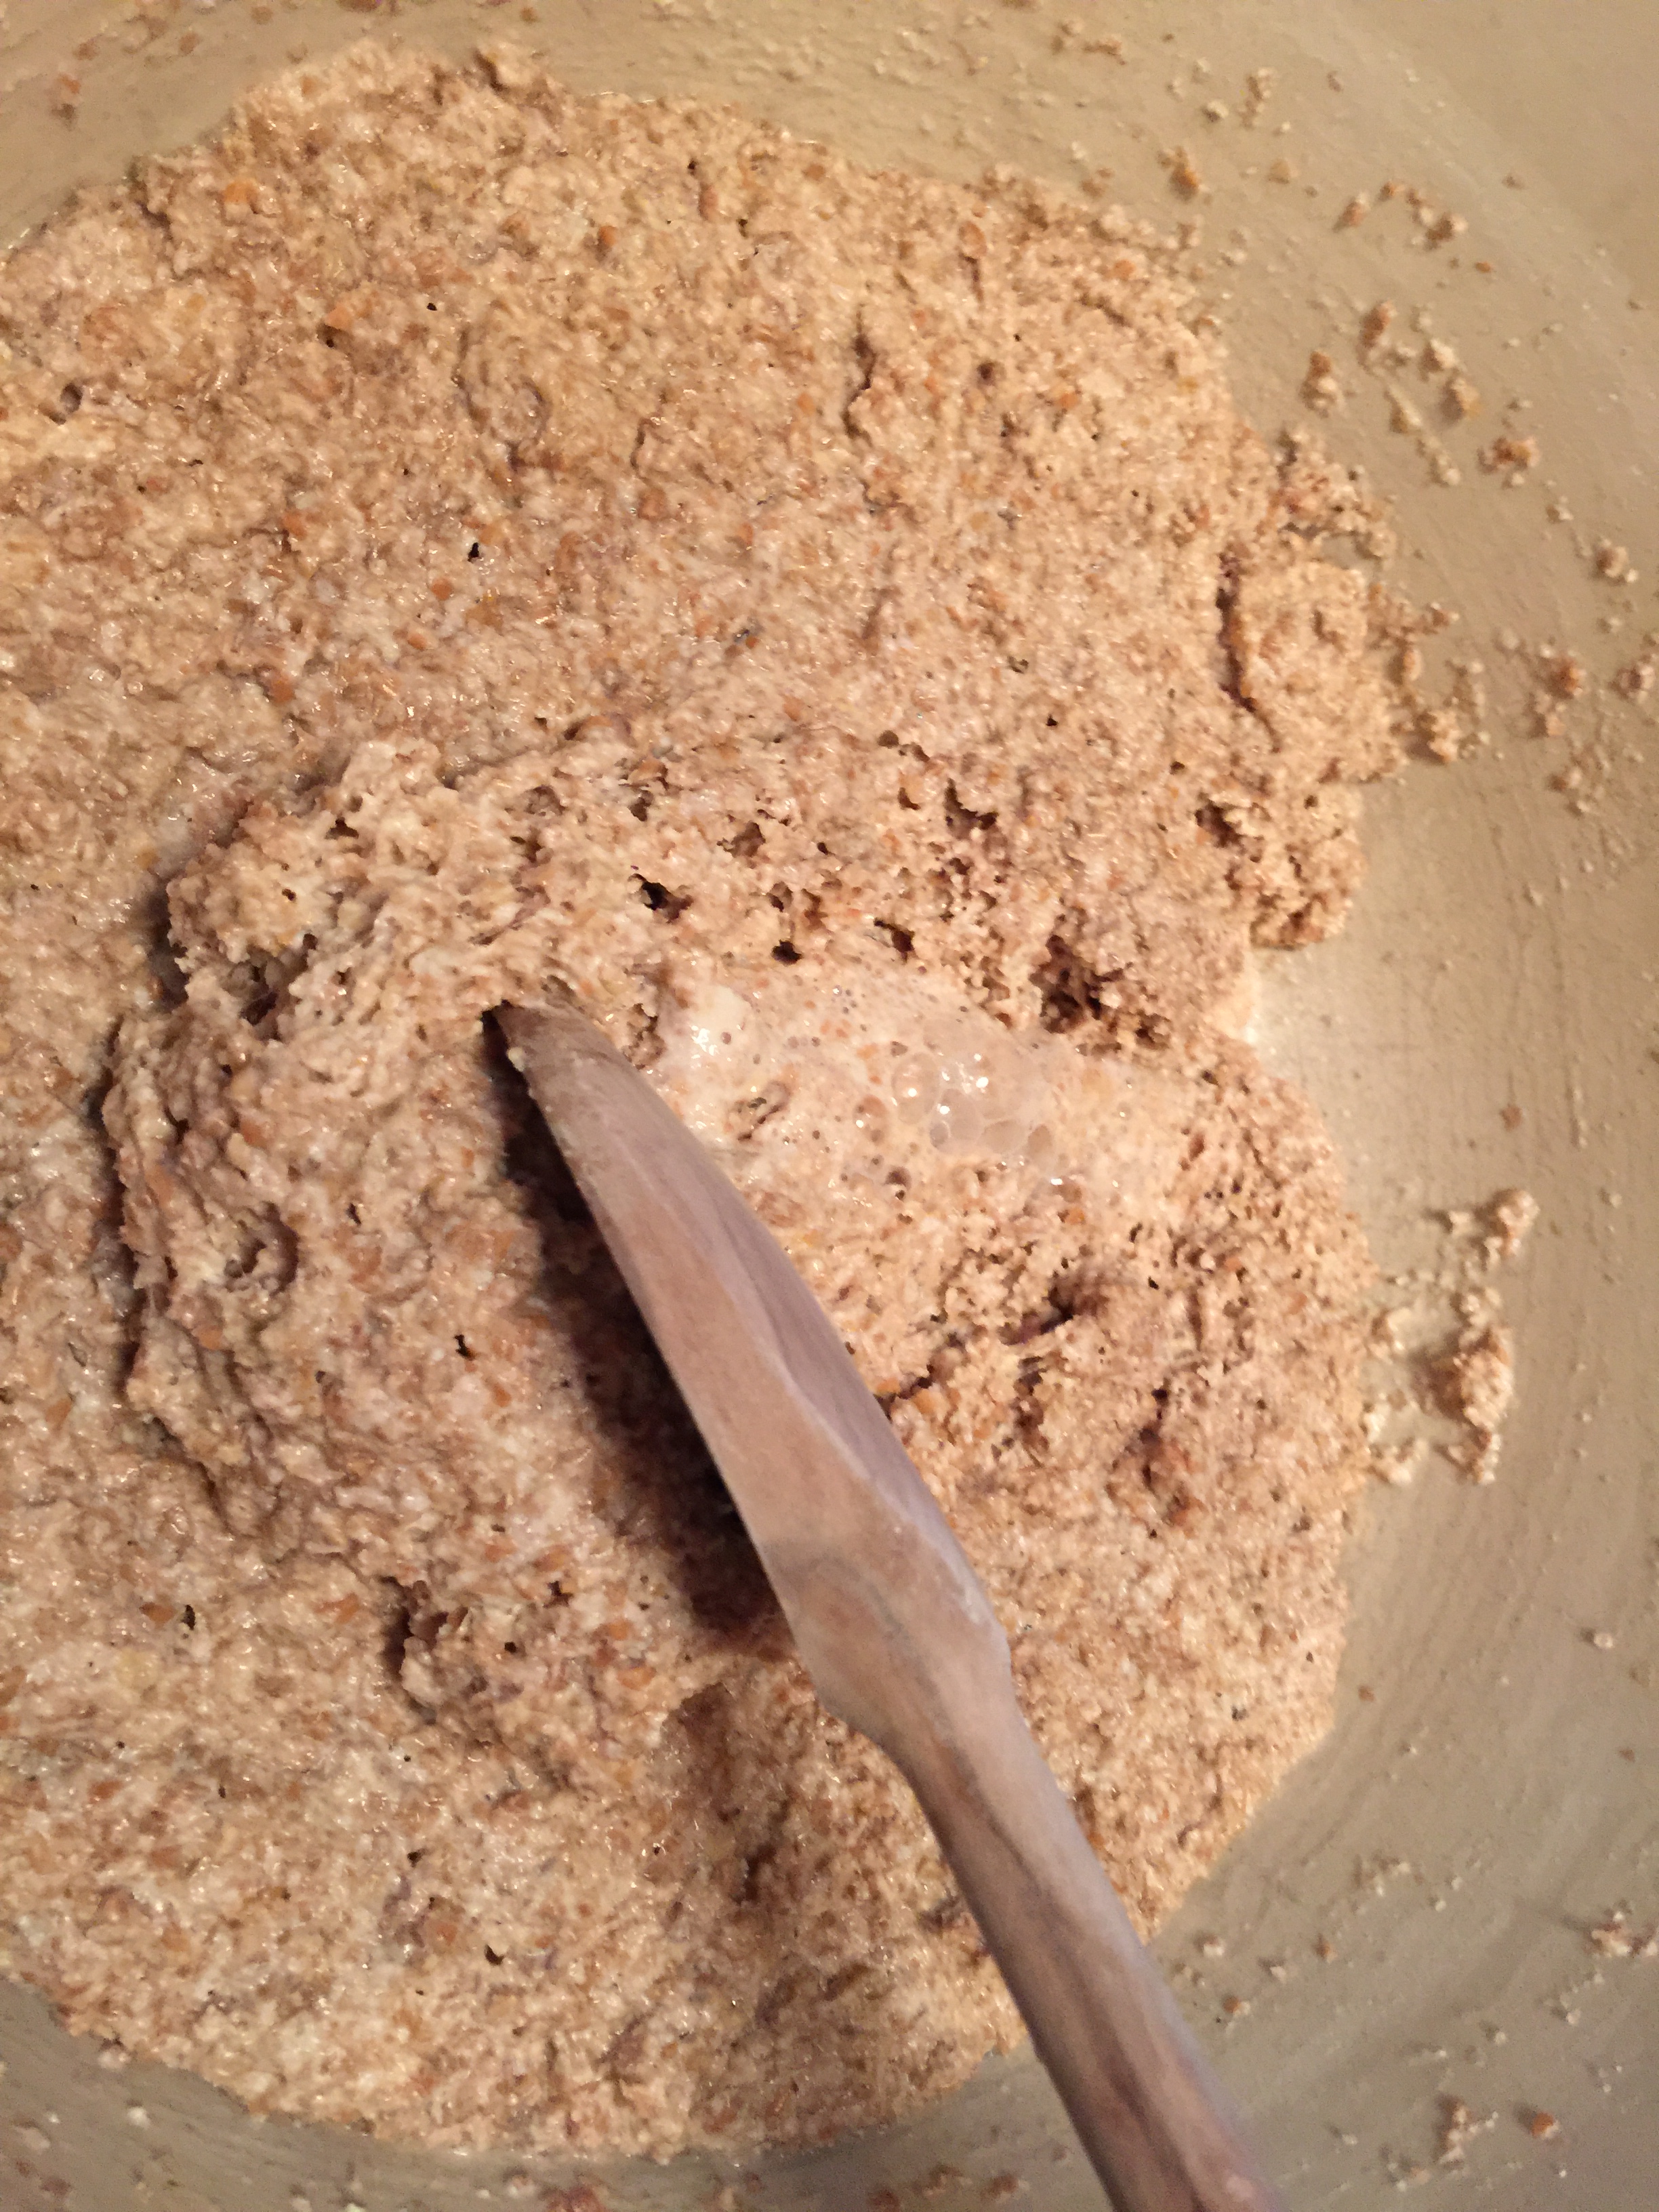
1. In a bowl or stand mixer, combine the flour together with the dry yeast. Then add the milk, water, egg and salt.
Mix the ingredients in the bowl until a fairly smooth and homogeneous dough is obtained.
Add the sugar in two additions, kneading each time until it is fully integrated.
Knead the dough until it is smooth and silky with at least a medium gluten development. Work in the butter in about three additions until smooth again.
Knead for about 12-15 minutes to develop the gluten well and obtain an elastic, soft, and very well developed dough. It may be slightly sticky but should pass the windowpane test. If it does not, the final stretching will not be possible without tearing.
2. When the dough is properly developed, form into a ball and place in a lightly oiled bowl.
Cover with plastic wrap and let rise until it doubles its volume. This can take up to three hours.
3. Make the filling while the dough is rising. Grind poppyseeds in small batches in coffee grinder for about a minute. The resulting mixture should look and feel like damp sand.
Melt honey and butter in milk, add sugar, and stir till dissolved. Add poppy seeds and stir. Simmer for a few minutes, adding more milk if needed. Take off stove. Beat egg with rum, then stir it in gradually so the filling doesn’t curdle. Add other flavorings. Add more liquid if needed and continue to simmer till thick. (Don’t overdo this–it thickens as it cools.)
Makes about 2 cups.
In a food processor add nuts together with sugar, cinnamon, salt and cocoa powder. Blend until the nuts are finely chopped and transfer to a bowl.
In a saucepan or microwave, heat the milk along with the butter until it just boils. Remove from the heat.
Pour the milk into the nut mixture. Add the vanilla and the egg yolk and mix until completely homogenized.
Set aside at room temperature, covered, until ready to fill the povitica.
4. Stretching the dough:
Lay out a sheet or cloth on a wide, flat surface. I used a drop leaf table and a linen table cloth but a card table would probably be the perfect size.
Sprinkle the work surface very lightly with AP flour.
Turn out the dough and de-gas it gently.
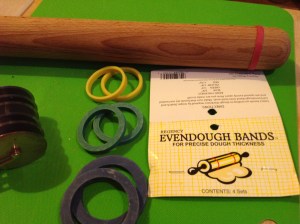
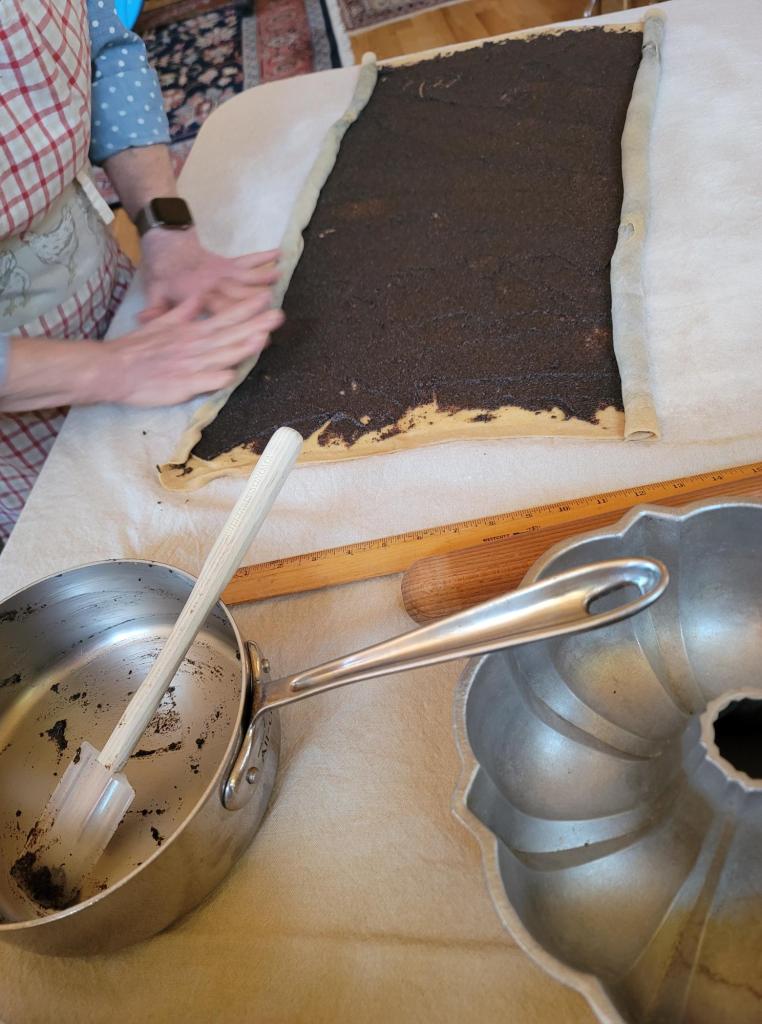
Roll the dough out into a very thin rectangle with a rolling pin, then continue to carefully stretch with hand to about 25½x18-in. (65 x 45 cm) rectangle.
**The dough should be about three times as long as your pan. Very gently and slowly work the dough with your hands, stretching from the center to the edges. It should remain soft and elastic and stretch without tearing as long as the gluten was developed and the process is taken slowly.

Stretching the dough.
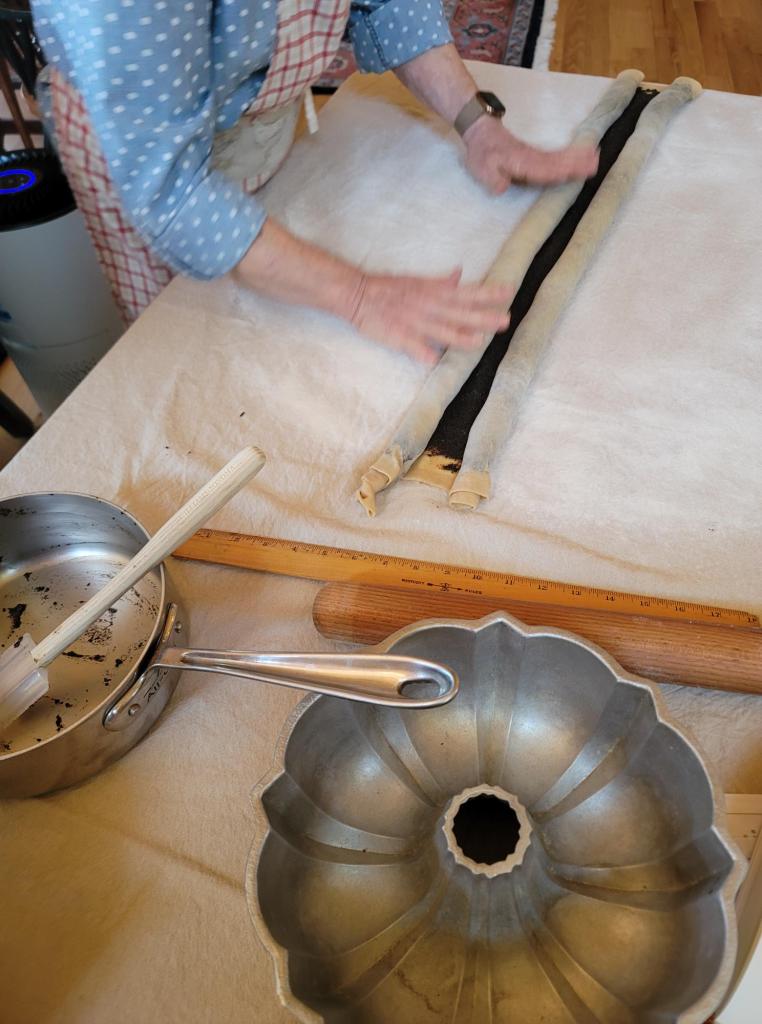
5. Roll up the dough.
Starting with the long edge that has filling to the edge, roll the dough on itself making sure that there is no gap between each layer. Start at one end and just turn up the edge all the way across. Then continue to roll from edge to edge carefully and with the help of both hands.
I rolled from both long edges into the center then laid it into a bundt pan; it only went around one and a half times.
6. Once the entire sheet is rolled up, carefully pinch and seal the long edge.
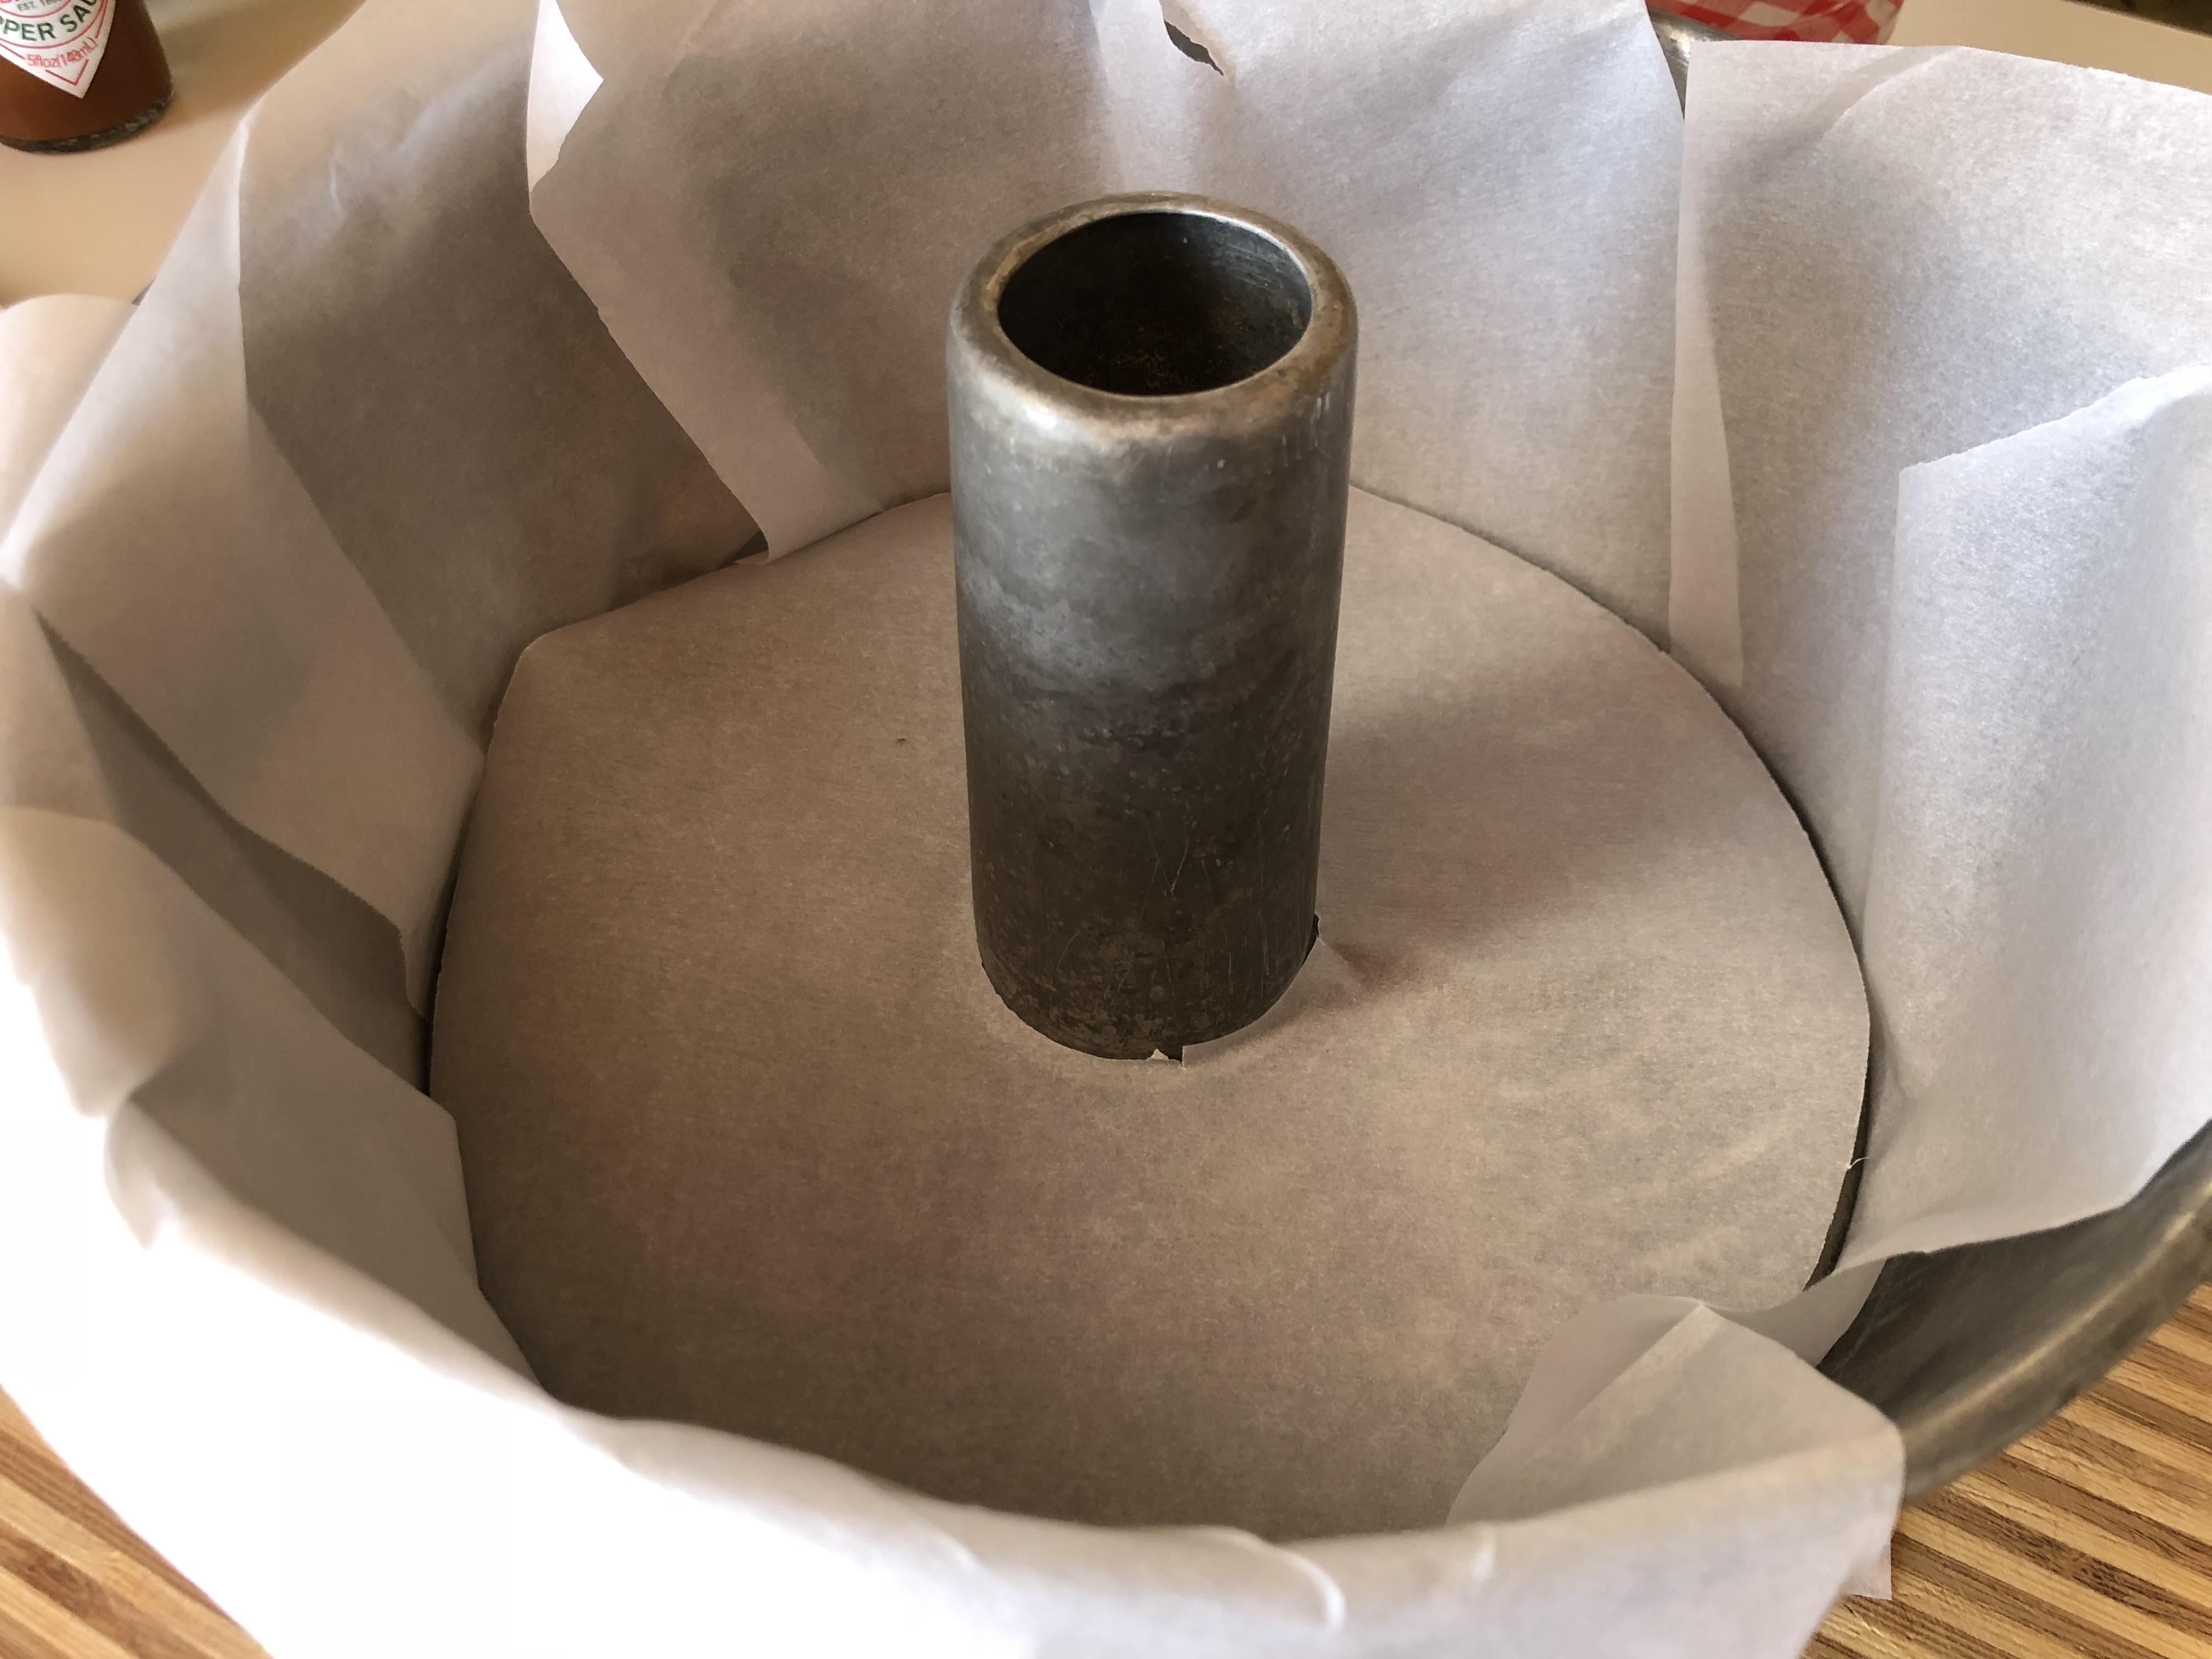
Shape the roll into an S and place it into the pan. It will take two hands, scoop in from the ends and carefully lift into the pan.
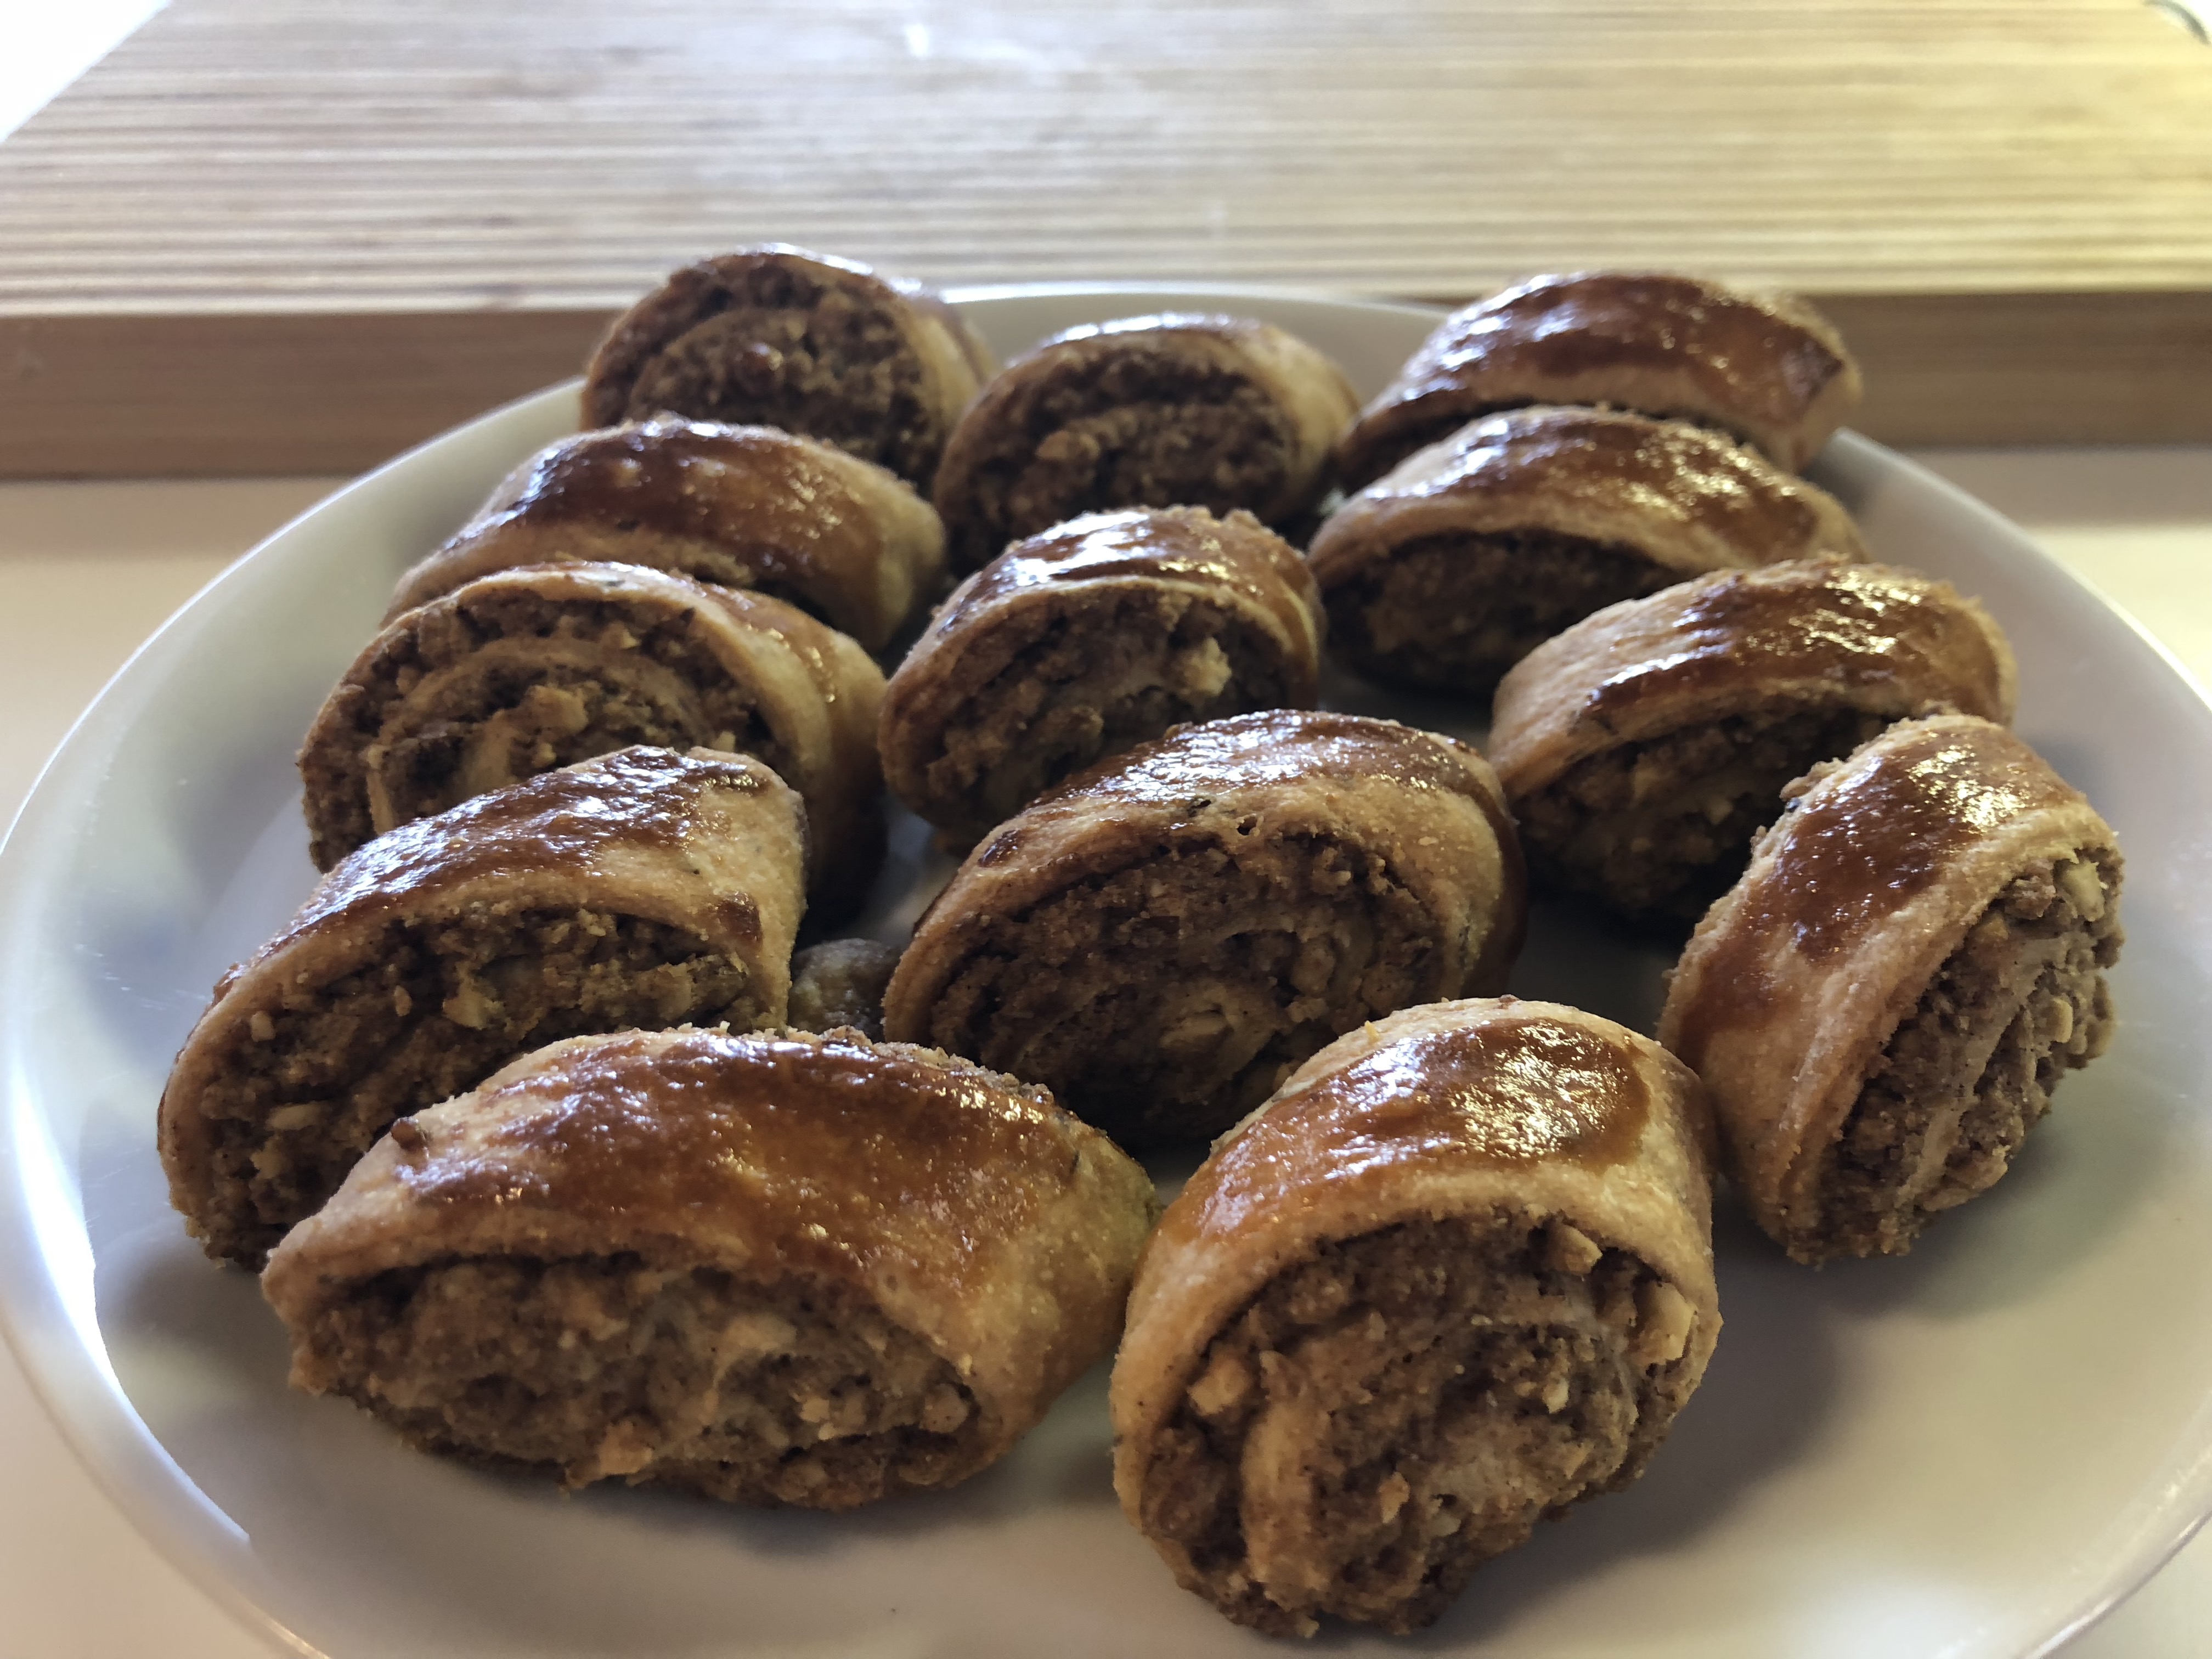
Other shaping methods including rolling up in a circle like a snail and baking in an earthenware baker, or cutting the roll into sections and lining them up in the loaf pan. Using sections and a smaller loaf tin will yield a taller loaf.

7. Cover with plastic and let the dough rise until the dough has puffed up somewhat. This will be most evident looking at the ends of the dough to see any increase in size. Again, this can take 1-3 hours.
Bake Povitica.
Preheat the oven to 350ºF.
Brush the top of the loaf with half of the butter and place in the center of the oven.
Bake for 15 minutes, then reduce heat to 300ºF and leave for 45 minutes more. The total baking time is 60 minutes.
Remove from the oven and brush with the remaining butter. More butter is always better.
Let it rest in the pan for 20 minutes. Then turn out the loaf and allow to cool completely on a rack. Dust with powdered sugar if desired.

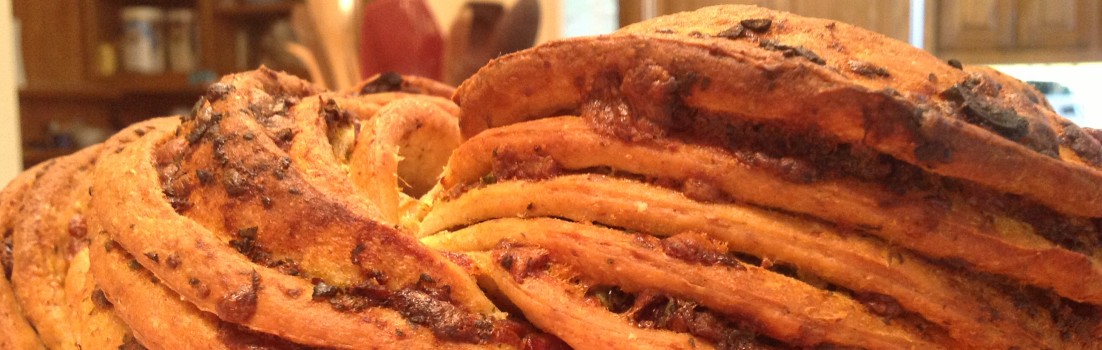
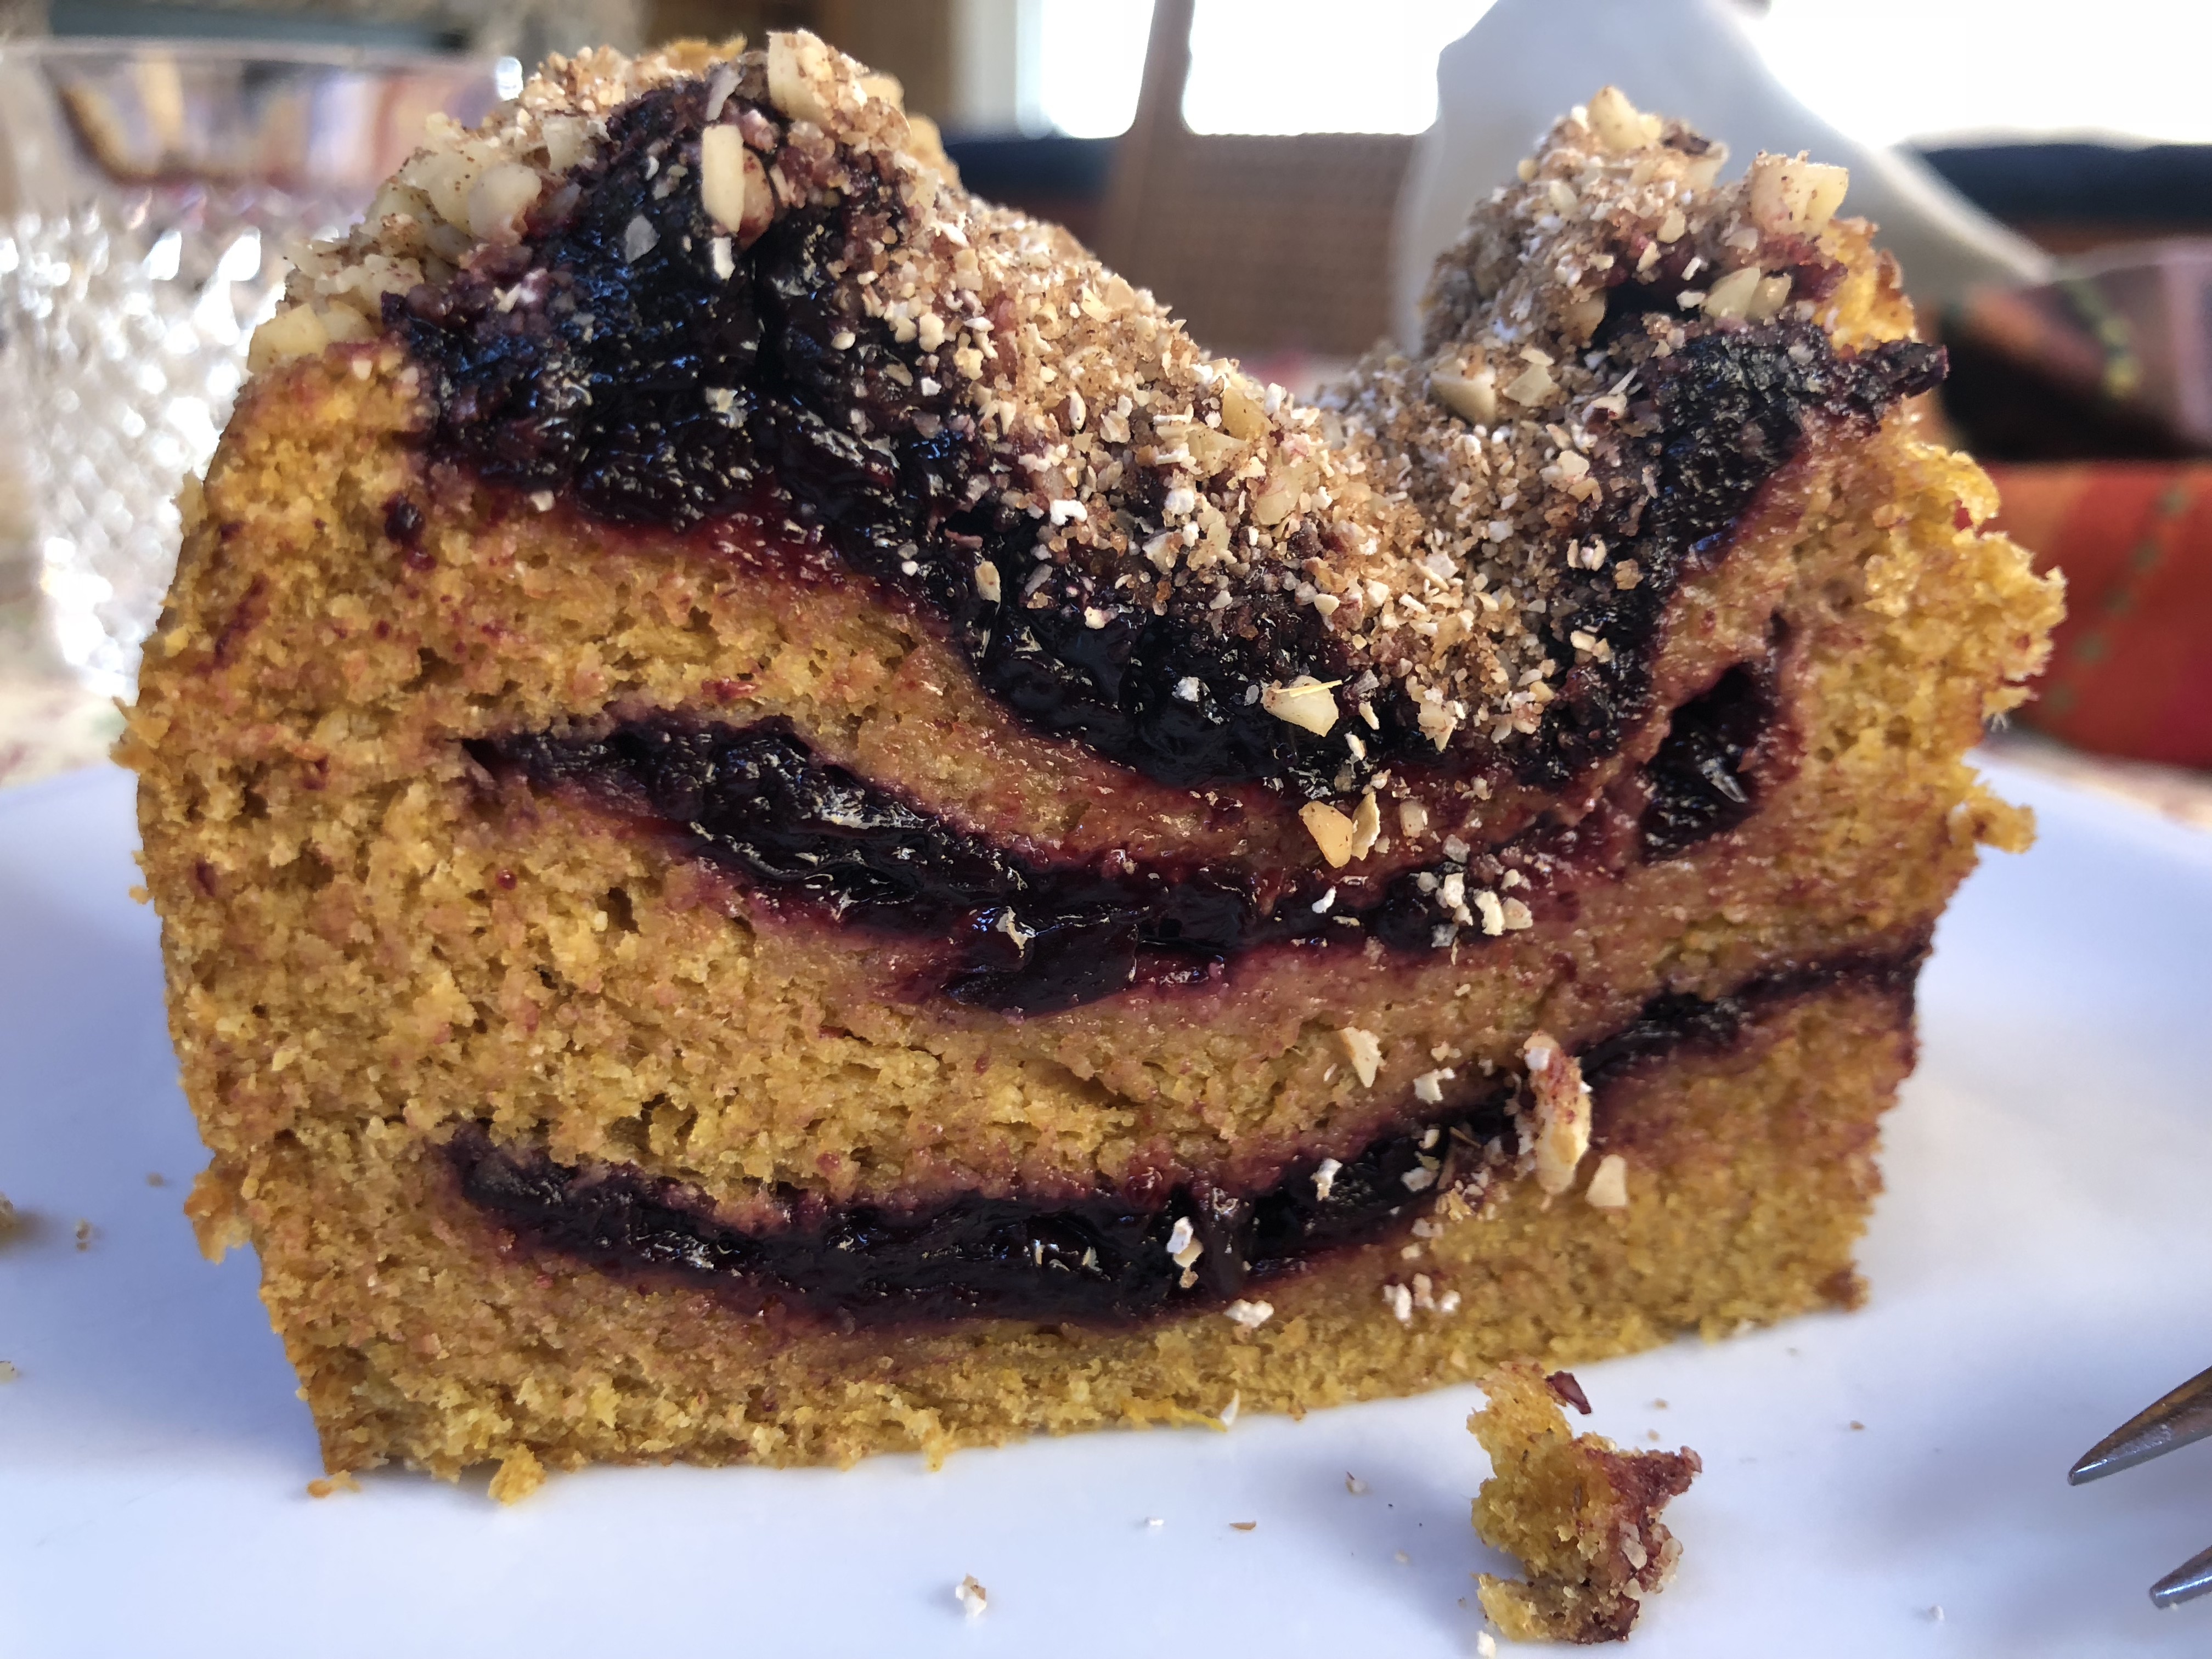
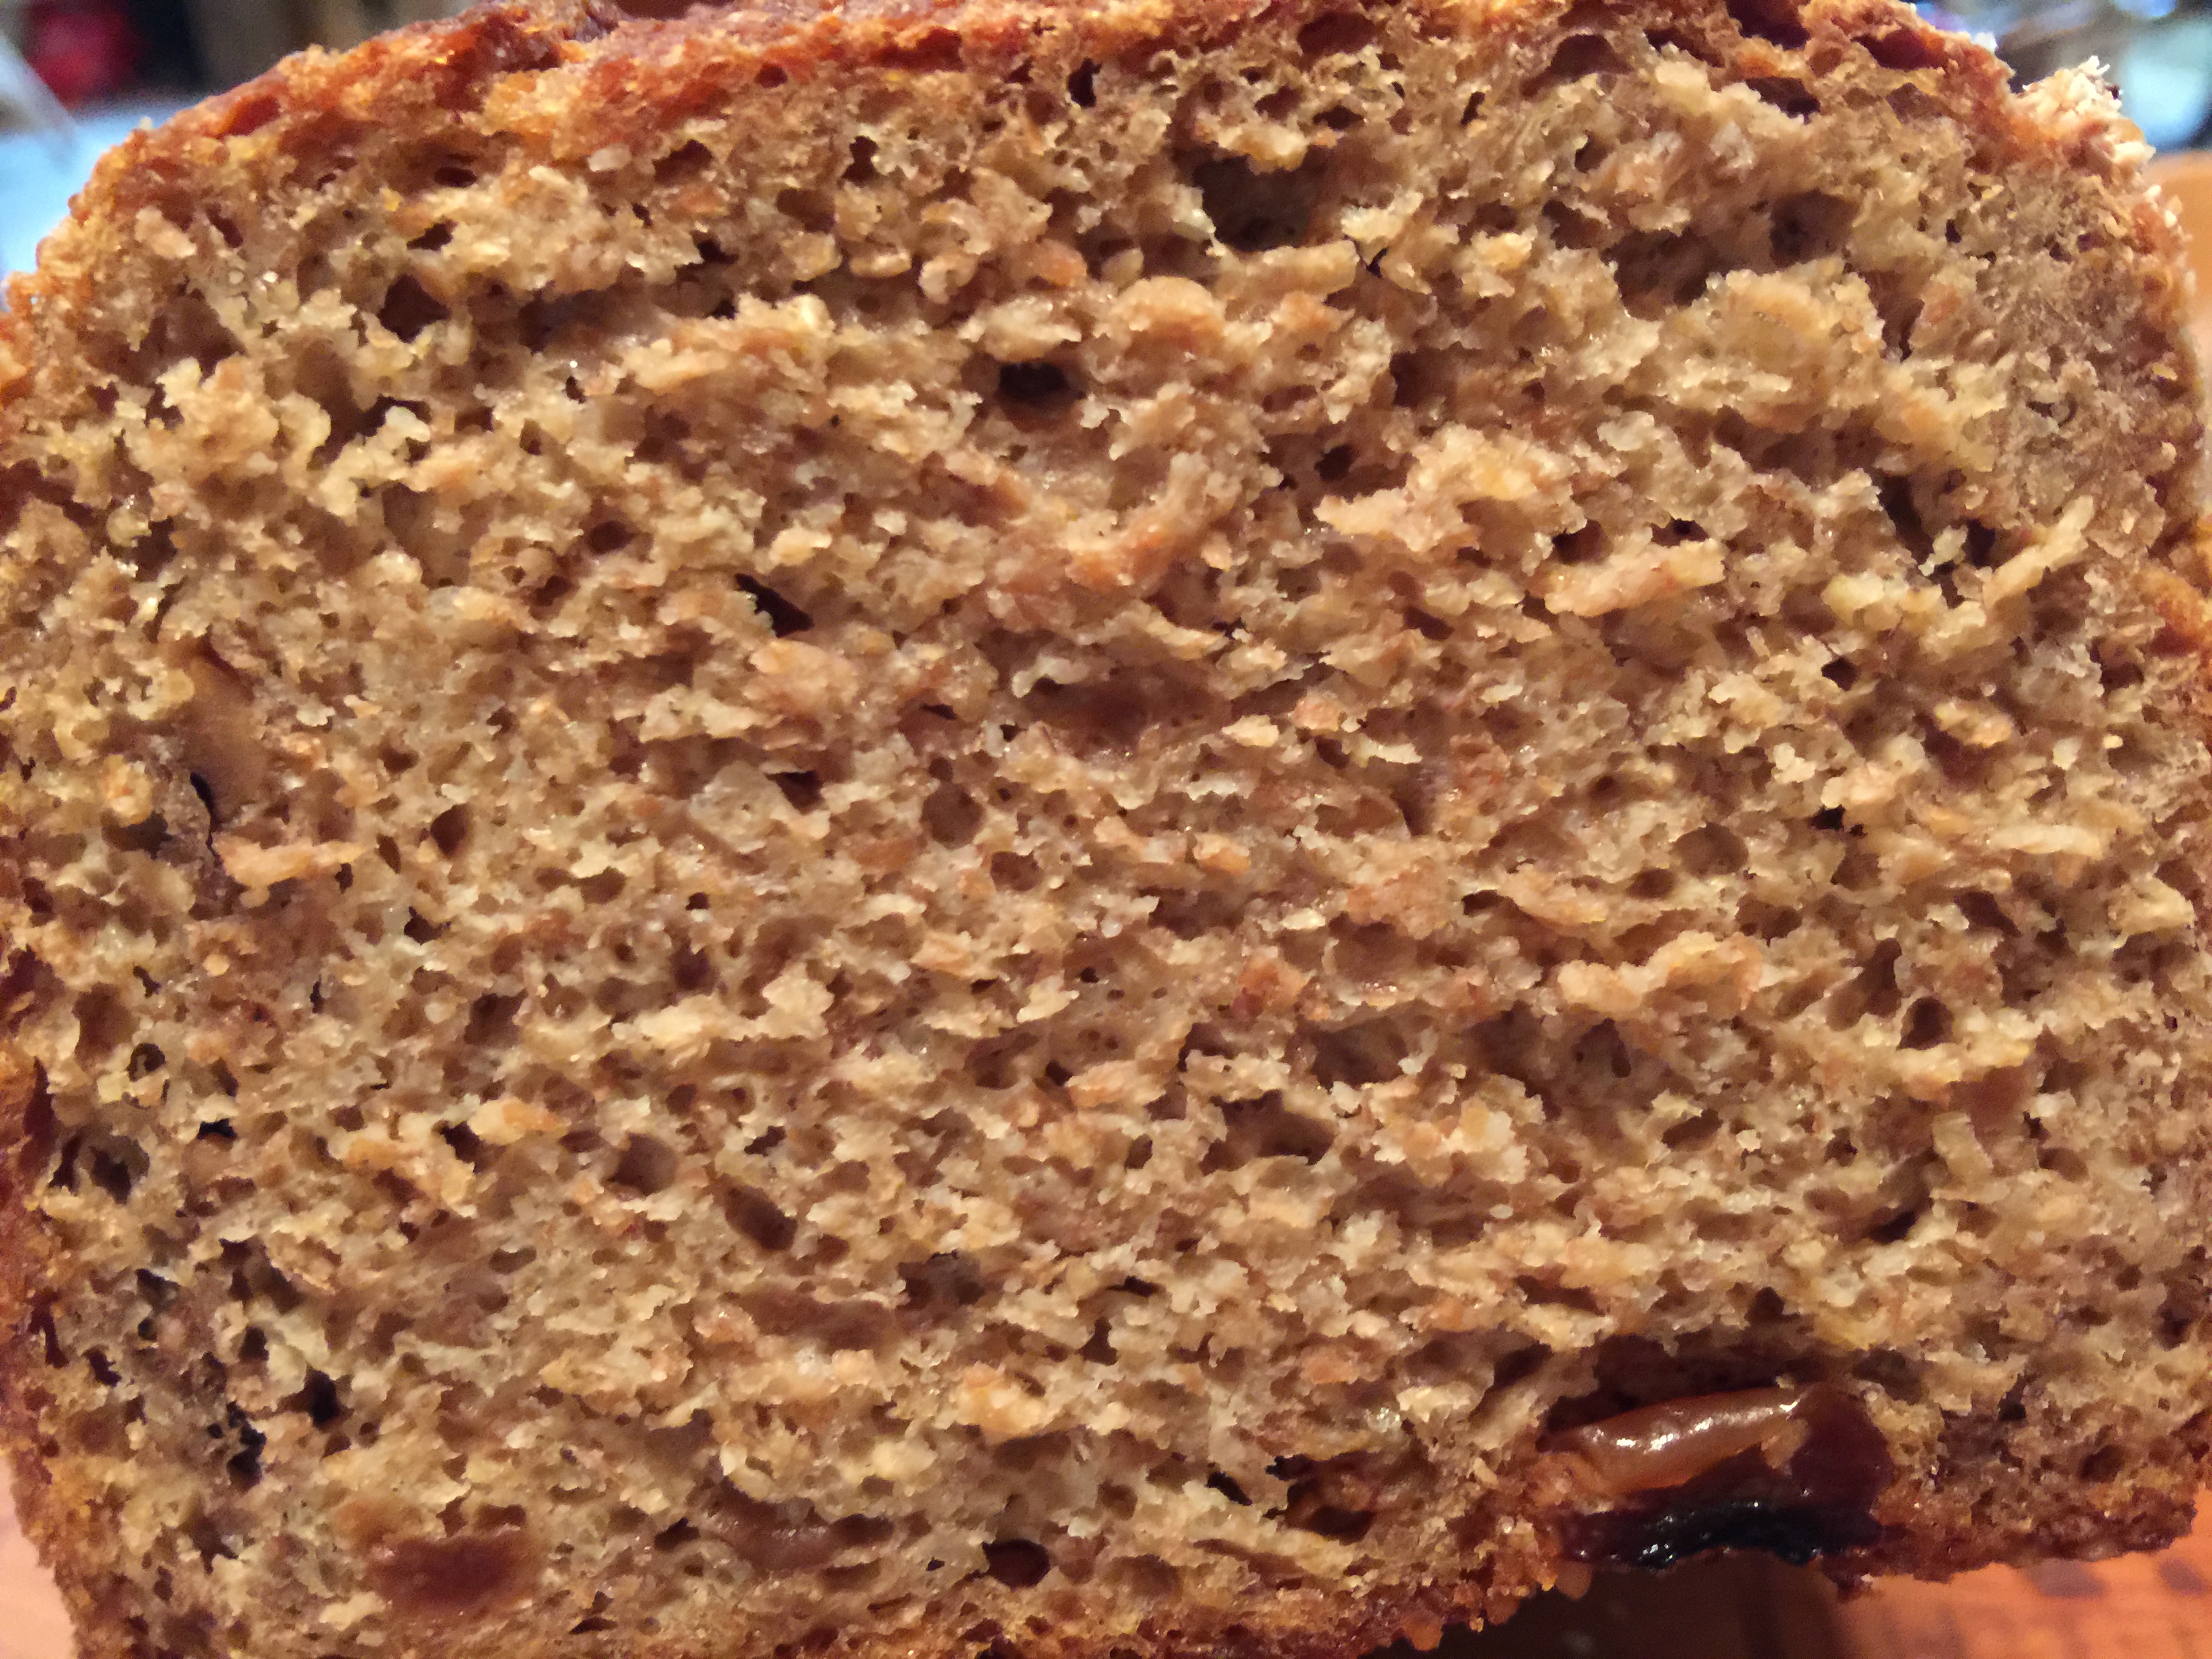
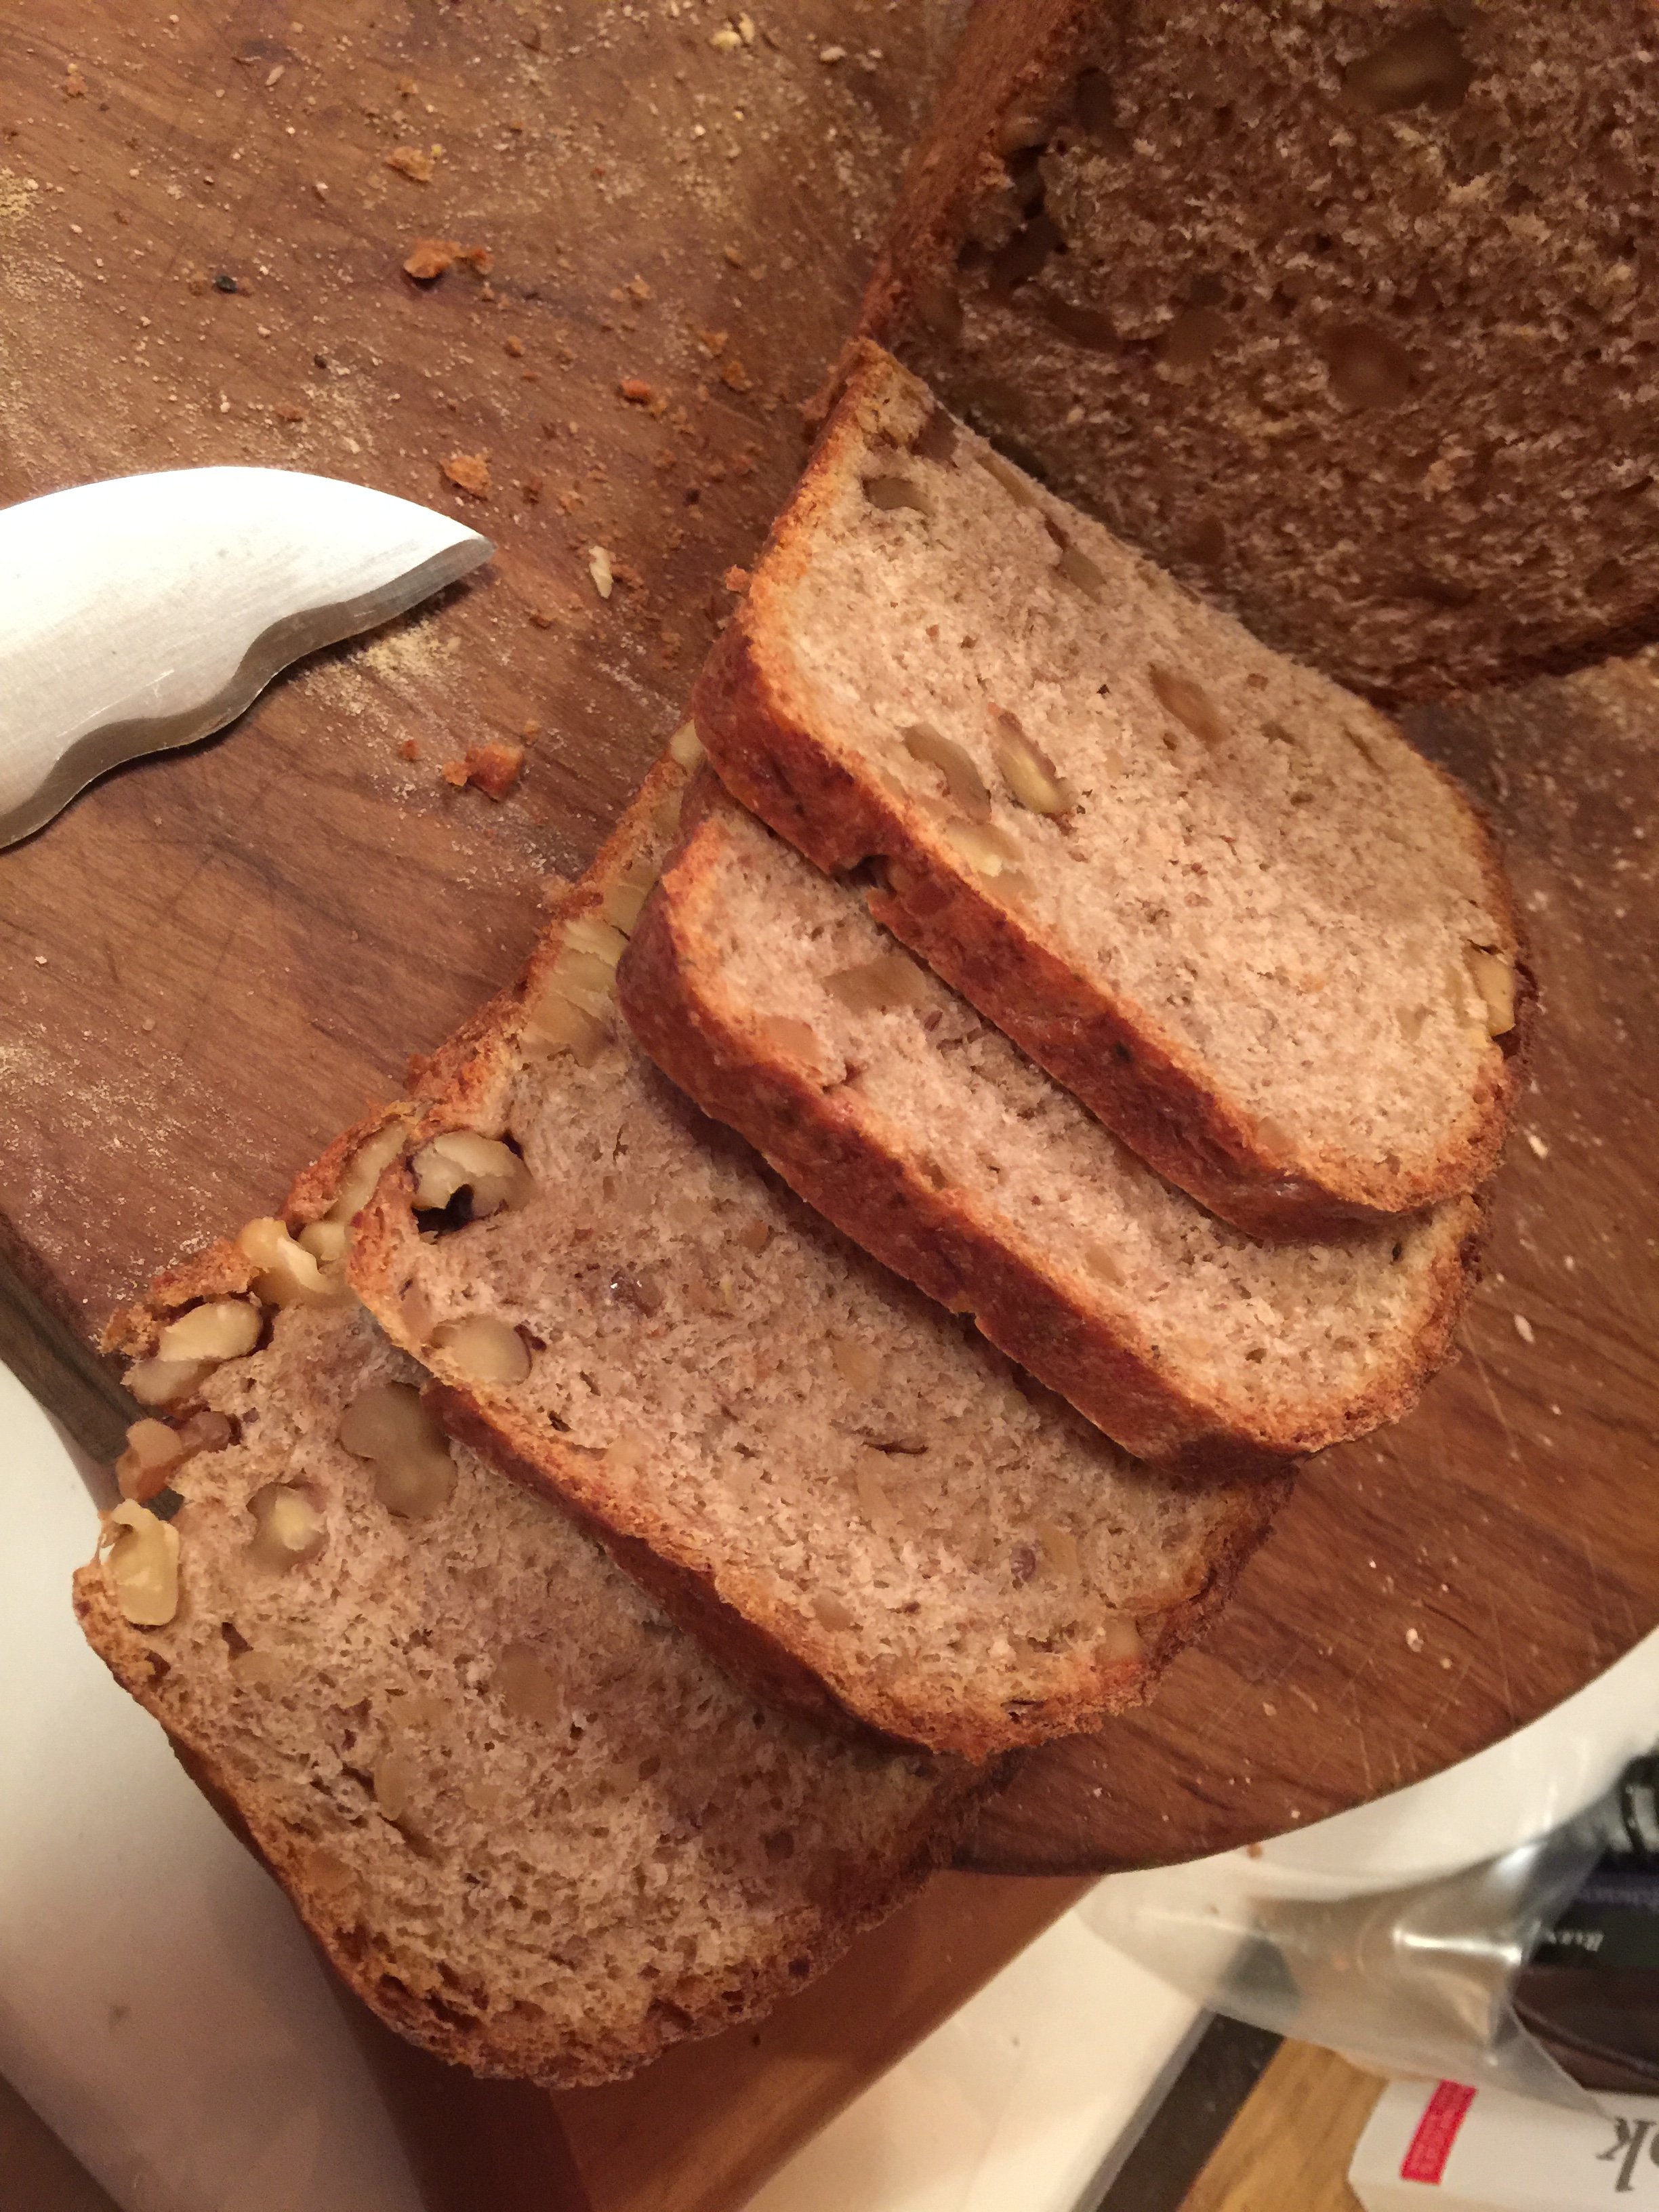
8. This loaf should ideally be cut from the bottom to keep the outside edges/top from crumbling. Excellent with coffee or tea!

This loaf will keep for 4-5 days in a sealed bag or a week in the refrigerator.
That is totally laughable because with two people in my house half of this was gone in a day and a half. My friend took the other half home and it was gone that night. It is either store it or look for bigger pants.
It may also be frozen in portions.
We would love for you to try this impressive looking and very tasty bread and bake along with us this month! (It’s not as difficult as it looks!) No blog is necessary to participate, a picture will do. Just send a picture or your post of your finished povitica to Kelly by the 30th of this month at eleyana (AT) aol (DOT) com. New recipes are posted every month on the 16th. Check out our Facebook group to see the participants’ baking results during that time.


![crunchy-crackers_328_thumb[2]](https://my-kitchen-in-half-cups.com/wp-content/uploads/2013/10/crunchy-crackers_328_thumb2.jpg?w=300)