No parsley, rice flour that was there on Monday and disappeared on Wednesday … what maybe has some relation to a grain of rice … maybe barley … maybe not … try it anyway.
You do know that a second baking provides a golden opportunity to try it a different way aiming for better … or disaster.

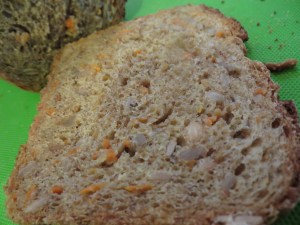
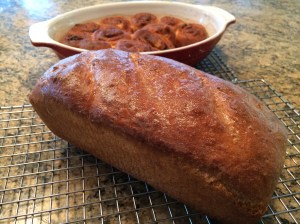
Heather, our colorful Kitchen of the Month at Girl Chef, has brought Babes and Buddies an awesome Fall bread. The orange of carrots is a gorgeous fall color and really gives vibrancy to this loaf.
Carrot Bread
Recipe from: Heather: adapted from Artisan Breads: Practical Recipes & Detailed Instructions for Baking the World’s Finest Loaves by Jan Hed
Yield: 4 loaves
for the Poolish:
3/4 teaspoon active dry yeast
1 cup lukewarm water + more as needed, I must have used at least 2 cups total
364 grams stone ground rye flour

for the Dough:
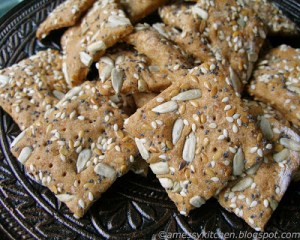
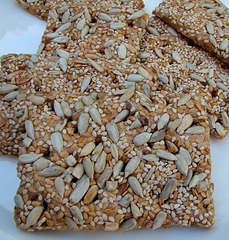
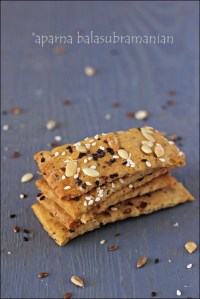
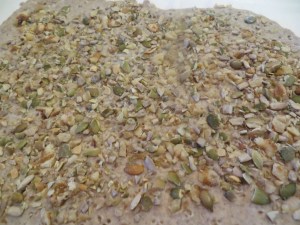
2/3 cup toasted sesame seeds, used pepita’s (pumpkin)
1.5 cup toasted sunflower seeds
60 grams ground flax seed
2-1/2 teaspoons active dry yeast
1 cup carrot juice or orange juice, lukewarm
2-1/4 cups grated carrot
1/2 cup chopped parsley, omitted as I had none
824 grams bread flour, I used a mix of flours, about 450 bread flour, then a mix of white whole wheat and spelt
2 tablespoons honey, maple syrup or agave, used agave
1/4 cup sunflower oil – I used grapeseed oil
4 teaspoons sea salt
for the Crackle Glaze:
1 teaspoon active dry yeast
3/4 cup + 2 tablespoons lukewarm water
132 grams rice flour, rice flour lost used barley flour
2 teaspoons agave, cut to 1 teaspoon
1-3/4 teaspoons sunflower oil
3/4 teaspoons sea salt
1. Day 1: Make the Poolish Dissolve the yeast in the water, and let sit a few minutes to bloom. Whisk in the flour until smooth – if it is very thick, continue whisking in more water until it is the consistency of a thick batter. Cover with plastic wrap and let sit at room temperature for 24 hours; at this point it should be a bit bubbly.
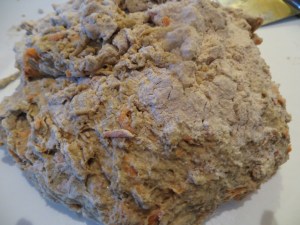
2. Day 2: Baking Day In a large bowl (or bowl of a stand mixer fitted with dough hook attachment), dissolve the yeast in the carrot juice, let sit a few minutes until it looks creamy (bloomed). Add the grated carrot, parsley, the lesser amount of bread flour, and the poolish to the bowl. Knead on low spead for 3 minutes. If the dough doesn’t seem too sticky, then don’t add any more of the flour; it will firm up as it is kneaded (plus you have more to add to it).
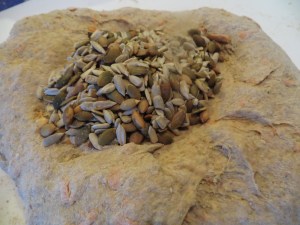
3. Add the oil to the bowl and knead for another 8 minutes. Add the salt, increase the speed, and knead until elastic, about 7 more minutes. At this point, the dough will not be sticky any longer. Use the extra flour, a tiny bit at a time, to remedy the dough if it is. Add the toasted seeds, and gently mix in.
4. Place the dough into a large, lightly oiled bowl or container and cover. Let sit for 60-90 minutes, knocking the dough back halfway through. To knock the dough back, remove it from the bowl and set it on a work surface. Use your hands to knock the air out of it. Fold the edges towards the center to form a cushion. Replace in the container, seam side down.
5. make the Crackle Glaze: While the dough is rising, dissolve the yeast in the water in a medium bowl. Whisk in the remaining ingredients. It should be spreadable, but not runny. Cover with plastic wrap and allow to sit for at least 30 minutes before using.
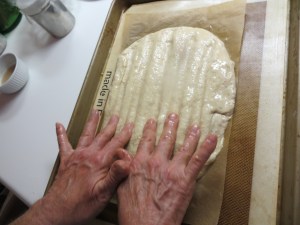
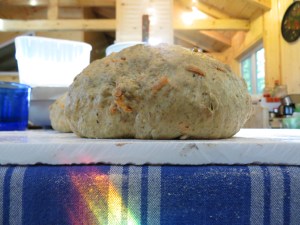
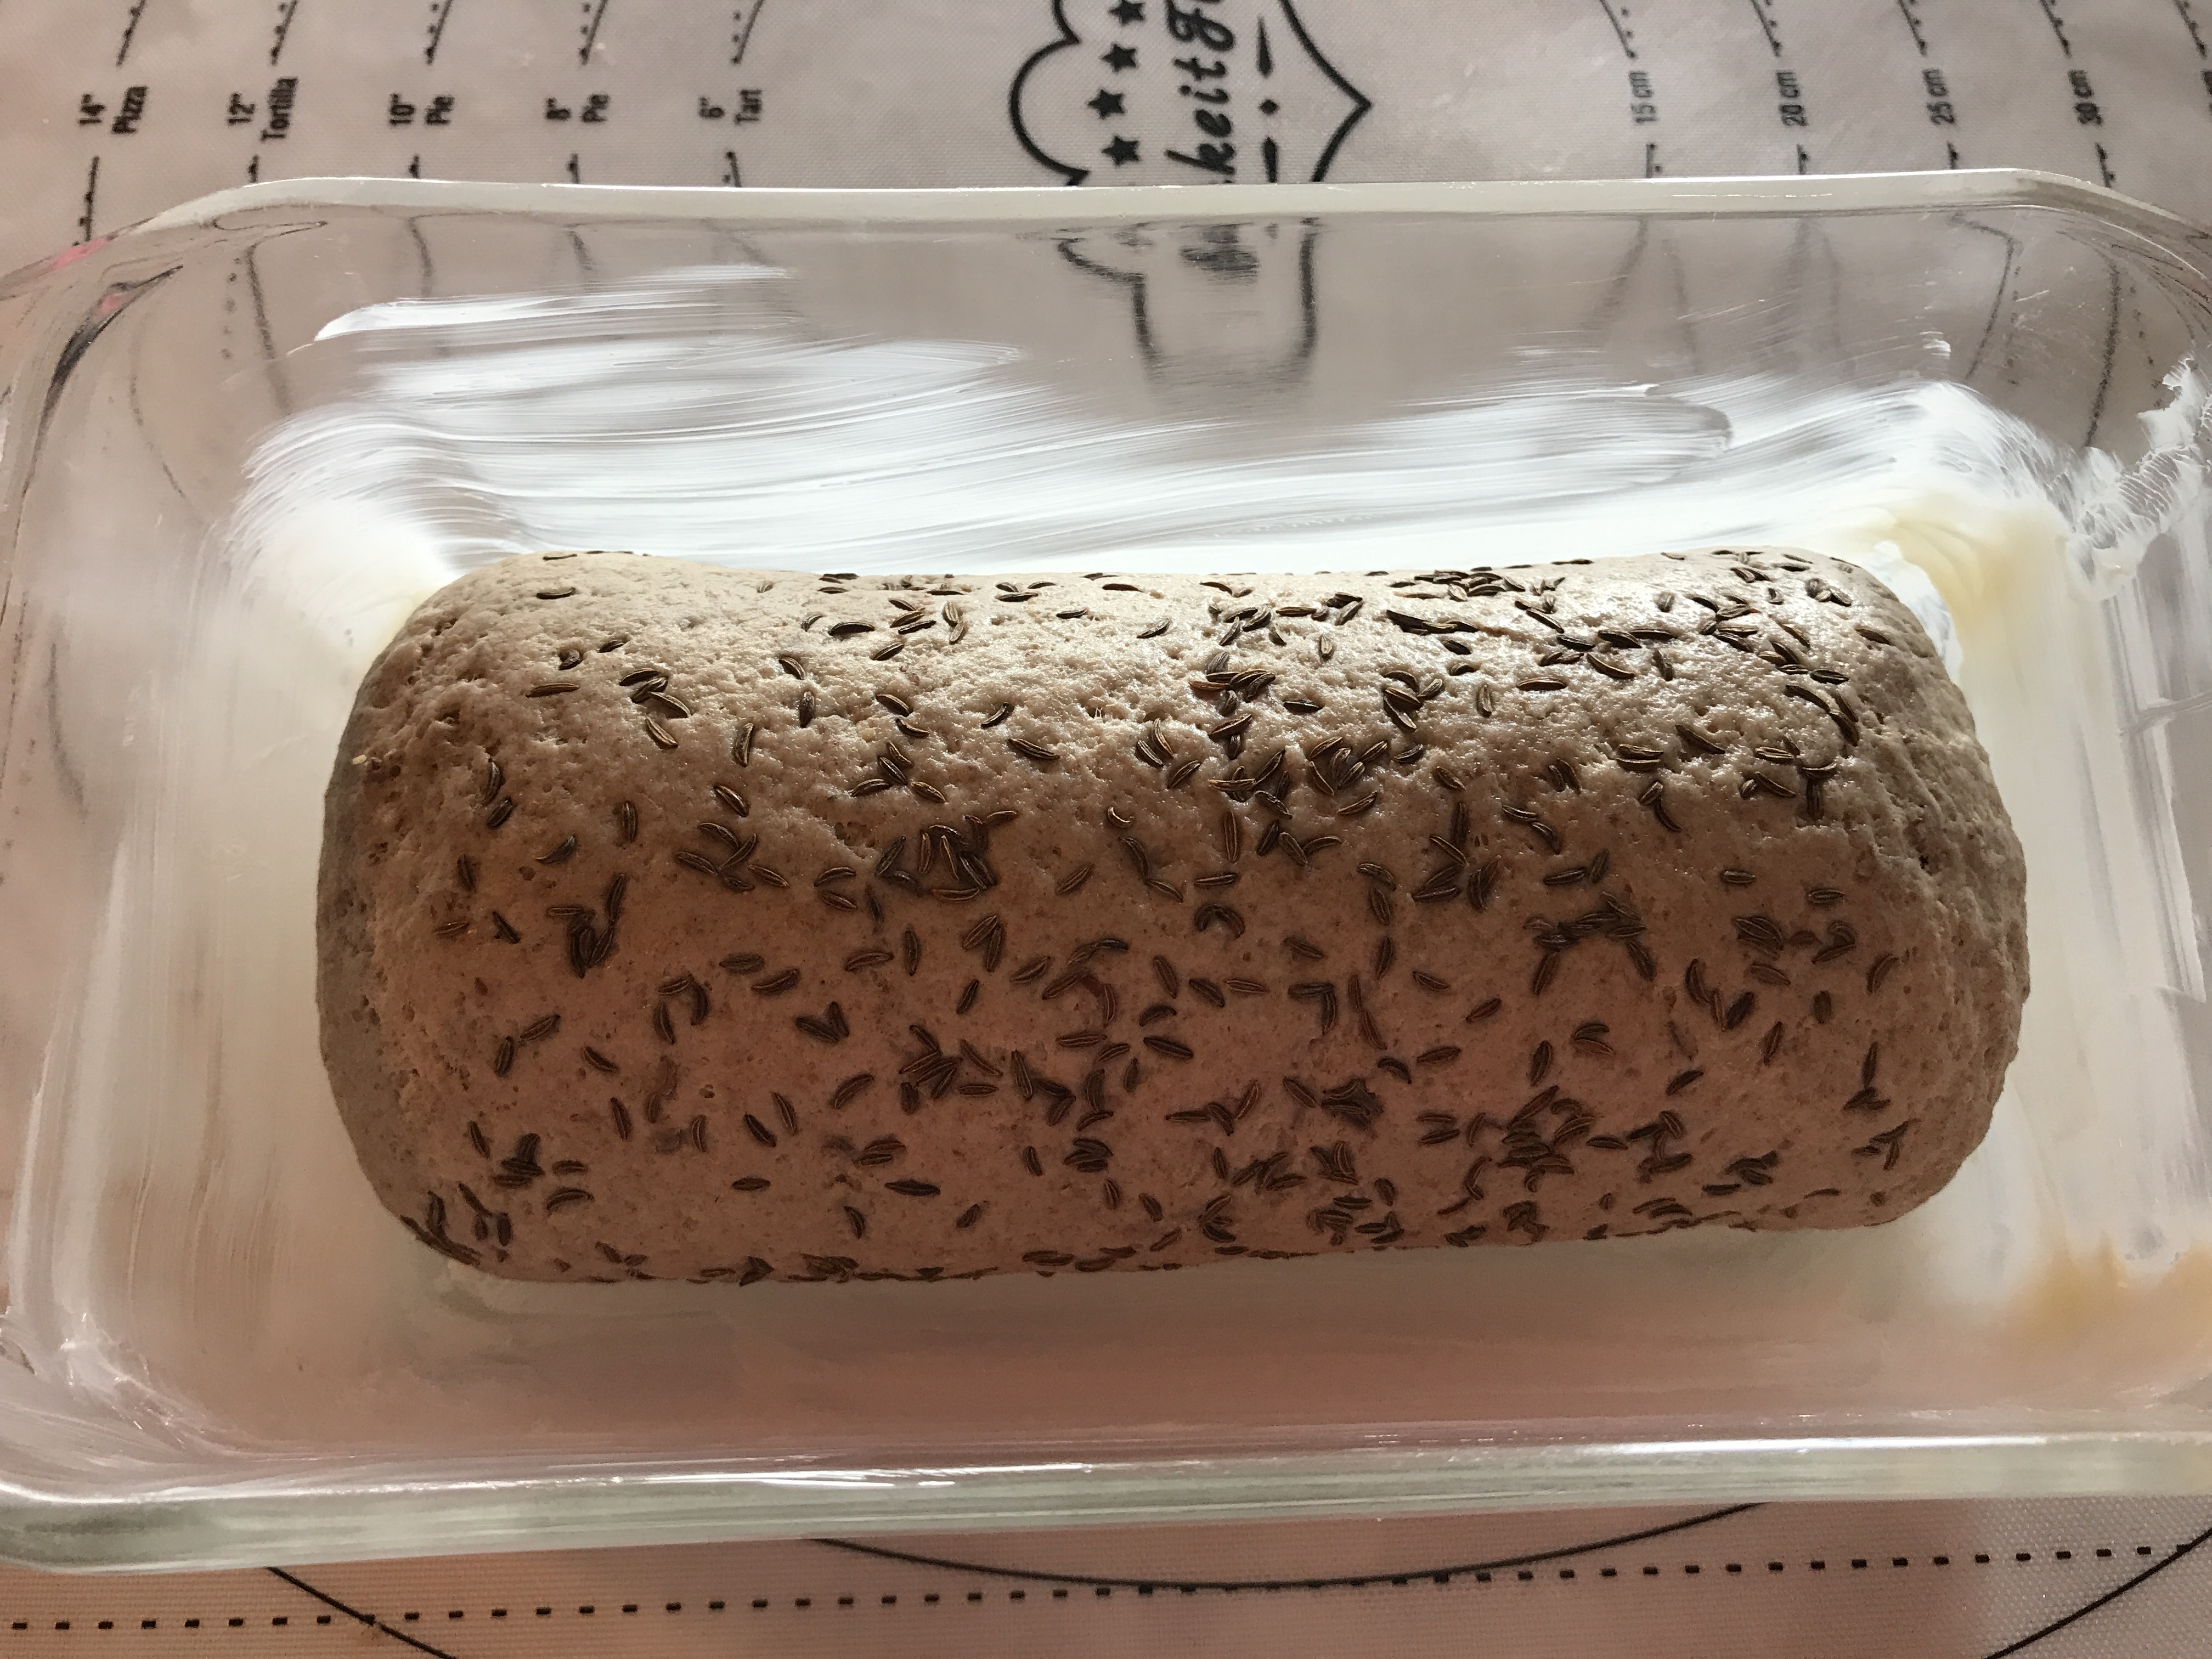
6. shaping and baking: Turn the dough out onto a lighty floured work surface and divide into 3 equal parts (approximately 78 ounces of dough to equal three 26 ounce portions).
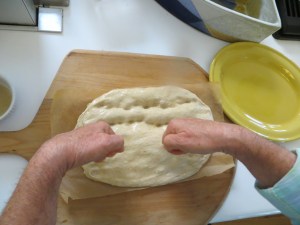
7. Form the portions into three round balls, and cover them with a clean tea towel. Let rest for 10 minutes.
8. Shape each circle of dough into an oblong loaf, by gently pressing ball down into a circle and then tucking/rolling into shape. Set loaves, seam side down, onto a lightly floured bread peel or thin cutting board. Glaze the loaves generously with the crackling glaze (you’ll have a lot of leftover glaze), and leave to rise at room temperature for 60-75 minutes, or until the dough has doubled in size and the the surface is crackled.
9. Place a baking stone into the oven, and preheat to 475° F during last 20 minutes or so of rise time.
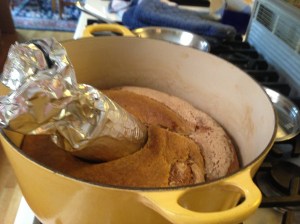
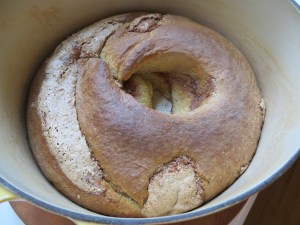
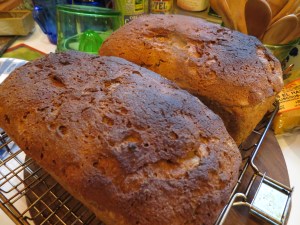
My first two loaves where done in a small Breville convection oven. The highest temperature possible in that oven is 450° and since it’s so small and the elements very exposed, I’m a little leary of misting. Sill we were very happy with the bread.
Since I divided the dough in half and immediately refrigerated one half, I baked the second two loaves after that refrigeration time the next day. I allowed the dough to warm up about an hour and a half and then continued with the directions and baked it in the downstairs regular electric oven. This time the bread baked initially at 475° and was misted but it was not convection. I did follow the instructions below in number 10 for opening the oven door every 10 minutes. Some of the photos look very dark but there was no burning.
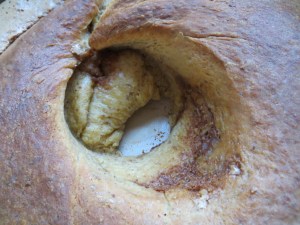
Neither baking got much oven spring and the loaves came out color and time wise pretty much the same.
10. Slide the loaves onto the stone (let them rise directly on a baking sheet or two if you don’t have a stone – slide that into preheated oven) and spray generously with water. Close oven door. Lower the temperature to 400° F after 5 minutes. After another 10 minutes, open the oven door to let in a little air. Repeat two more times (every 10 minutes). Total baking time will be 45 minutes.
11. Remove bread from oven and cool on a wire rack. What you think my cooling rack looks odd … well it’s really a grill basket for little burgers but it works!
I hope your soup is ready.
Notes:
I doubled the carrots, used orange juice not carrot juice, no sesame seeds, used pumpkin seeds; doubled the amounts of both seeds; replaced 100 grams of bread flour with Spelt: used agave for sweetener.
Really like Pat’s idea of diluting a jar or two of baby food carrot andand perhaps I should check to see if there’s baby carrot juice.
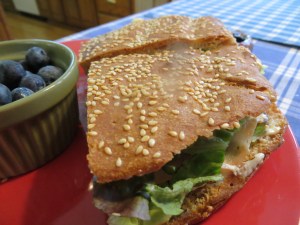
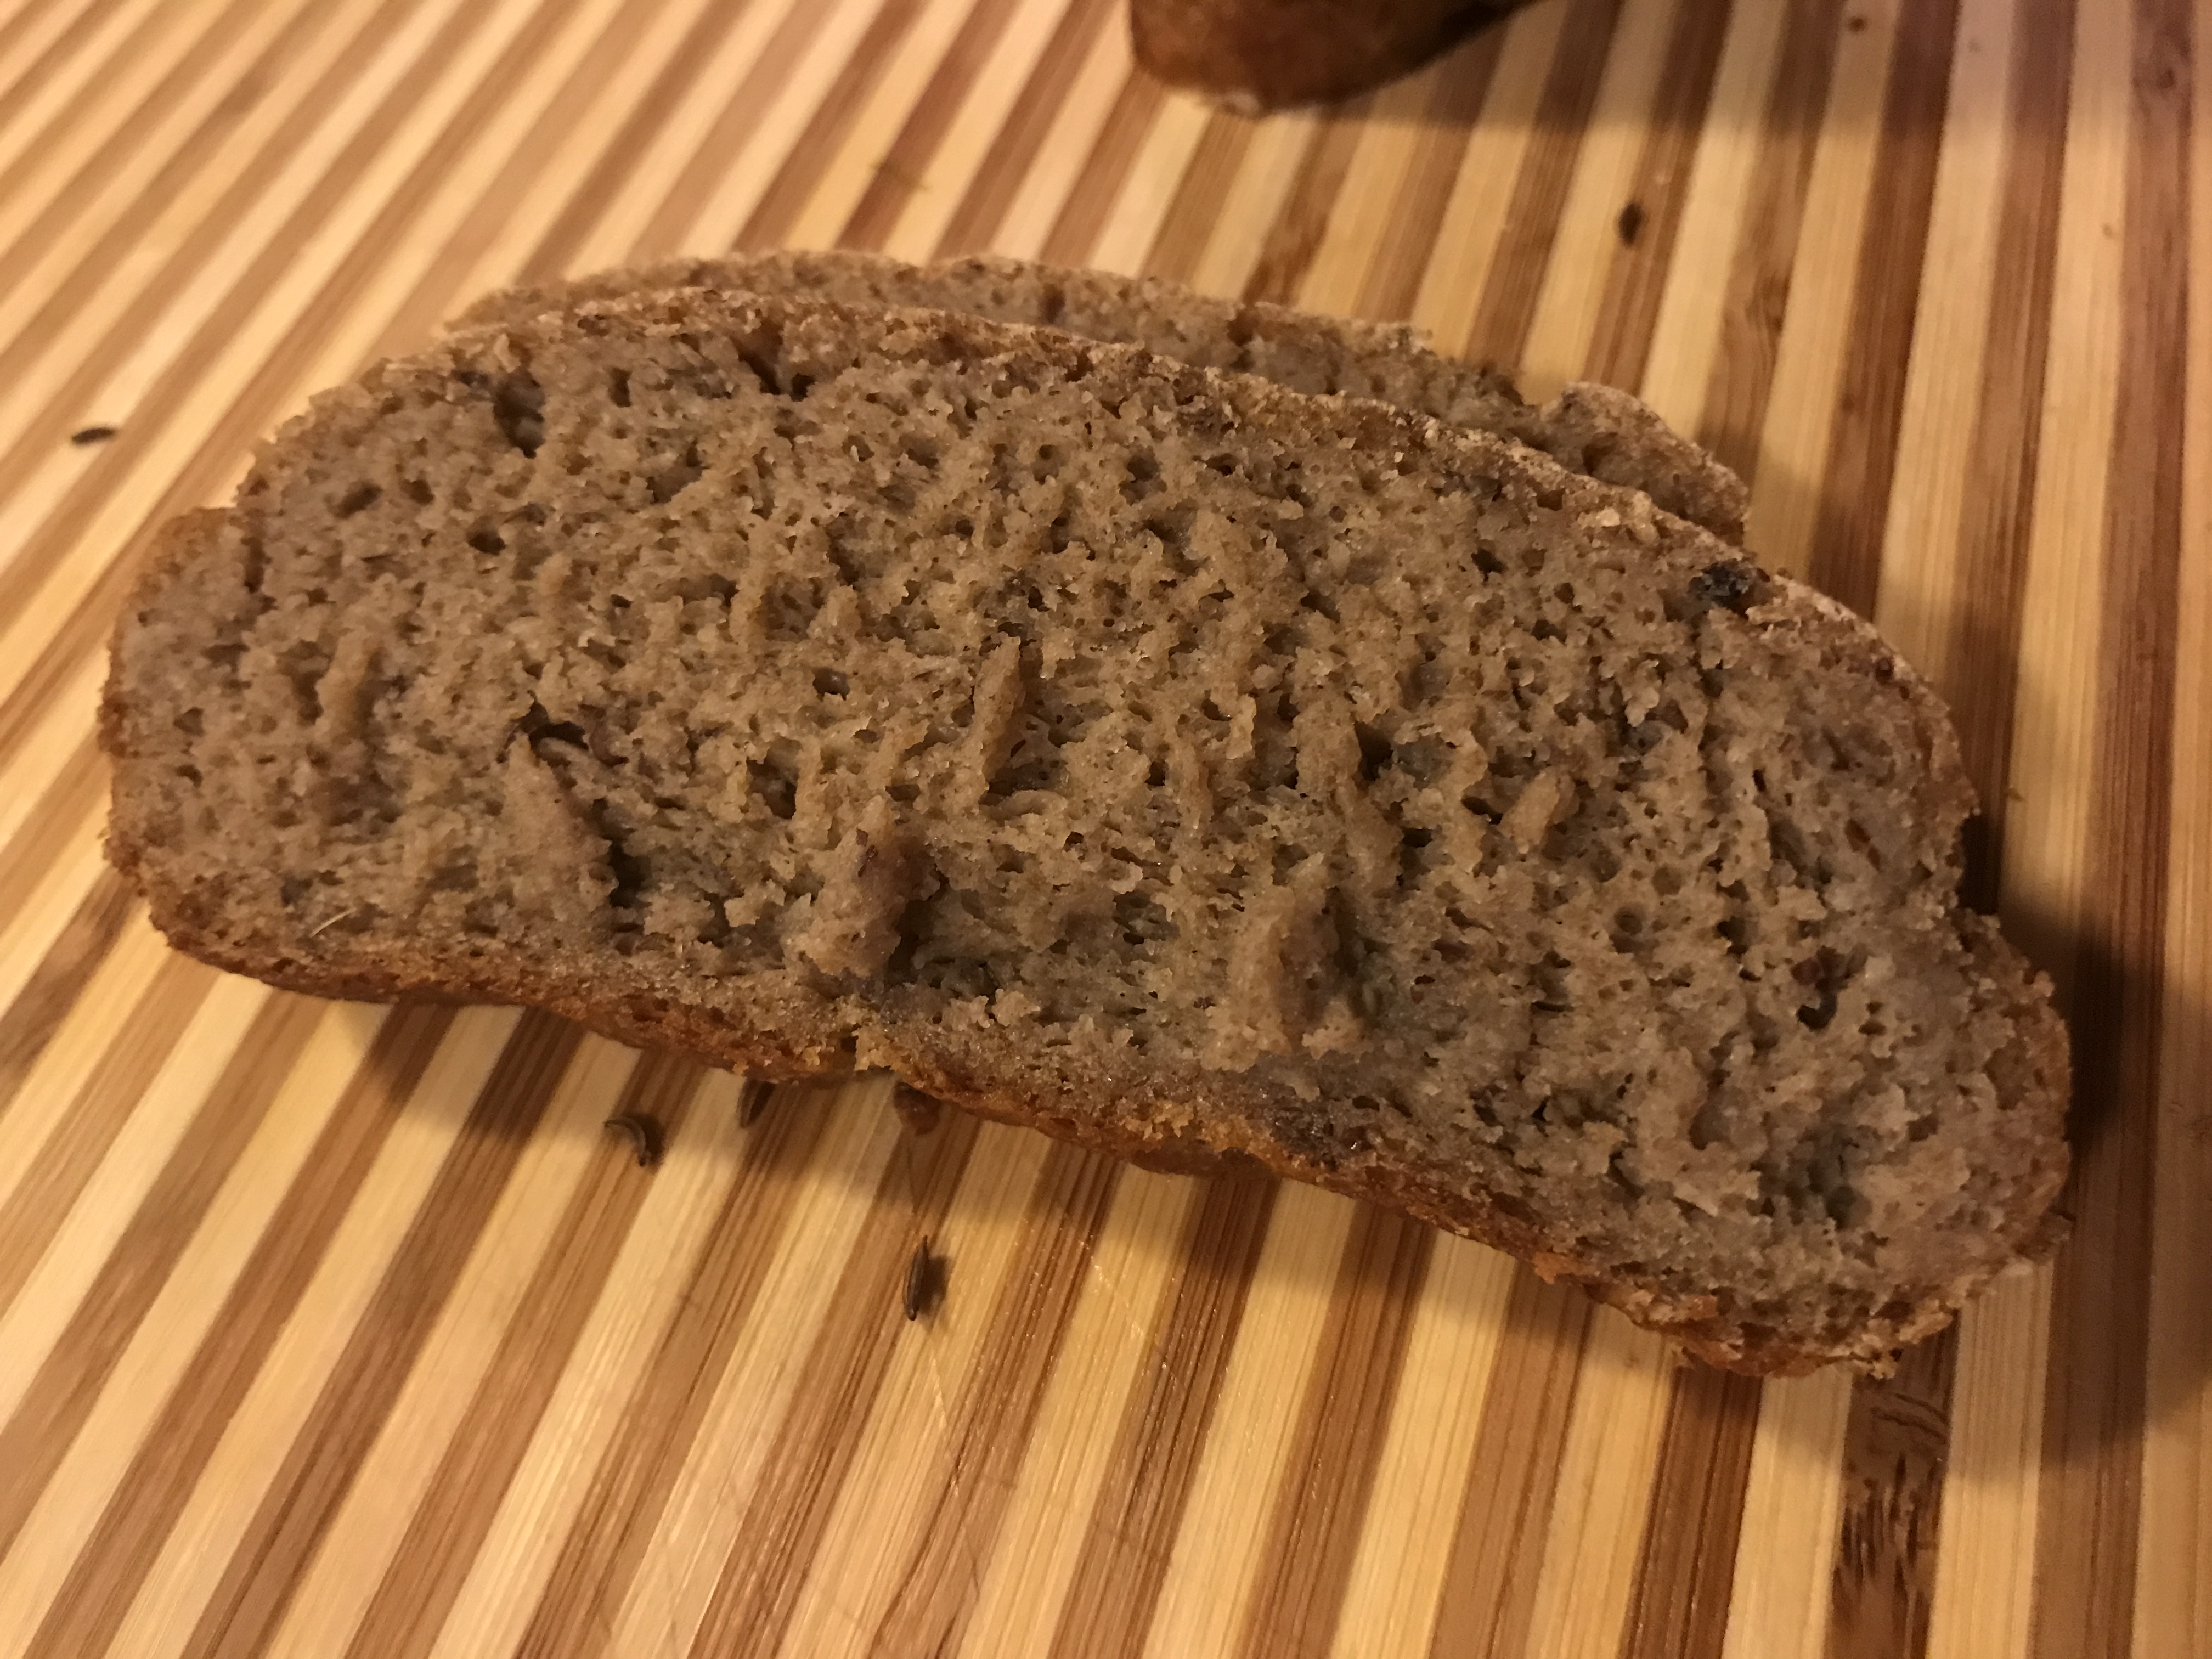
This makes excellent toast, great grilled cheese and tomorrow I’m using the last loaf to make stuffing for roast chicken dinner.
This is a fairly dense bread, allow it to cool or it will be gummy on the inside when you’re re
The Bread Baking Buddies are: YOU!
With Heather at Girl Chef the hosting Babe kitchen of the month, if you’d like to join in, simply bake this Carrot Bread (yes, you may adapt) – and then send her a link to your post via email (girlichef at yahoo dot com). Submissions are due by October 29th. Once you’ve posted, Heather will send you a Buddy badge for baking along and you’ll appear in the Buddy post. I hope you’ll join us this month!
The weather is chilling down, bake this bread and have the soup hot!
Wonderful bread Heather, many thanks!


 Here I am Kitchen of the Month, we’re on a cross country road trip and the mission today was to spread some of Dad’s ashes.


 Next time I will divide into 16 balls because we enjoyed the rolls smaller.
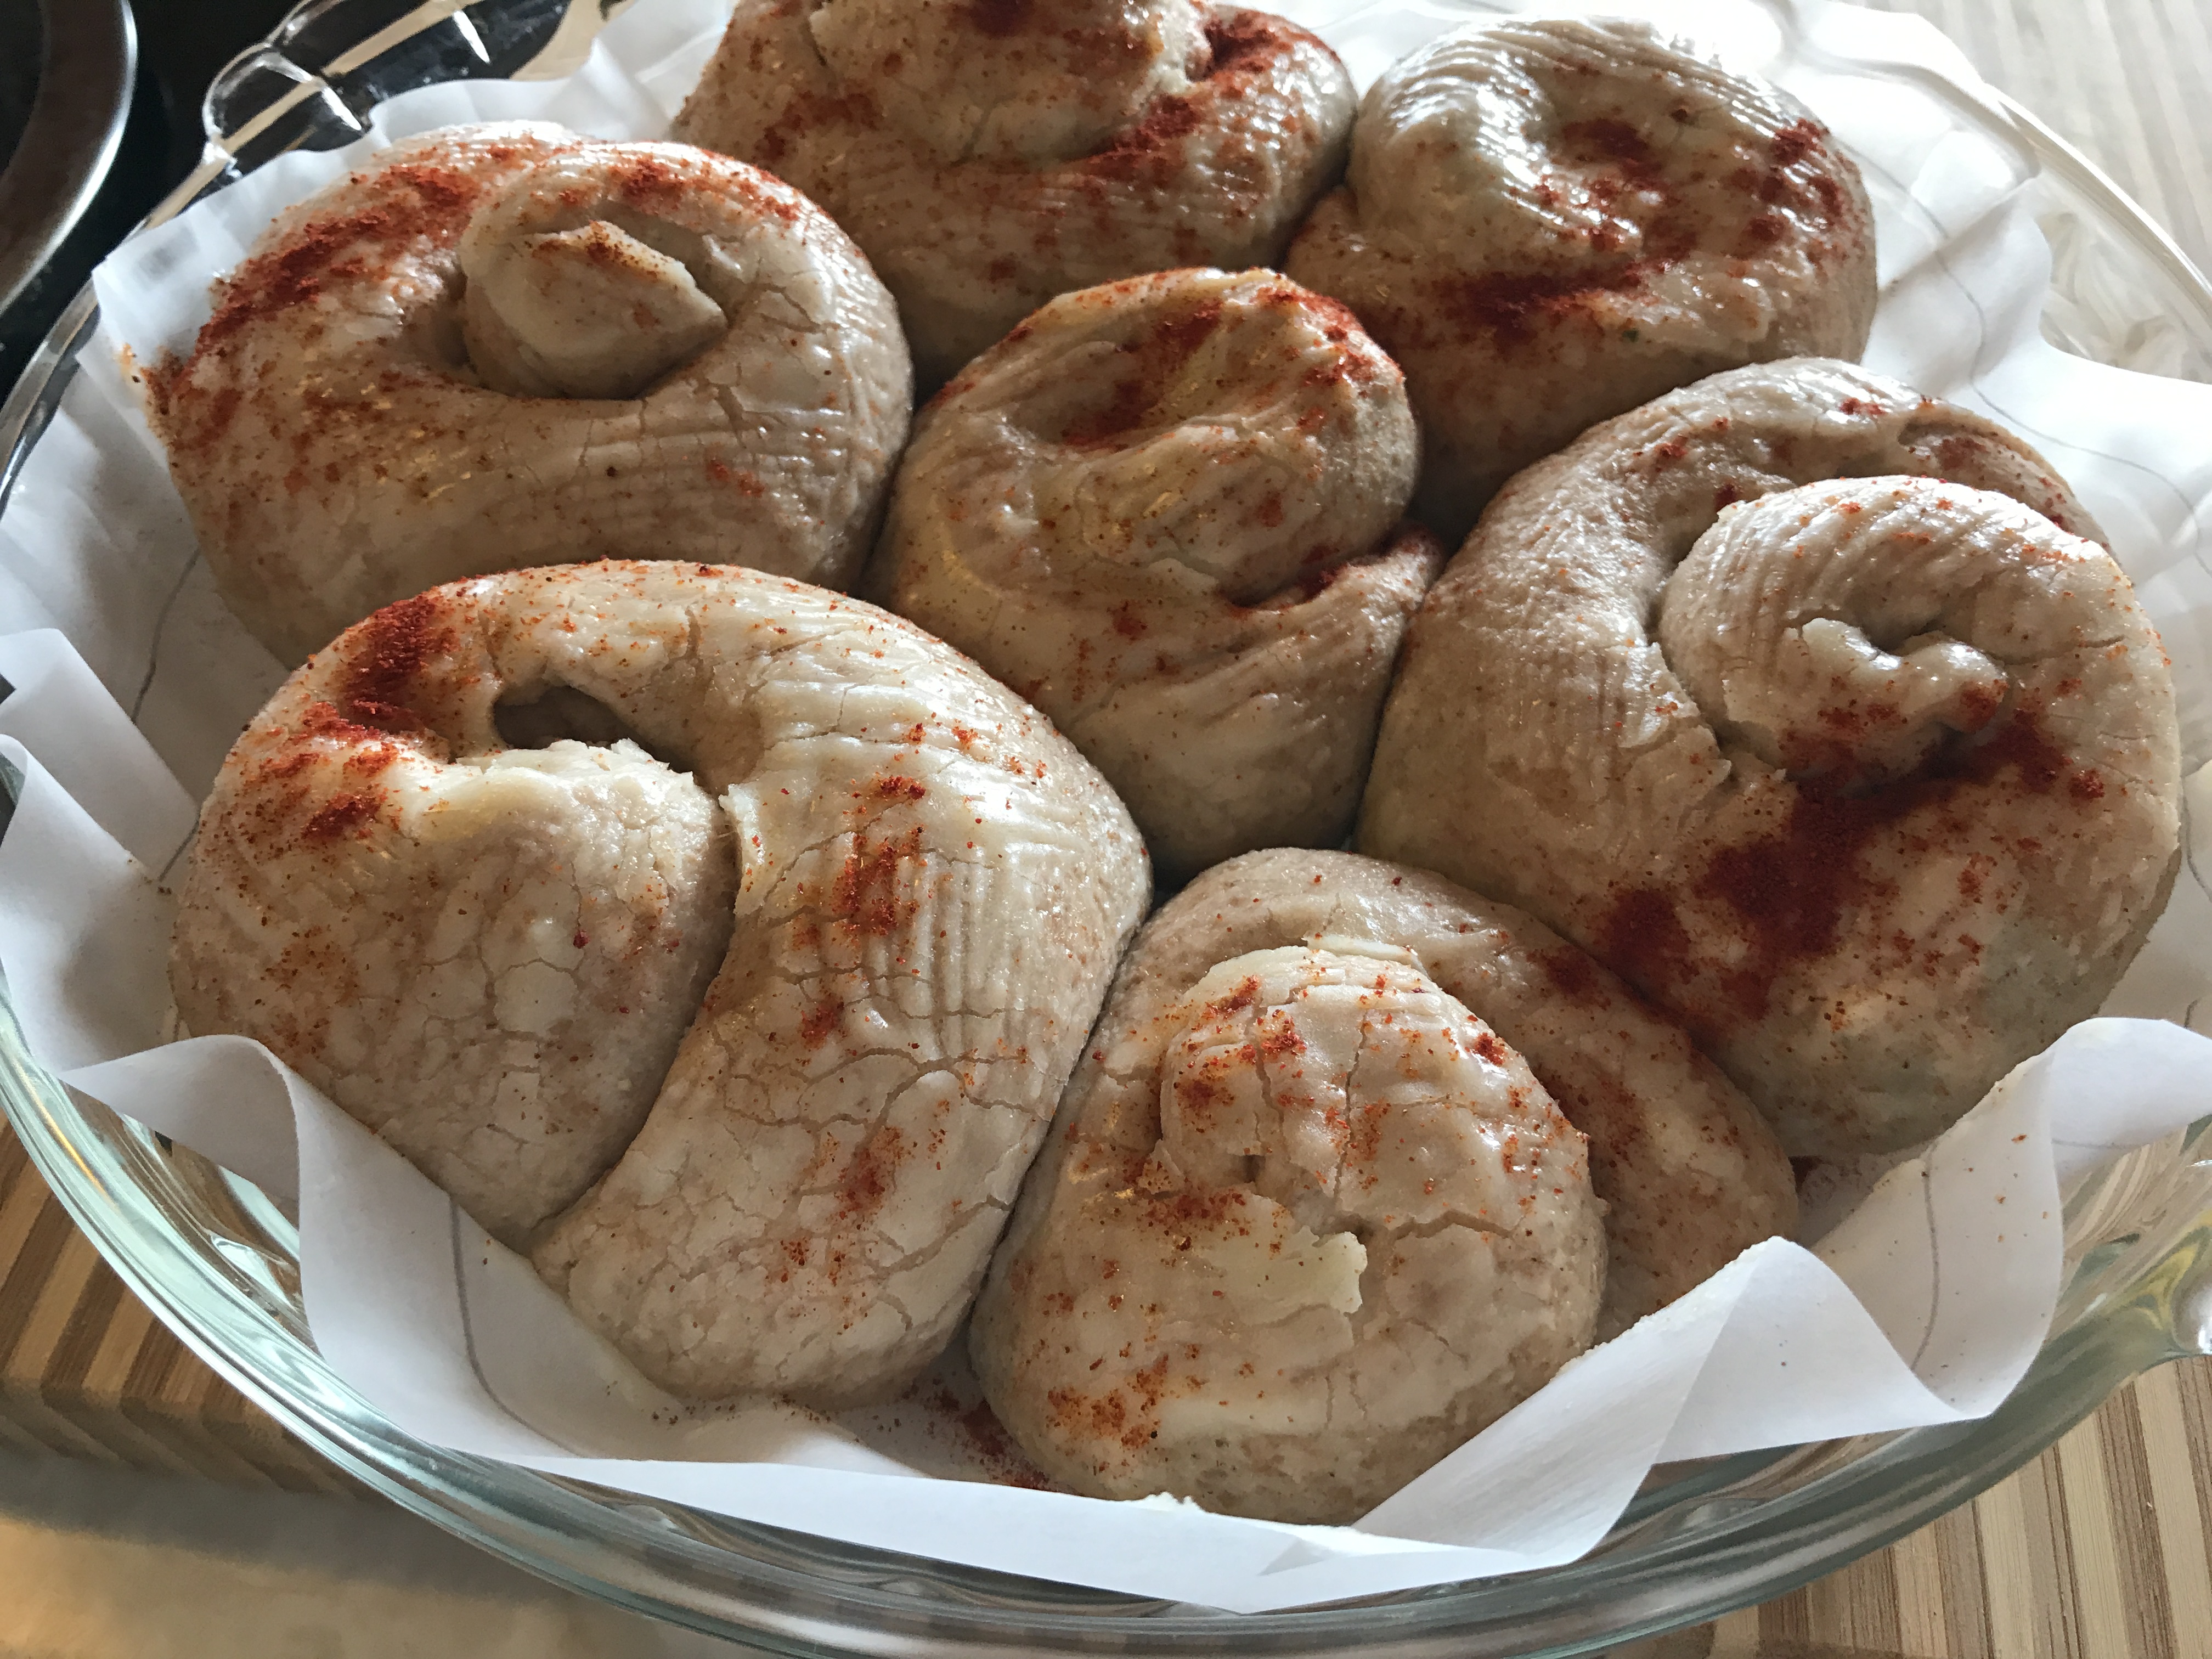


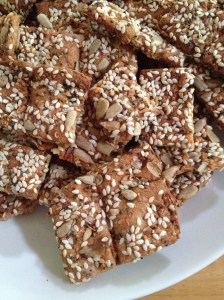


![crunchy-crackers_328_thumb[2]](https://my-kitchen-in-half-cups.com/wp-content/uploads/2013/10/crunchy-crackers_328_thumb2.jpg?w=300)