MyKitchenInHalfCups

Once Upon a time: Cooking … Baking … Traveling … Laughing …

Oo la la


12 Comments

BBB ~ Swedish Rye Bread

Bread Baking Babes gather round a kitchen table in Vienna this month but travel north for a Swedish Rye Bread.  Our kitchen of the month is Astrid from Paulchen’s Food Blog.  I do thank you for this one Astrid, we are loving it … again.  Yes, it’s so good, I’ve already baked it twice.
Oo la la

Oo la la

Swedish Rye Bread

Astrid adapted from Tassajara Bread Book by Edward Espe Brown
Orange zest: be sure to chop it to avoid long strings
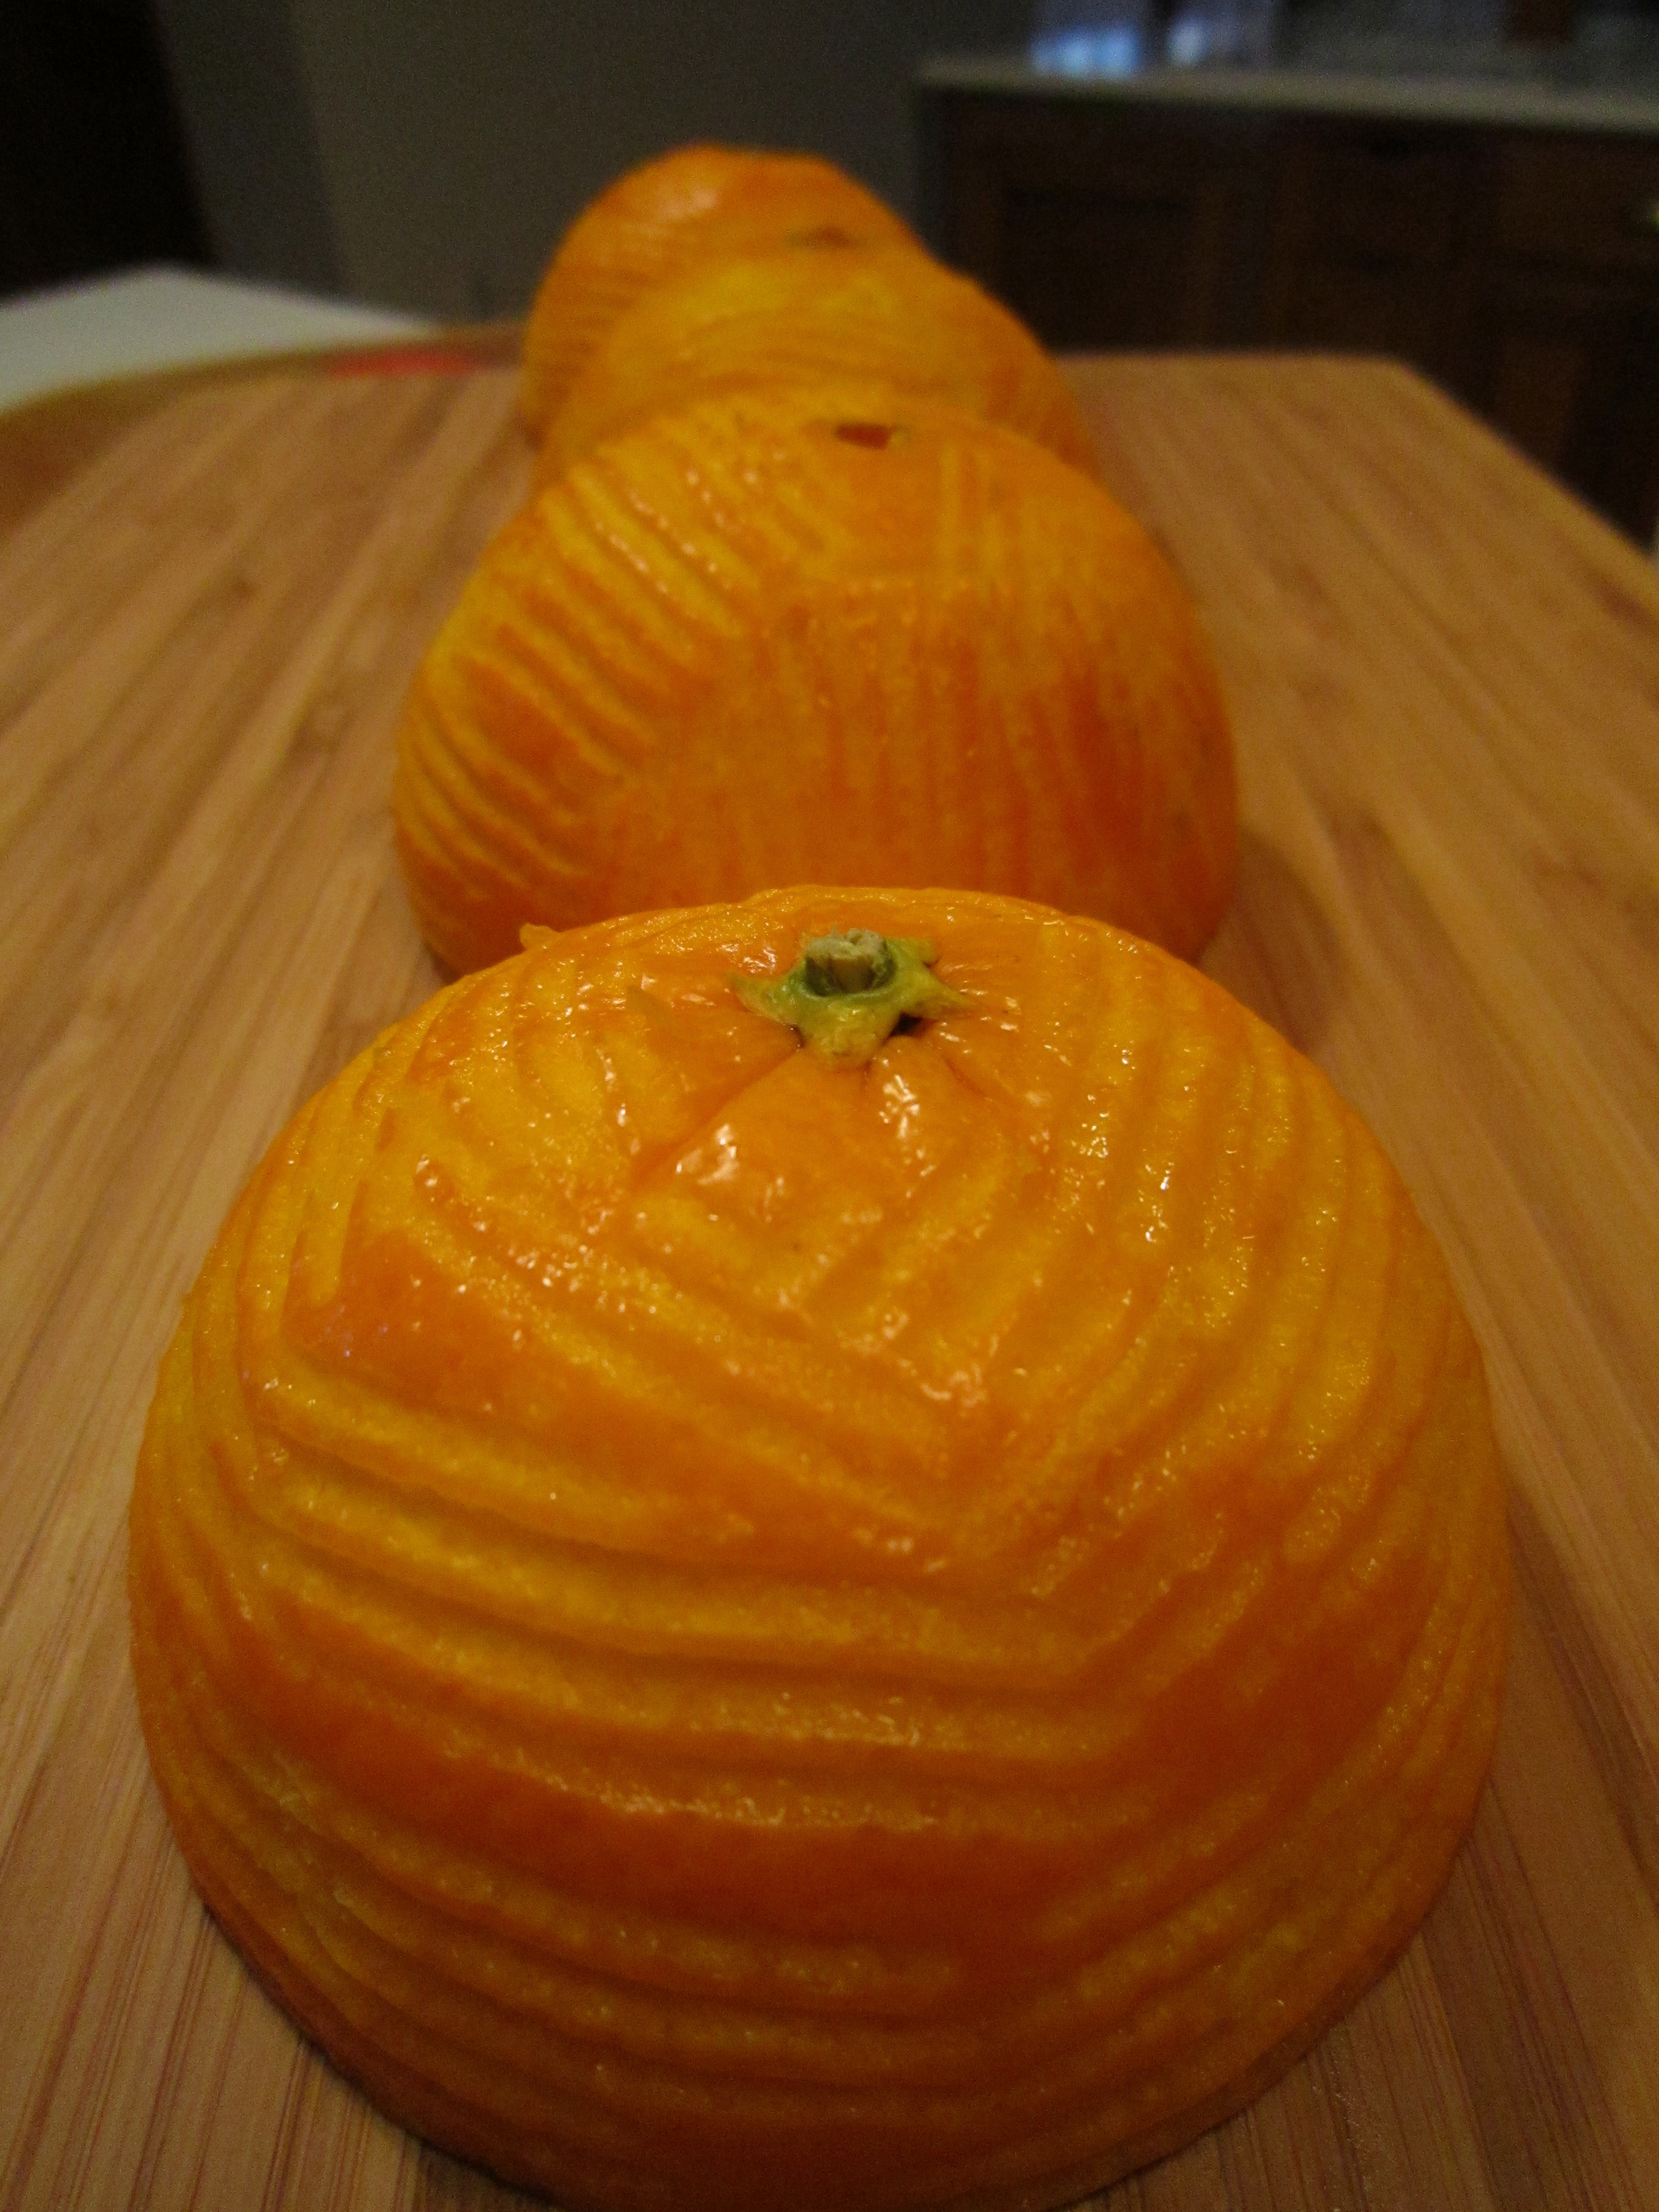
Orange zest: be sure to chop it to avoid long strings

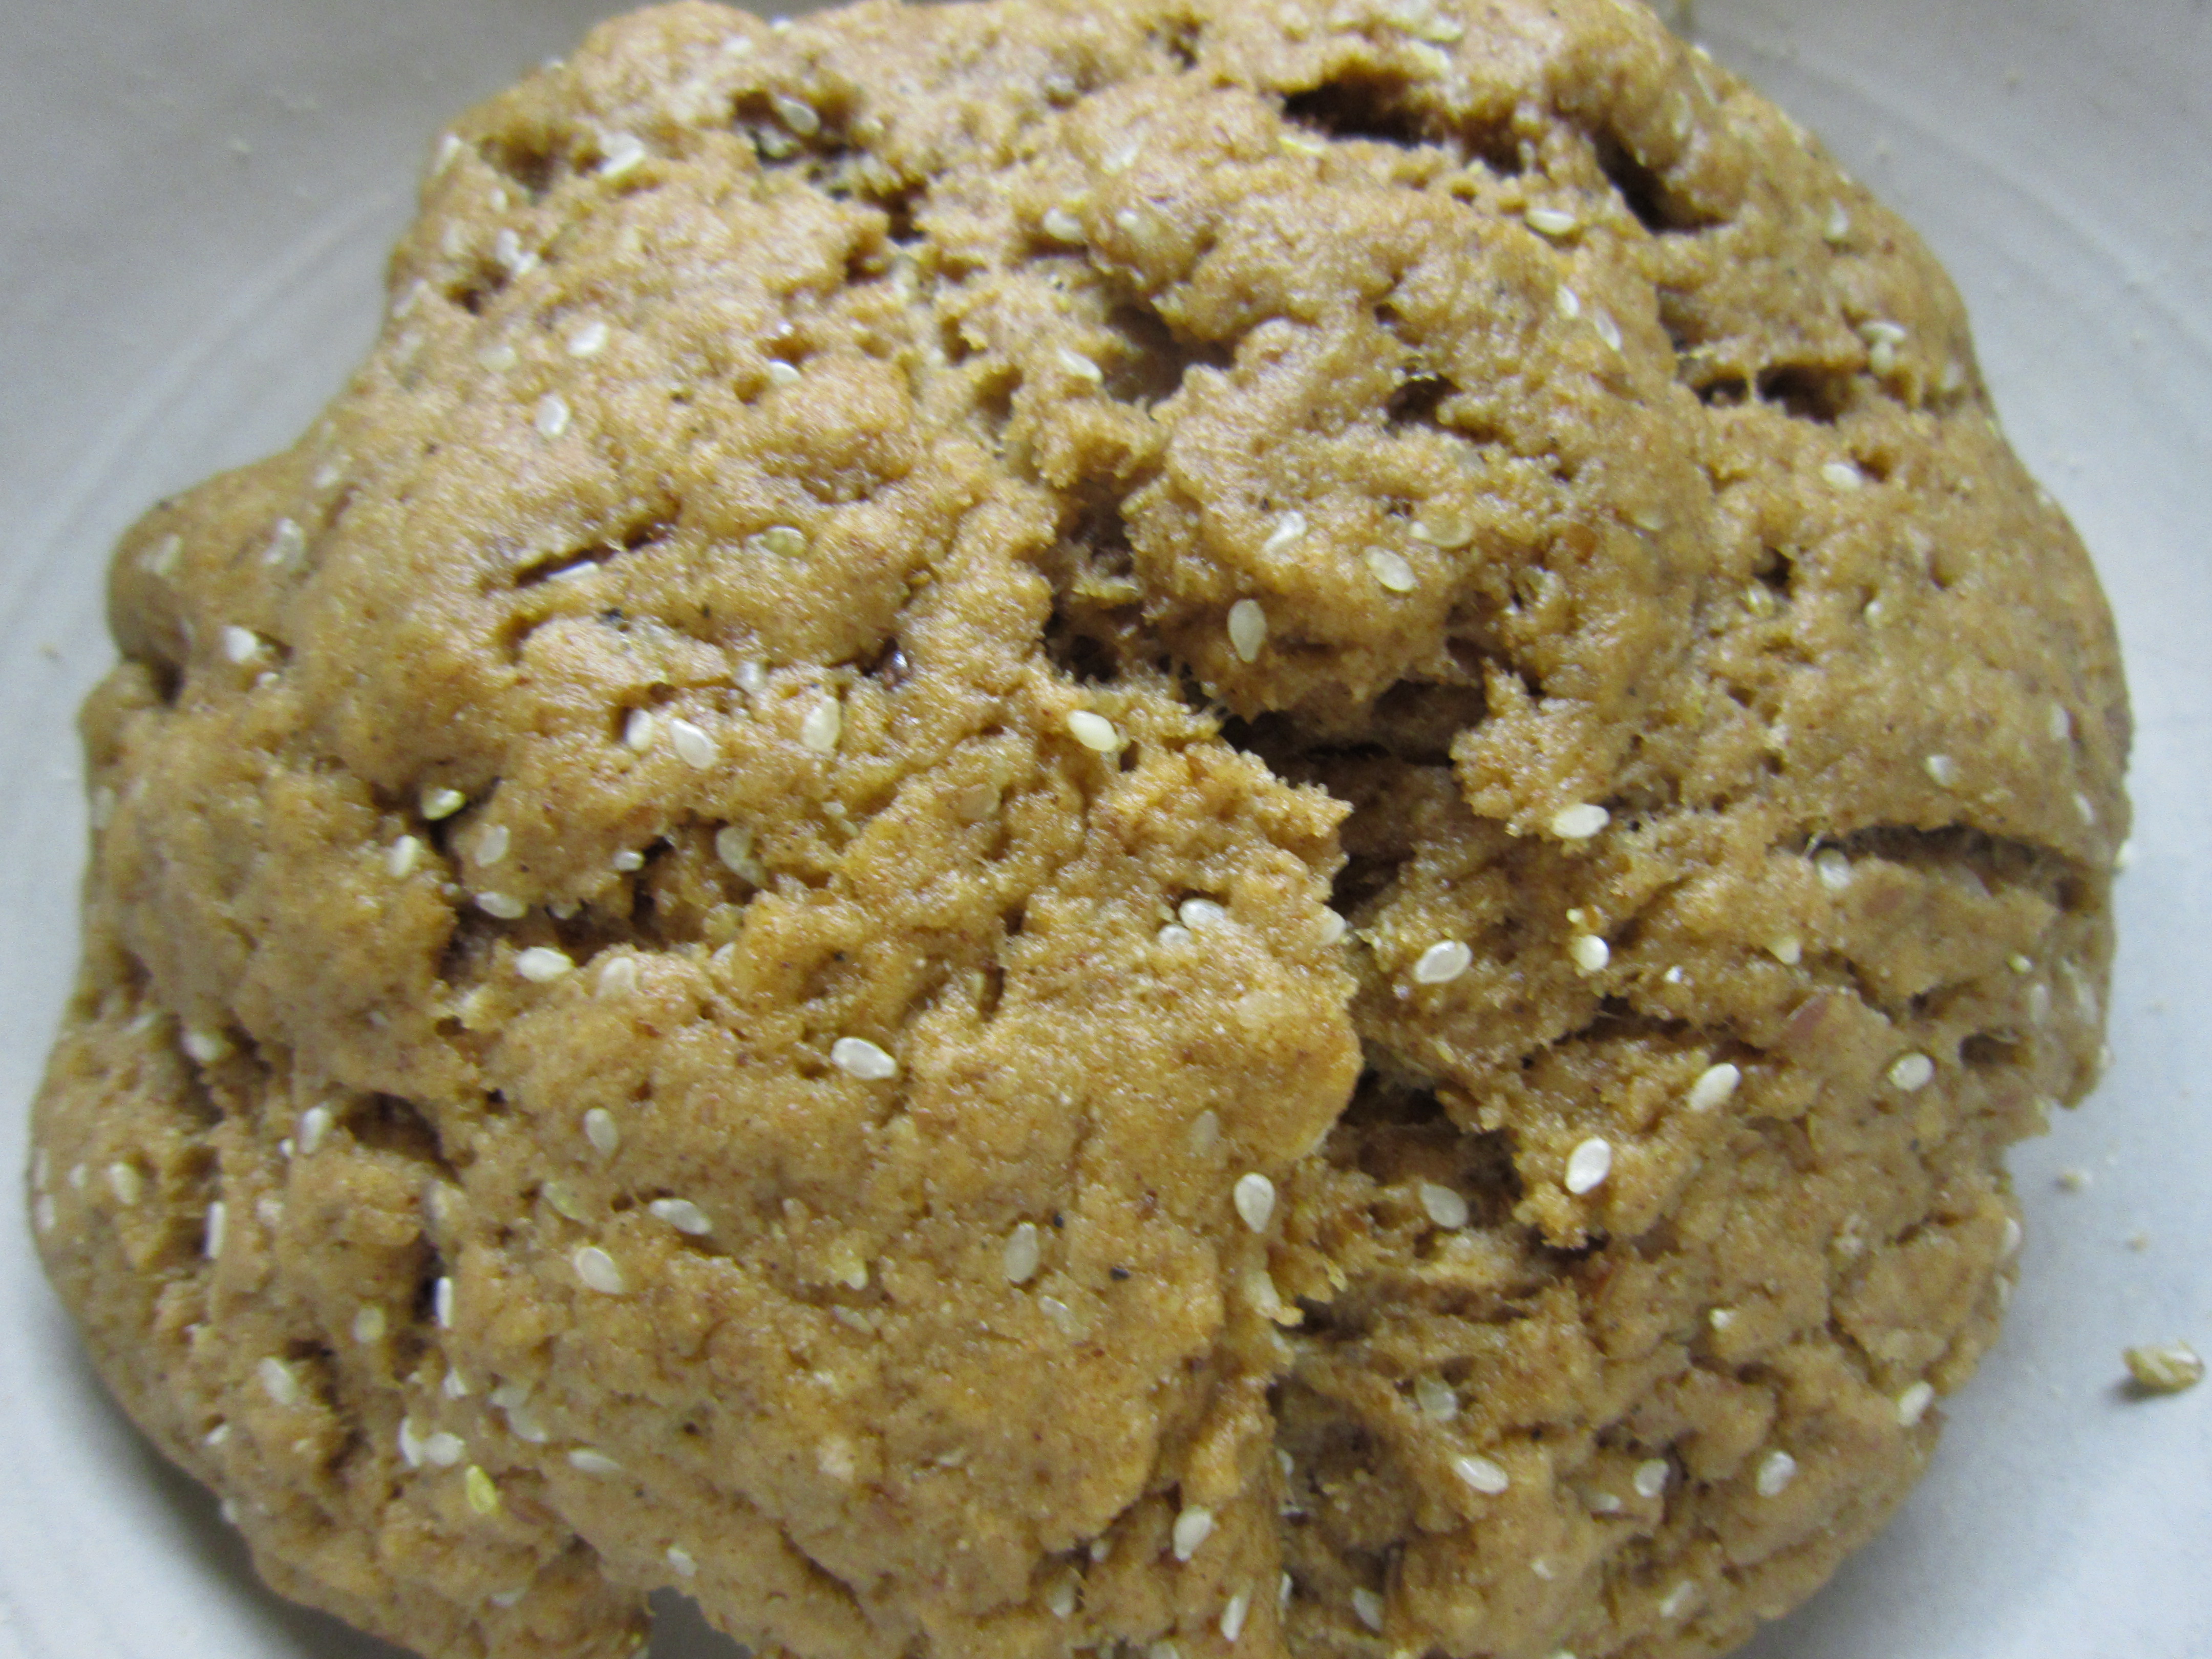
Zesty patterning

Zesty patterning

part one
3 cups lukewarm water
1 1/2 tablespoons dry yeast (2 packets)
1/3 cups honey
1 cup dry milk
grated peel of 2 oranges
2 teaspoons anise seeds
2 teaspoons caraway seeds
4 cups unbleached white flour
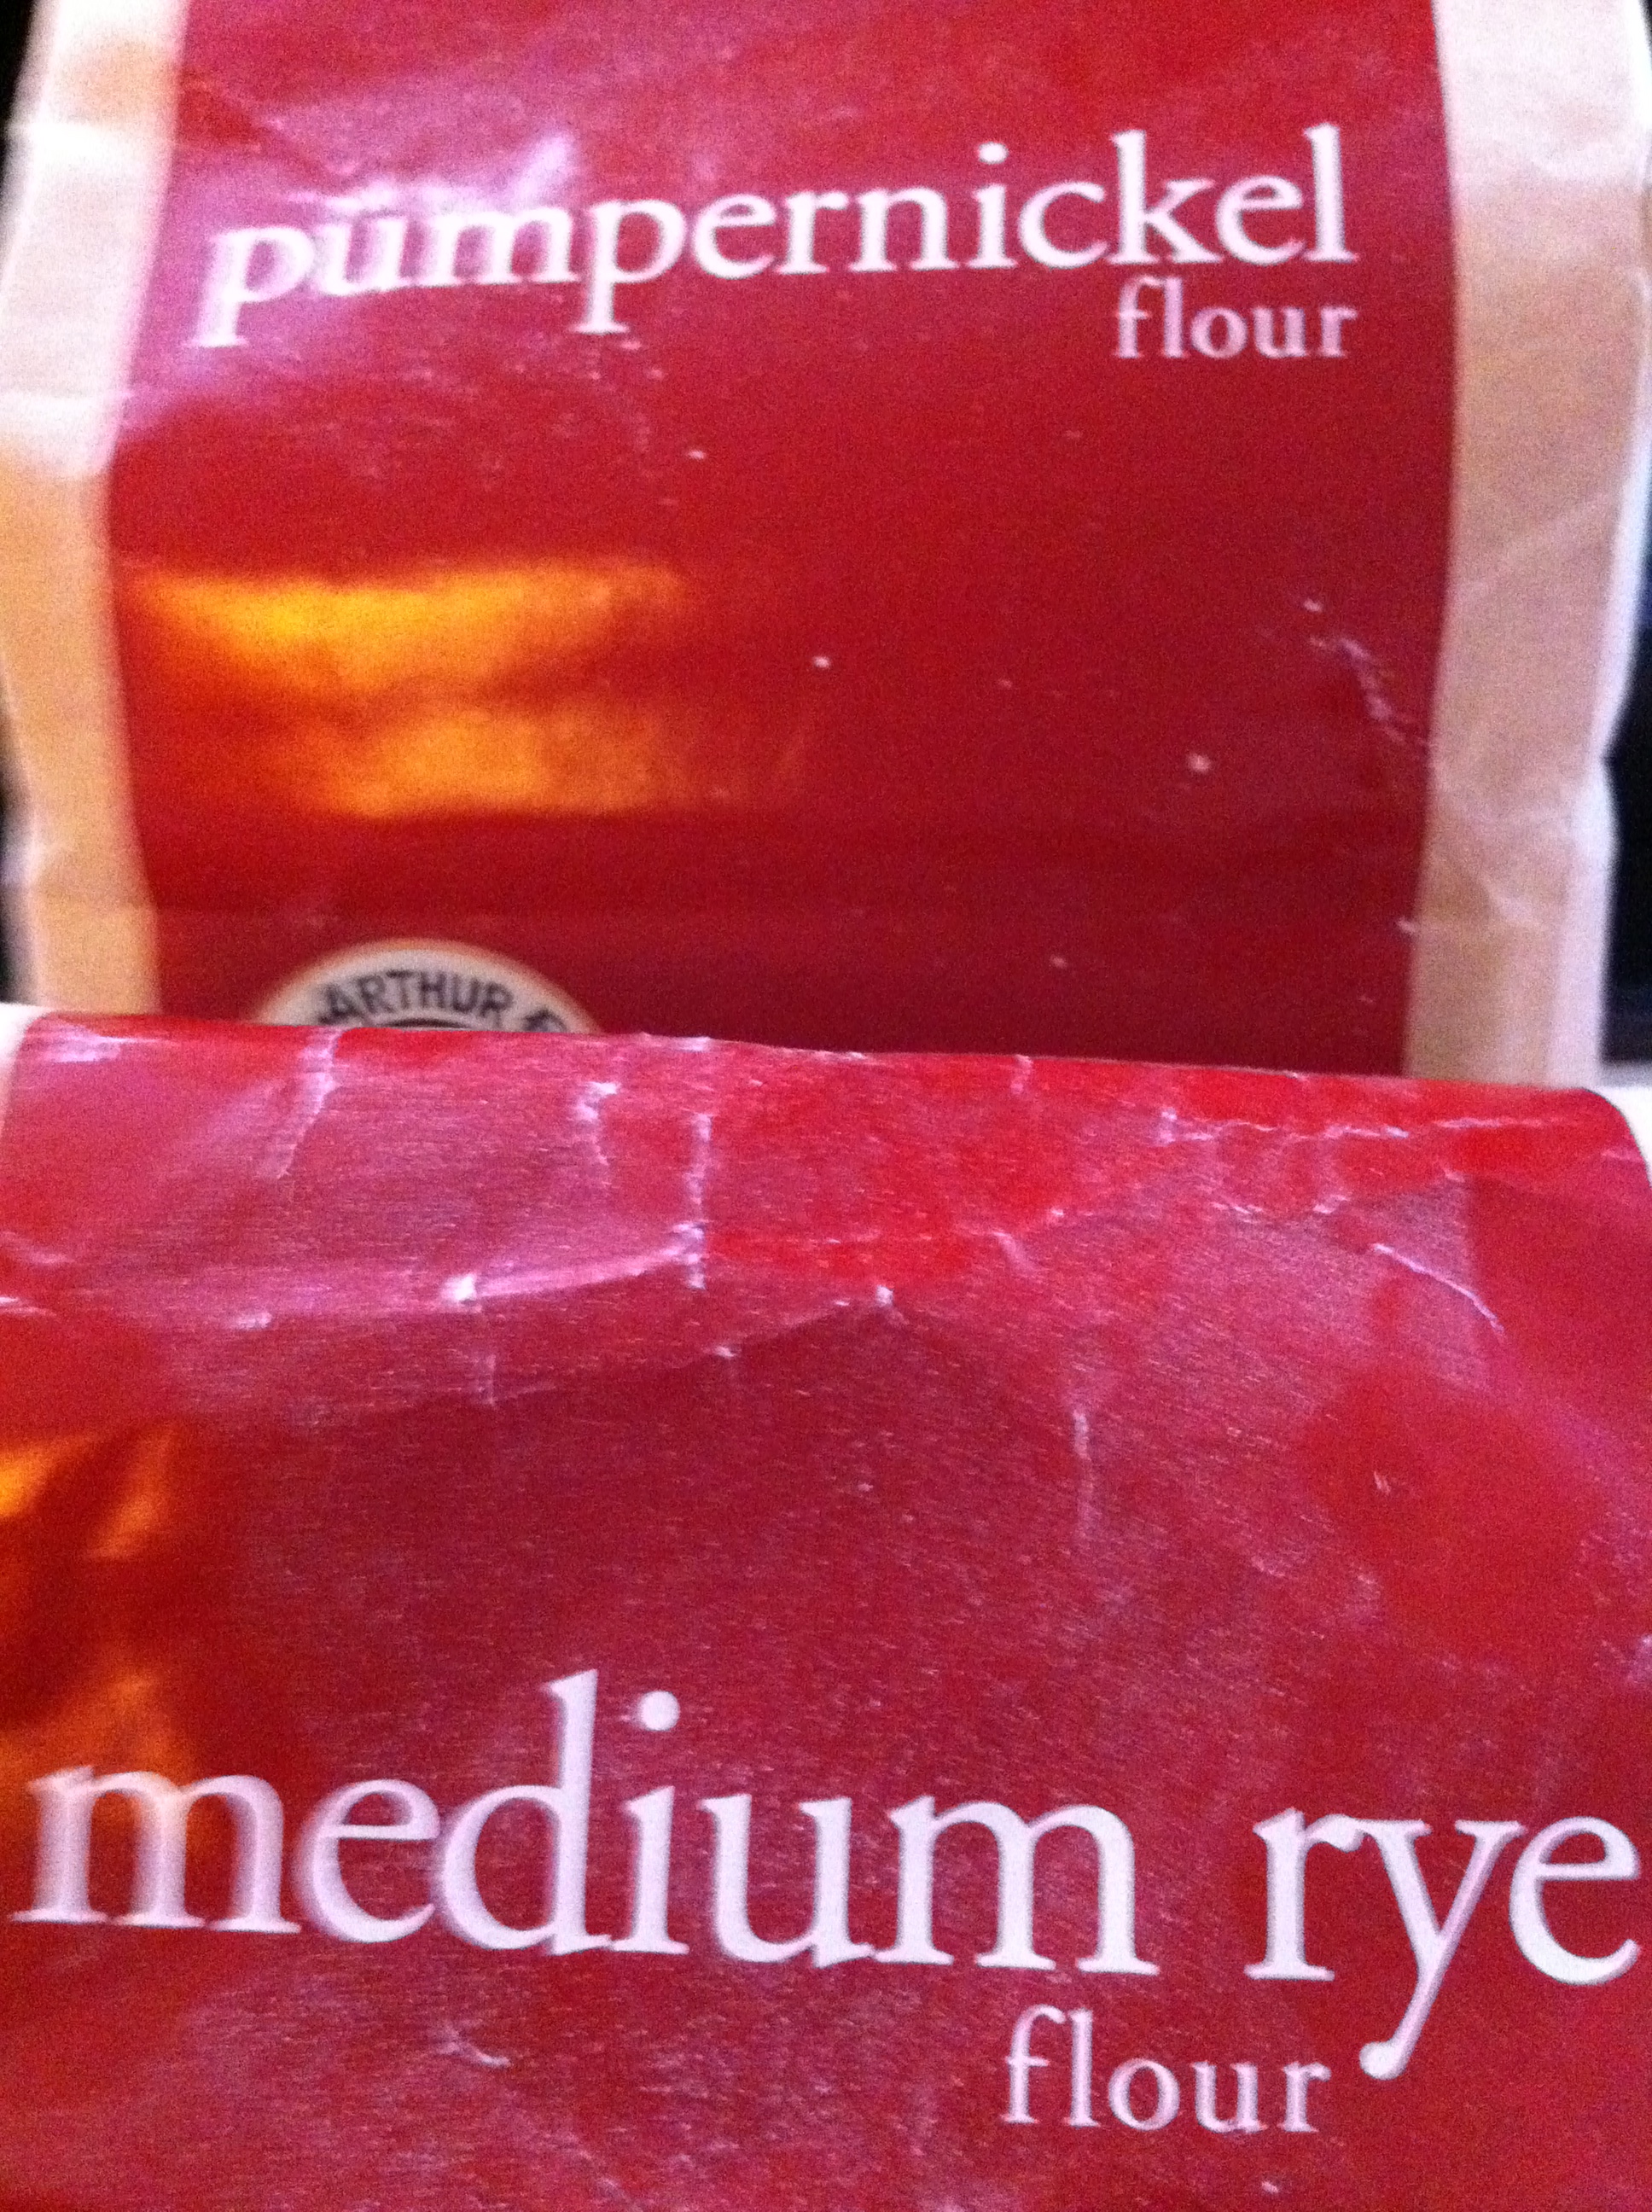
Pumpernickel or Medium Rye: half & half

Pumpernickel or Medium Rye: half & half

part two
4 teaspoons salt
1/4 cup oil
4 cups rye flour
4 tablespoons flax seed meal
1 cup whole wheat flour (for kneading) (mix sprouted wheat and white whole wheat flours)
(used maybe 1/2 cup of this while kneading)
Mix water(I juiced the oranges and replace that with an equal amount of the water) and honey. Whisk yeast, flour, dry milk, orange zest and seeds together.  I started with about 2 cups of the dry mix and added the liquid; then continued adding the flour mix a cup at a time. Stirring well after each addition. The recipe uses bread flour in step one so there’s going to be a lot of gluten development going on during this step.  The “dough” in this stage is of mud like consistency.  Angle the spoon and your bowl aiming for a circular top to bottom motion.  There is no kneading the dough right now but beating the dough with the spoon is going to develop gluten.  Be sure  to scrape the sides of the bowl from time to time.Beat well with a spoon (100 strokes).
Continue to beat until you have a smooth dough. Again pull your spoon under the dough and bring it up to the surface again in a circular mode. The batter will be getting more elastic while you are doing this as more and more air gets incorporated.Cover the bowl with a damp towel or shower cap and let rise in a warm place about 45 minutes.

Once rested dough; oil poured around the edge

Once rested dough; oil poured around the edge

Sprinkle on the salt and pour on the oil. Stir around the side of the bowl working carefully your way towards the center. Rotate your bowl a little with every stroke you do. Repeat until all of the salt and oil is incorporated.

Add remaining flour 1/2 cup at a time

Add remaining flour 1/2 cup at a time

Sprinkle the flax seed and the flour 1/2 a cup at a time onto the dough. Again fold it in while rotating your bowl.

When you can no longer continue to mix in the flour, the dough is ready to give it a good knead!
Plop your dough on your kneading board and scrap all remaining from the bowl onto the dough.  Keep in mind that your surface should be floured enough to prevent the dough from sticking to much on the board.

Flour your hands and the top of the dough. From the middle of your down stretch it away from you and then fold it back onto the remaining part of the dough. Continue to push down and forward.

Turn the dough a quarter turn. Again continue with the pushing and folding.

Turn, fold, push. Rock forward. Twist and fold as you rock back. Be careful not to stretch the dough too much and tear it. Add flour to the boards as needed.

How not to add too much flour: just dust your hands

How not to add too much flour: just dust your hands

Be mindful that you may not need that entire last cup of whole wheat or white whole wheat flour for kneading.  Don’t add more flour than needed.

While you continue with the kneading the dough will become more and more elastic, smooth and shiny.
When you are finished, place the dough in your lightly oiled bowl smooth side down, then turn it over so the dough ball is covered lightly with oil. This will prevent the dough from forming a crust on the top while rising.
Cover the bowl with a damp towel again and set aside to rise in a warm place. (50-60 minutes until doubled in size)
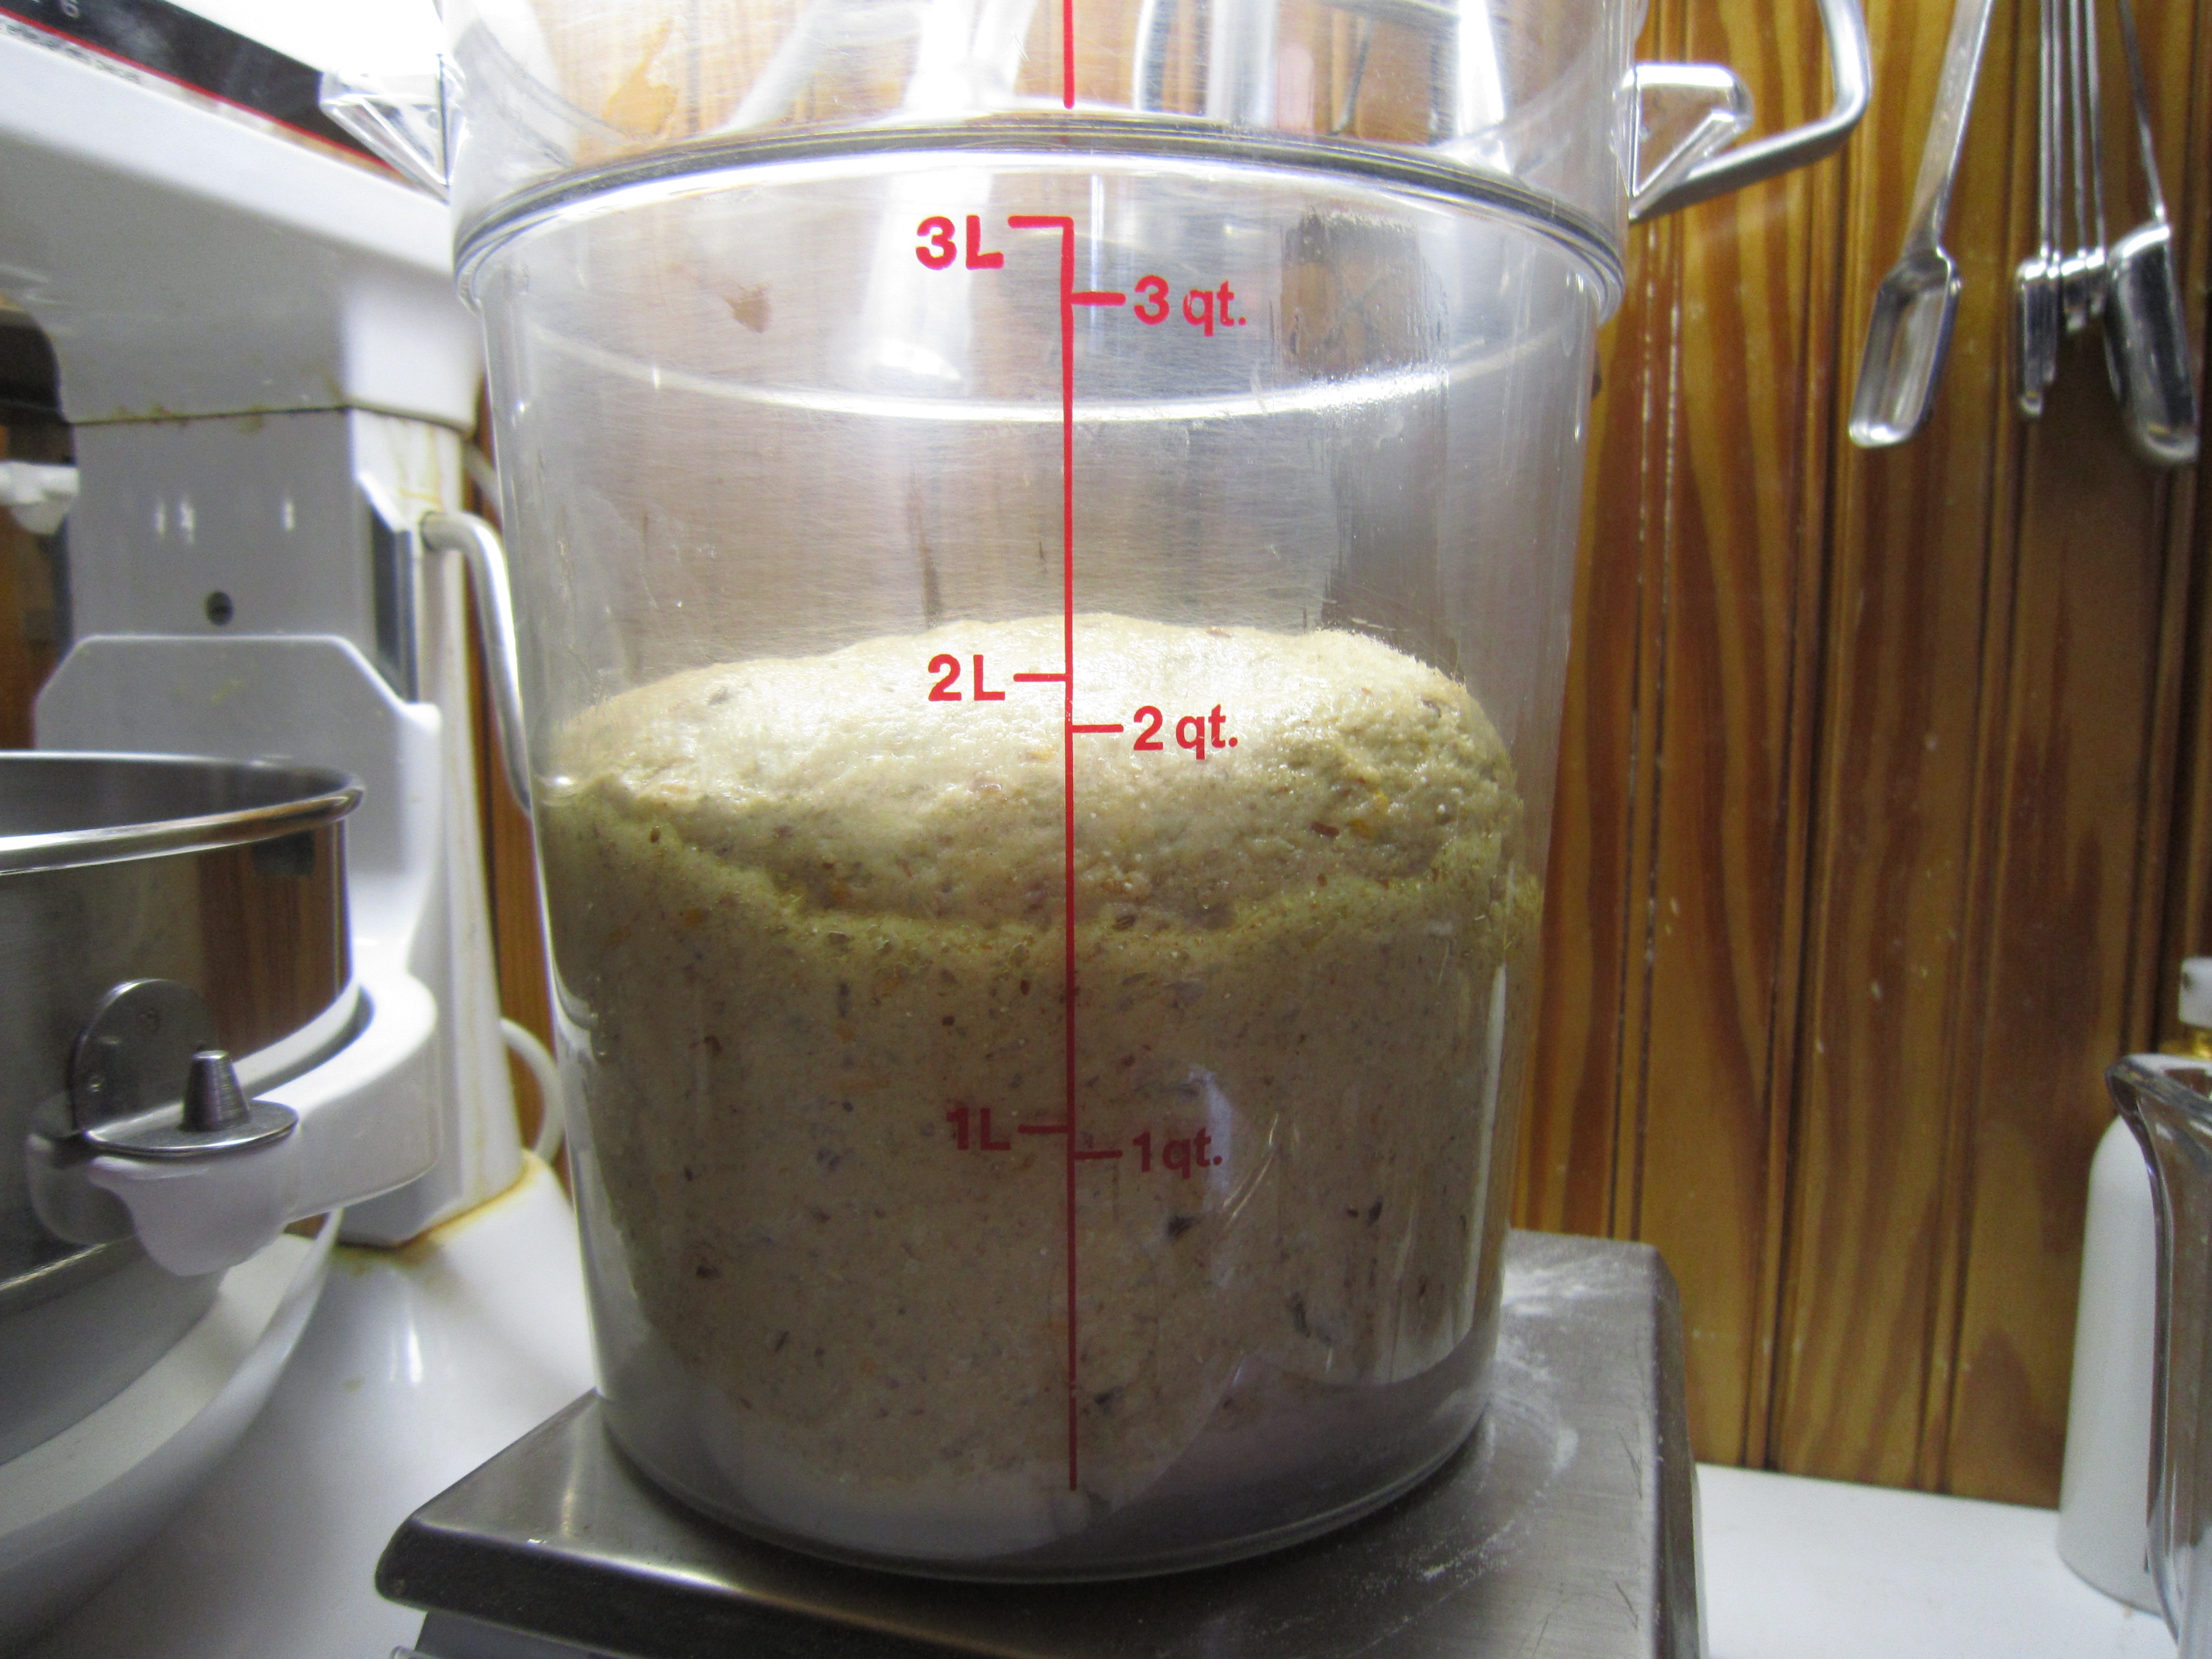
Start of the rise

Start of the rise

Punch down your dough with your fists steadily and firmly about 15-20 times.
Let rise again 40-50 minutes until doubled in size again.

Preheat your oven to 350°F.

End of rise: popping my top

End of rise: popping my top

Turn your dough onto the board again.
Form the dough into a ball. Cut the dough into two even pieces and form smaller balls again. Let rest for 5 minutes.

Two dough balls will be two loaves

Two dough balls will be two loaves

Knead the dough and fold it about 5 times, this gives the dough added spring. After the final push turn the dough a quarter turn.

Roll up the dough into a log shape. Seam at the bottom, flatten the top of the dough. Square the sides and ends. Turn the dough over and pinch the seams all the way.
Put the dough seam side down into your pan.
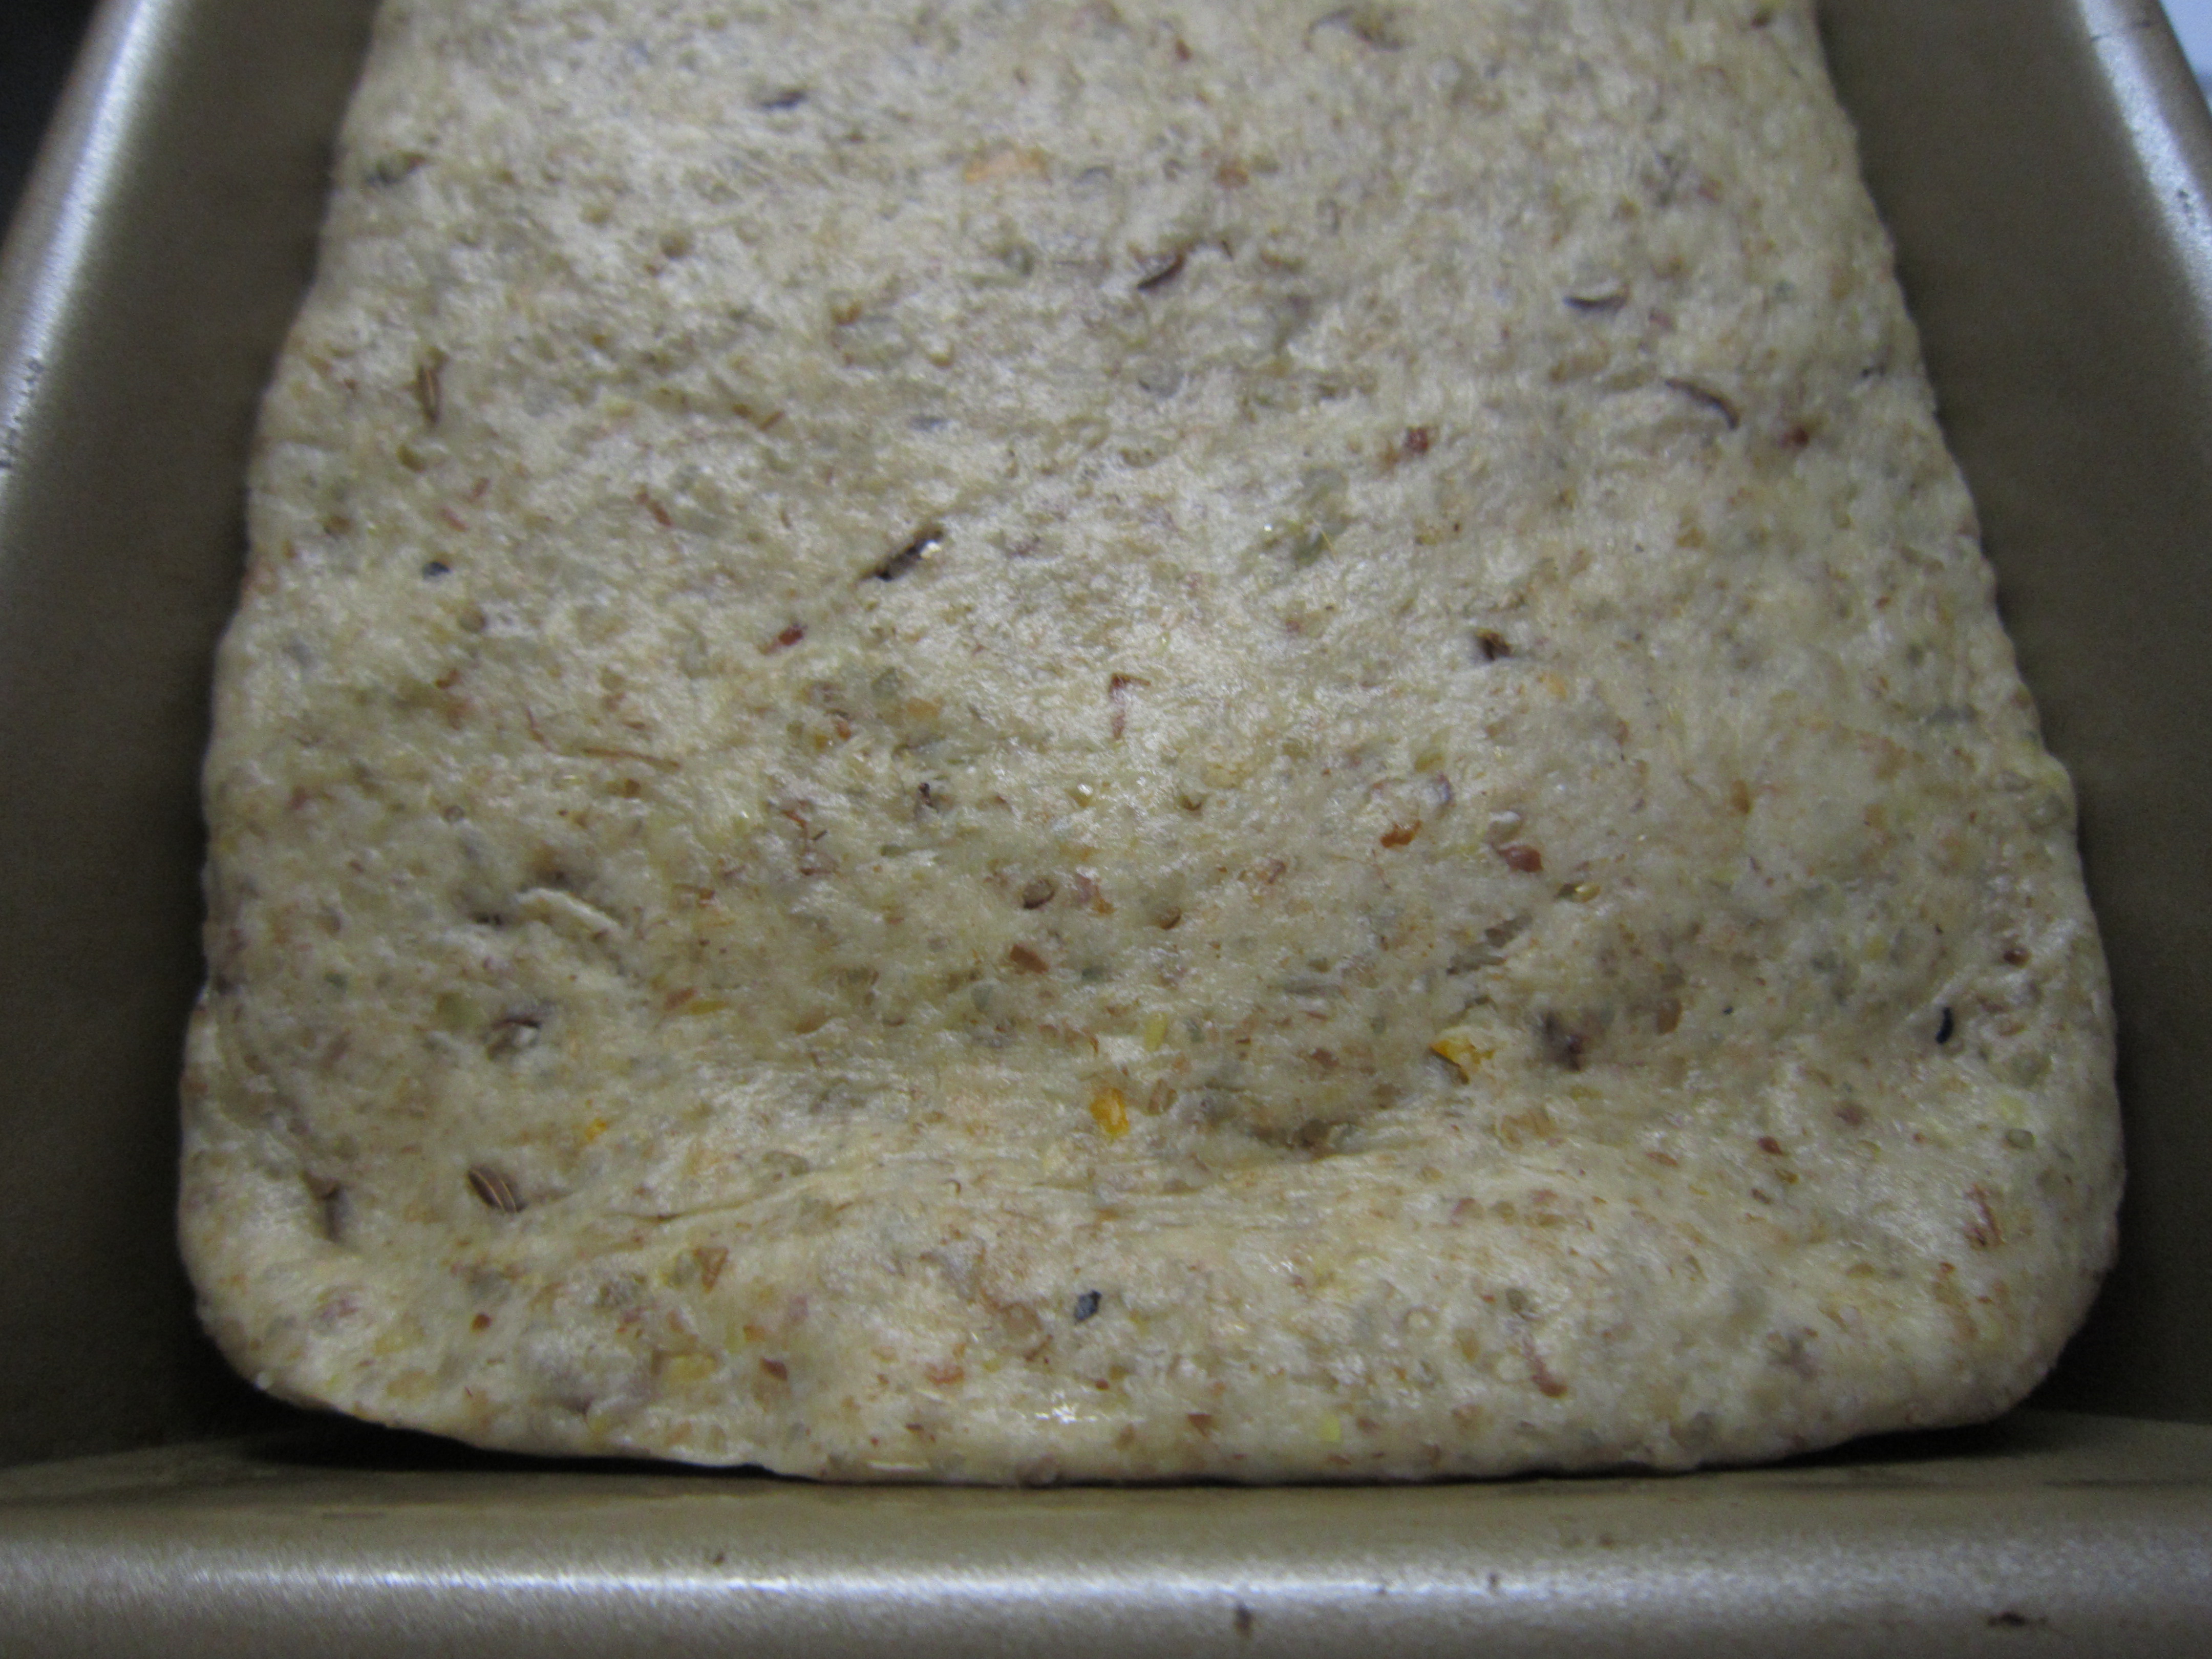
Push the dough to the edges of the pan

Push the dough to the edges of the pan

Press it down into the pan with your fingers; try to square it into the corners.
Cover and let rise again. This will take 20-25 minutes.
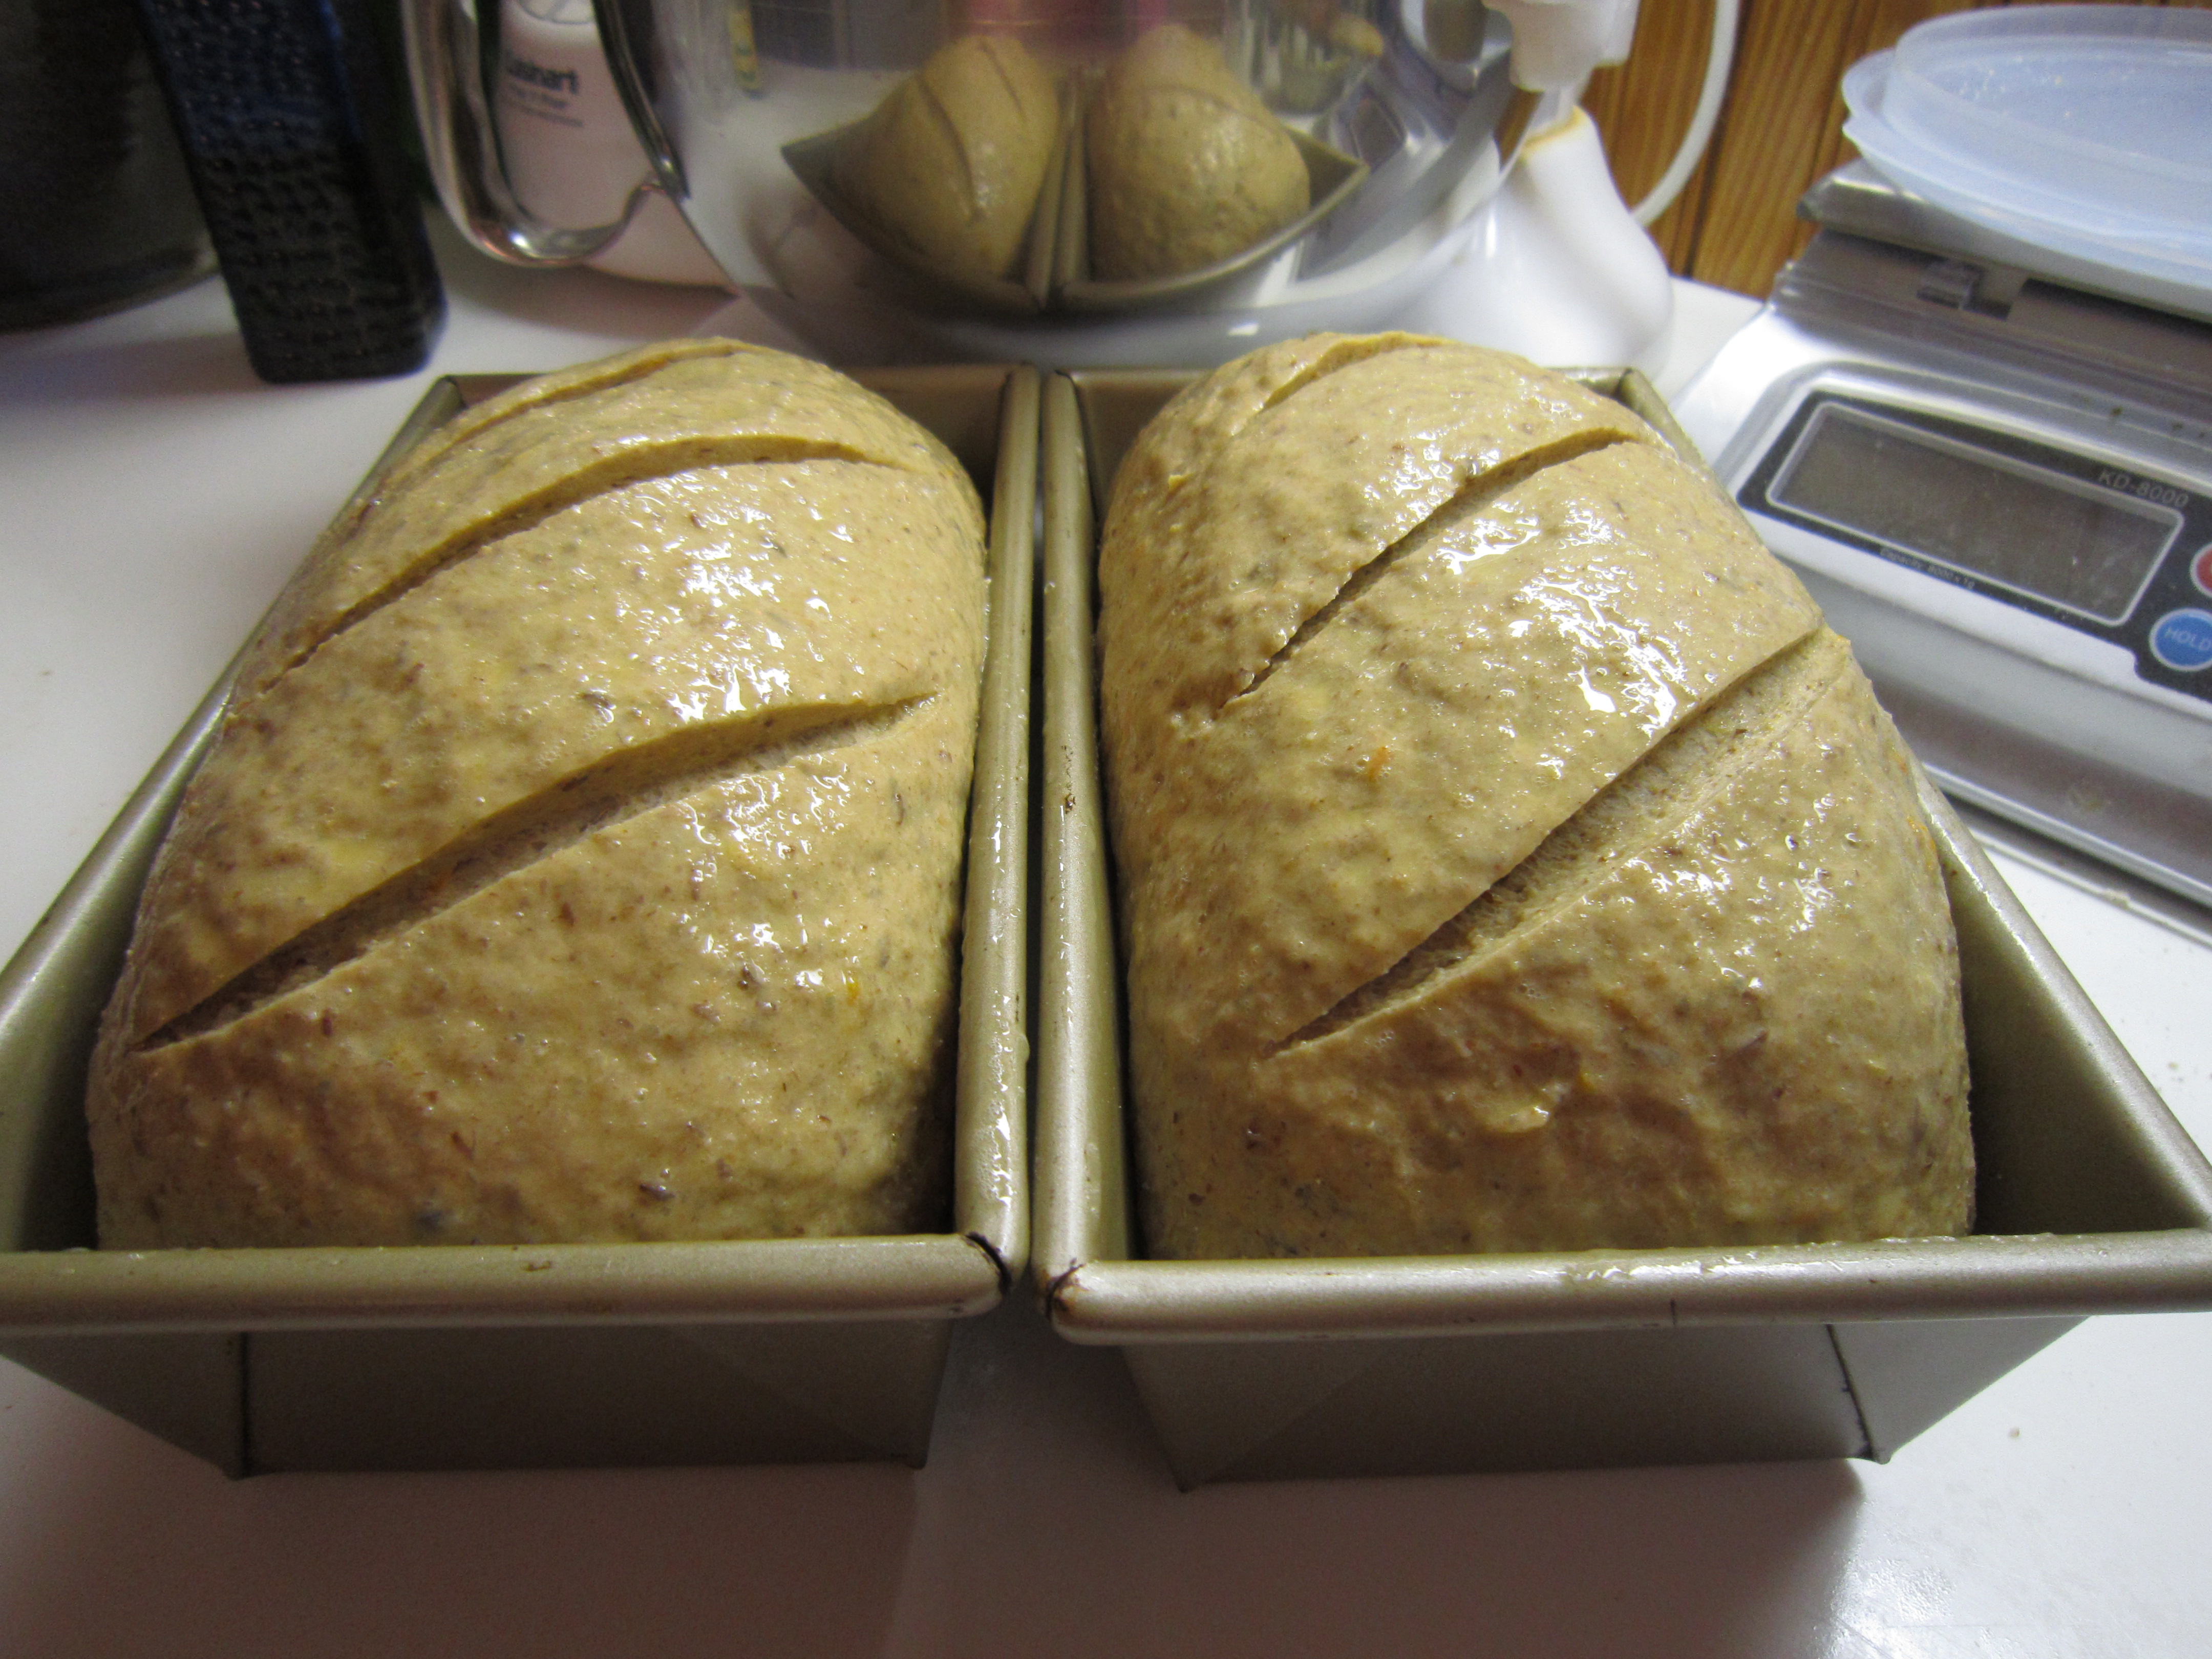
Slash

Rise, egg wash

Cut the top with 1/2 inch deep slits to allow the steam to escape.
You can brush with egg wash and sprinkle with poppy seeds or sesame.
Bake for about 50-60 minutes.  (My long skinny triple loaf pan took 50 minutes to reach 206° internal temp; the regular loaf pan took 65 minutes to reach 204°).
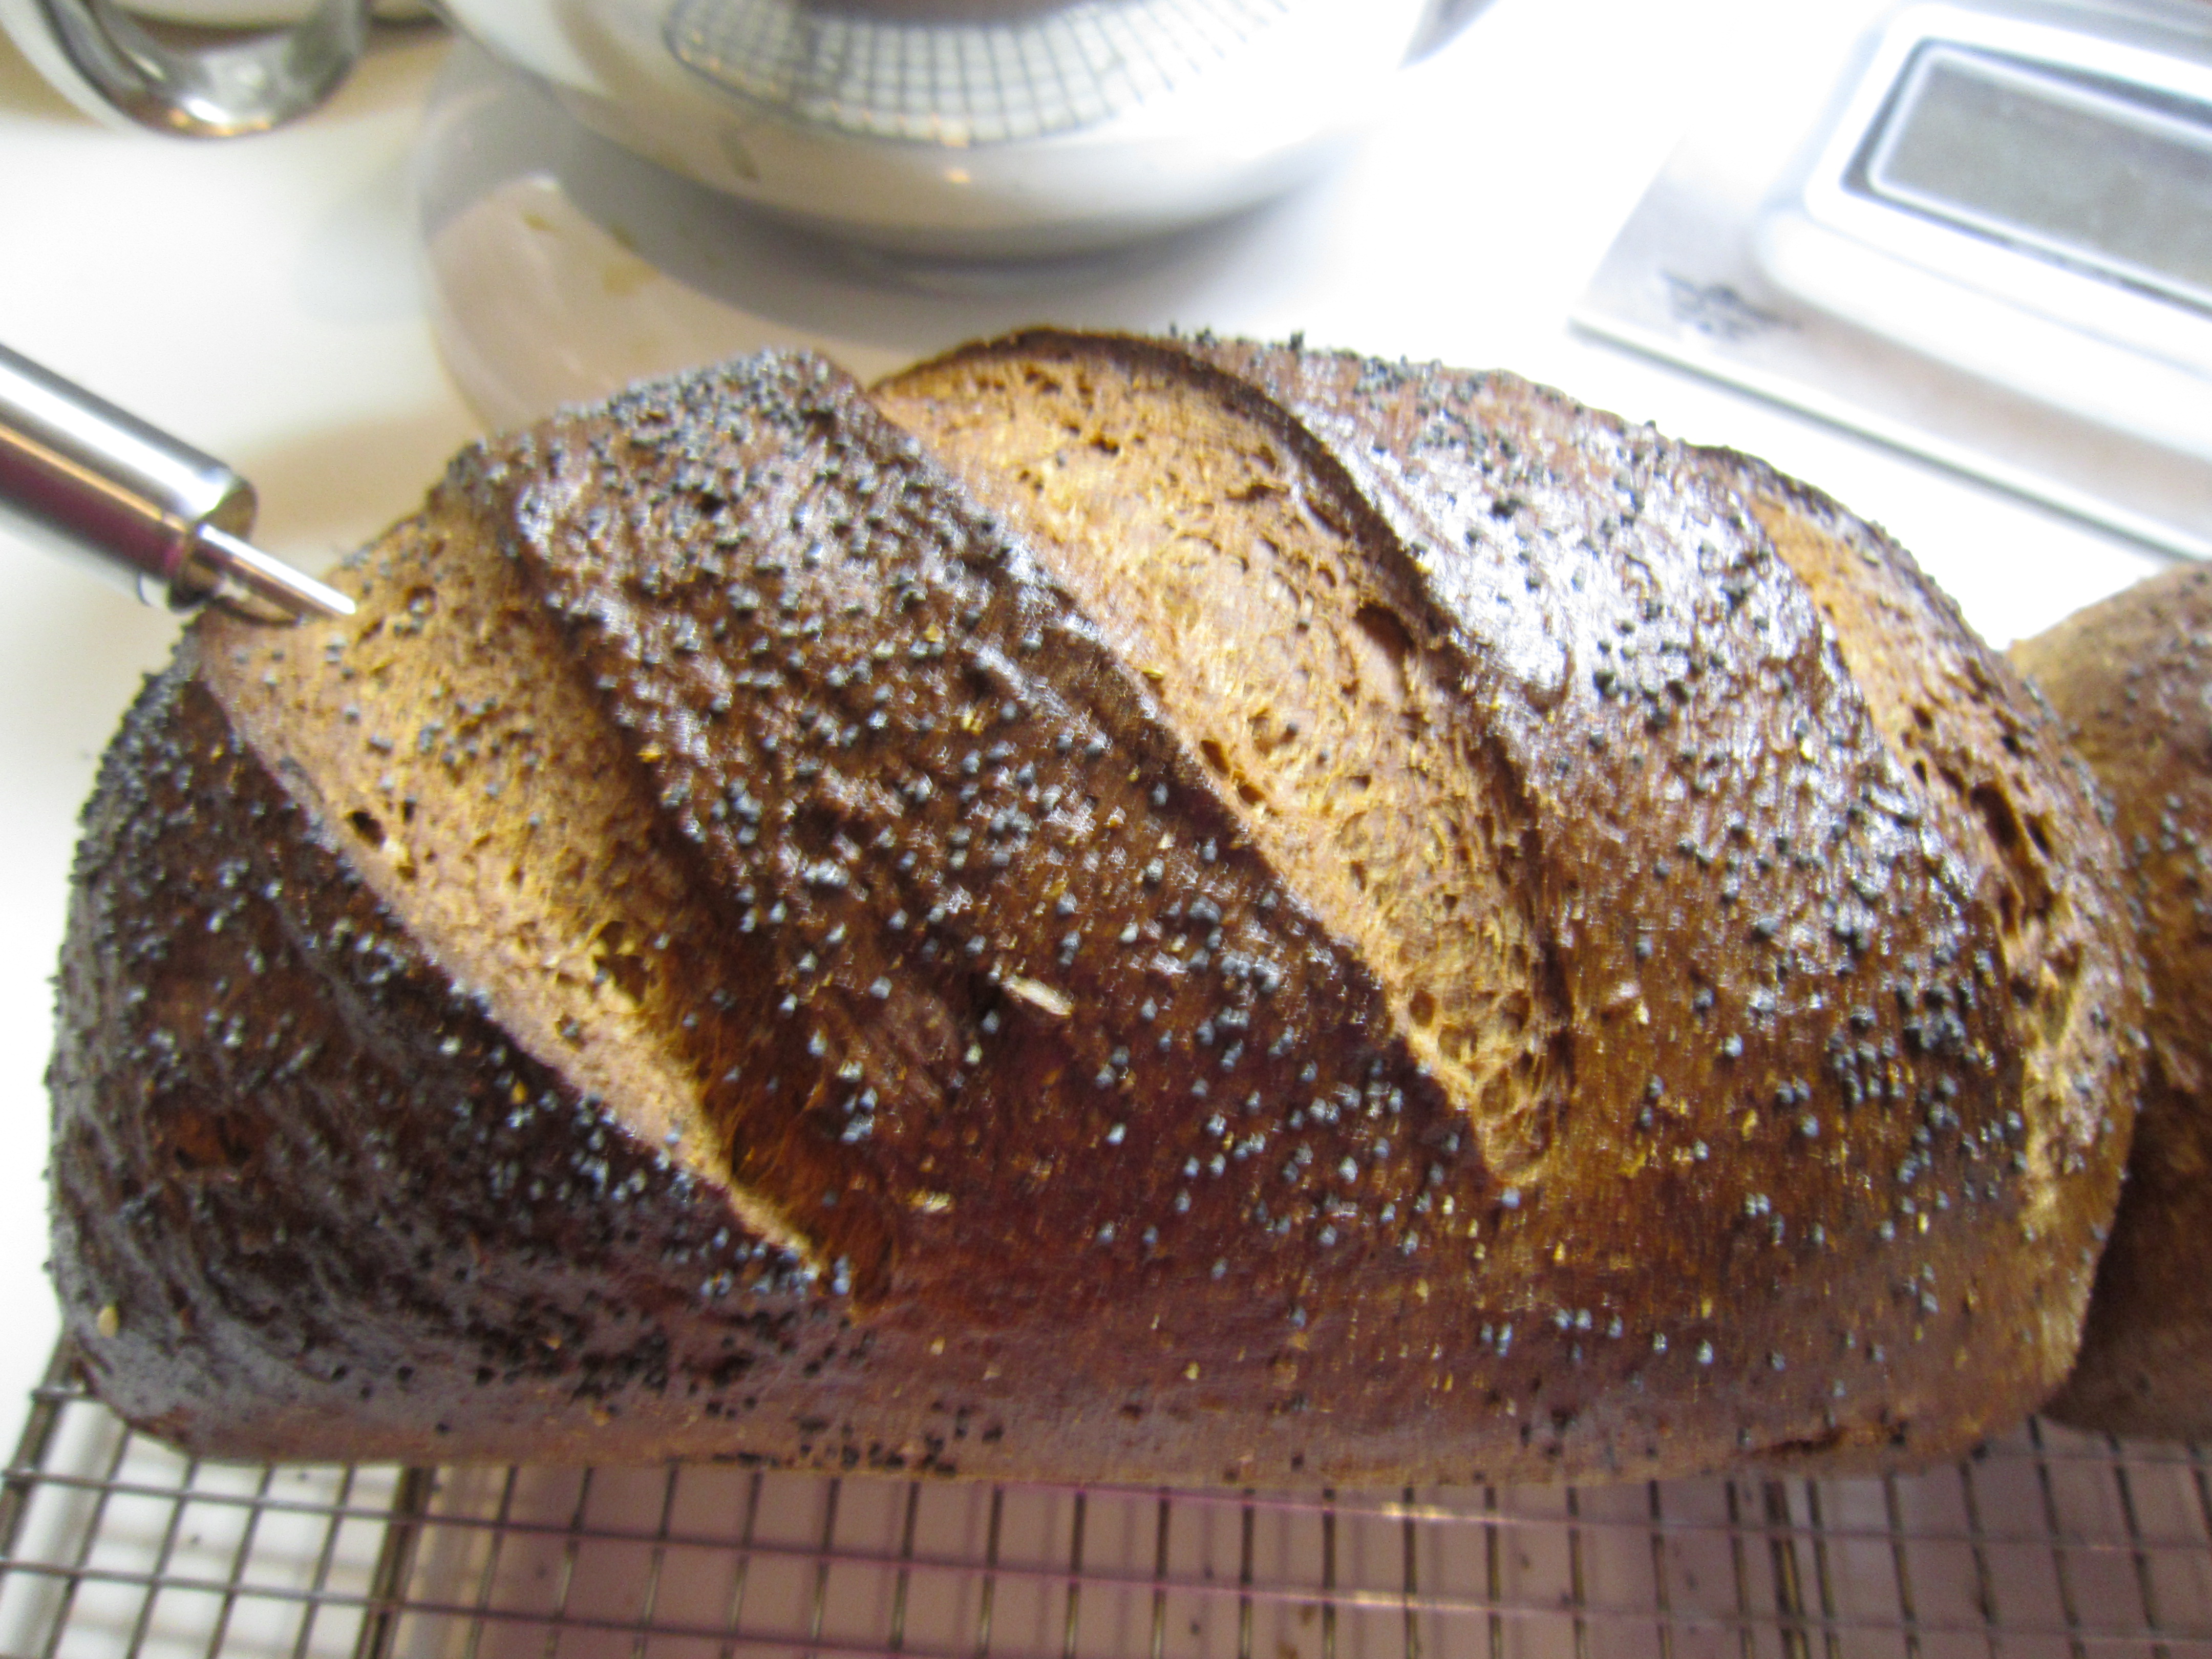
Take my temperature, let me cool to room temperature

Take my temperature, let me cool to room temperature

I am a firm believer that bread baking is not rocket science but I do find an instant read thermometer an invaluable tool in determining when a loaf is done.

That phrase:  cool completely.  That’s really super significant when baking rye bread.  Cool completely means let it cool to room temperature.  I just leave my thermometer in a loaf and check it IF I don’t just leave it over night to cool.  It takes way longer to cool when you’re smelling gorgeous hot bread baking and itching to cut into it.  Slice into a warm loaf of rye and you’ll be disappointed with a gummy interior.

Since I baked this twice, we’ve enjoyed almost three loaves.  The fourth will be next.  Uuu, no I didn’t give any of these away.  Well, you know not everybody loves rye like we do, I wouldn’t want to give a loaf to someone who might not like rye … yes I guess I could have asked them if they liked rye but they might have said yes when they really didn’t mean it … OK so I just wanted this for myself, I admit it.
What did I do with it:
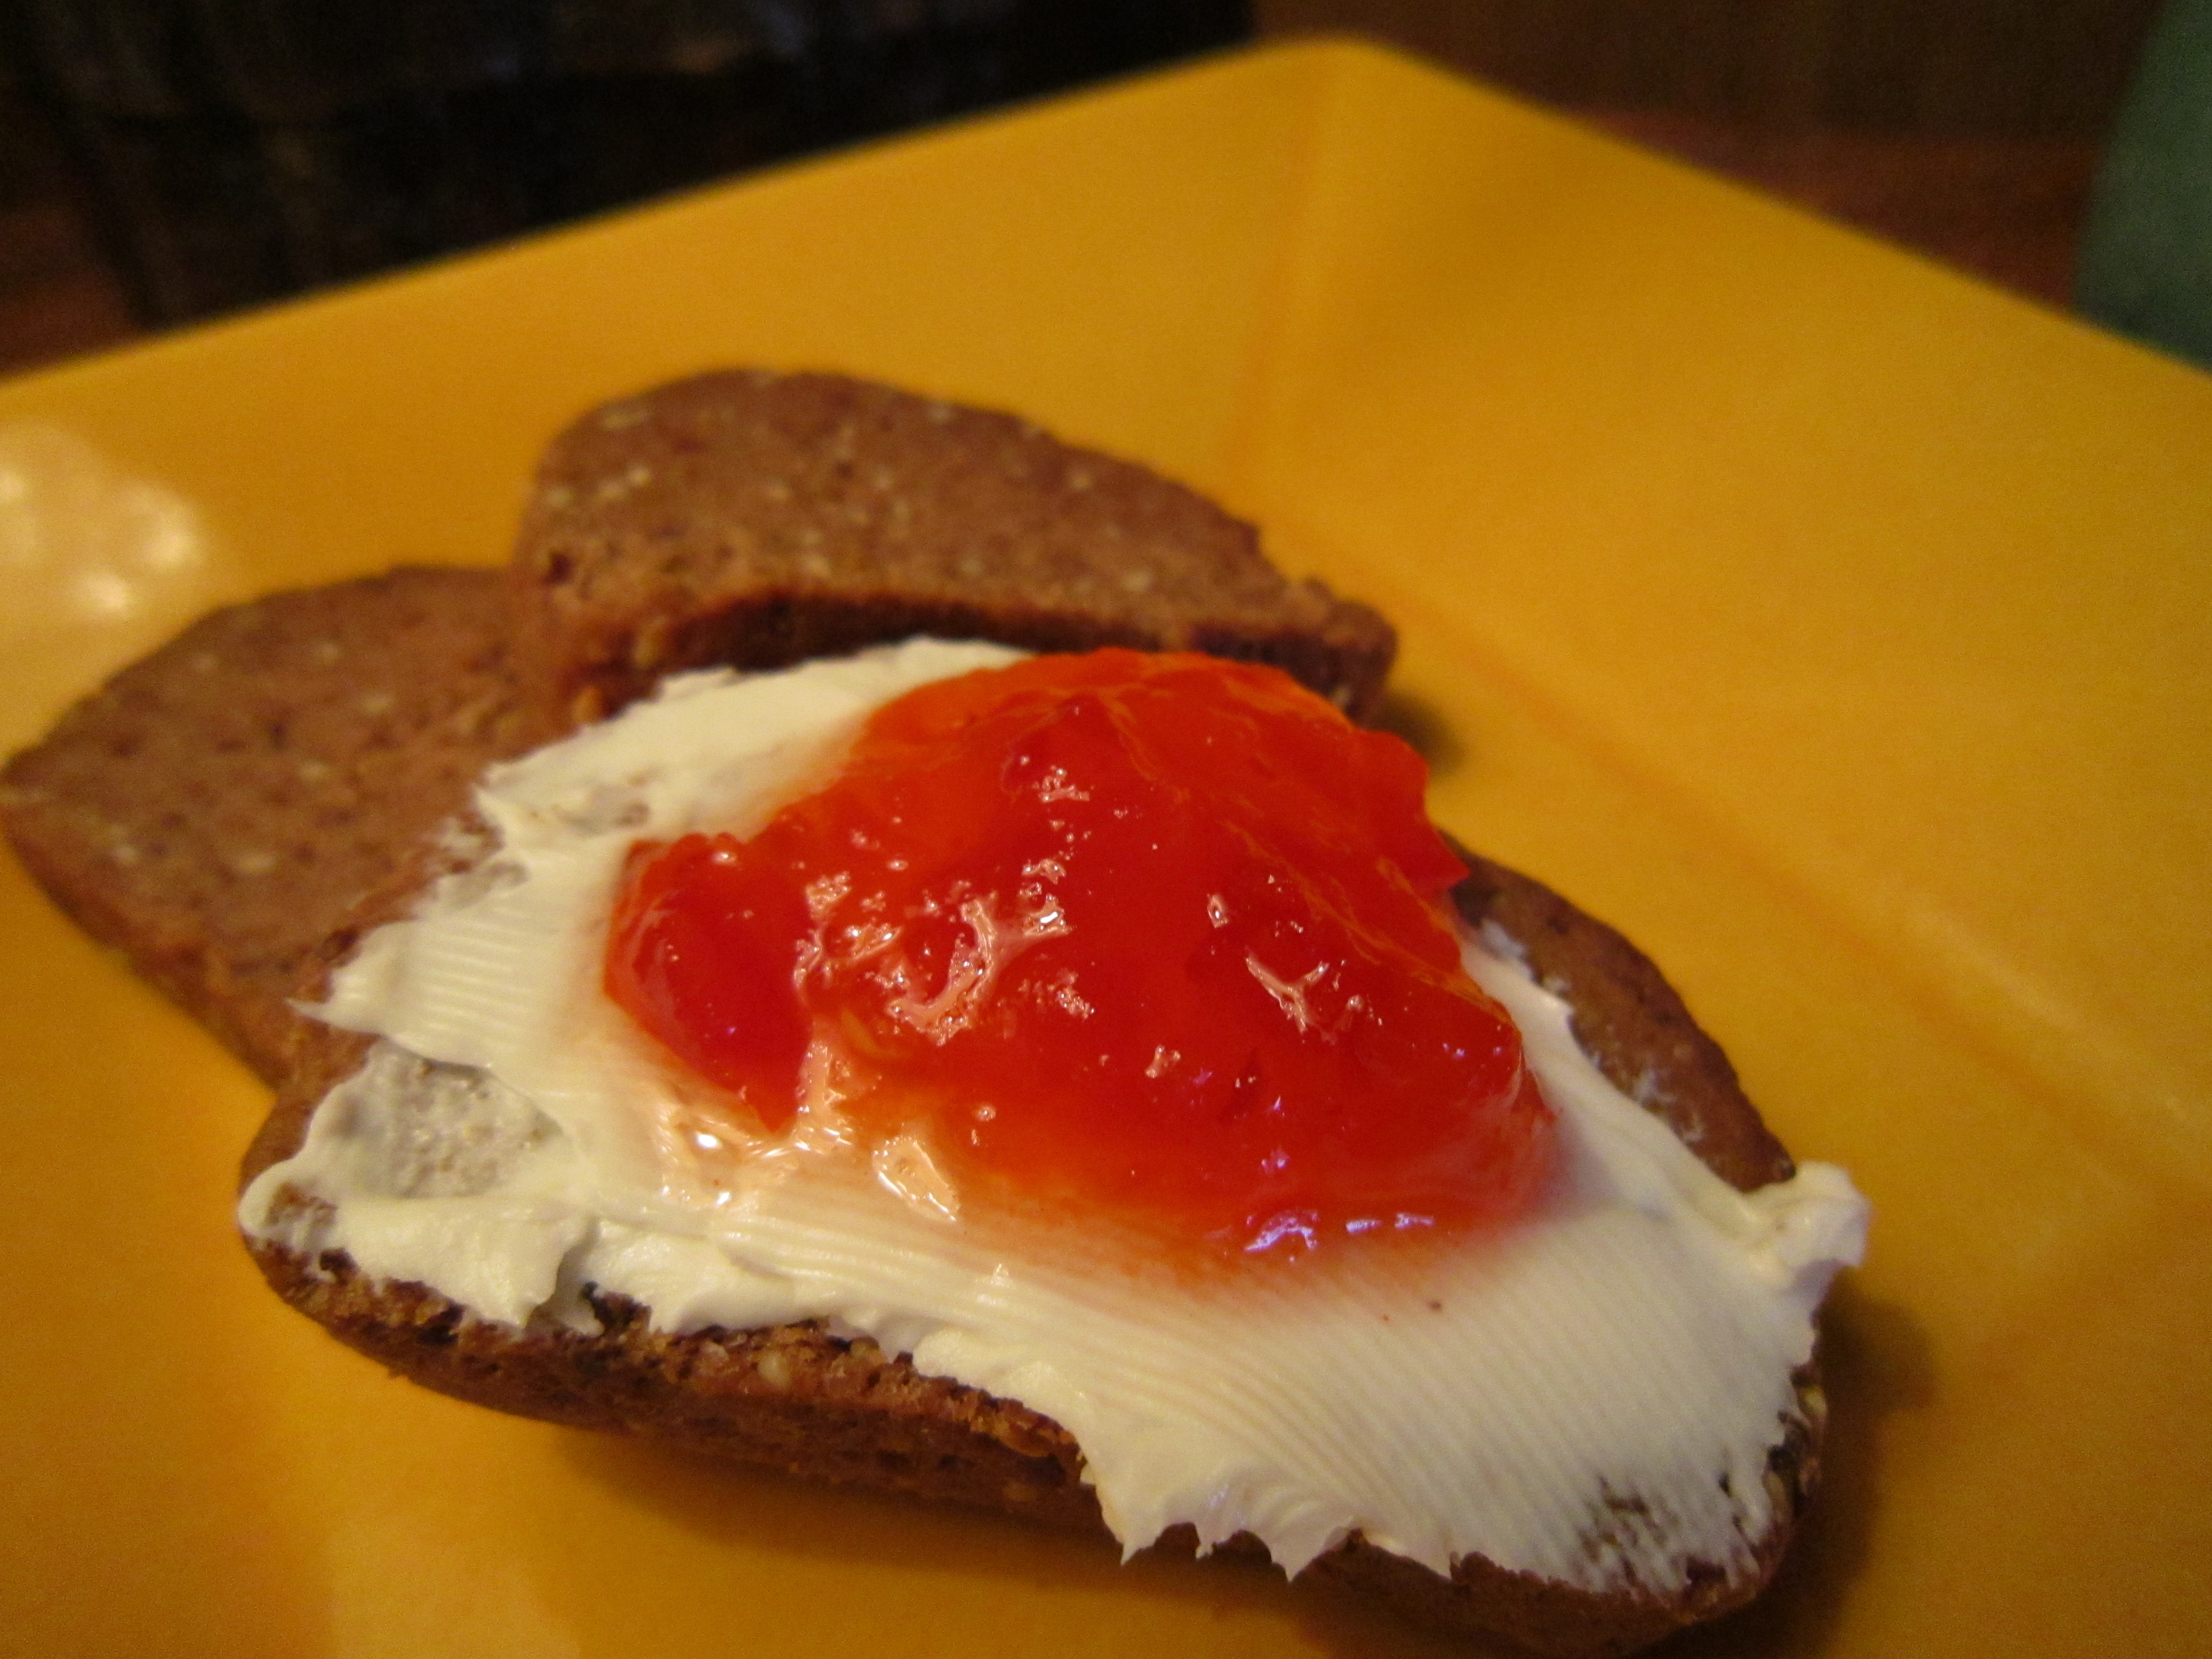
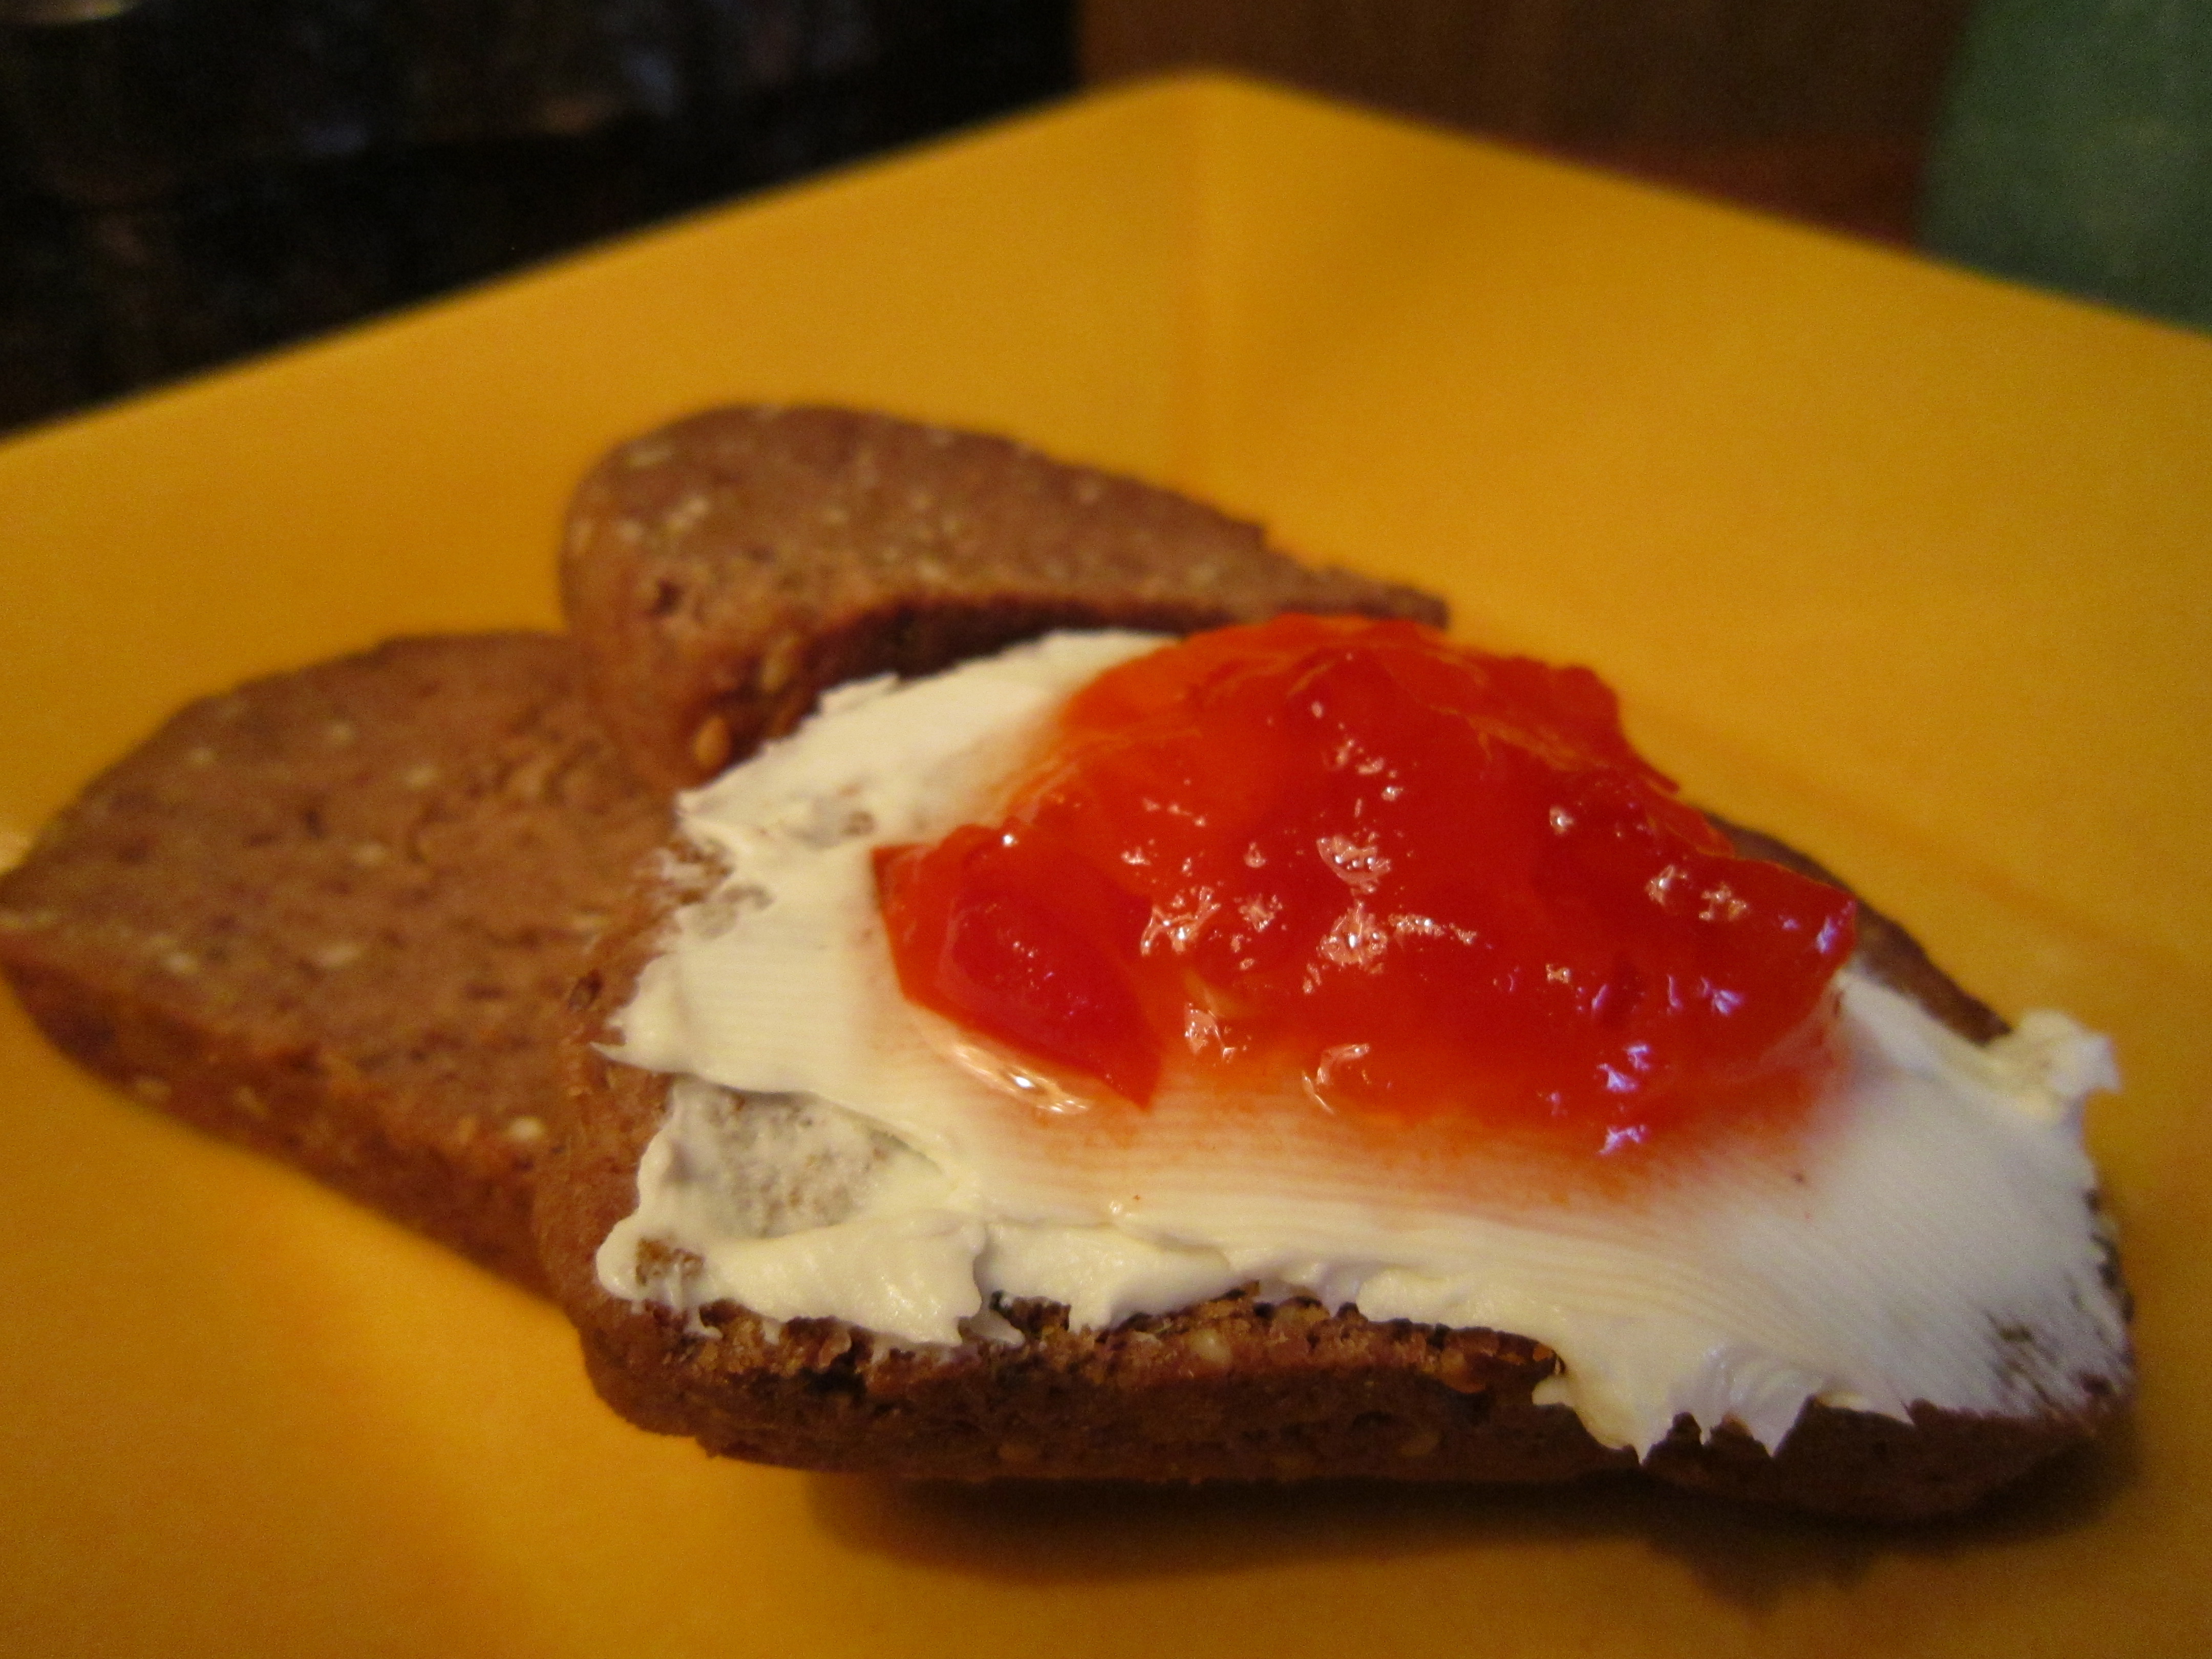
Just toast

Just toast

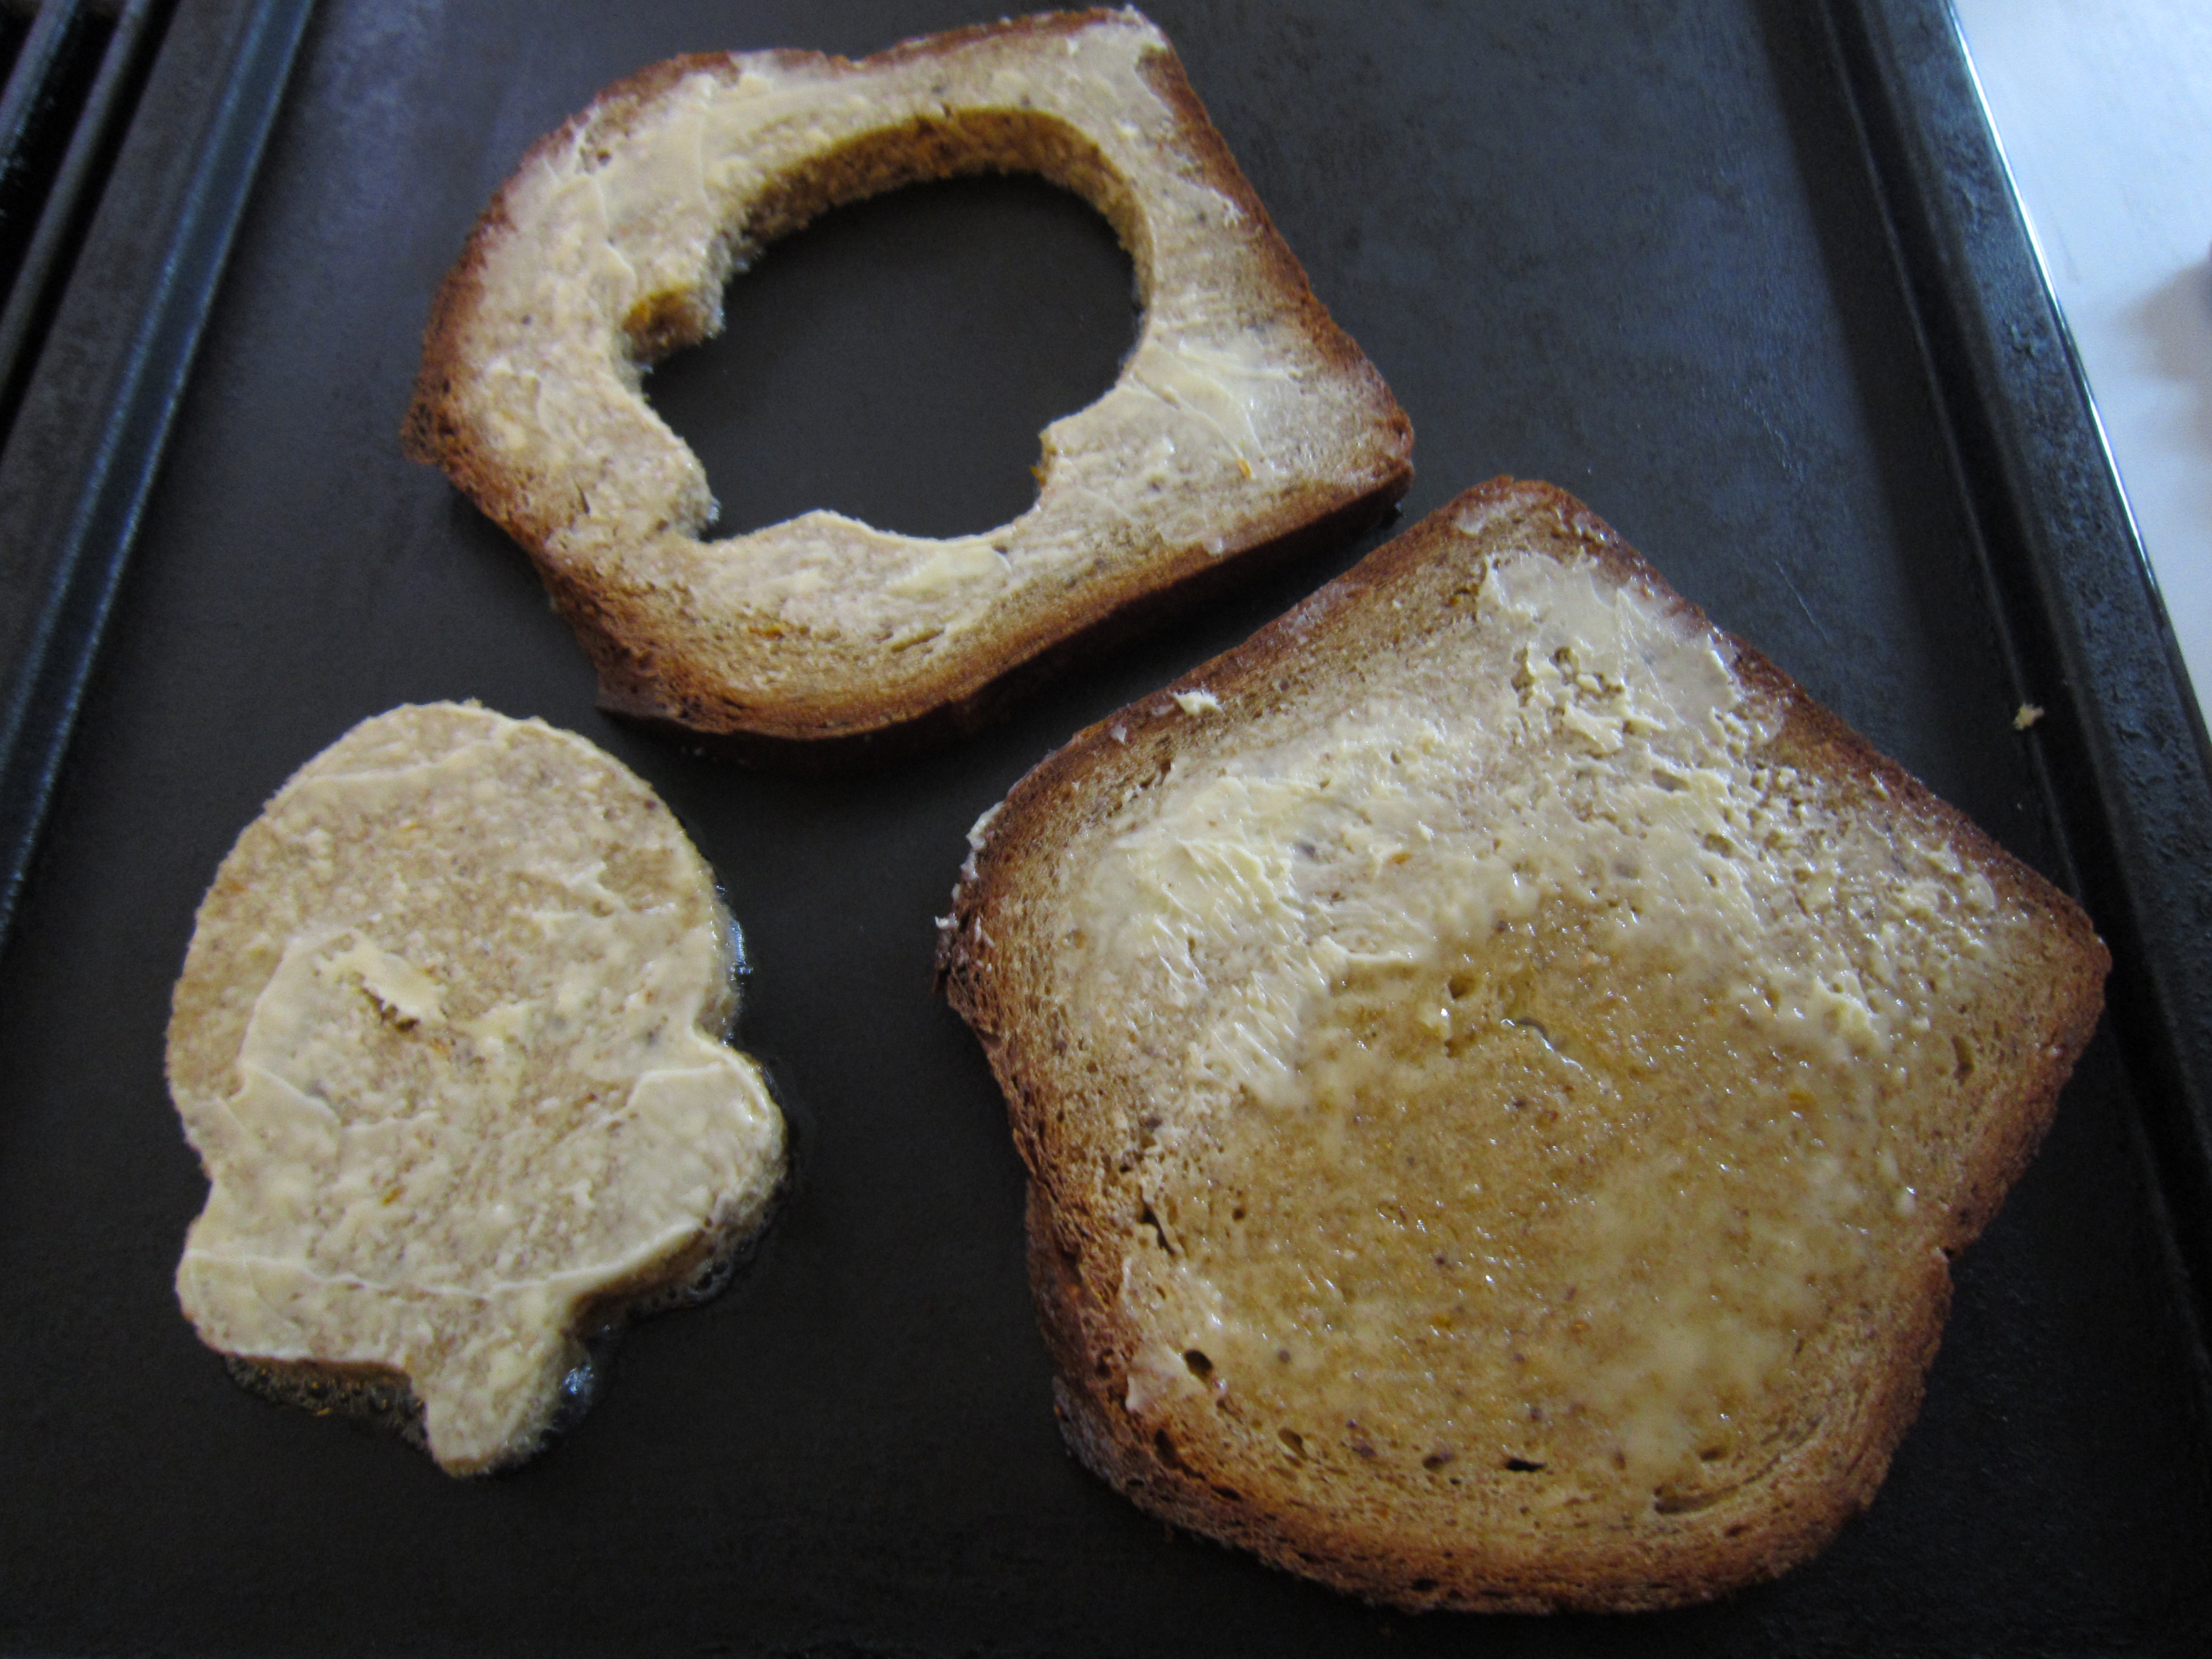
Shapes make for fun  

Shapes make for fun

Toast with egg in the basket ...  
Toast with egg in the basket ...

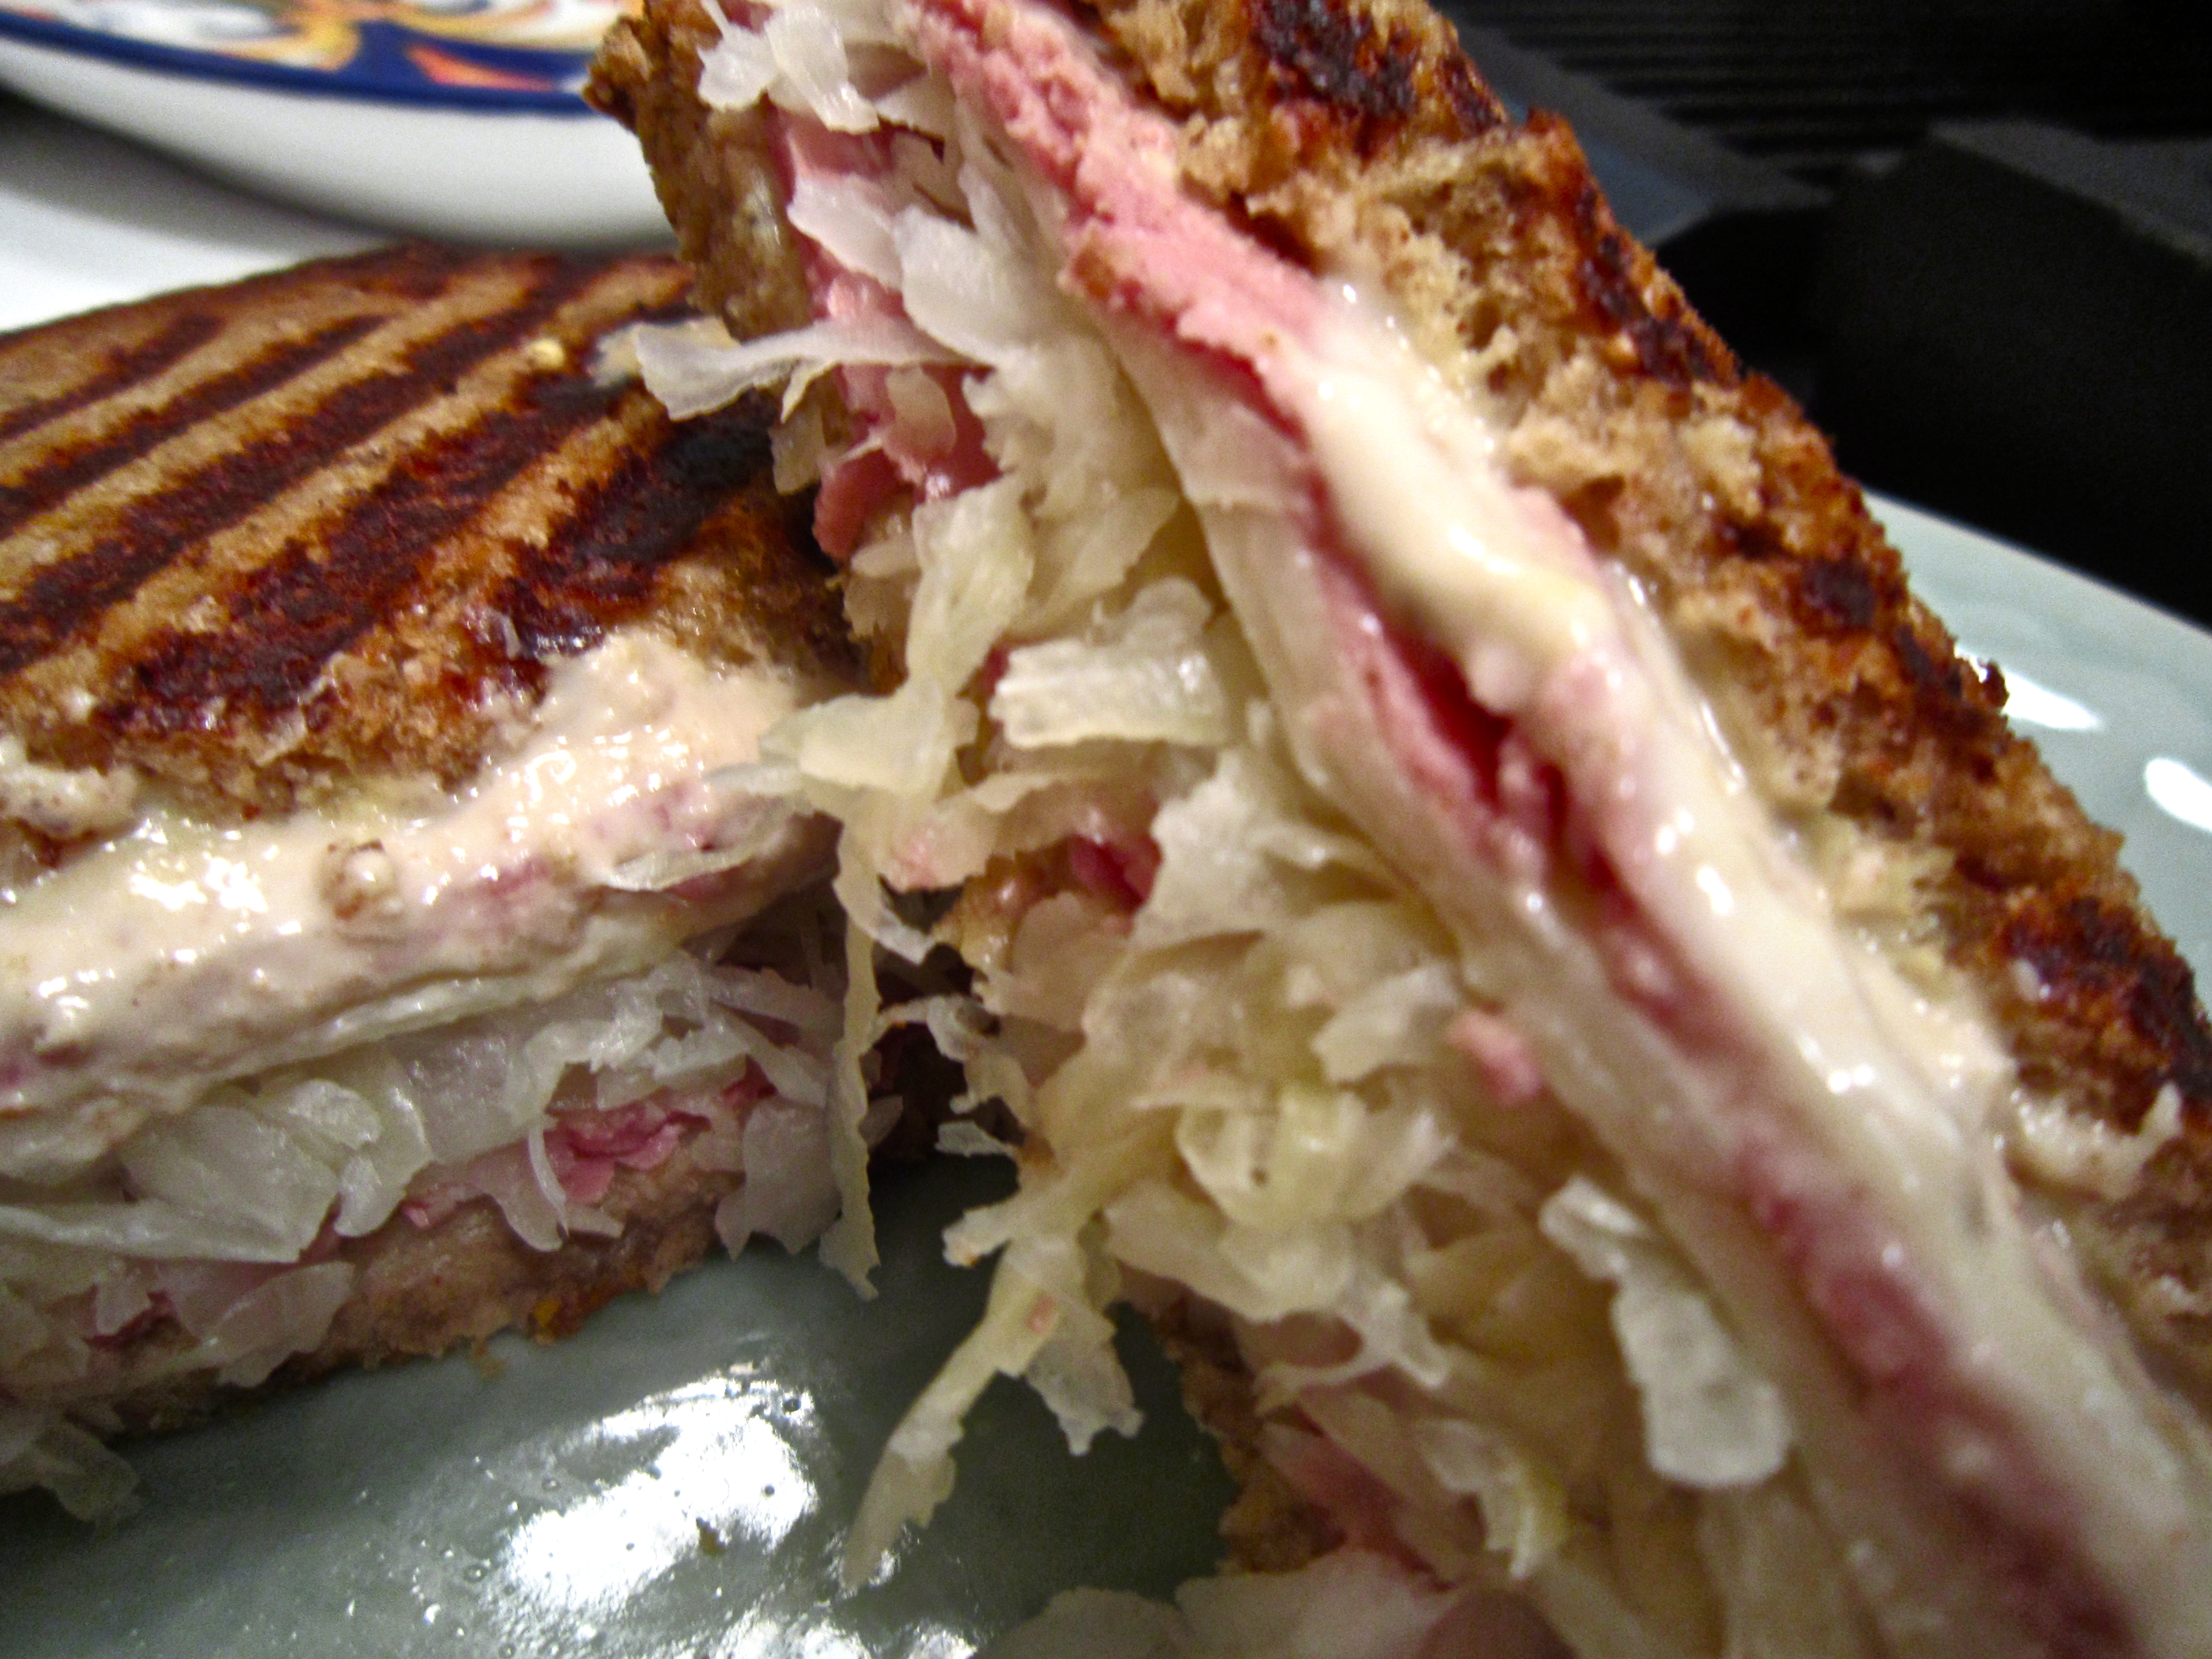
Yes, Rueben!  

Yes, Rueben!

This is far from what I would consider a difficult bread.  But it’s not the easiest bread either.  Still this is such a gorgeous flavored bread that I would really encourage you to bake it … especially if you enjoy rye because you see I’m probably not going to share mine with you 😉
You probably know the routine now:  Be a Buddy by baking, posting by the 28th of this month, send a photo, a short comment and a link to your blog (link not necessary if you don’t have a blog) and Kitchen Of the Month Astrid from Paulchen’s Food Blog will include you in the Buddy Round Up and send you a sharp looking Buddy Badge.Not only is she the BBB Kitchen of the Month, she’s also hosting Bread Baking Day so if you want to participate in that read her post here.


15 Comments

BBB – Biscotti Picanti (Sicilian Spicy Rusks) – 4th Anniversary!

I enjoy people.  Does that surprise you?  I think most of the bloggers I enjoy reading, enjoy people.  People and food 😉 we enjoy.  I enjoy lots of people, lots of bloggers.  Sometimes we all run off into a corner all by ourselves.  Alone time, it’s good time, refuel time, sometimes.  I enjoy party time, lots of people, it’s connecting fun.  And then there is this small group of crazies who drop in and out of my kitchen, some with more regularity than others but I know I can drop in on them anytime and somebody will be there.  Over this last four years we’ve lost a Babe and added a couple.  We’ve shared that wild wild thing we call life with it’s joys, anxieties, big downs, big ups, tears, belly laughs.  We’ve grown (one less than others) together in all the right ways.

So Lien’s Biscotti Picanti is just the perfect choice of breads to celebrate our 4th Bread Baking Anniversary!  This is an easy and reasonably quickly put together bread that really is an addictive treat.  Don’t think to badly of me for suggesting another addiction for you, will you please.  I really hope you’ll bake along with us this month.  You probably know the routine now:  Be a Buddy by baking, posting by the 28th of this month, send a photo, a short comment and a link to your blog (link not necessary if you don’t have a blog) and Kitchen Of the Month (Lien in this case) will include you in the Buddy Round Up and send you a sharp looking Buddy Badge.  Toast us all Babes and Buddies with a Biscotti Picanti!

UPDATE: I forgot my manners.  A lovely lady, I have many of her books, graciously gave the Babes permission to use her recipe for this bread and I just breezed right by it.  When Lien told us she’d given us permission, I checked out her blog here and was in wonderment!   So I’m back to show you my red face and say I’m sorry.  Thanks for the really fabulous recipe Anissas, wonderful cookbooks, glorious stories about cooking and cultures and a truly inspiring blog!


Biscotti Picanti (Sicilian Spicy Rusks)

Recipe By: Lien adapted from “Savory Baking from the Mediterranean” – Anissa Helou and further adapted by MyKitchenInHalfCups

2 ¼ tsp active dry yeast (1 package = 7 grams)
60 ml warm water
1 ⅔ (± 225 g) cups KA white whole wheat flour (+ extra for kneading and shaping)

1 ⅔ (240 g) cups semolina flour

1/4 cups (25 g) ground aniseed
3 TBsp (28 g) white sesame seeds
2 TBsp ground flax seeds
1 teaspoon salt
1 teaspoon freshly ground black pepper
1/2 cup + 2 TBsp (150 ml/130 g) extra-virgin olive oil (+ extra for greasing the bowl)
1/4 cup (60 ml) red wine
115 ml water

Combine flours, aniseed, sesame seeds, ground flax seeds, yeast (recipe has yeast dissolved in water and added later, I goofed and added it early), salt and pepper in a large mixing bowl and make a well in the center. Add the olive oil in the well and rub into the flour with your fingertips until well incorporated.Add wine and 175 ml warm water en knead briefly to make a rough ball of dough. Knead this for another 3-5 minutes or so. Cover and let rest for 15 minutes. Knead for another 3 minutes until the dough is smooth and elastic. Shape into a ball and let rise in a lightly greased bowl, covered with greased plastic, for 1 hour in a warm place (or until doubled).

Divide the dough in 3 equal pieces and shape each piece into a loaf about 12”( 30 cm) long. Transfer the logs to a baking sheet lined with parchment paper and leaving at least 2 inches/5 cm between them so they can expand. Take a dough cutter (or sharp knife) and cut the loaves into 1 inch/2,5 cm thick slices (or if you prefer them thinner in 1″/1 cm slices). The dough cutter smashed the dough down, deflating it.  My sharpest knife had the same result.  Ultimately what worked best for me was using dental floss and cutting all the way through the log; pushing the ends slightly back together again.  Cover with a large plastic box and let the rise for about 45 minutes.Meanwhile preheat the oven to 500ºF/260ºC.

Bake the sliced loaves for 15 minutes, until golden.
Remove from the oven and reduce the temperature to 175ºF/80ºC. Separate the slices and turn so that they lie flat on the baking sheet. Return to the oven and bake for about 1 hour more, or until golden brown and completely hardened (if not totally hardened, return to the turned off oven to let them dry more).Transfer to a wire rack to cool. Serve at room temperature, or store in an airtight container for up to 3 weeks.
I know I have some big time learning to do here and hope to repair the broken links like to about me soon 😉  patience please.  In the mean time enjoy Spicy Rusks!