
Is “I’m on the road, over the water and now in Paris” a reason for posting late when I baked the bread two weeks ago for being late? No you say! Well, it’s the only one I’ve got. As much as we enjoyed this bread Judy (Gross Eats) I must make this short and sweet as tomorrow morning we are off onto a new adventure.
![]()
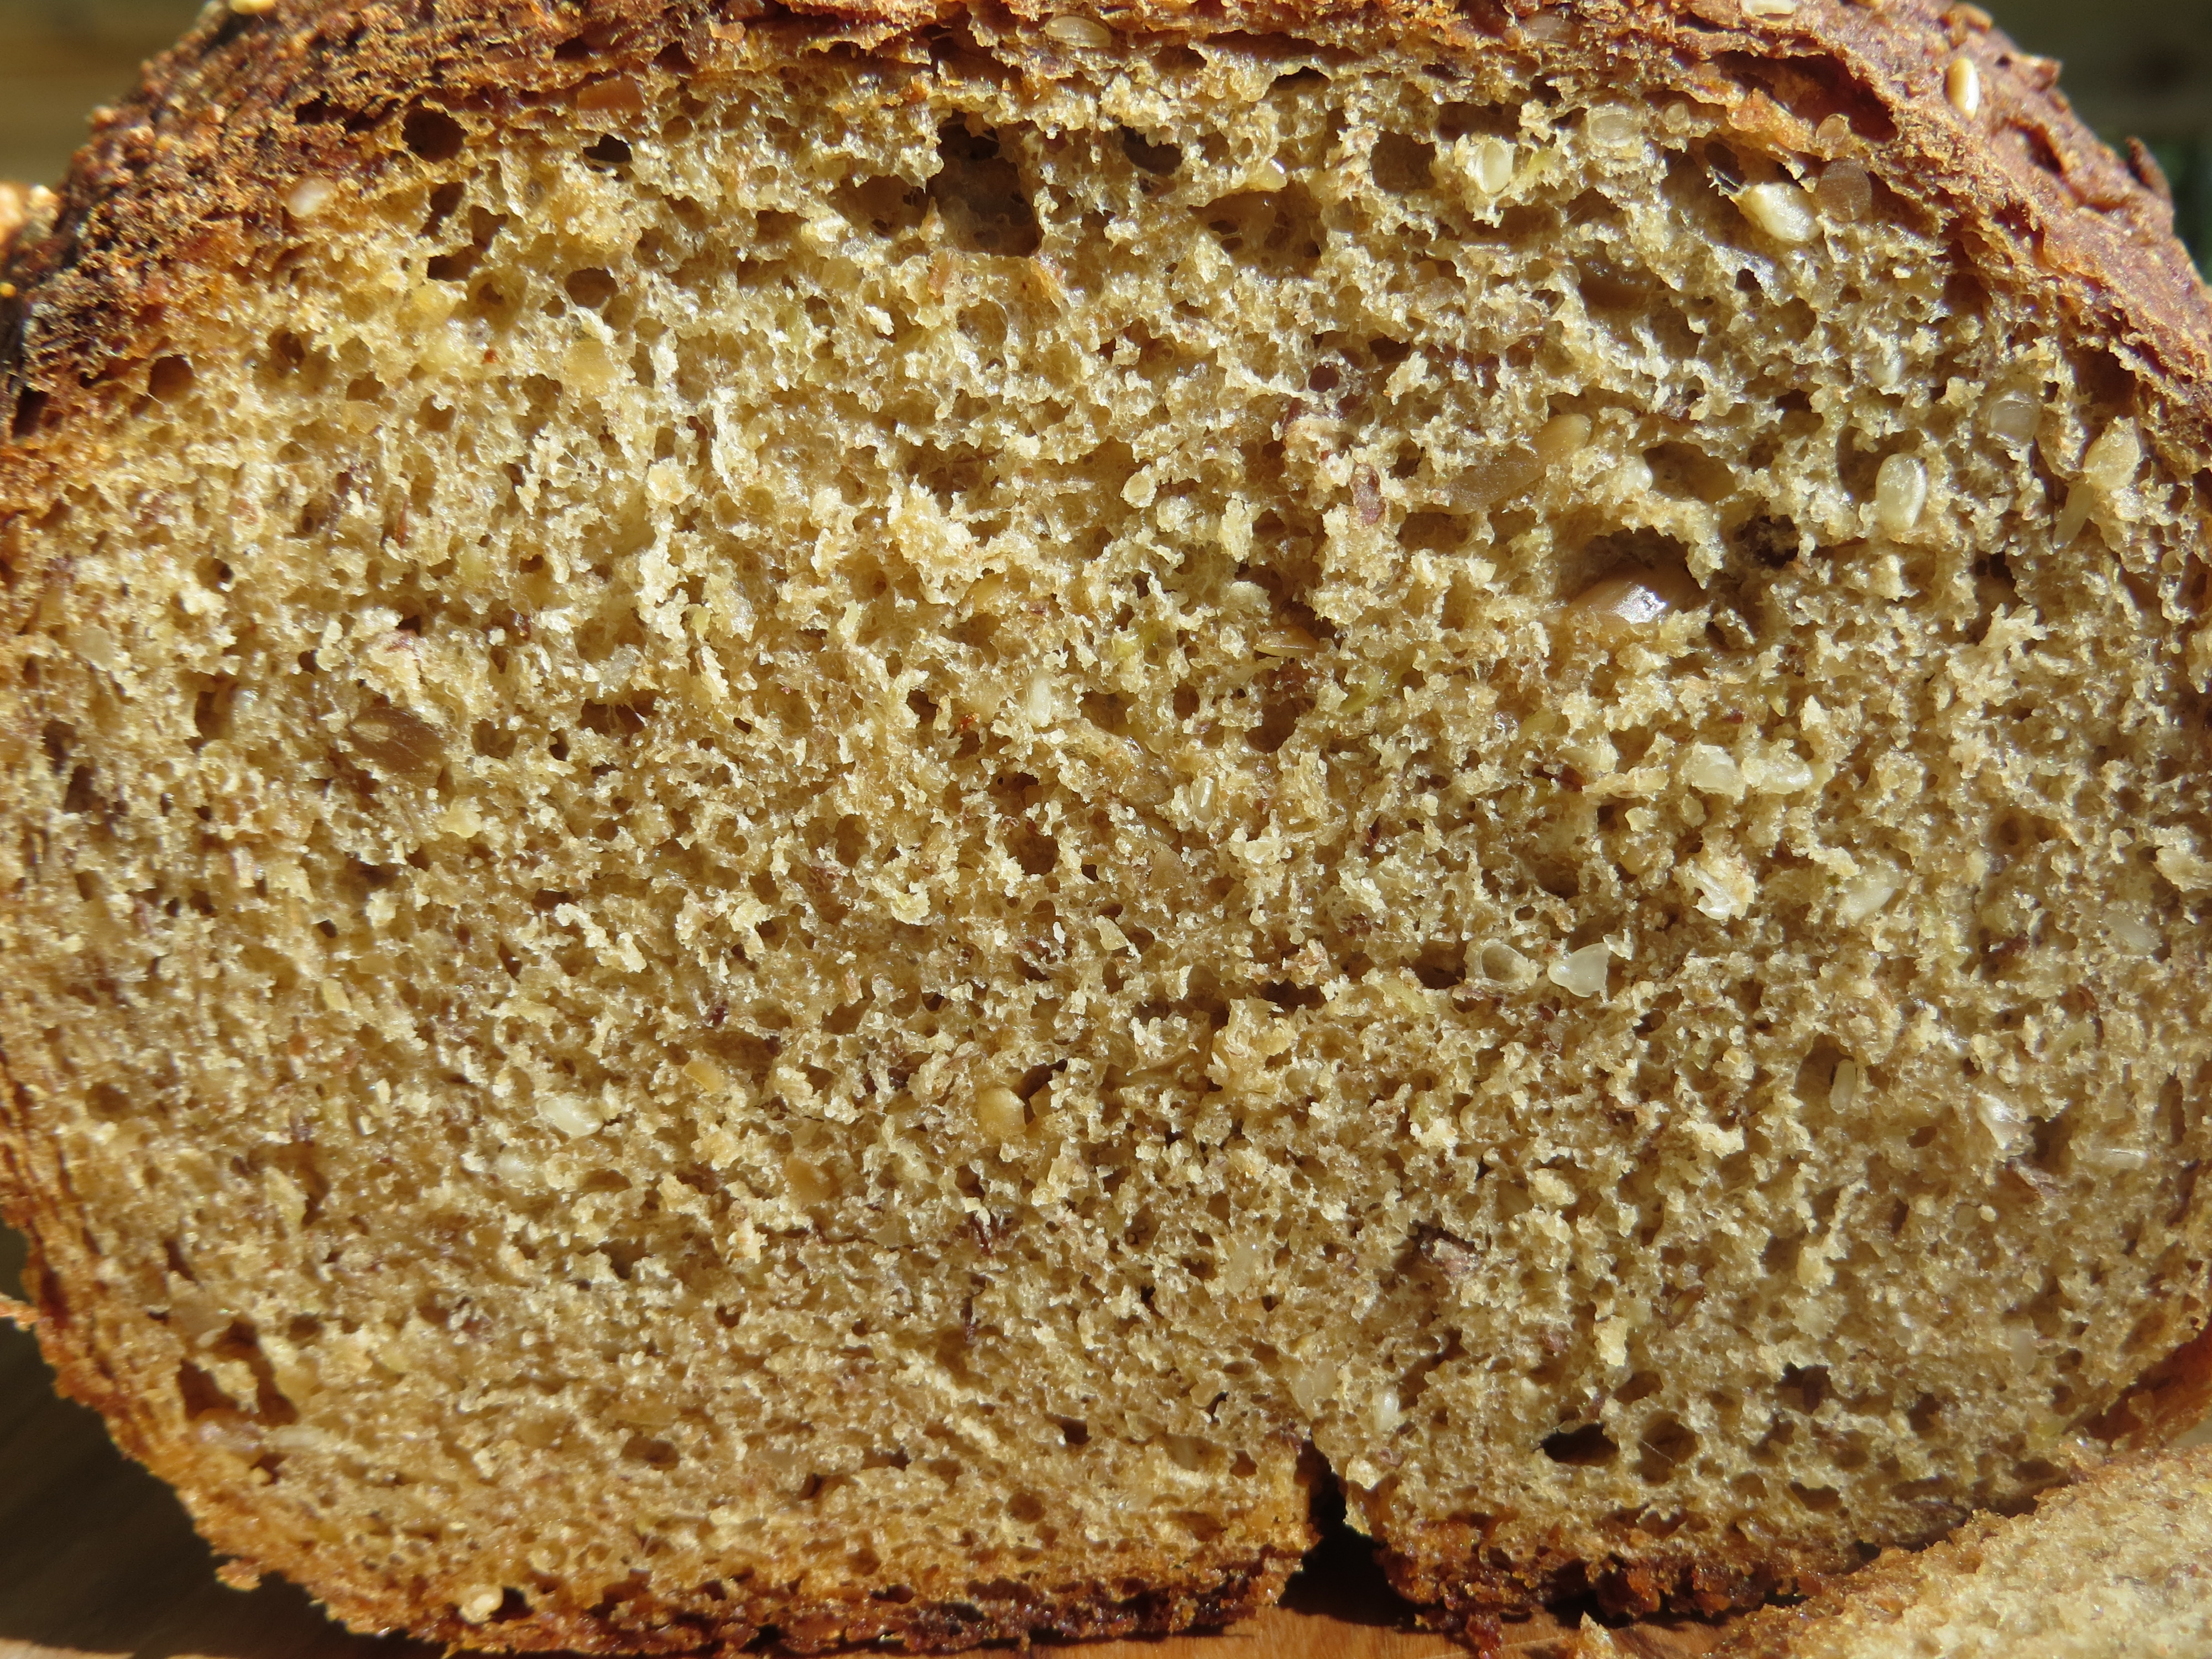
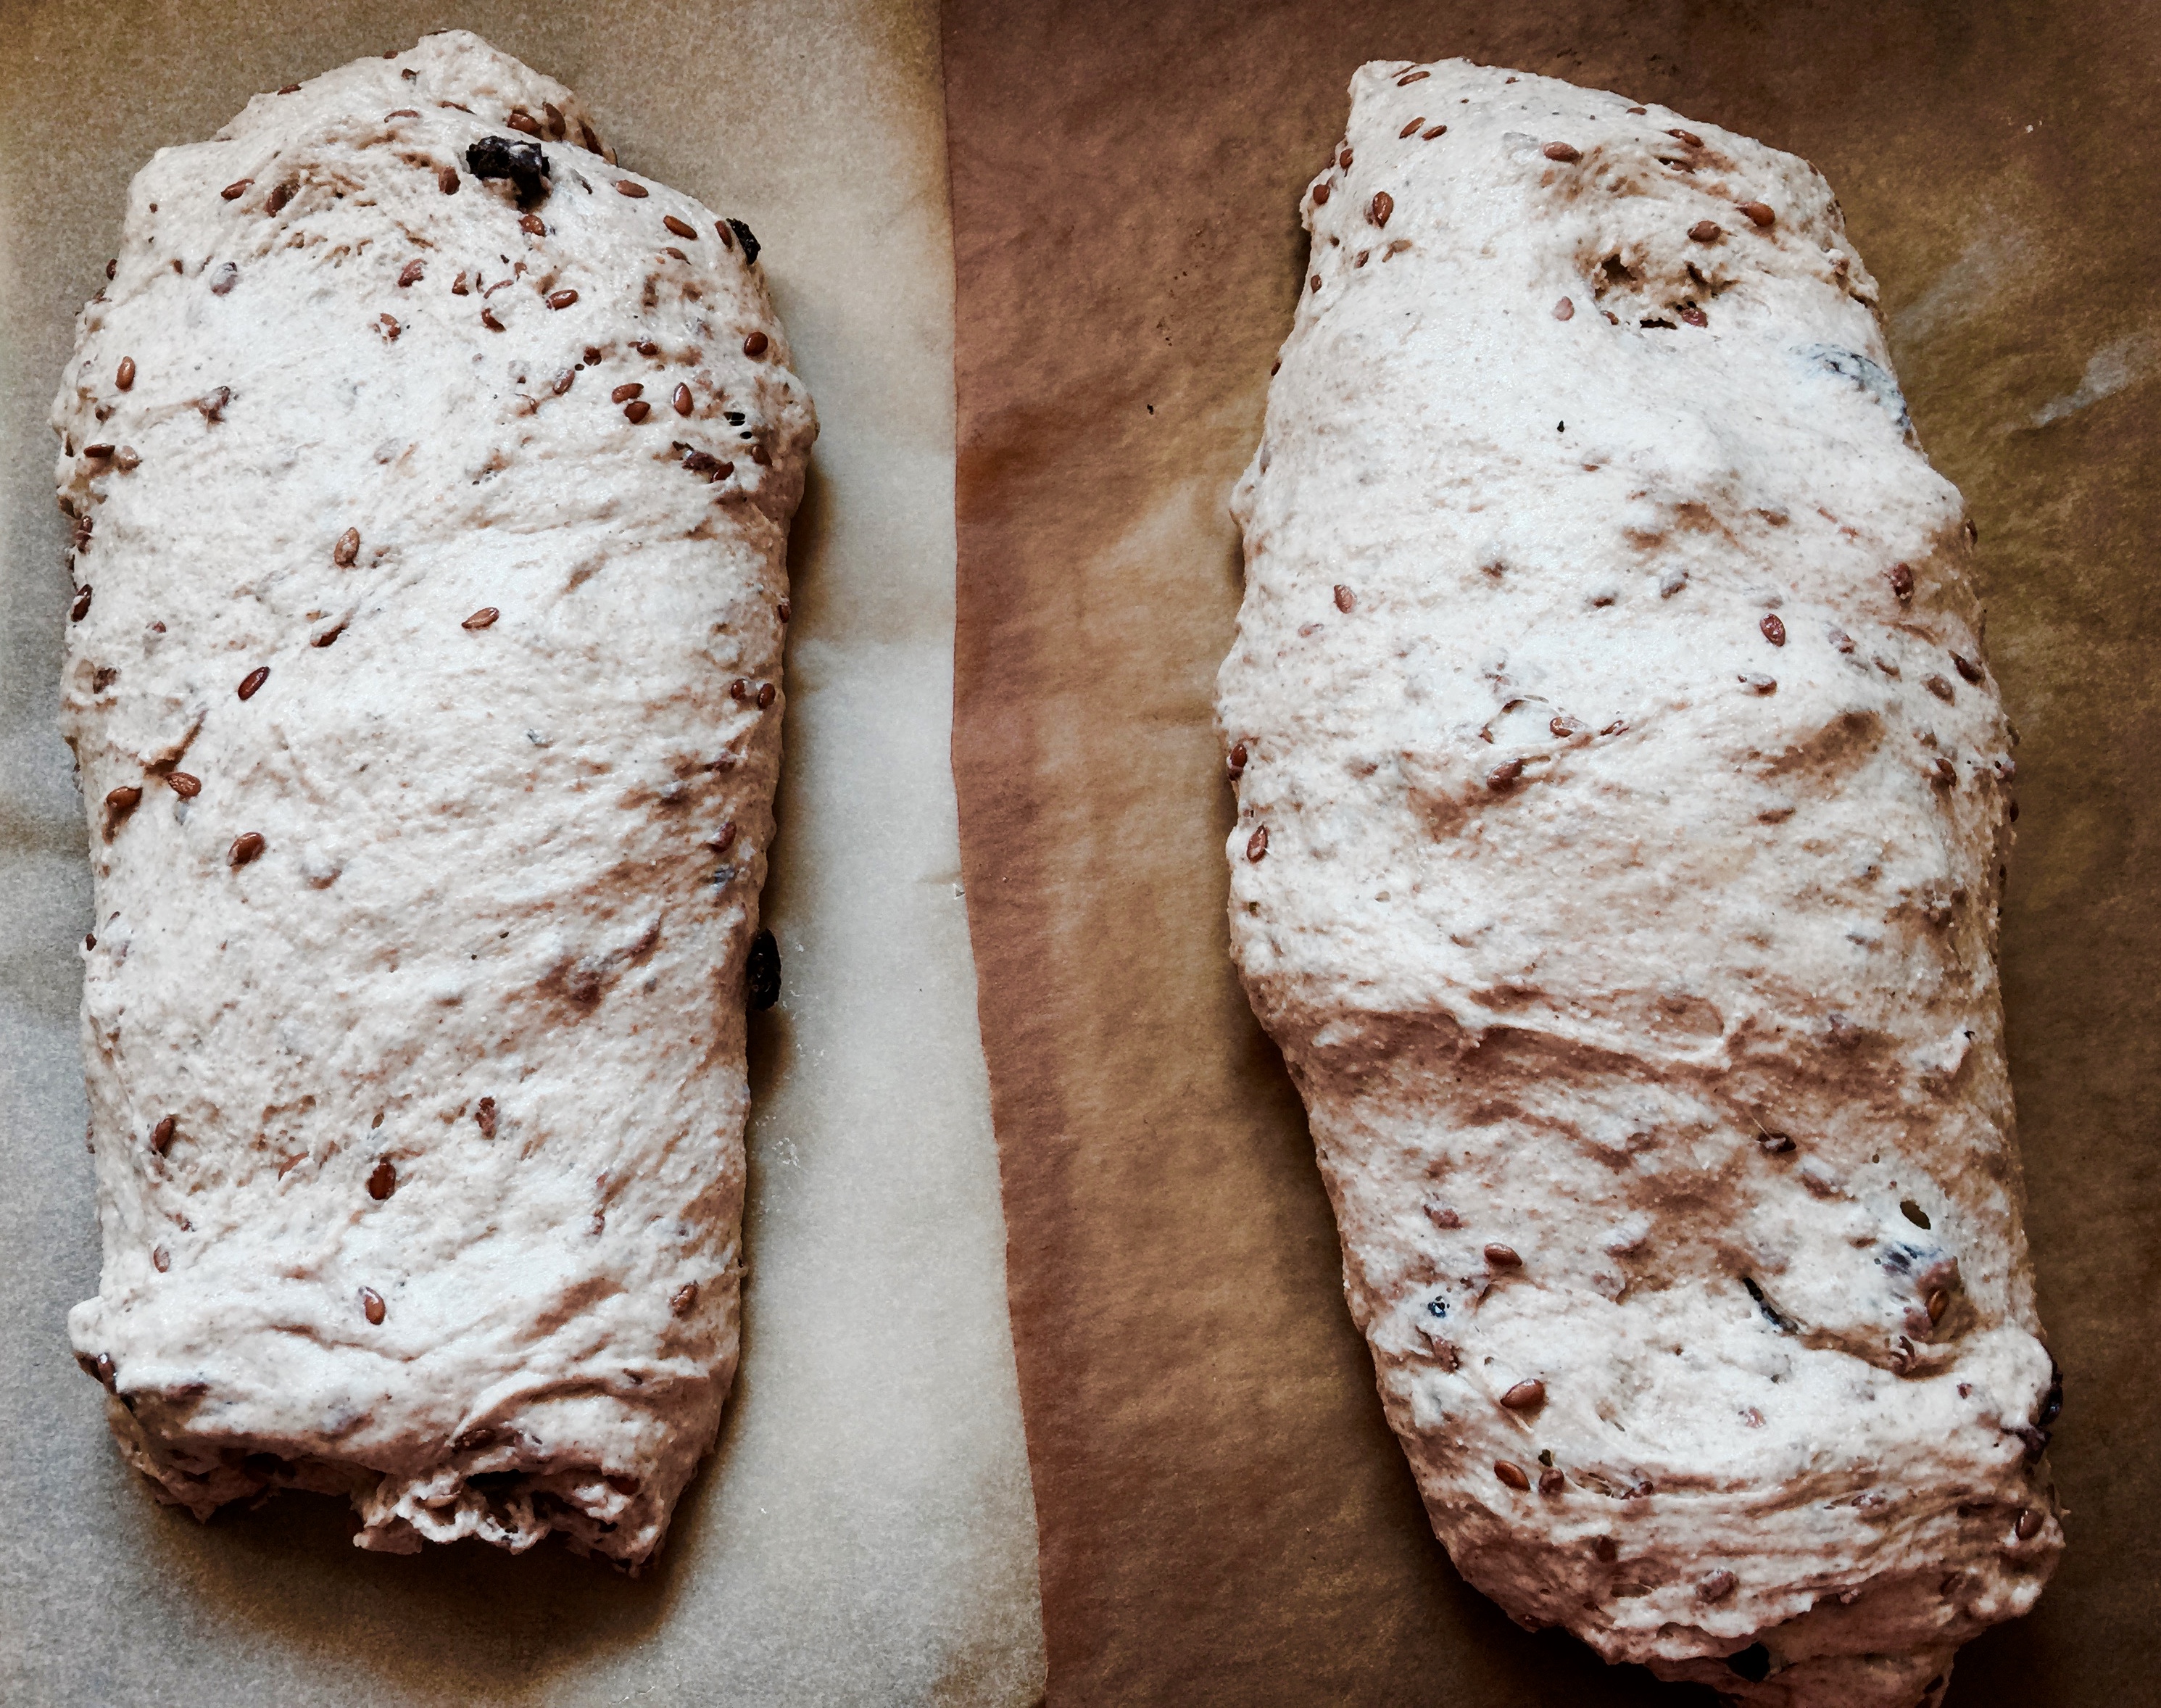
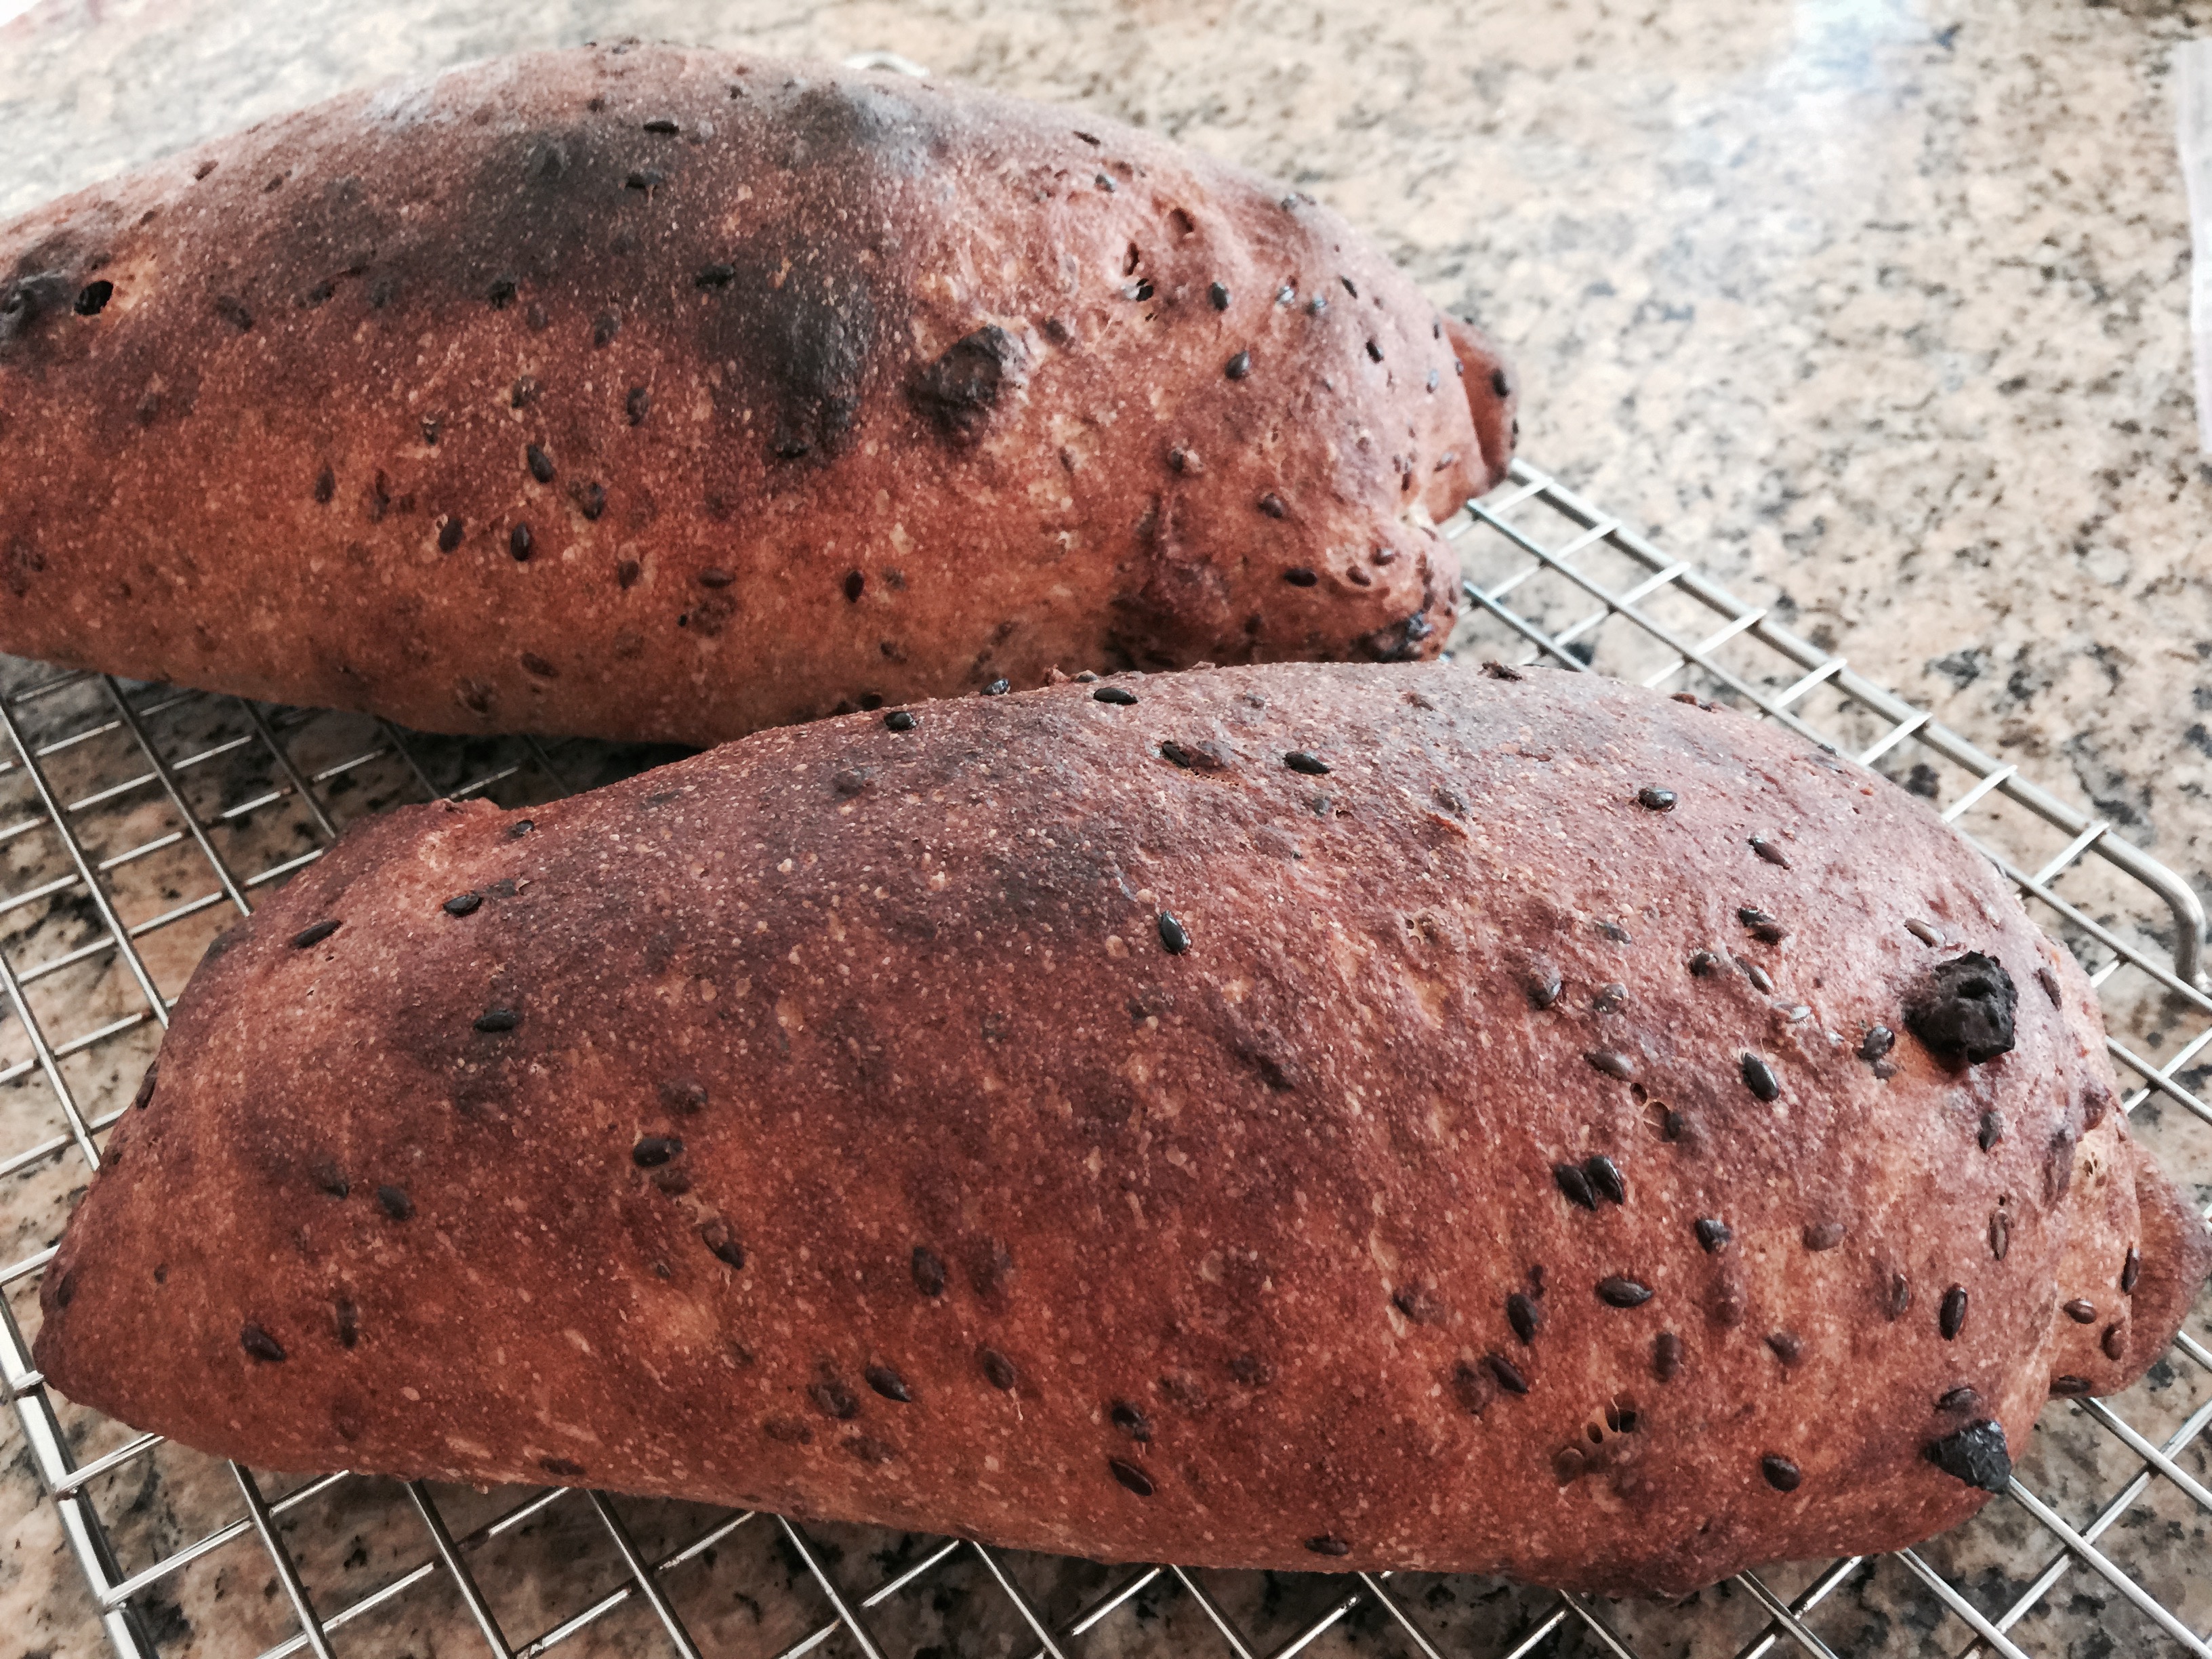
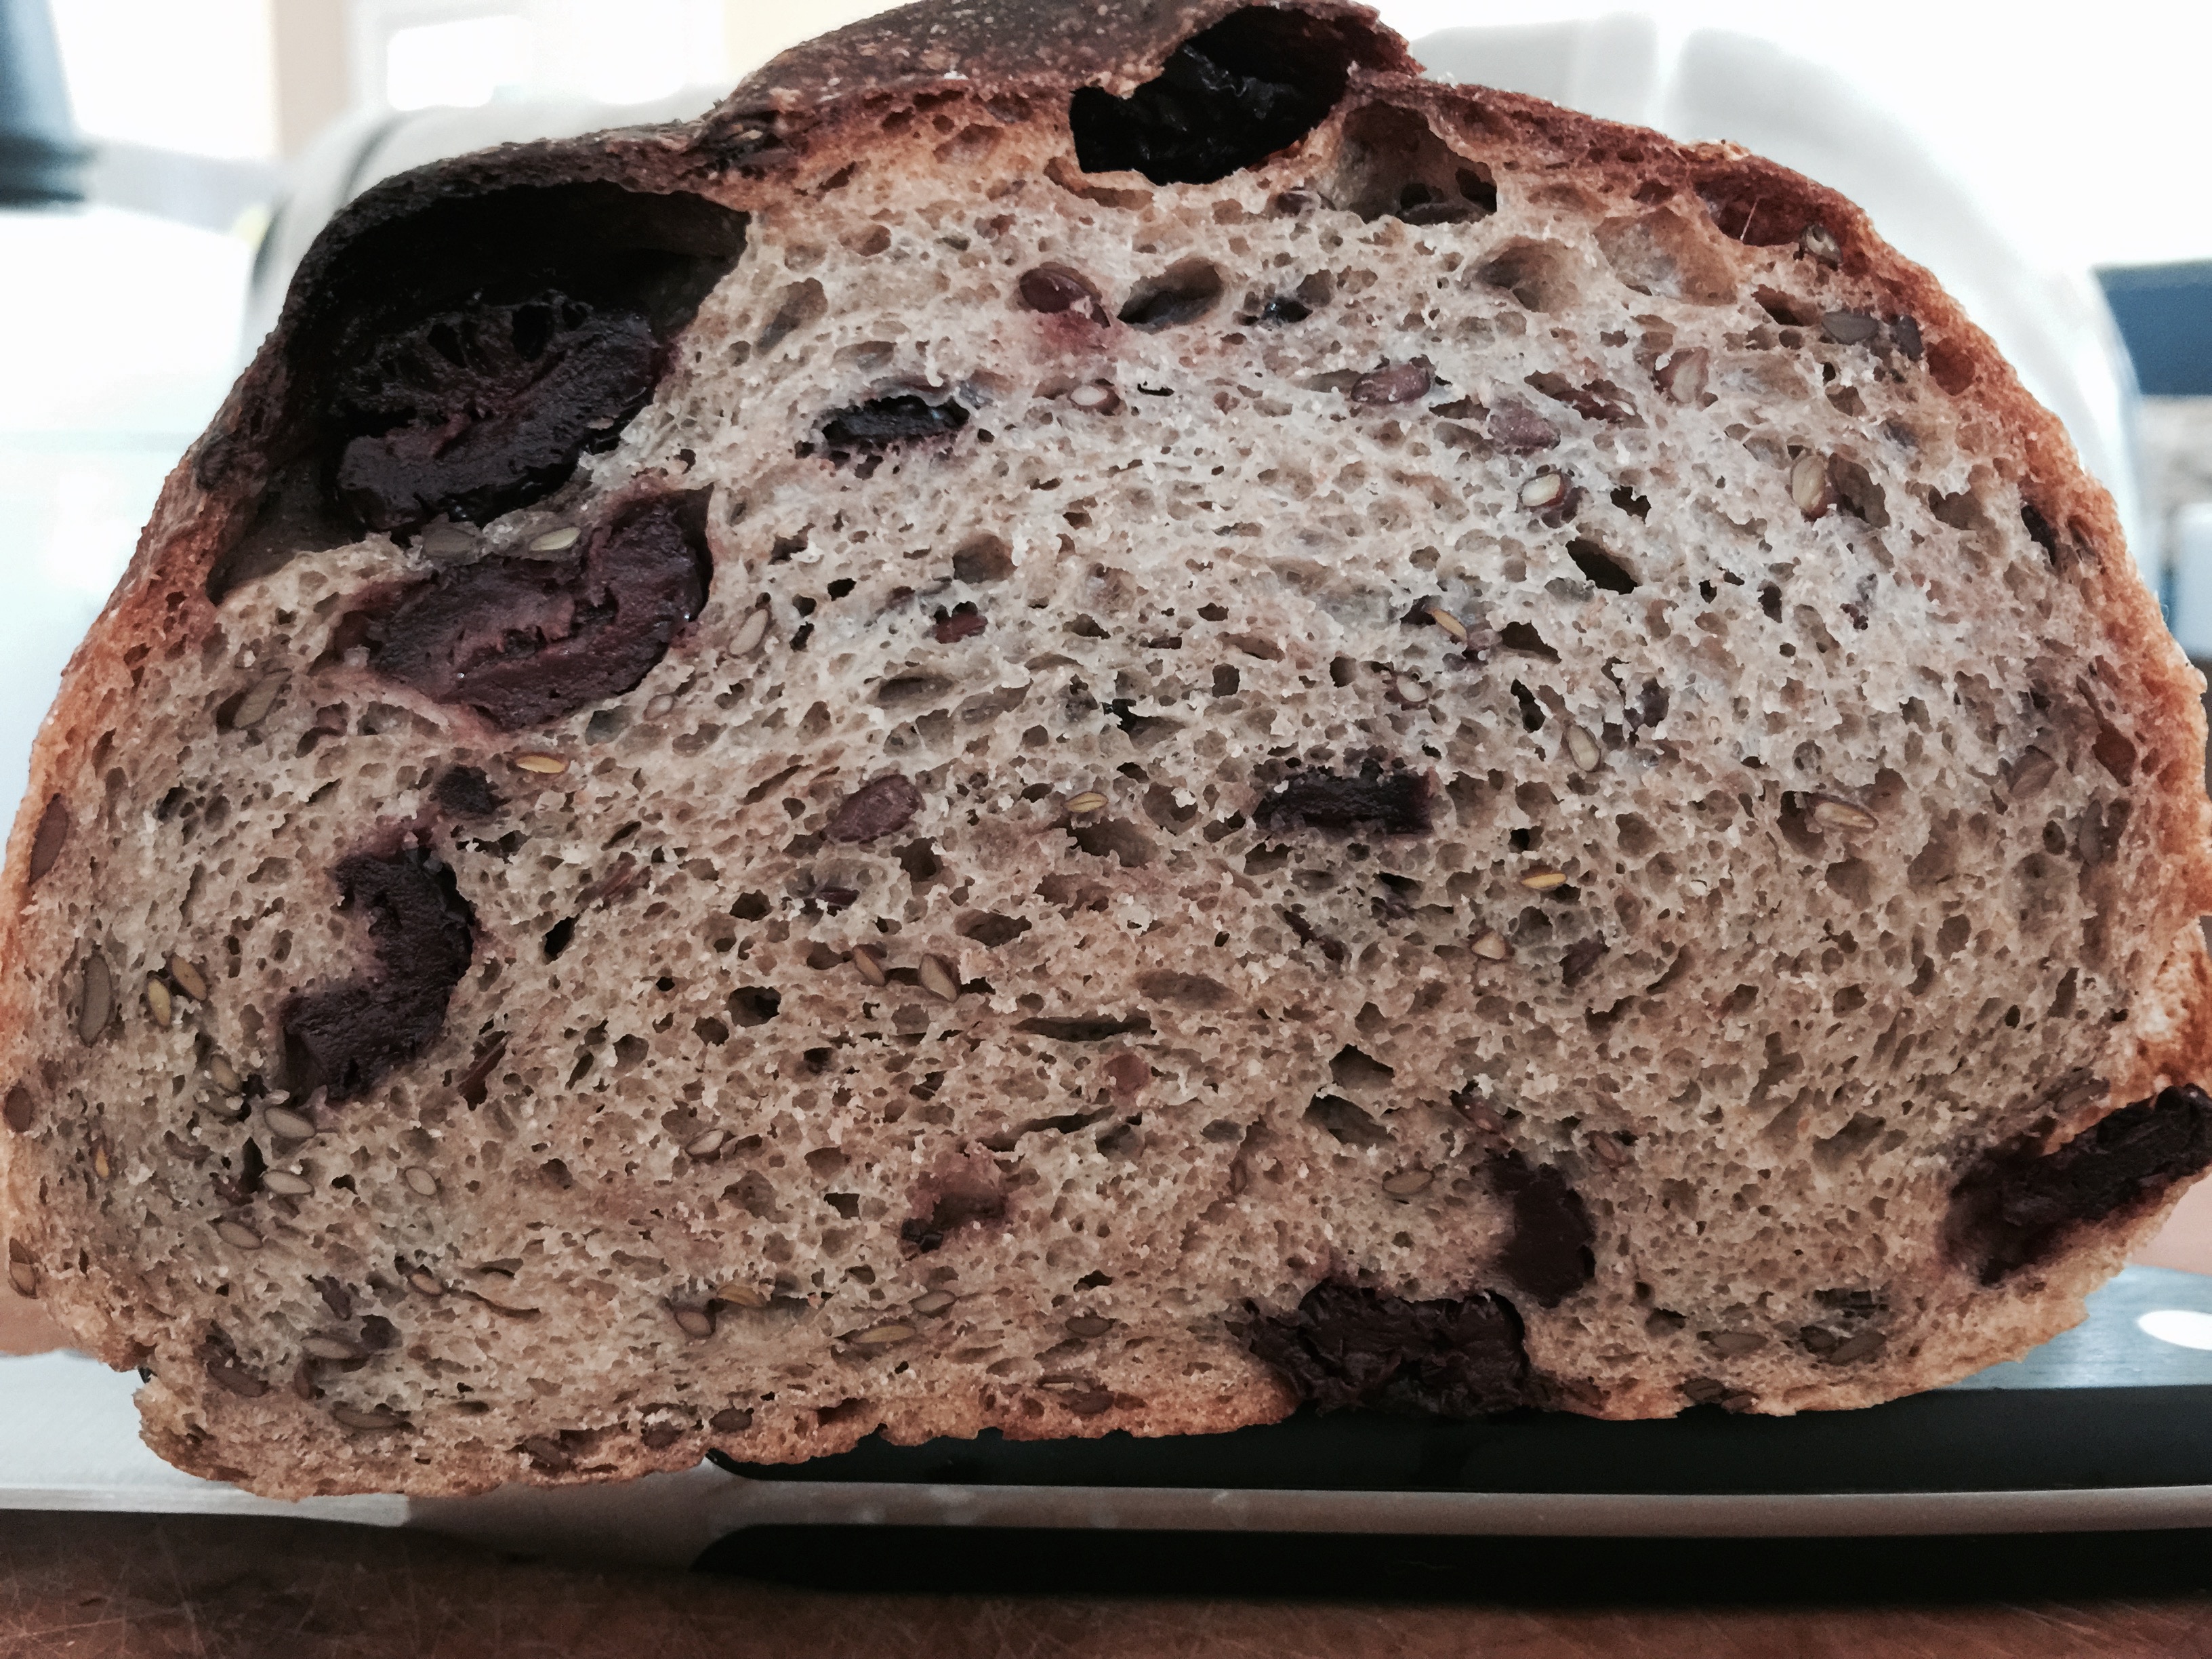
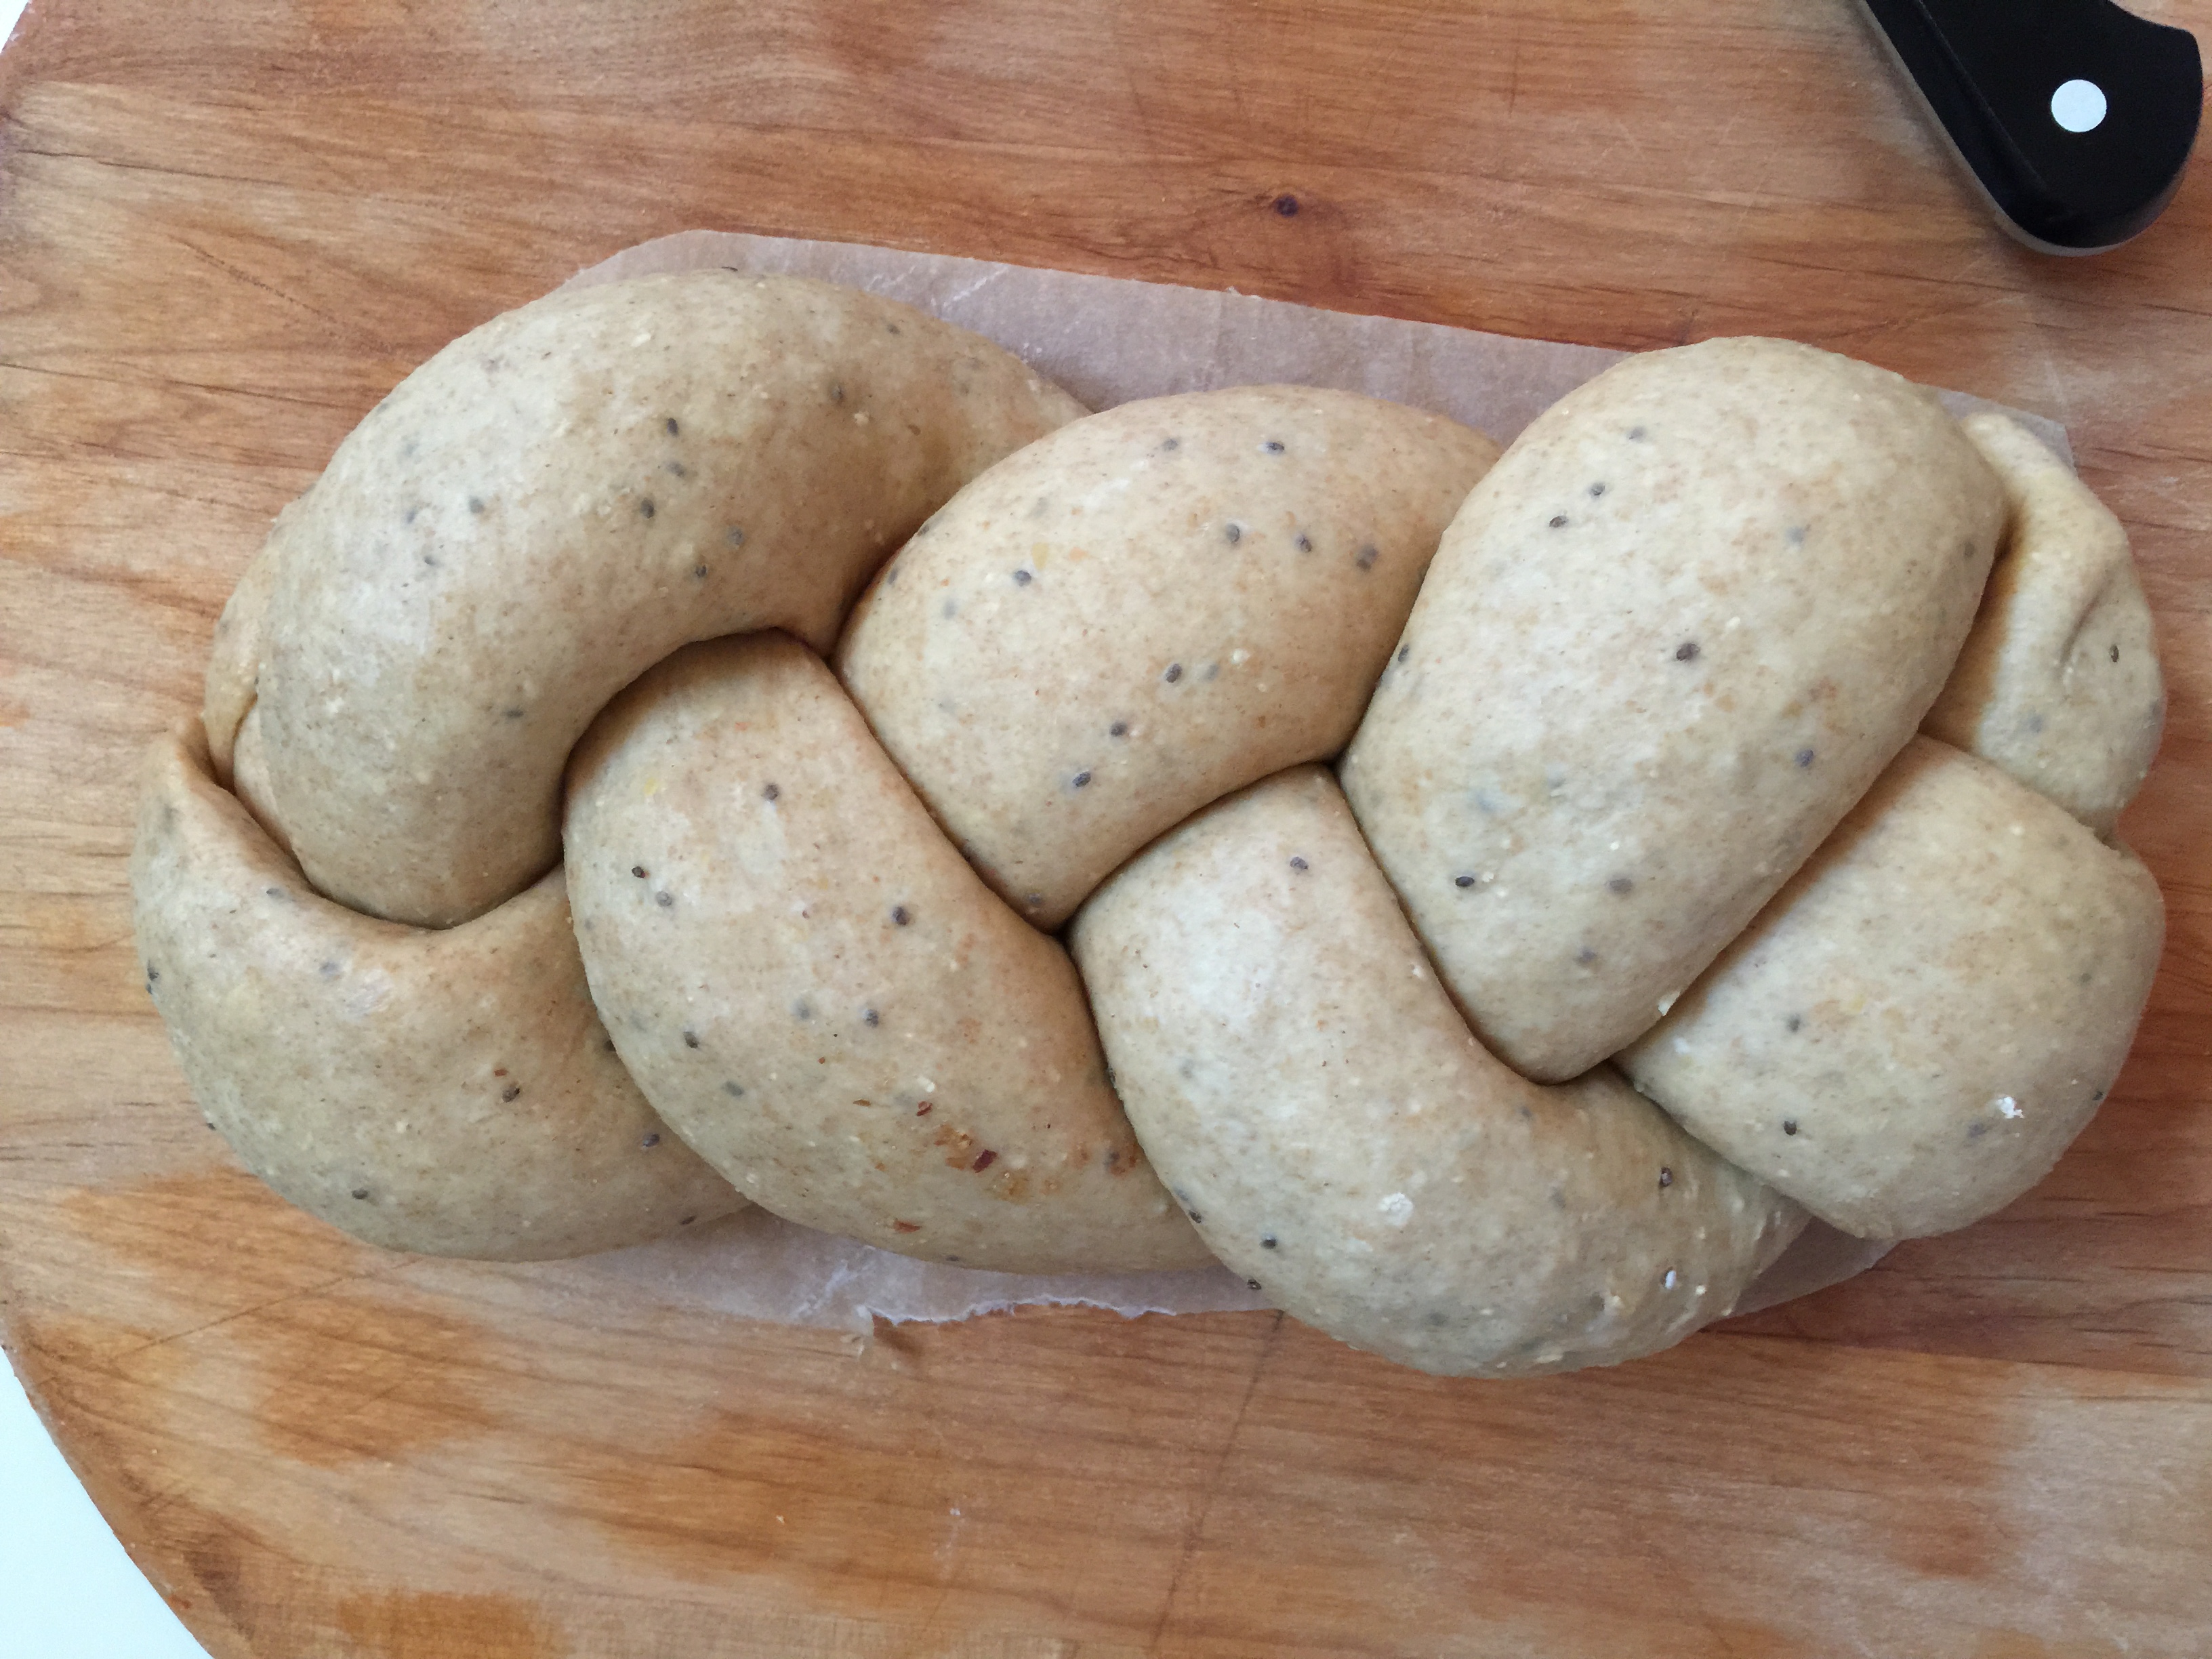
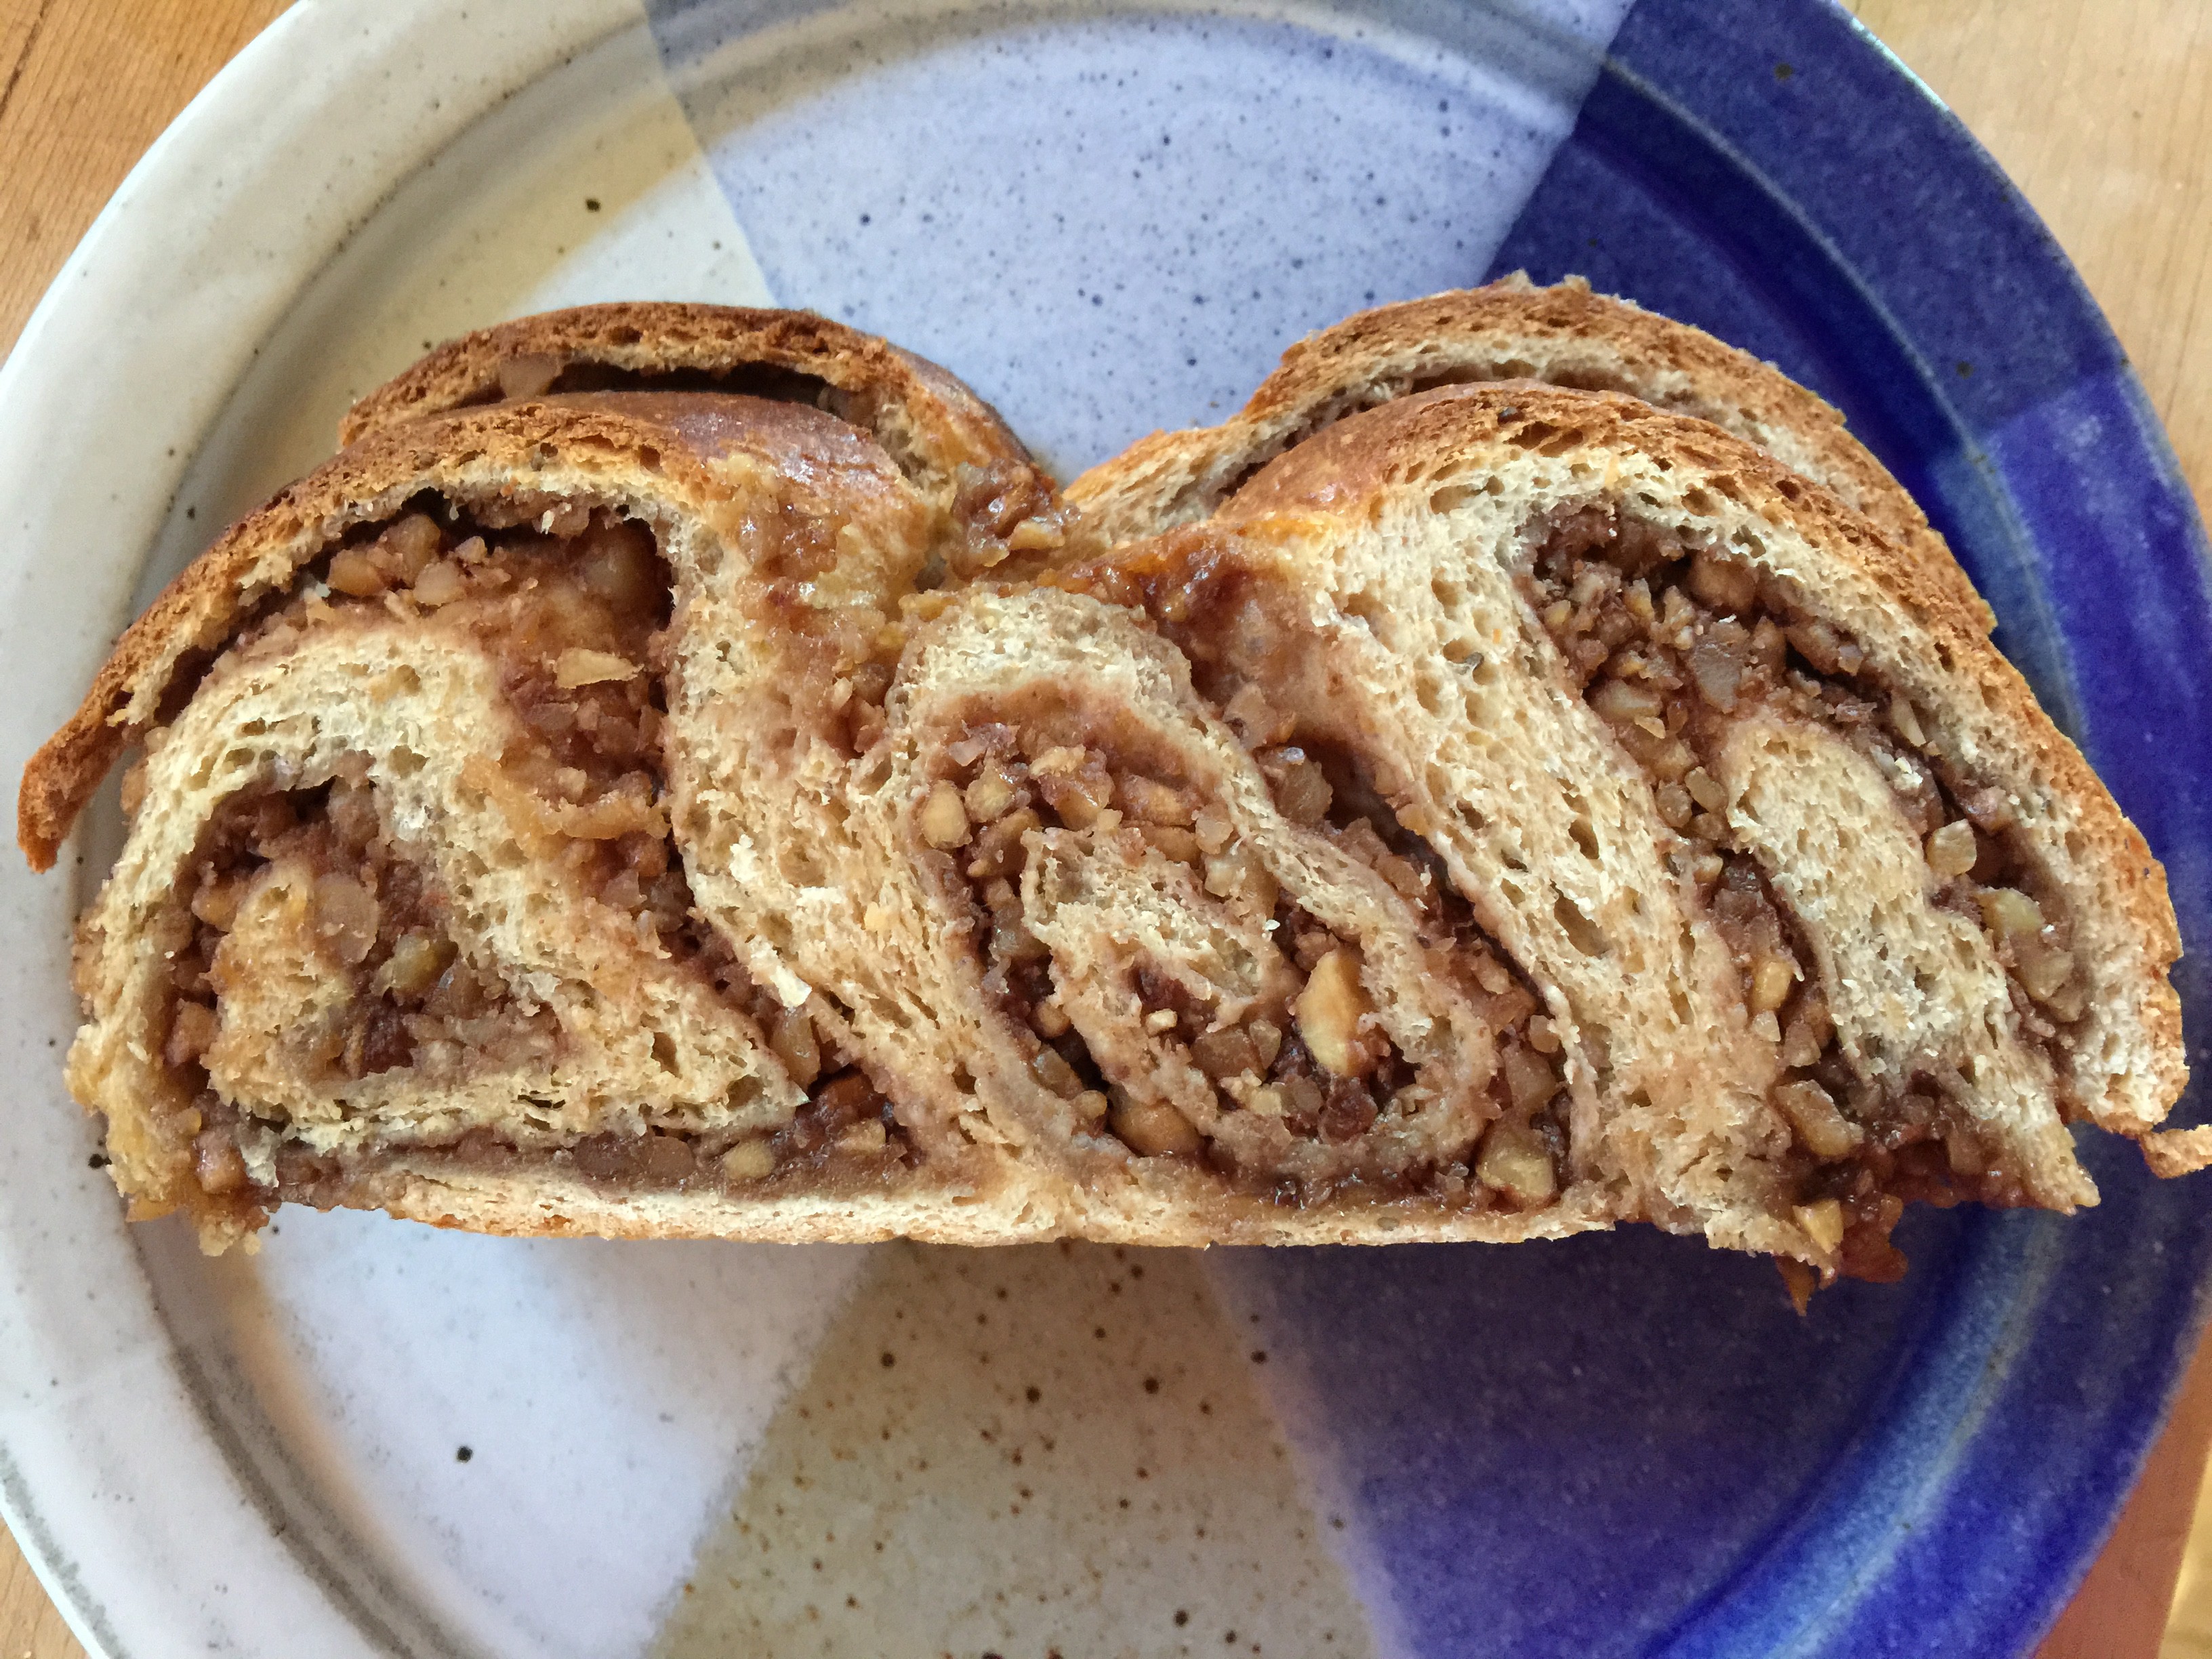
Judy, our new Babe, jumped right in an took the first available open slot for Kitchen of the Month. A bread book that had gotten my attention and Judy’s. I’ve baked the Brioche, all whole wheat healthy … well butter is healthy too, yes. Judy looked at several breads before settling on POWER BREAD. It is packed with goodness, health and flavor. Great flavor and an “oh, it’s it ready to come out of the oven YET!” aroma. Then. “NO, you can’t cut it until it’s cooled.” wait.
Let us be clear here. This takes 3 (ok 4 if you don’t read well). BUT, day one and two take a total of maybe 20 minutes. Why did it take me four days, because realized the third day when I went to mix the biga, I should/could have made it the second day with the soaker in seperate bowls, it didn’t need separate days. Reading, yes, that would be a good thing to do. When I worked in the hospital and went into child’s room to give a pill, even an aspirin, there was a check list to go through ~ right name, right medicine, right dose, right time ~ I should do that with each ingredient in a recipe list … I added yeast in the honey amount in grams … yes I did. But, in the hospital it really mattered that I follow that check list … this bread, ha, not so much. Maybe it needed that extra boost in my kitchen.
No, I didn’t add extra flax seed. The recipe supplied all I needed in this one.
Power Bread
Judy(Gross Eats) from Peter Reinhart’s “Whole Grain Breads”
Pre-soaker
71 g raisins
14 g flaxseeds
170 g water
Soaker
All of pre-soaker
170 g whole wheat
14 g oat bran
4 g salt
Biga
170 g white whole wheat flour
1 g instant yeast
142 g buttermilk, at room temp
Final dough
All of soaker (at room temp)
All of biga (at room temp)
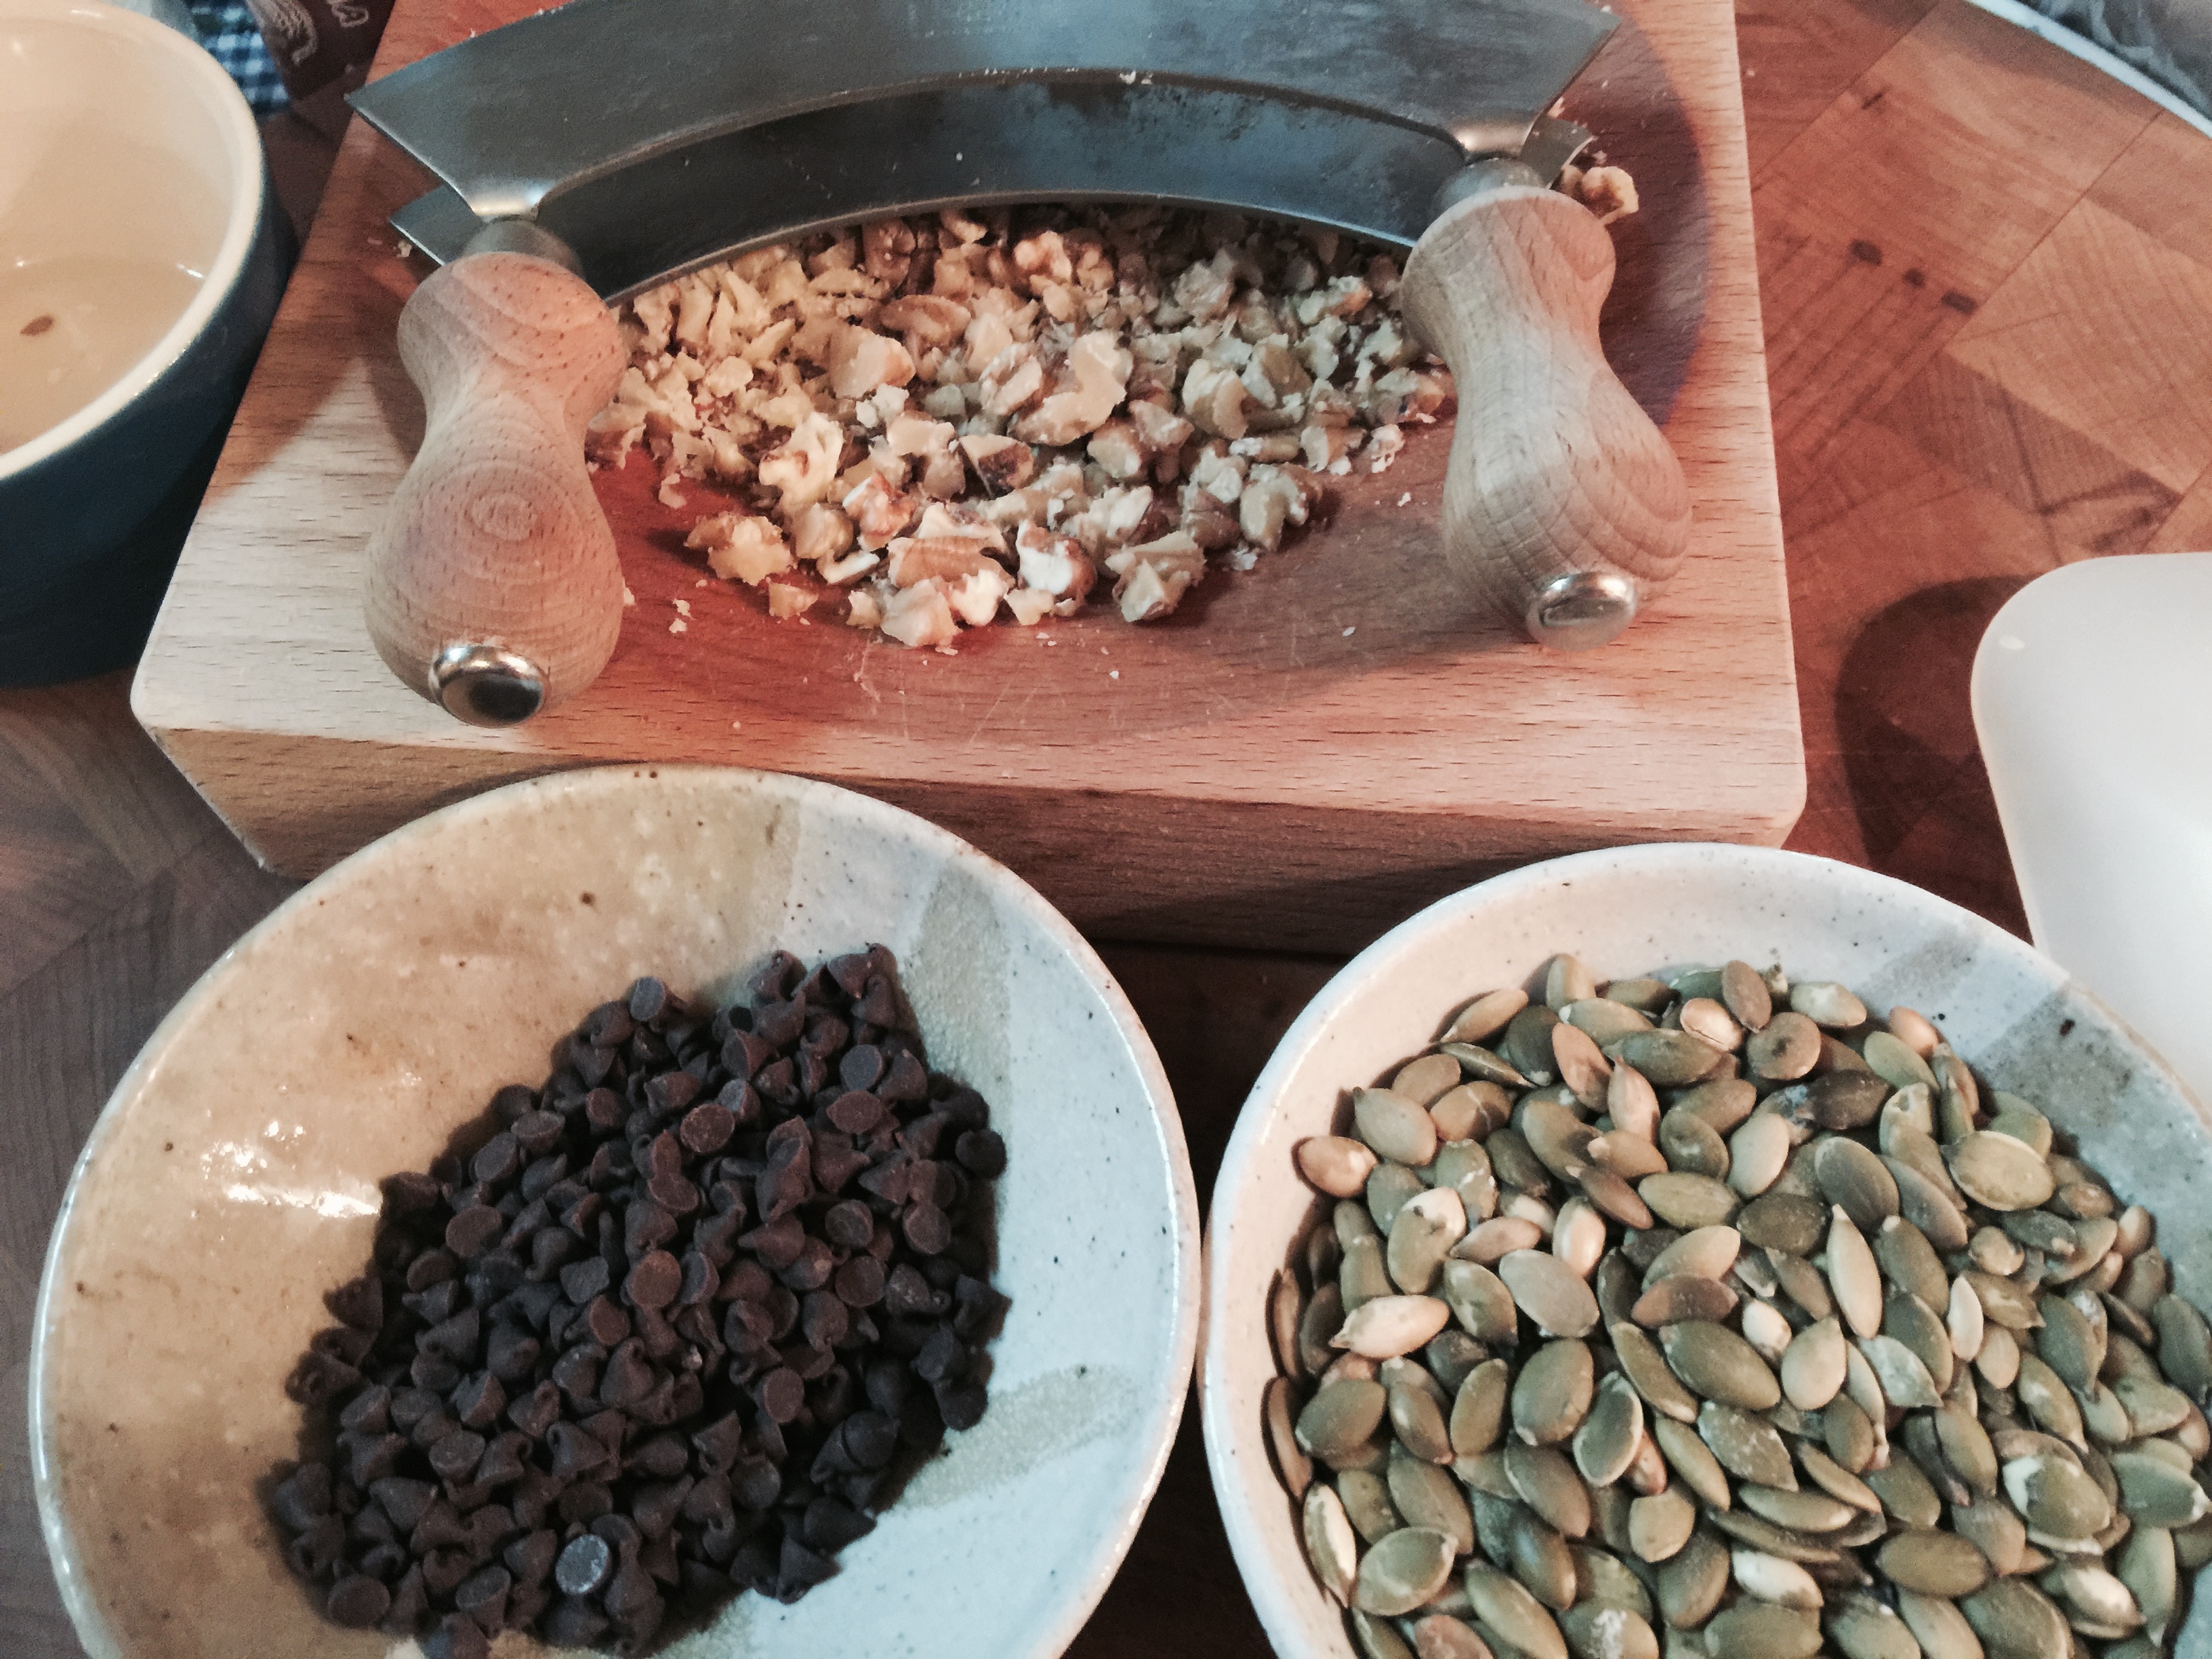
56.5 g sunflower seeds, ground into a flour
56.5 g white whole wheat flour
28.5 g sesame seeds, whole
4 g salt
7 g instant yeast plus in my case
21 g agave syrup
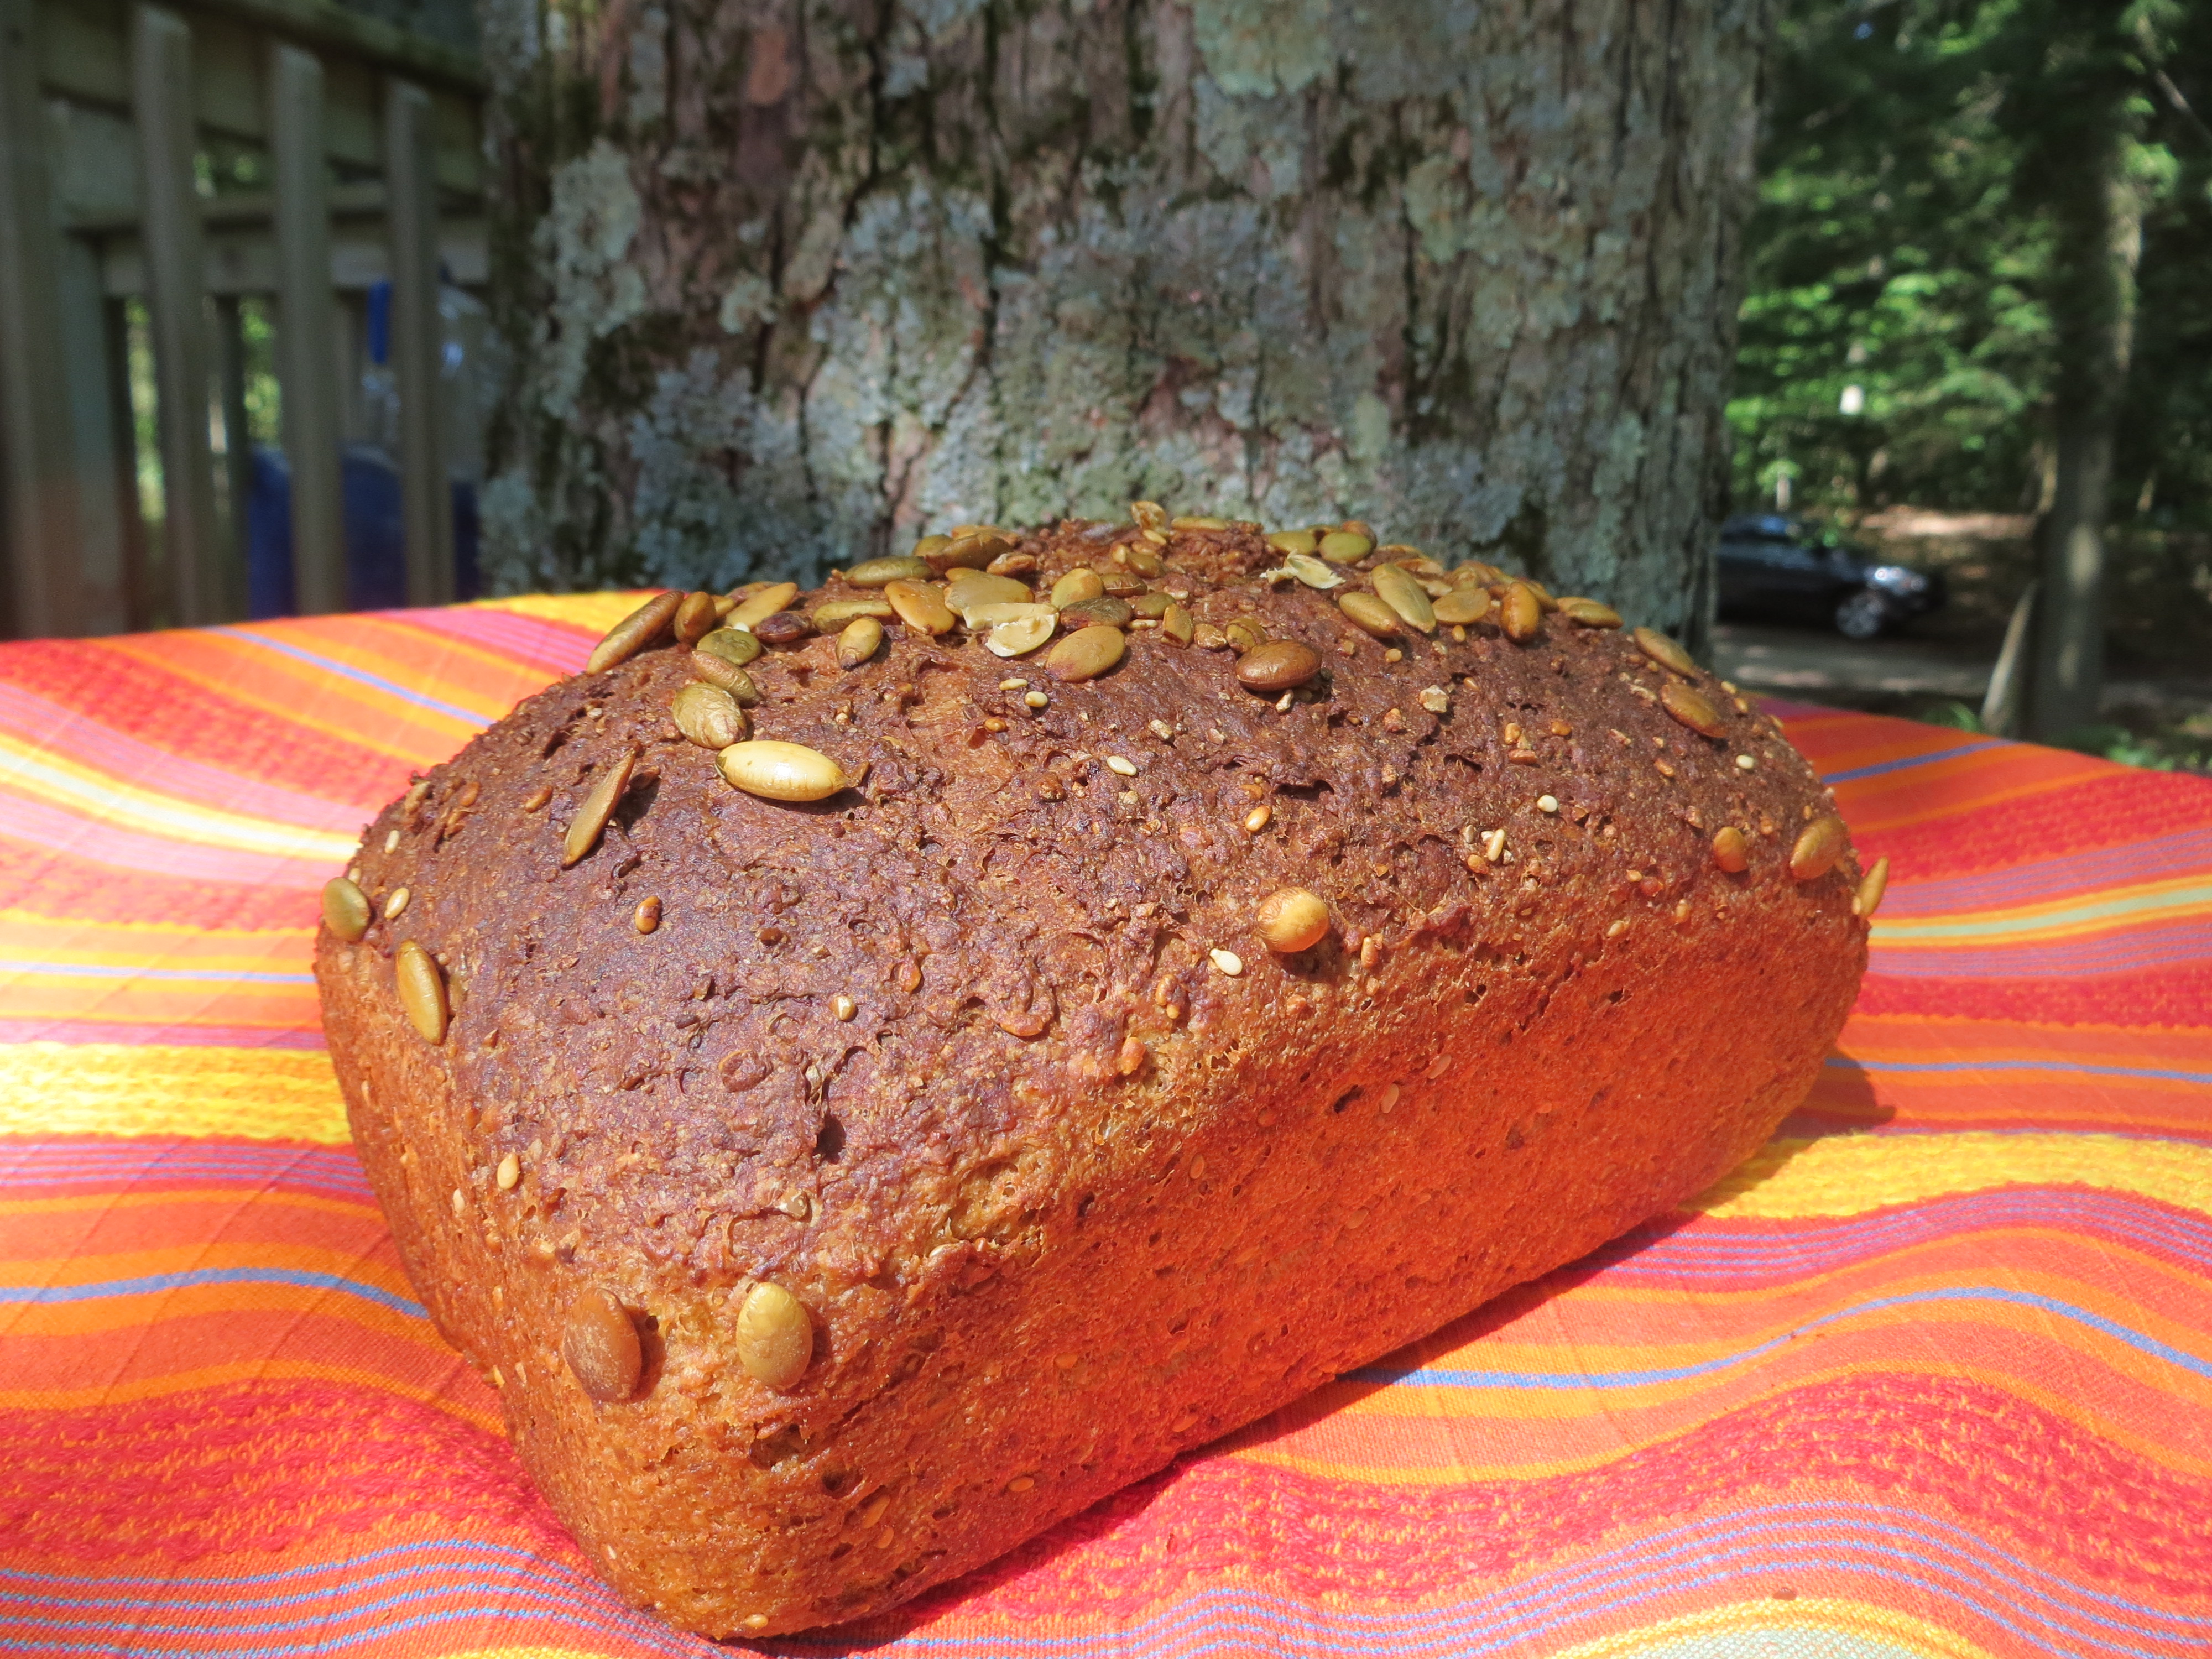
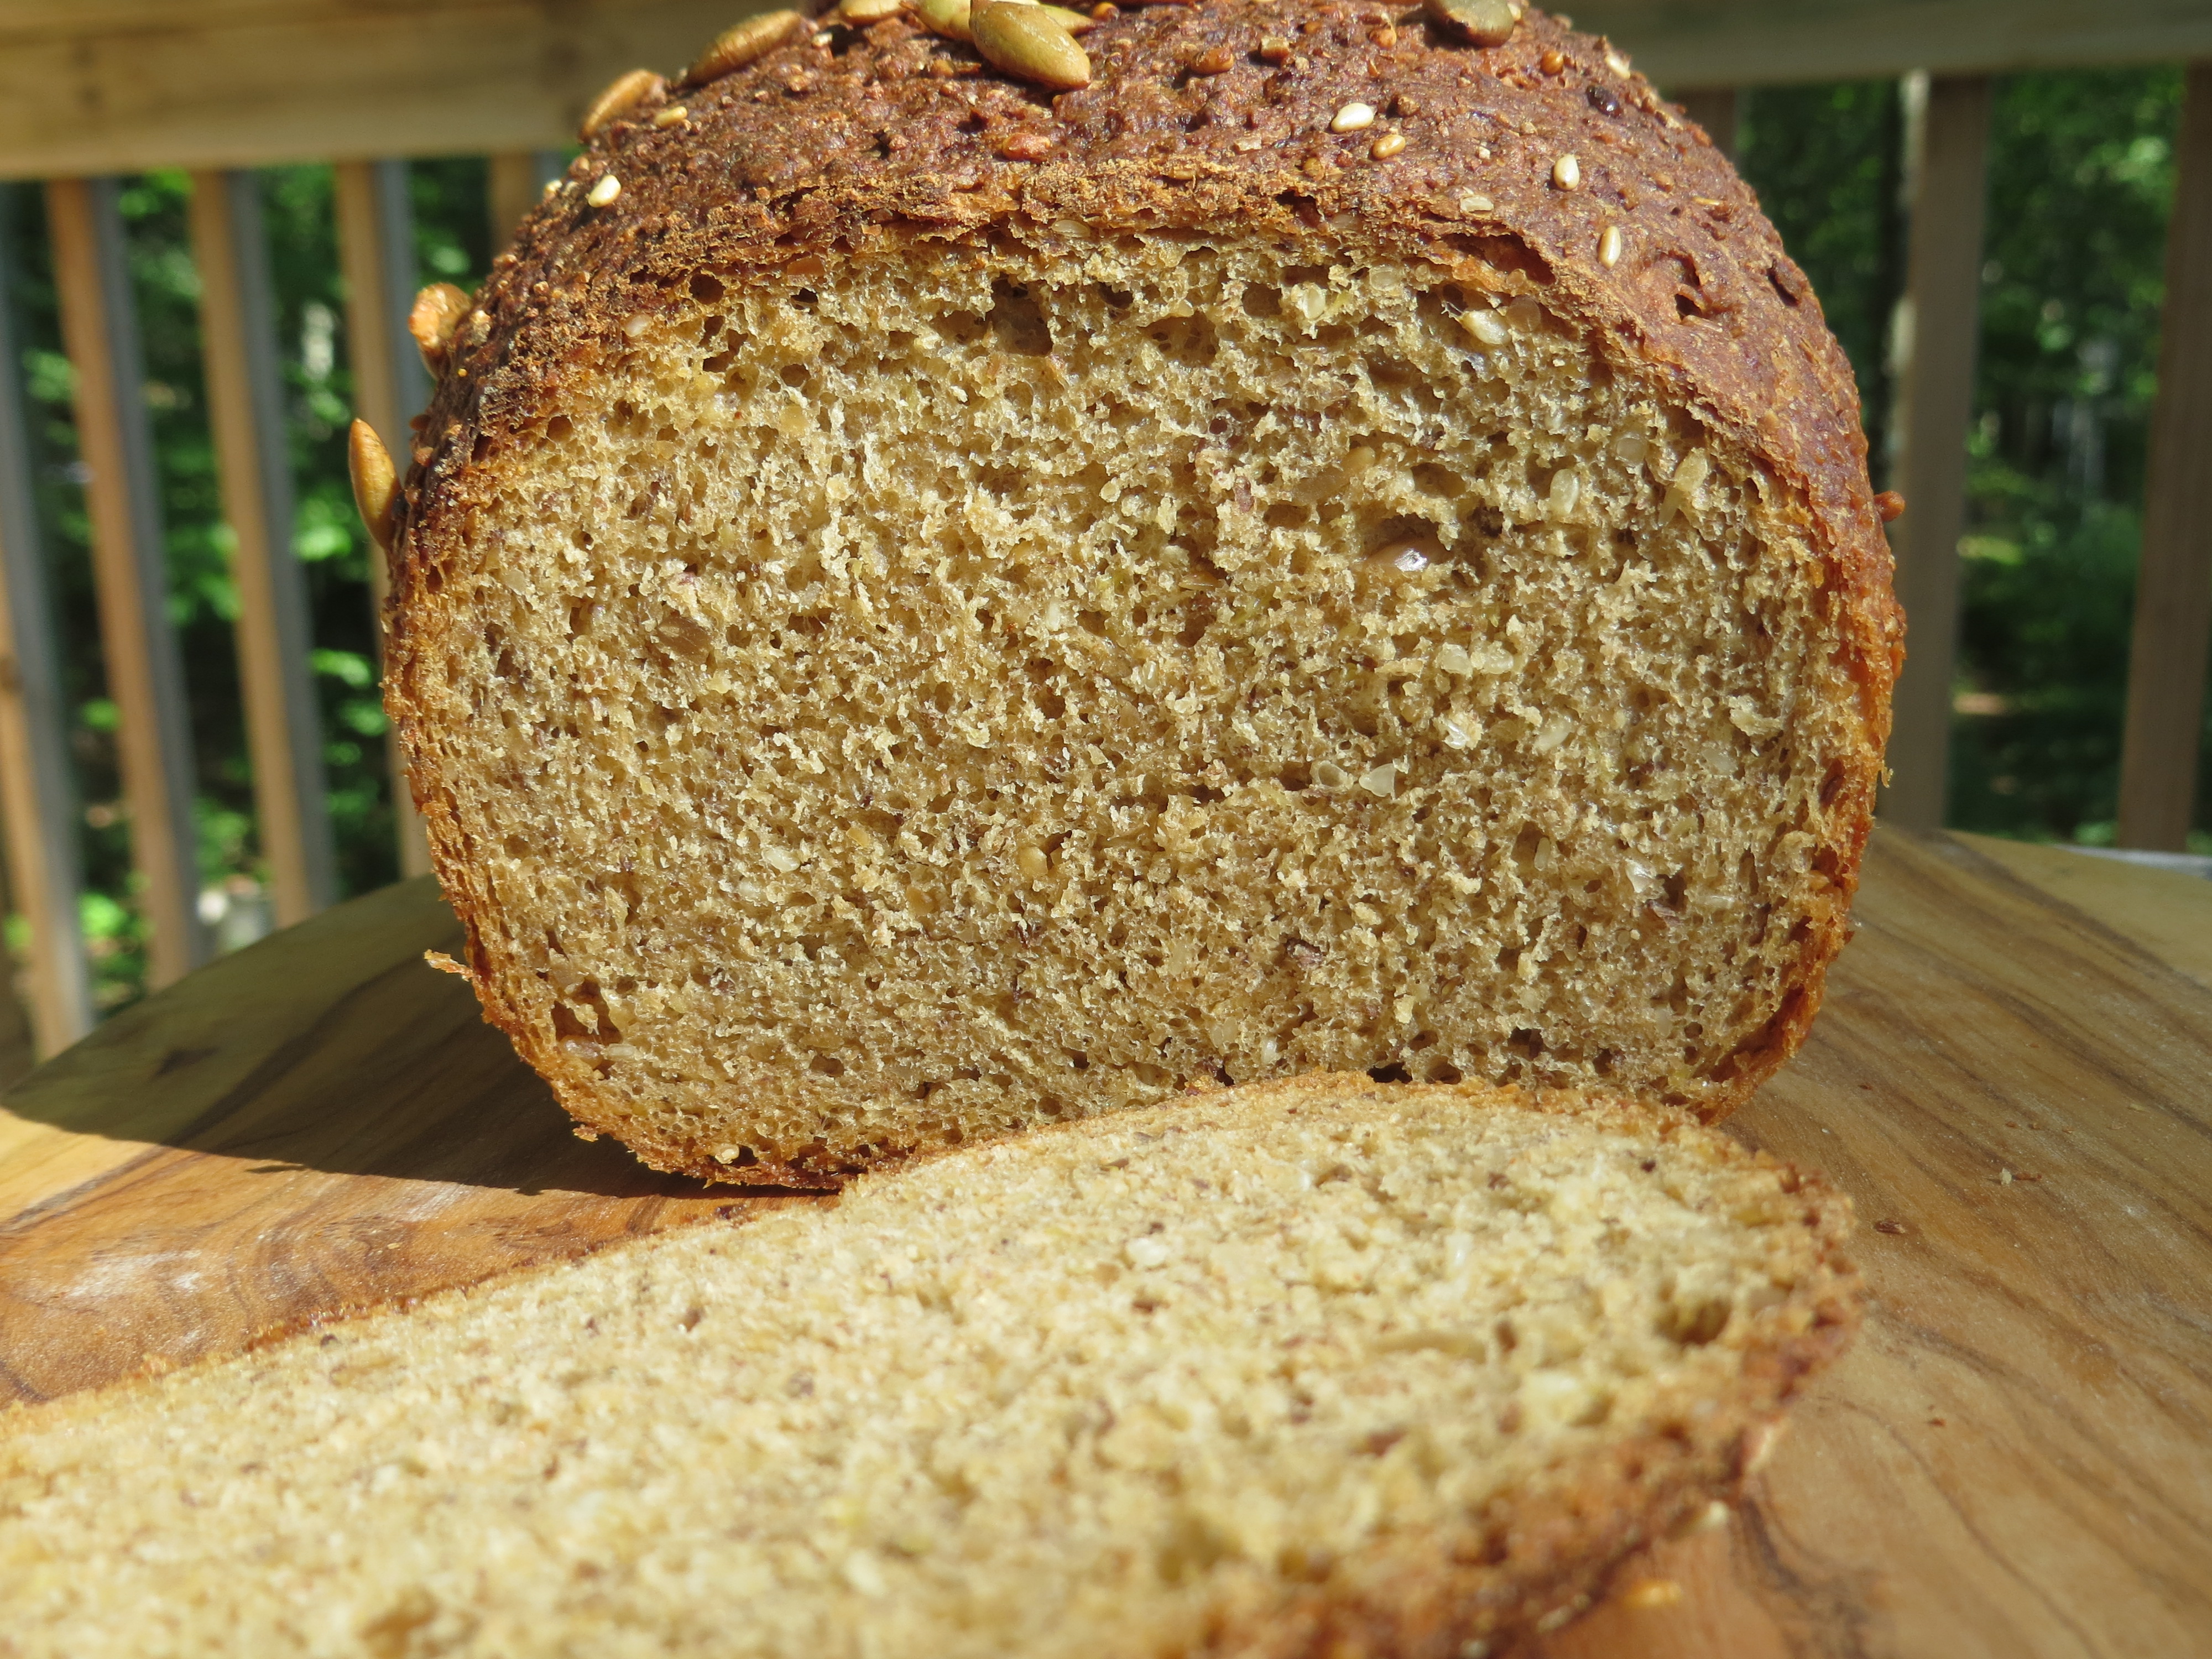
The pumpkin seeds were beautiful on top.
:
Day One: Pre-soaker
Mix all pre-soaker ingredients together in a small bowl, cover, and let sit at room temp for 8-24 hours.
Day Two: Soaker
Puree the pre-soaker in a blender, and mix with the remaining soaker ingredients in a medium bowl. Stir for about a minute, until everything is thoroughly combined and it forms a ball. Cover the bowl and leave at room temp for 12-24 hours (or, refrigerate it for up to 3 days, but let sit at room temp for 2 hours before mixing the final dough). Go ahead and make the biga now.
Day Two: Biga
Mix all of the biga ingredients together in a large bowl. Wet your hands, and knead for 2 min. Then let it rest for 5 min and knead again for 1 min. Transfer the dough to a clean bowl, cover, and refrigerate for 8 hours to 3 days. Two hours before you’re ready to mix the final dough, let the biga sit at room temp for 2 hours.
Day Three: Final dough
Cut the soaker and the biga into 12 pieces each. Grind the sunflower seeds into flour in a blender, food processor, or spice grinder (gently pulse or it will turn into sunflower seed butter, not flour).
Mix ground seeds with remaining ingredients, including the soaker and biga pieces.
Knead the mixture with wet hands for 2 min, or until everything is thoroughly mixed. Dough should be slightly sticky; if it’s very tacky, add more flour; if it’s very dry and not sticky, add more water.
(If using a stand mixer, put the pre-dough pieces and all of the other ingredients except the extra flour into the mixer with the paddle attachment or dough hook. Mix on slow speed for 1 minute to bring the ingredients together into a ball. Switch to the dough hook and mix on medium-low speed, occasionally scraping down the bowl, for 2-3 minutes, until the pre-doughs become cohesive and combined. Add more flour or water as needed until the dough is soft and slightly sticky.)
Dust your counter (or whatever you’re using) with flour, and roll the dough around in it.
Knead it for 3-4 min. Let the dough rest for 5 min, and then knead for another minute. At this point your dough should pass the windowpane test. If not, knead more until it can pass the test.
Then form your dough into a ball, place it into a lightly oiled bowl, roll it around in the oil, and let it sit covered at room temp for 45-60 min (until it’s about 1.5 times its original size).
Lightly flour your counter again, and form your dough into either a loaf shape or rolls. Put the loaf-shaped dough into a lightly oiled 8.5″ x 4″ loaf pan, cover loosely with plastic wrap, and let it sit at room temp for 45-60 min (until it’s 1.5 times its original size). Or, if making rolls, place them on a sheet pan lined with parchment paper or a silicon mat. I want to make this as rolls
Preheat the oven and a steam pan (an empty metal pan on the bottom oven rack) to 425°. Put bread in the oven, pour 1 cup hot water into steam pan, and reduce oven temp to 350°. Bake for 20 min. Then remove steam pan, rotate bread 180°, and bake for another 20-30 min, or until loaf or rolls are brown, have an internal temp of at least 195°, and have a hollow sound when thumped on the bottom. Remove the bread from the pan and let cool completely (at least 1 hour) before serving.
Want to be a Bread Baking Buddy and bake along with us! Oh please do, I think you’ll be pleased. Check Judy’s post for all the details and go for it.
All the Babe’s posting this Bread:
<!– start LinkyTools script –>
<p><b>Powered by Linky Tools</b></p><p><a href=”http://www.linkytools.com/wordpress_list.aspx?id=258862&type=thumbnail”>Click here</a> to enter your link and view this Linky Tools list…</p>
<!– end LinkyTools script →


 This struck me as a most unusual way to come up with a bread recipe and Elizabeth David’s recipe seemed almost too simple and straight forward to produce good bread. My expectations were very low. I can assure you this is in fact a very simple bread to make. These are the breads I call fast. There’s no fiddling, no folding, no temperature taking, no long rising time. You mix it, let it rise, shape it, let it rise, bake it and you have gorgeous, glorious and fabulous tasting bread in easily under 4 hours. While I love all the fancy bread baking and I’ve never been bothered by a recipe that may take days and days, this is the kind of recipe that reminds and renews the joy of the simple.


